How to Customize your Registration Form for a Virtual Event in Zuddl
Last updated: August 1, 2025
You can add new fields to your registration form as per your event requirements. A two-column page layout lets you add new fields on left panel and preview the form with the new fields in real-time on the right.
Add registration fields
The registration page fields can be customized according to the event needs. Follow these instructions to edit them:
Go to Registration > Form > Form details tab.
The first three form fields: First name, Last name, and Email are mandatory and cannot be removed. You can edit labels for them, but they are still mandatory fields.
Changing the labels for the mandatory fields updates the labels on all embedded registration forms and attendee landing pages.- Click the +Add field button. This lets you add either a predefined field or a custom field.
- Select a field from the Choose a standard field dropdown.
- Phone number
- Role
- Company
- Bio
- Country
Custom
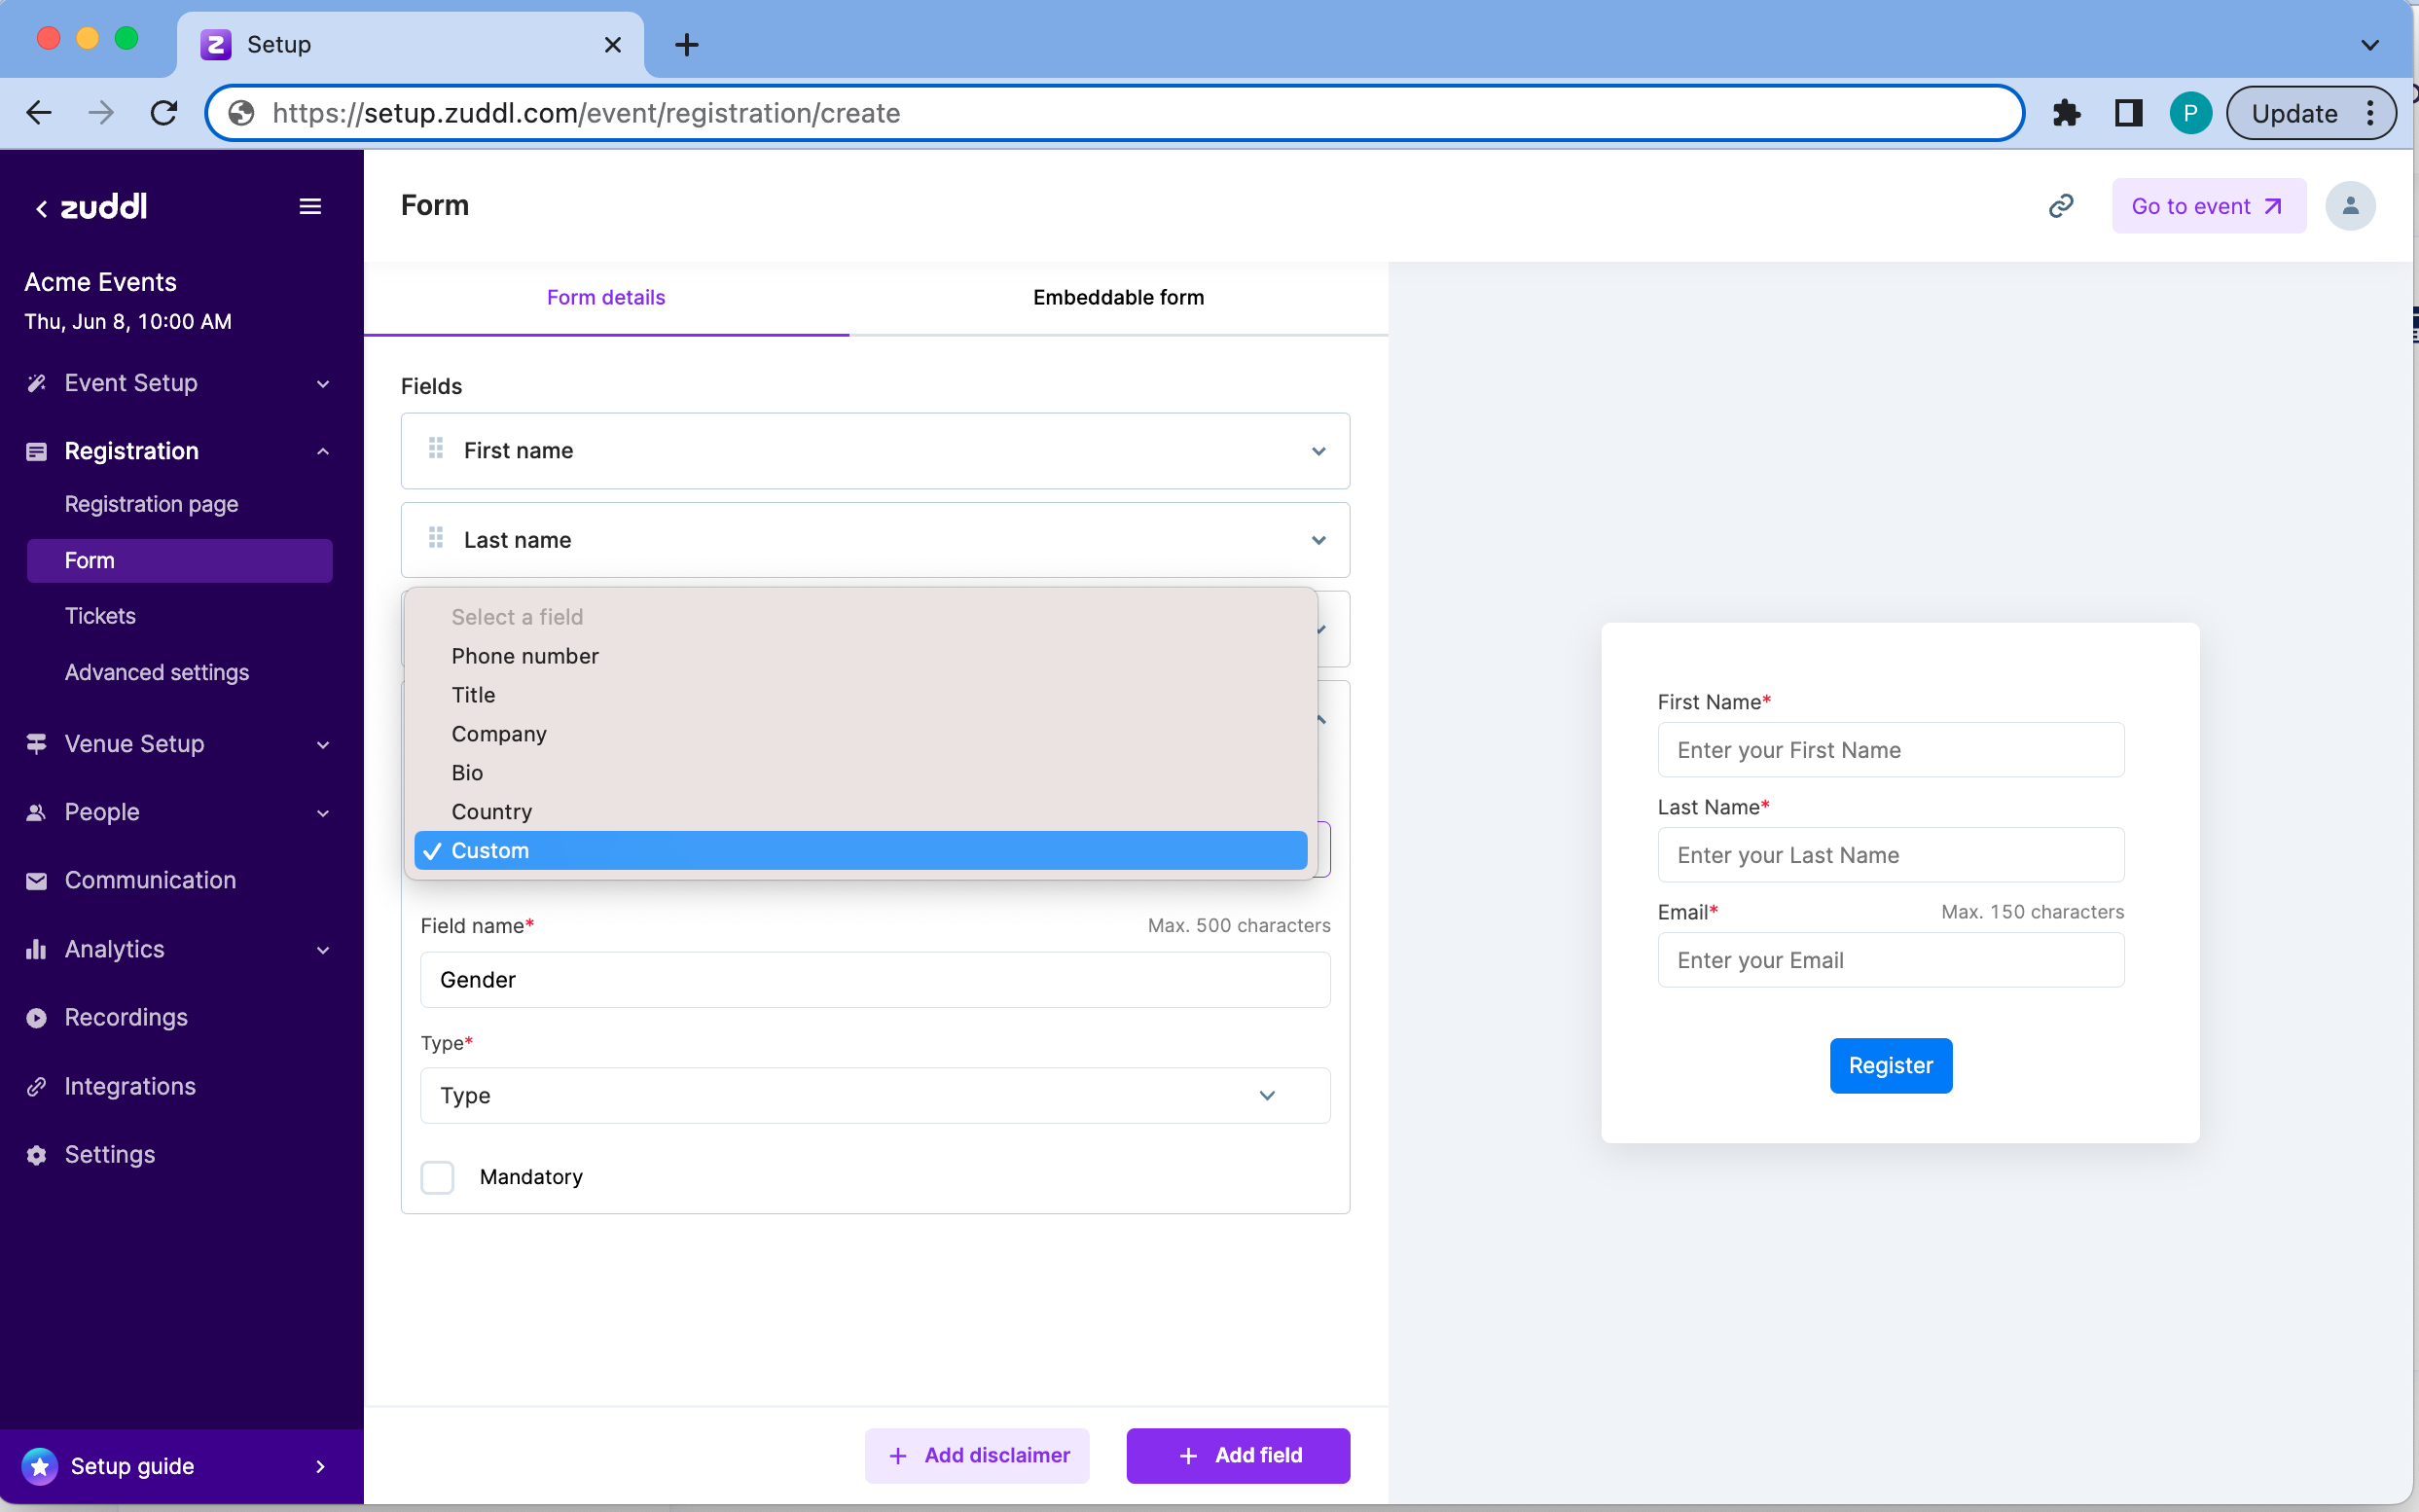
- Enter a Field name. Defaults to the predefined field name. Field name is mandatory for a Custom field.
- Select a field Type. Only for Custom fields. The field types are:
- Short Answer (Text): For short text answers
- Dropdown: Add dropdown options for attendees to select in a comma-separated format
- Multi-select: Add multiple options applicable for attendees in a comma-separated format
- Number: Accept only numbers as input
- Select/clear the Mandatory checkbox if you want this field to be mandatory for registrants.
This auto-saves the form and you can preview on the right pane. You can follow the same steps to add more fields.
You can also delete a field by clicking the bin icon on each field.
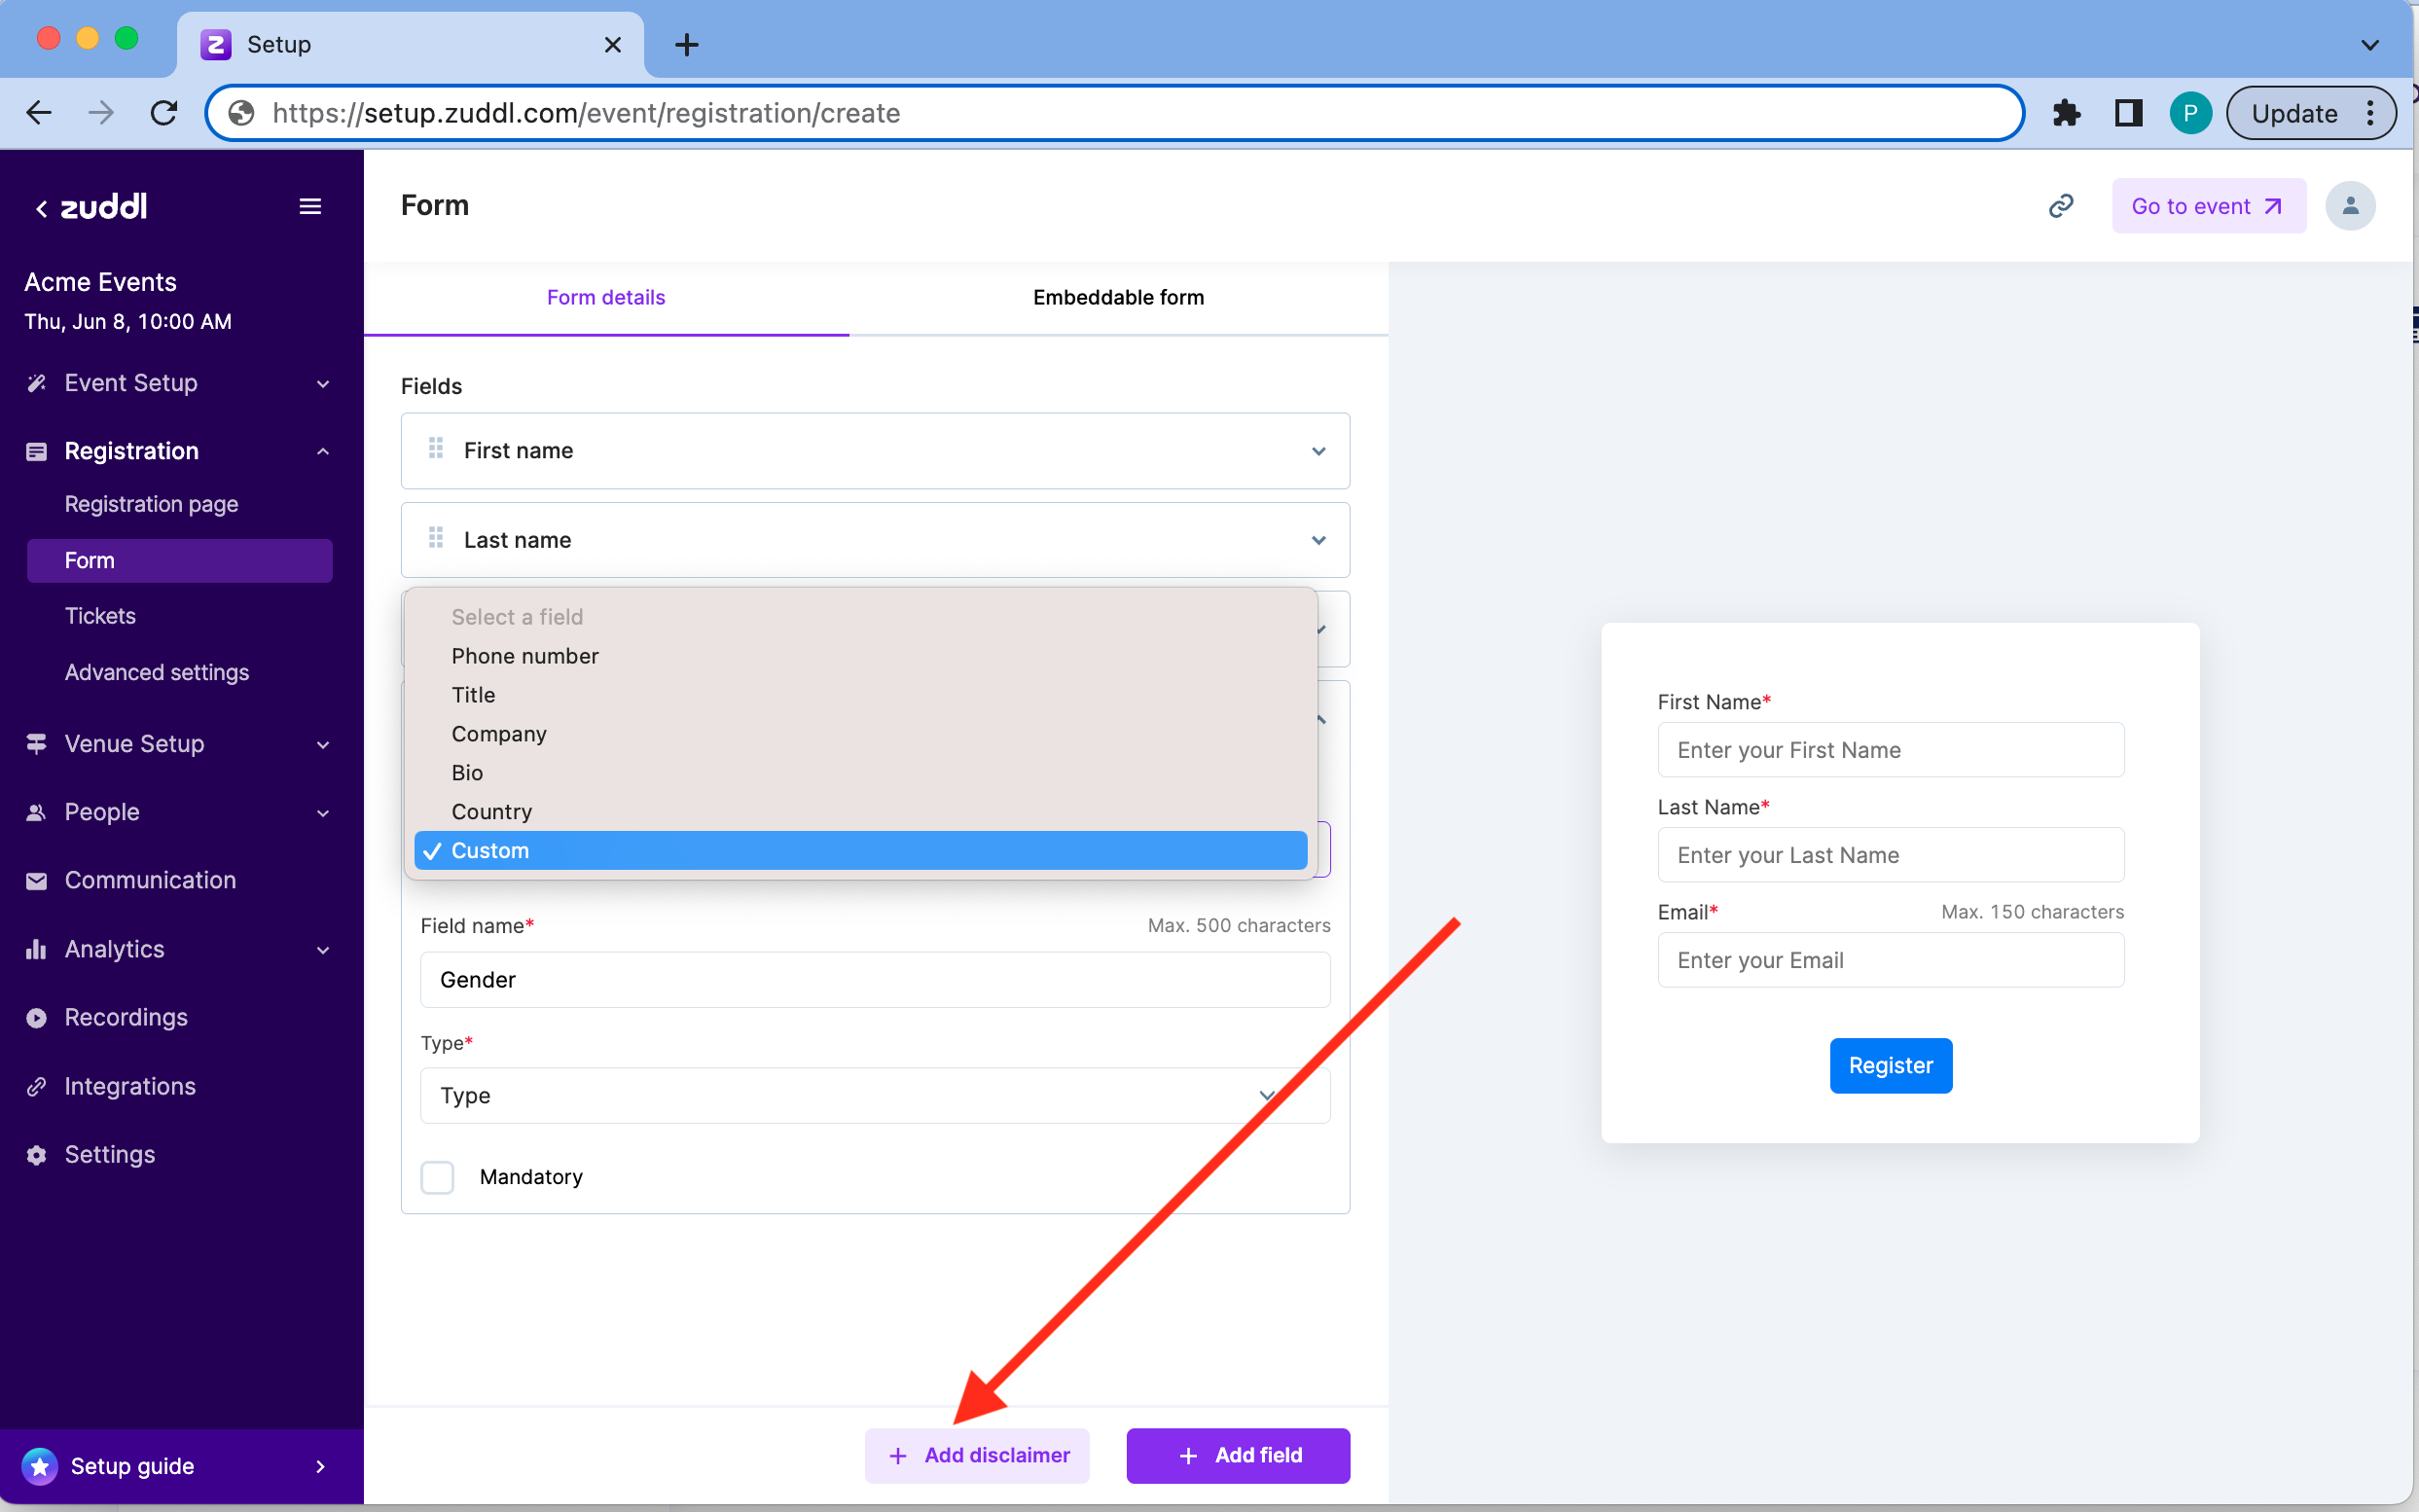
Disclaimers
To add or edit disclaimers after the registration fields:
Click +Add disclaimer button.
Enter your disclaimer text.
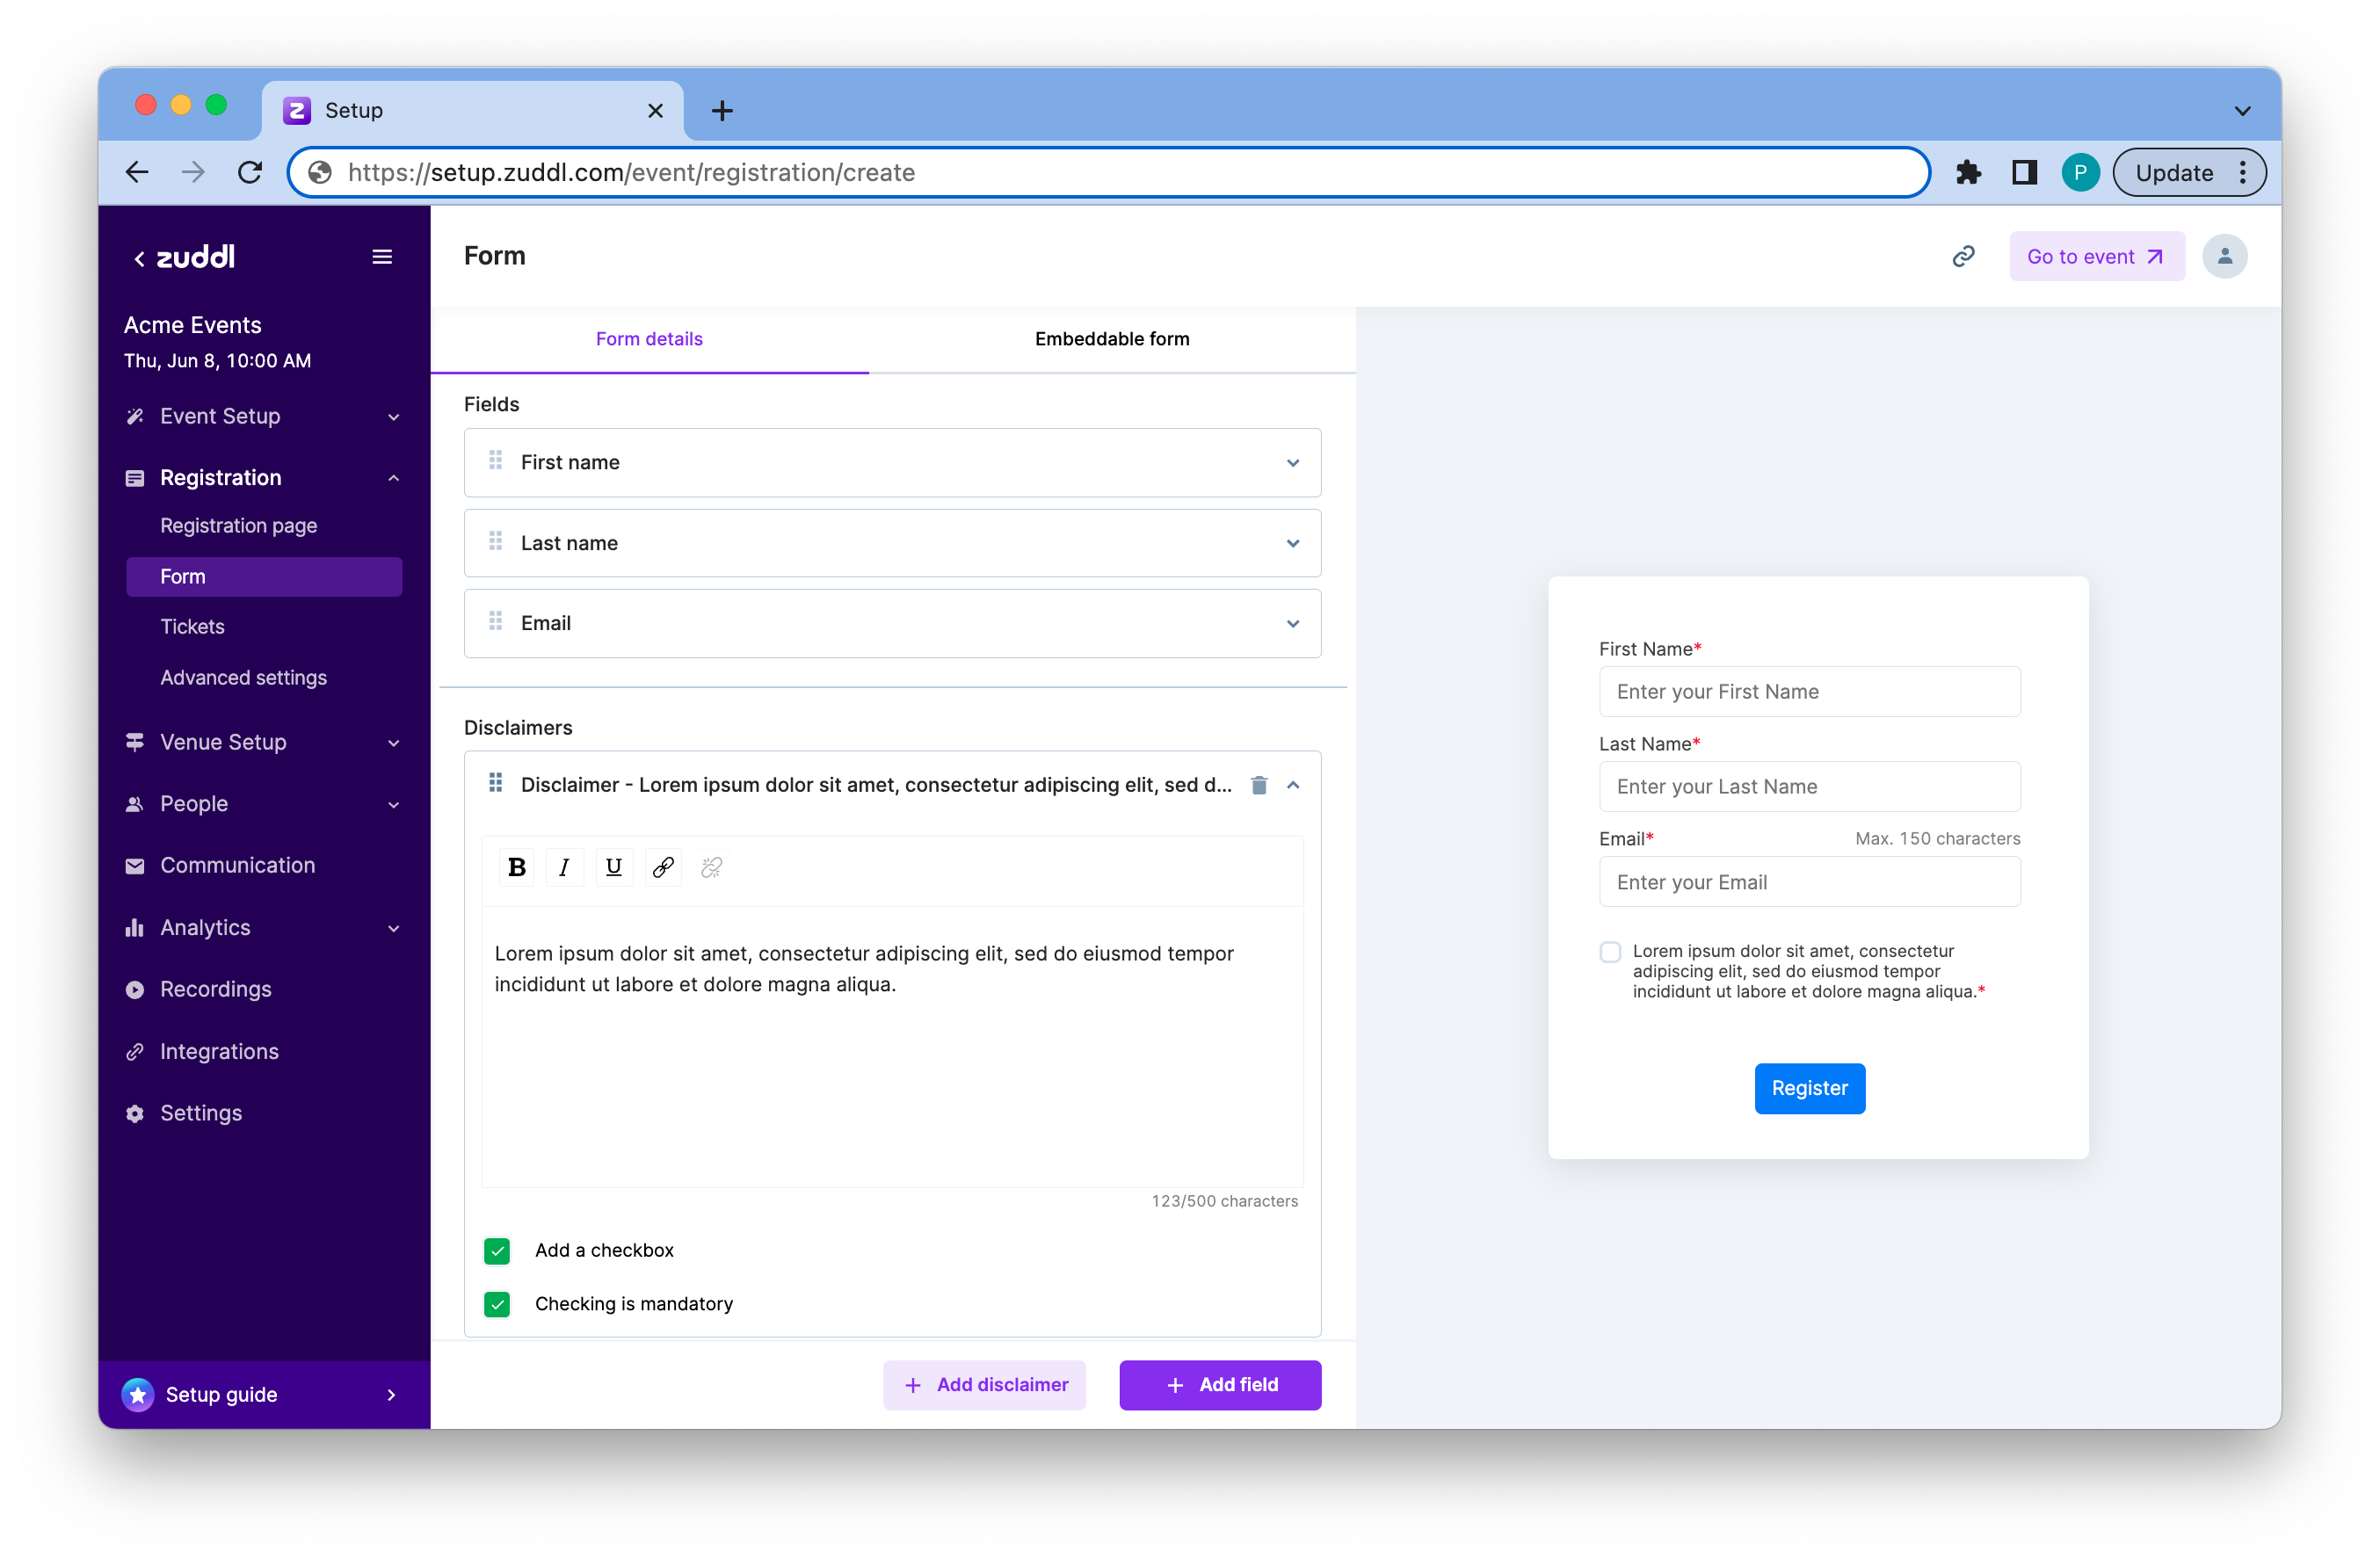
You can format the disclaimer text using the rich-text format toolbar.
- Select/Deselect the Add a checkbox checkbox if you want registrant to select the checkbox in as a sign of agreement.
- Select the Checking is mandatory checkbox if you want the step 3 to be mandatory for registrants.
This auto-saves the disclaimer.
You can also click the bin icon next to a disclaimer to delete it. You can also click and drag the disclaimers to re-order them.