How to Integrate Parmonic with Zuddl
Last updated: September 5, 2025
The integration of Parmonic with Zuddl lets you push session recordings of your event or webinar from your dashboard directly to your Parmonic dashboard. Learn more about Parmonic.
Integration steps
To enable Parmonic integration for your organization in Zuddl, you need to reach out to support@zuddl.com with the following details:
Organization Name: Name of your organization in Zuddl
Organization ID: Entered by our CS team
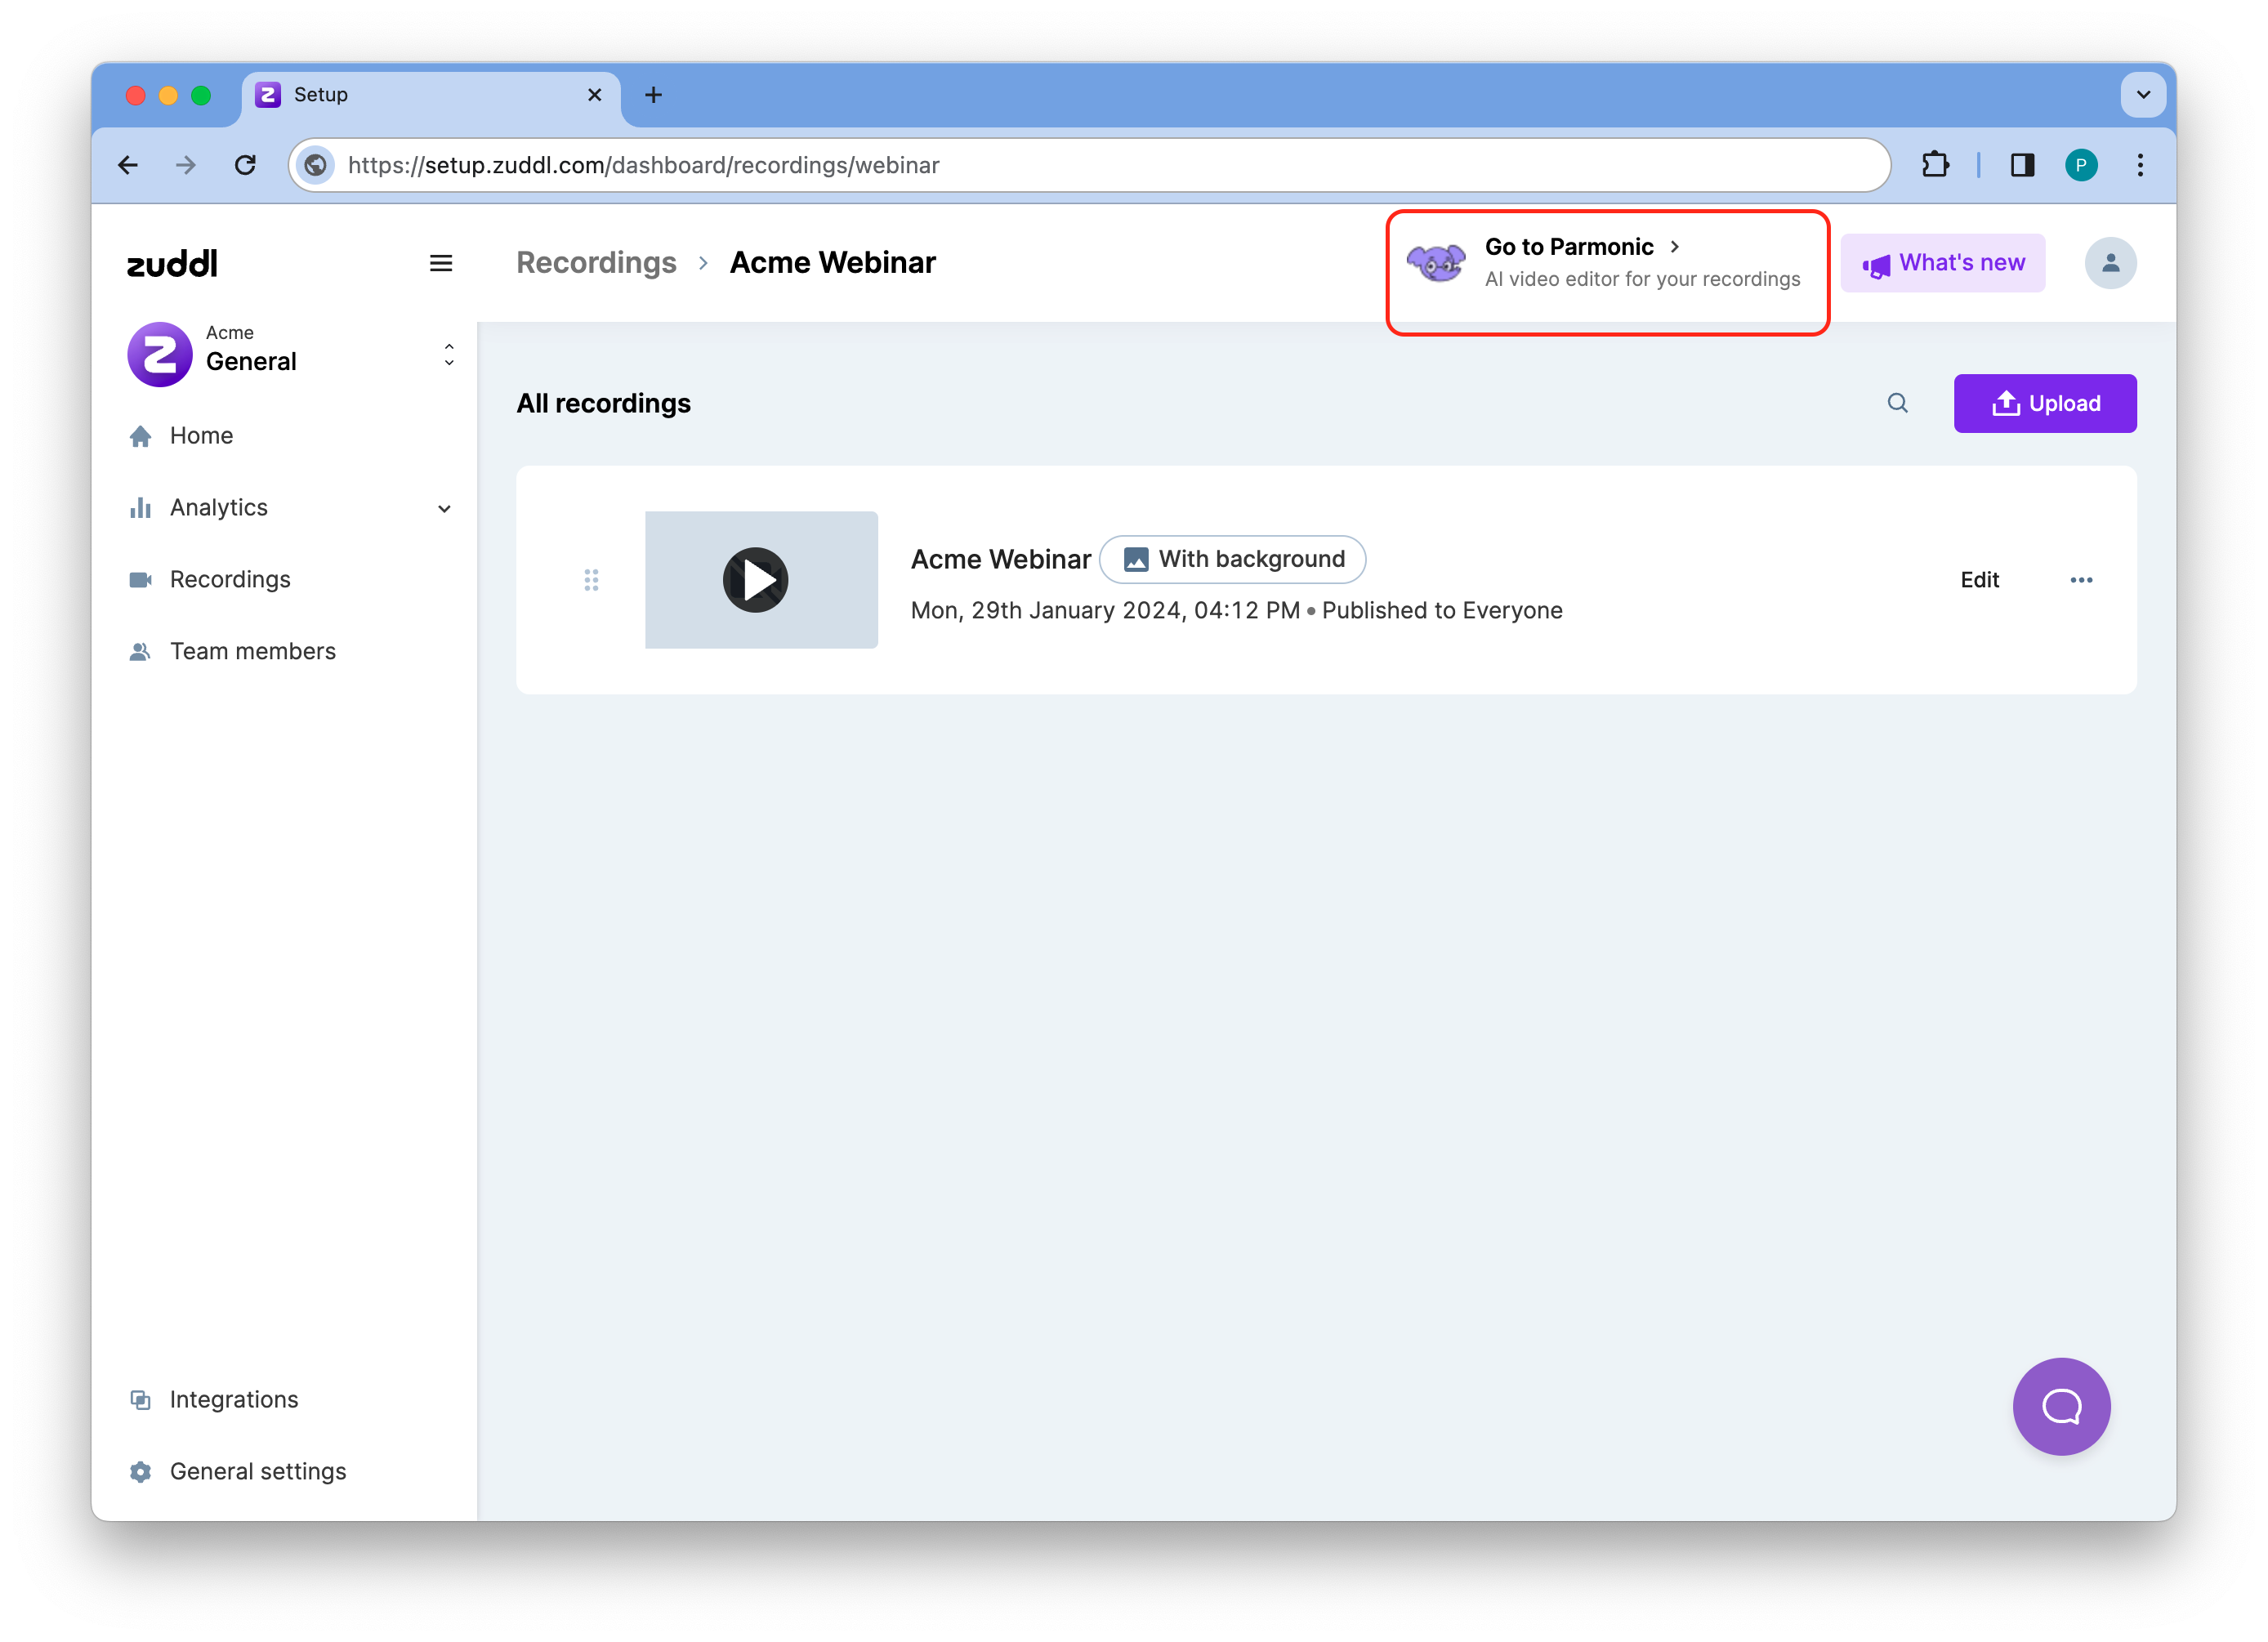
Using the above details, our customer success team creates a Parmonic account. Once created, a Go to Parmonic button will appear in the Parmonic integration page as shown in the screenshot below.

You do not need to create users in Parmonic as Zuddl creates a user, the first time you click the Go to Parmonic button. Once the user is created, you can click the Go to Parmonic button again to access your Parmonic dashboard. You can also see the Go to Parmonic option on the recording page, as shown below:
For existing users on Parmonic:
If you already have a Parmonic account, contact our support team, who will enable this integration for you.
If an email address previously existed in any other Zuddl organization, there could be issues accessing the Parmonic dashboard. Please reach out to our support team in this case.
Push a Recording
Once the integration is enabled, you can start pushing your recordings to your Parmonic account. To push a video recording from Zuddl to Parmonic:
Go to a session recording within the event setup dashboard or from the common dashboard.
Expand the session recording and click on the more options button.
Click the Push to Parmonic option.

This redirects you to your Parmonic dashboard and initiates the process of sending the push recording to Parmonic.
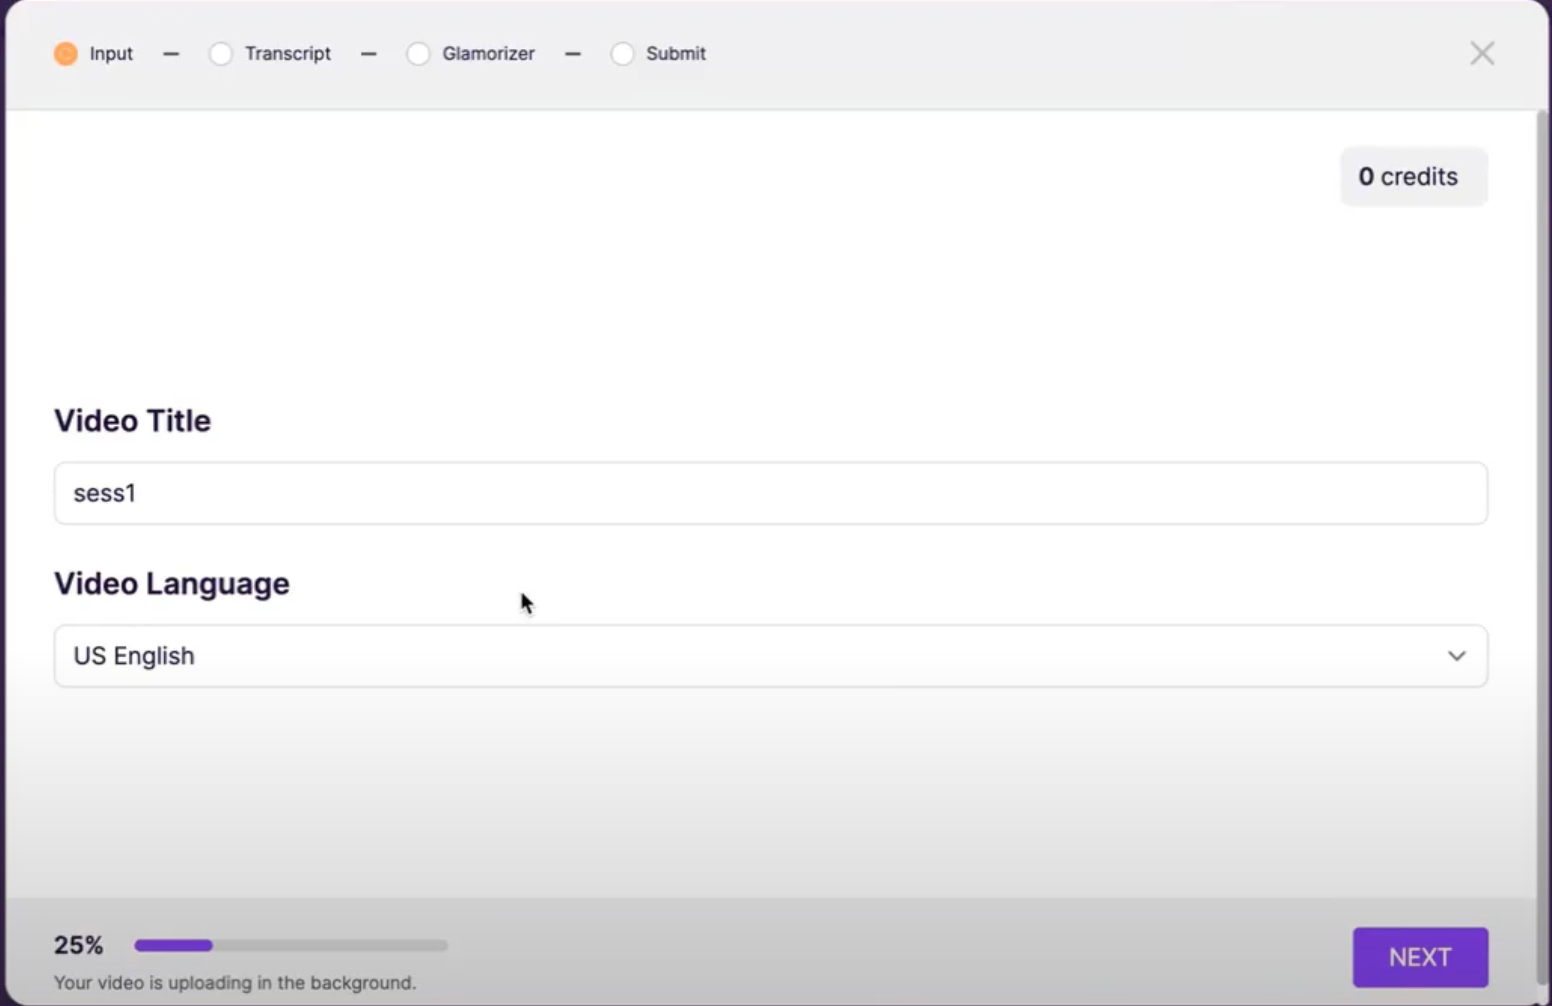
On your Parmonic dashboard, modify the following details:
Video Title: Title of the video. By default, the recording takes the session recording name set in Zuddl.
Video Language: Language of the incoming audio. Defaults to US English.
Click Next.
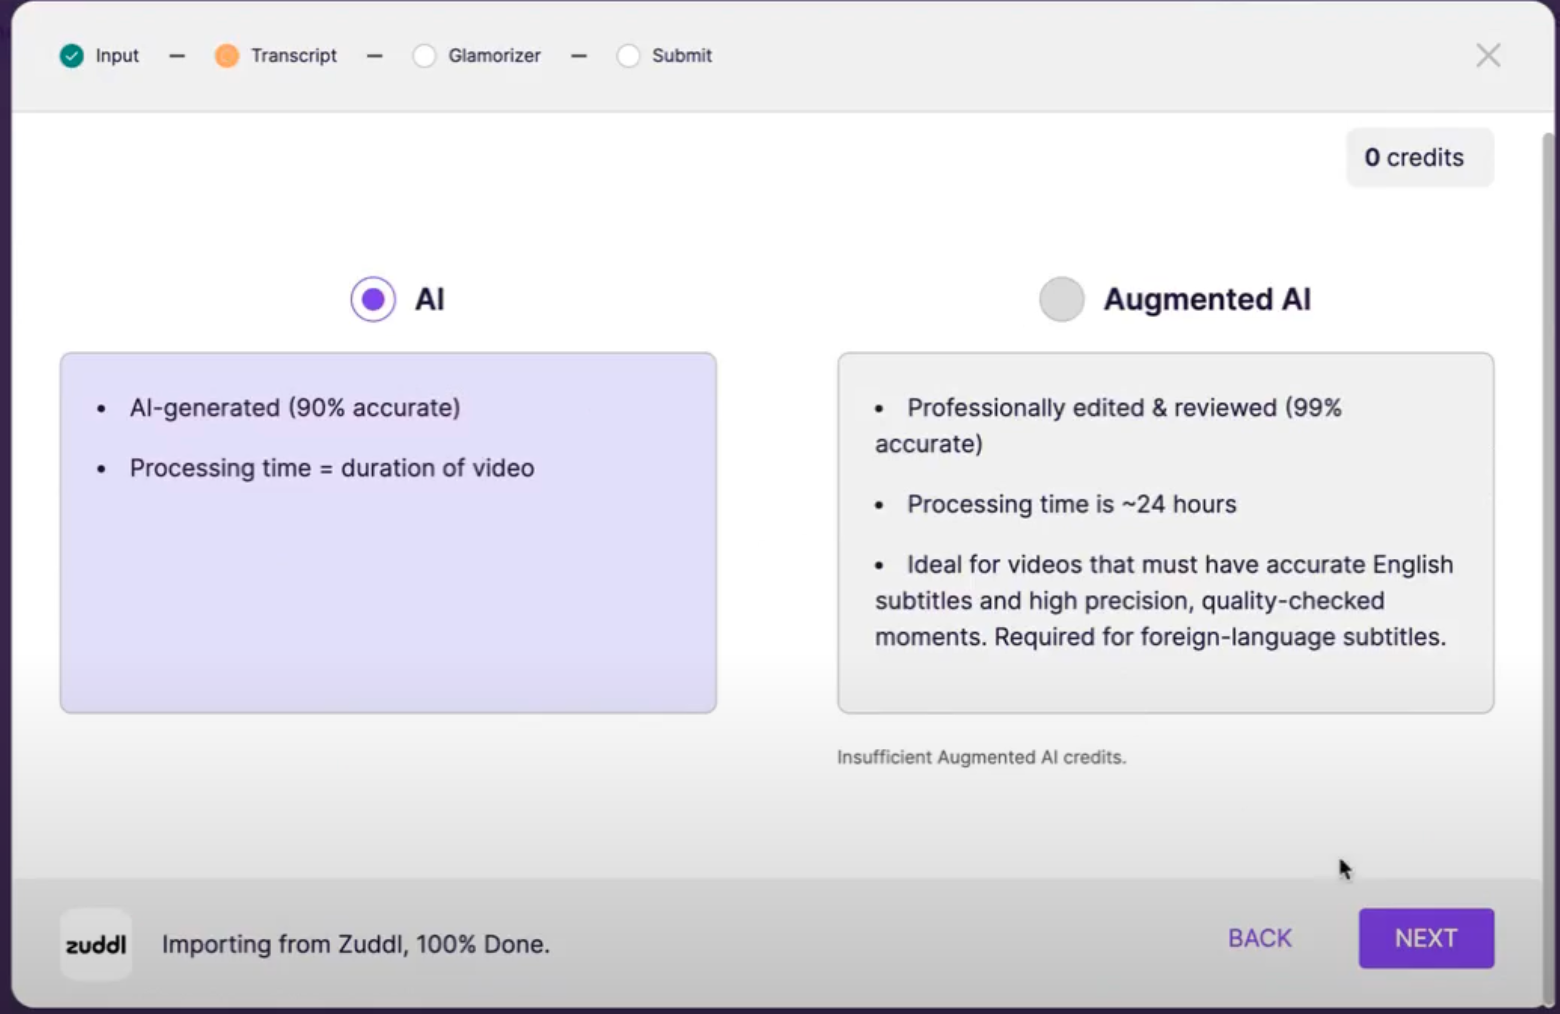
Next, select the AI radio button and click Next.
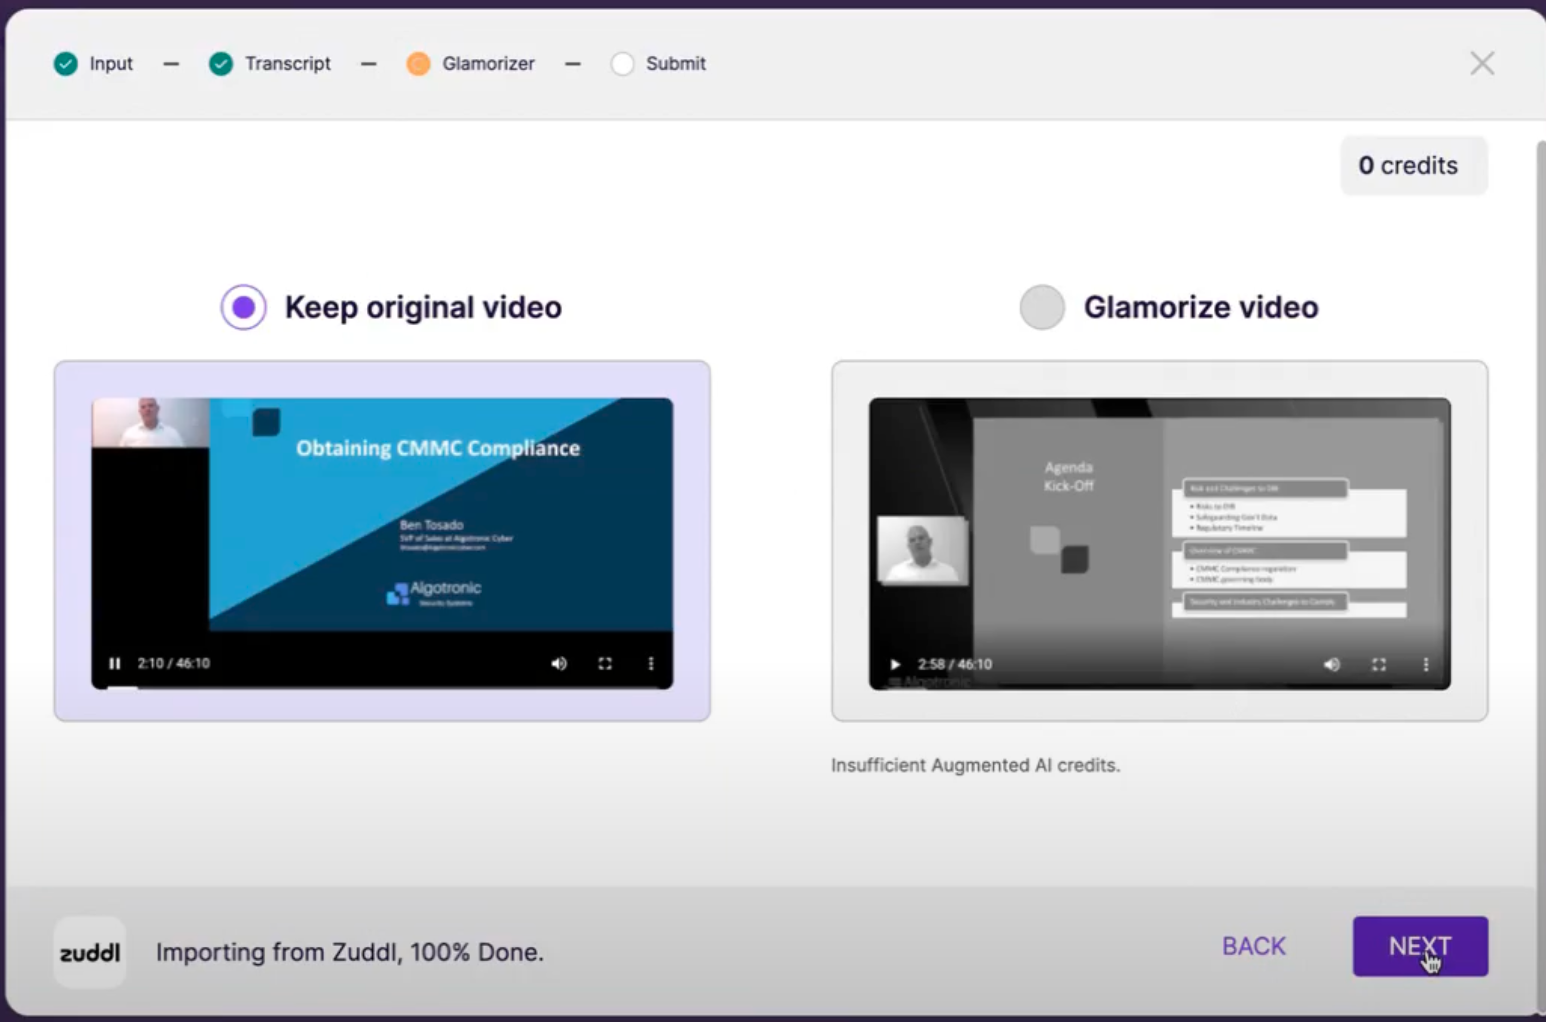
Choose your settings for video in the Glamorizer step and click Next.
On the next screen, click Submit. This submits the video for processing.
On the Zuddl dashboard, a banner shows if a particular session recording is being processed in your Parmonic account.
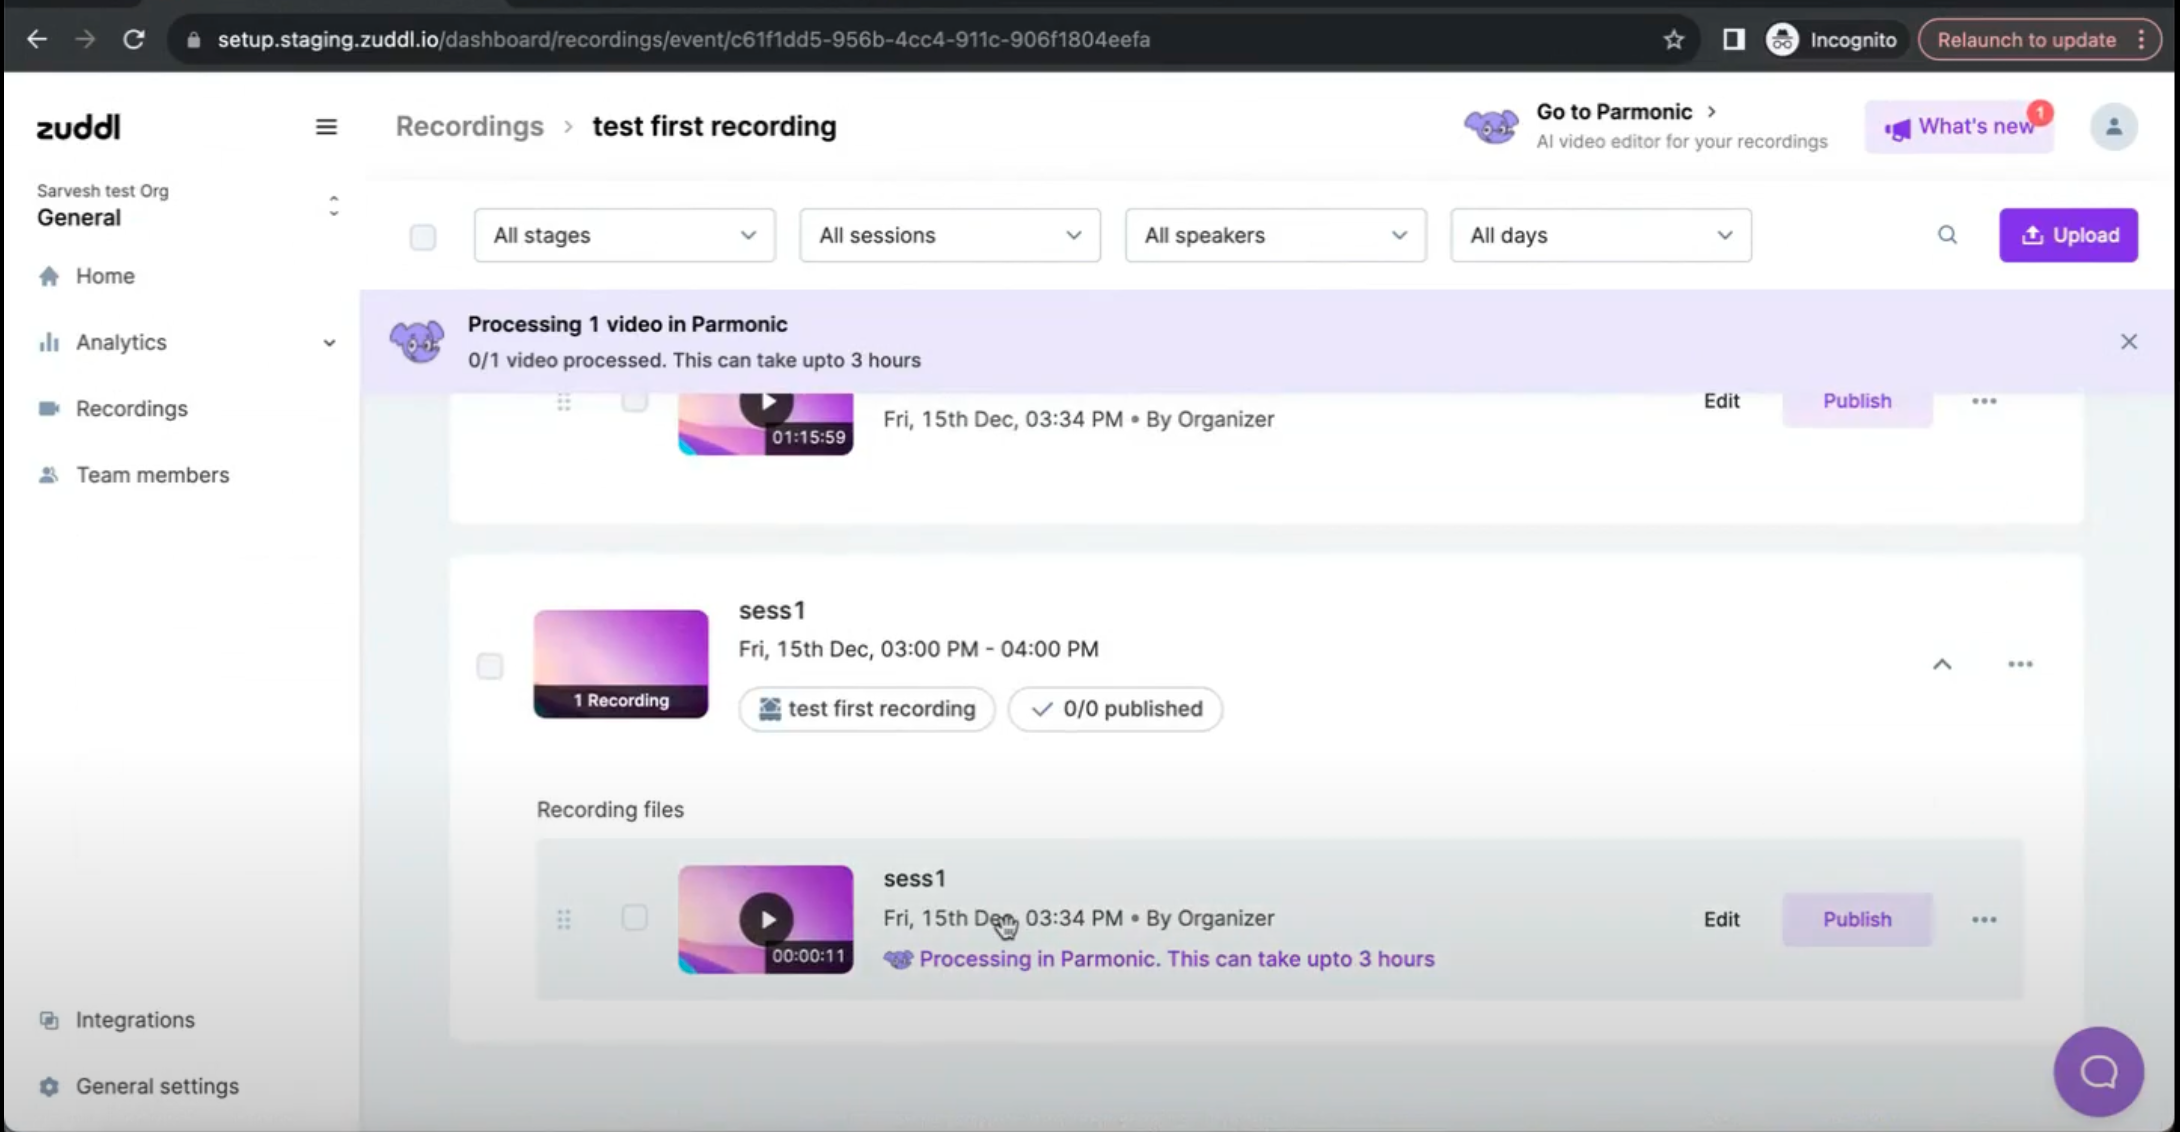
The estimated processing time is shown in the banner. The estimated processing time is the maximum time to process the video fetched from Parmonic.
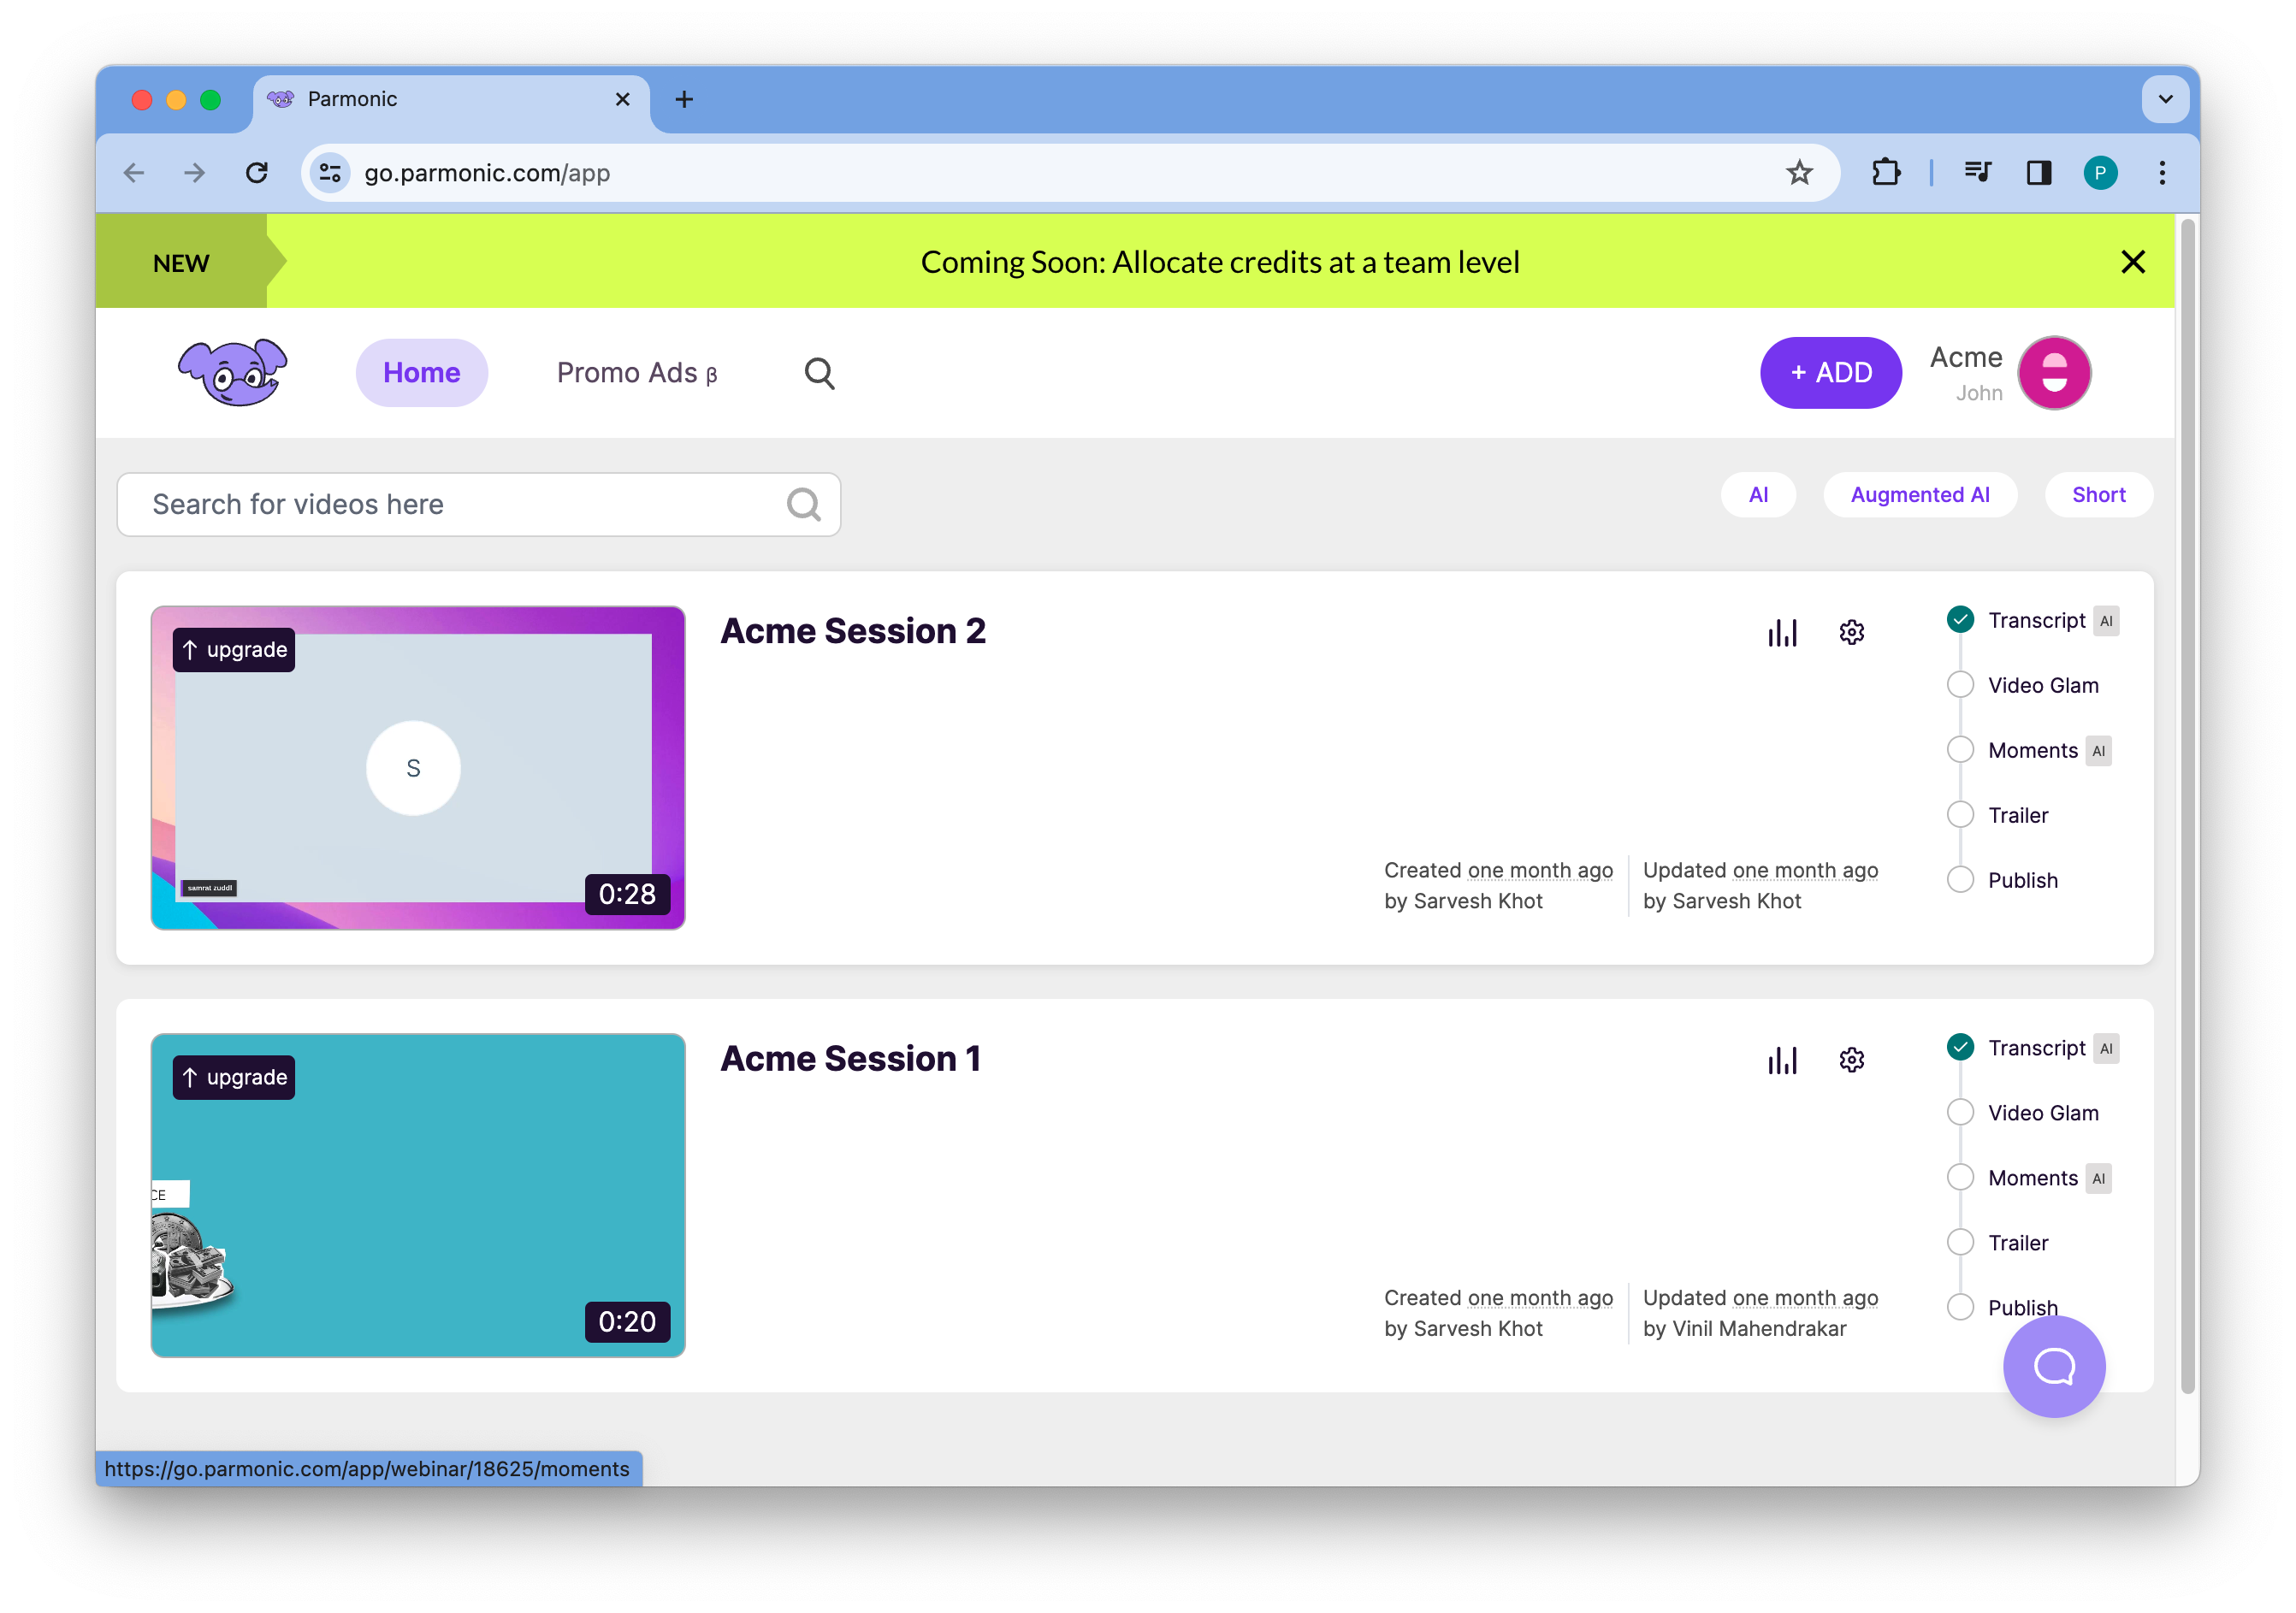
Once the video is processed and uploaded, you will receive an email notification regarding the same. On your Parmonic dashboard, you can view your Zuddl session recording in the list of videos as shown below.
After a video has been uploaded, you can see the Edit in Parmonic option in Zuddl for the particular Zuddl recording.
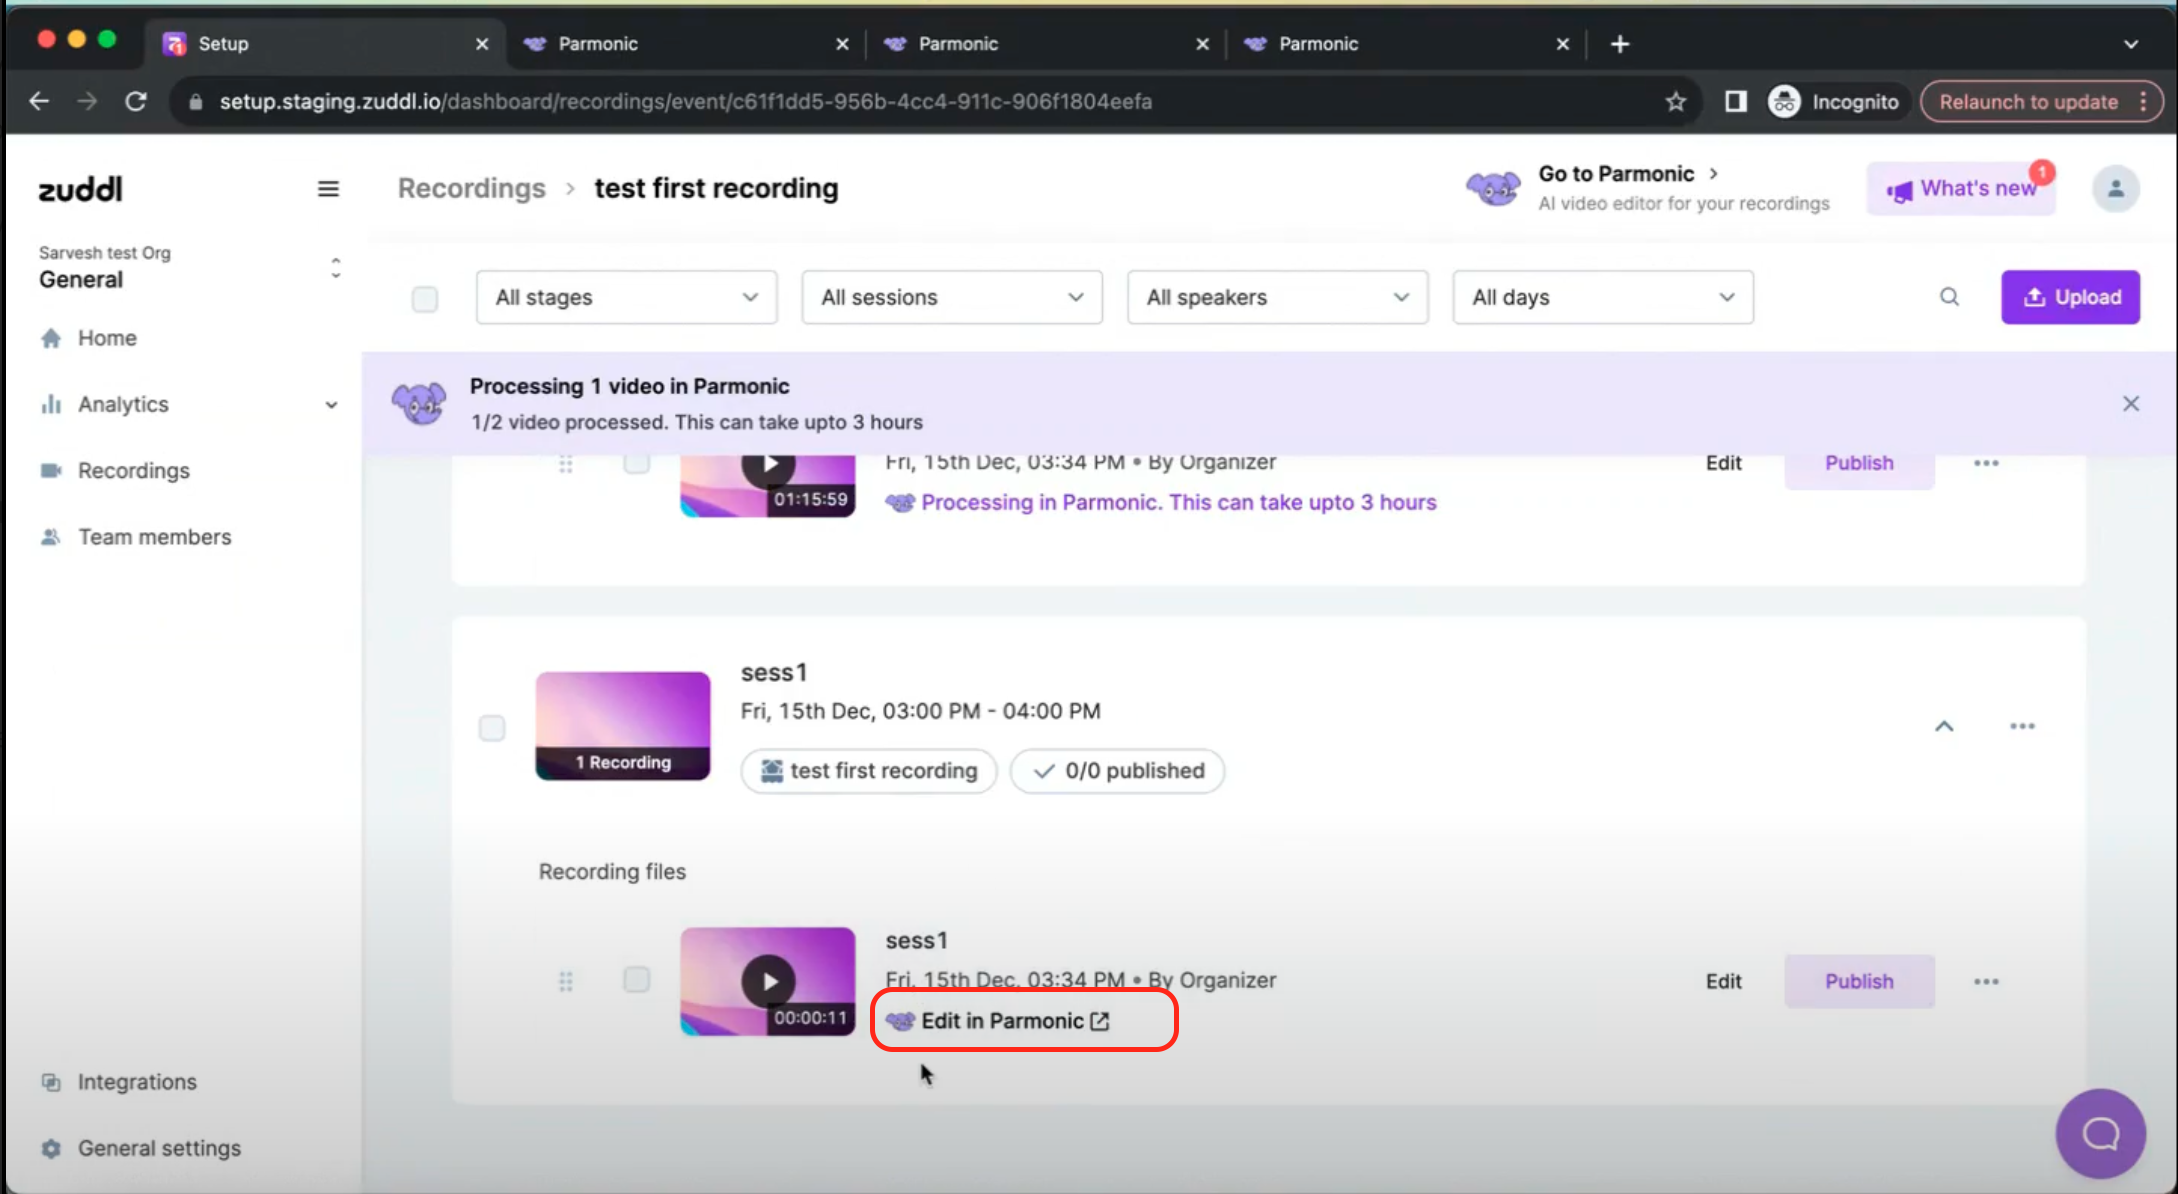
Click Edit in Parmonic to take action on your Parmonic dashboard.
In your Parmonic dashboard, you can also view the video analytics.
If you need to upgrade your account or if you run out of credits, you must reach out to our support team at support@zuddl.com for account upgrade or pricing details.