How to Add Form Fields and Disclaimers for a Zuddl Webinar
Last updated: November 19, 2025
Registration form fields
The form fields shown on your registration page can be customized with the fields you need. Go to Registration > Form.
In the Form details tab, you can see the Fields that are currently added to your form.
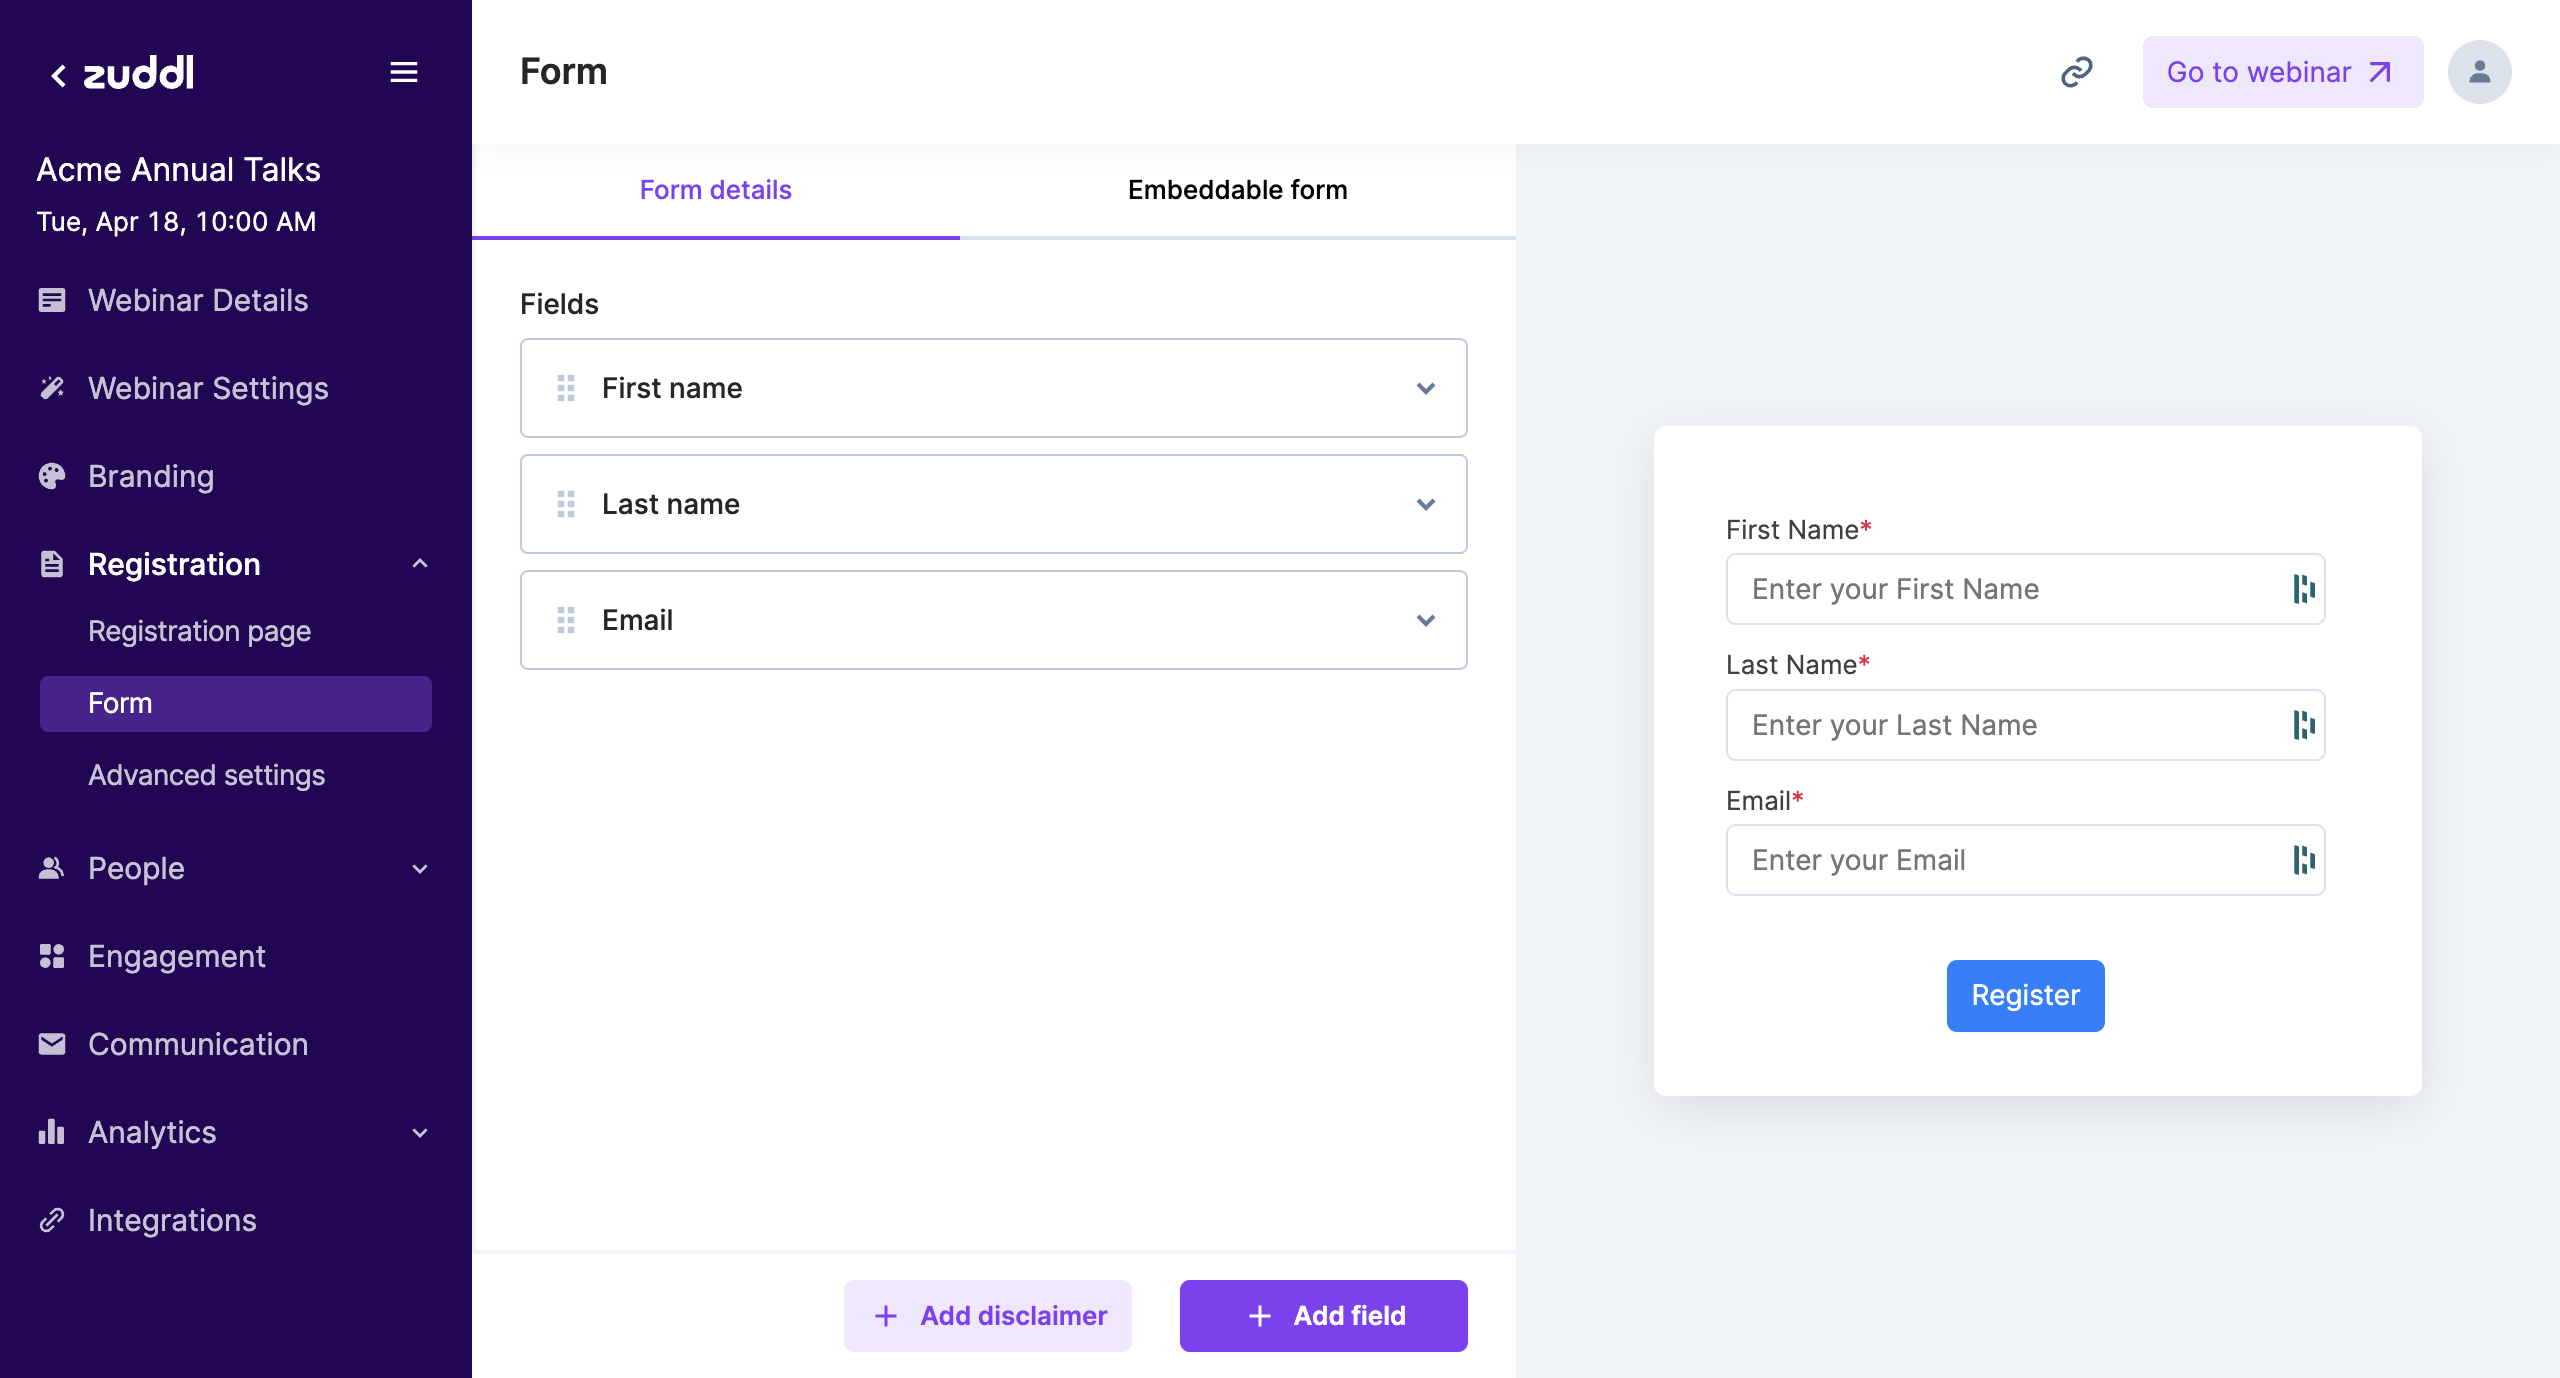
First Name, Last Name, and Email are default fields and cannot be removed. You can edit labels for them, but they are still mandatory fields.
Changing the labels for the mandatory fields updates the labels on all embedded registration forms and attendee landing pages.
Add a new form field
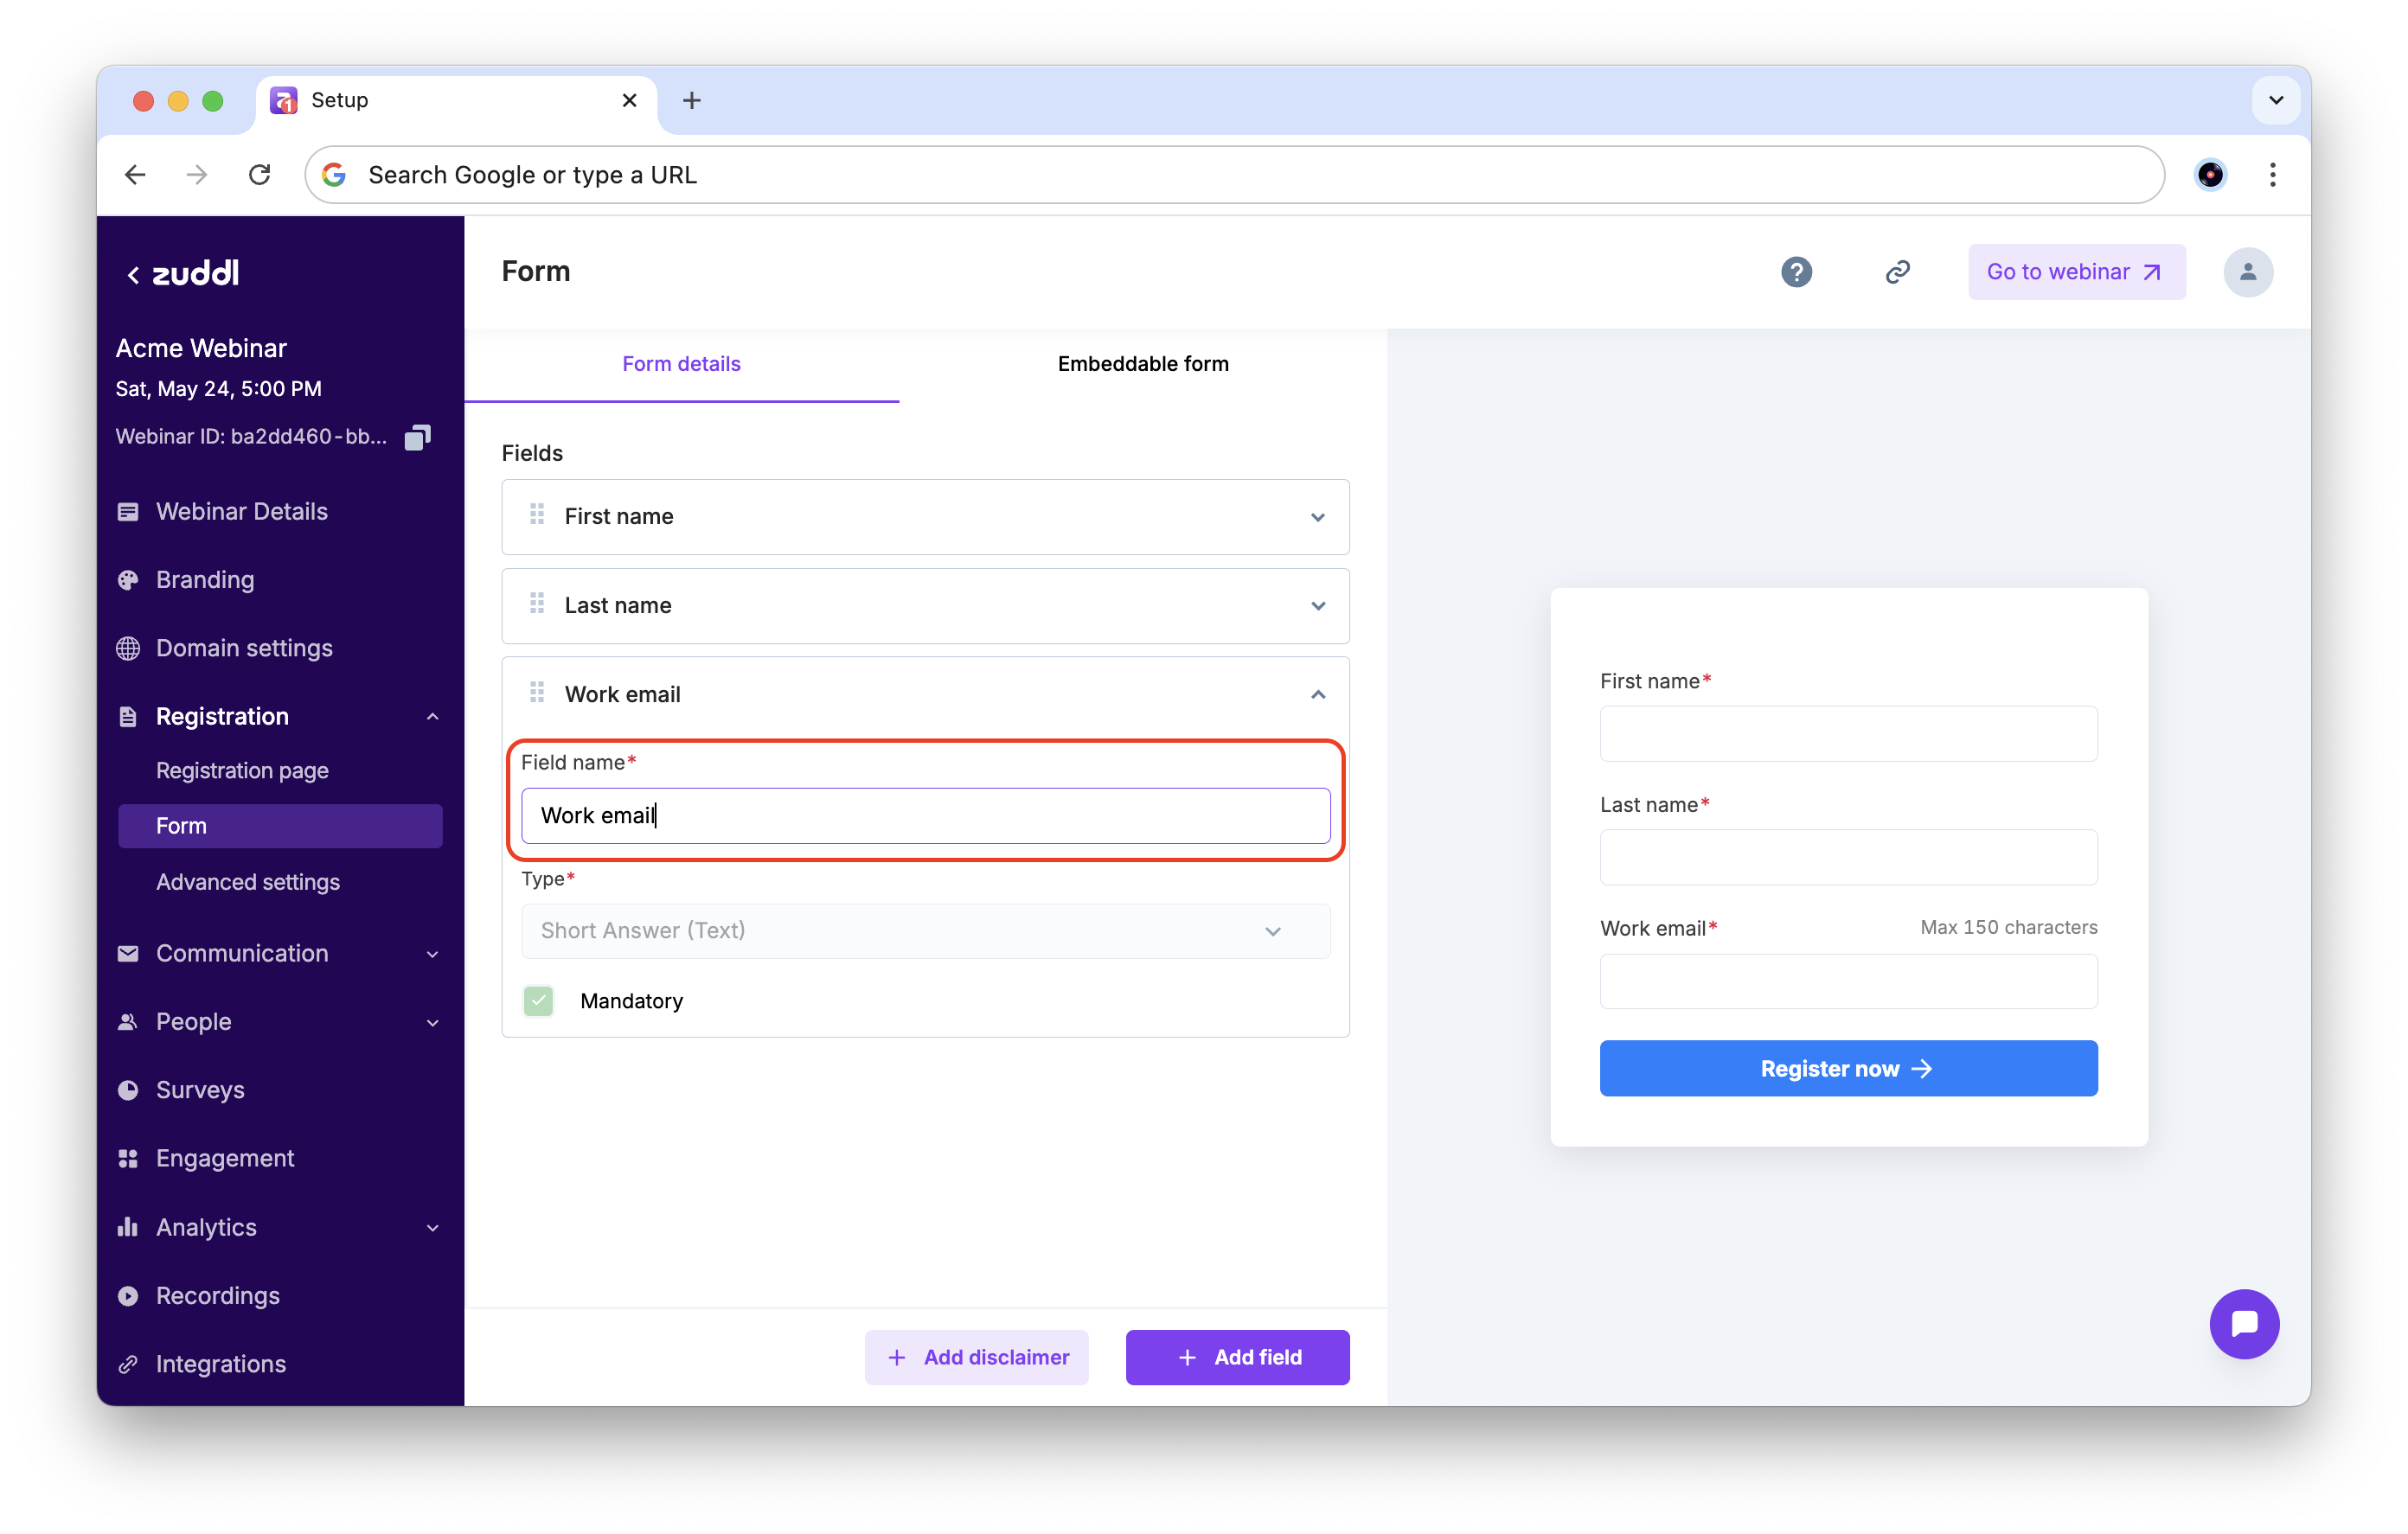
Click the Add field. A new card will be added to the list that you can now customize.
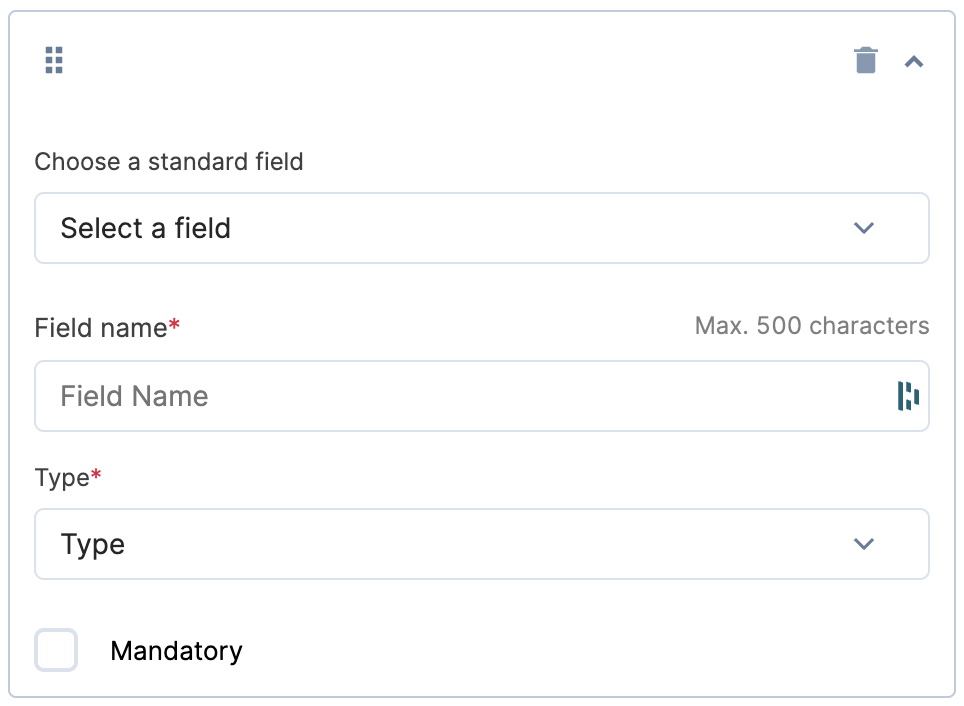
The Choose a standard field drop-down has a ready list of commonly added fields. You can choose a field from this list or select Custom to add a new custom field.
Enter the Field name, which will be visible to attendees.
Choose a field
Short Answer: For short text answers.
Dropdown: Add dropdown options for attendees to select in a comma-separated format.
Multiselect: Add multiple options applicable for attendees in a comma-separated format.
Number: Accept only numbers as input.
Click Save.
Add a Disclaimer
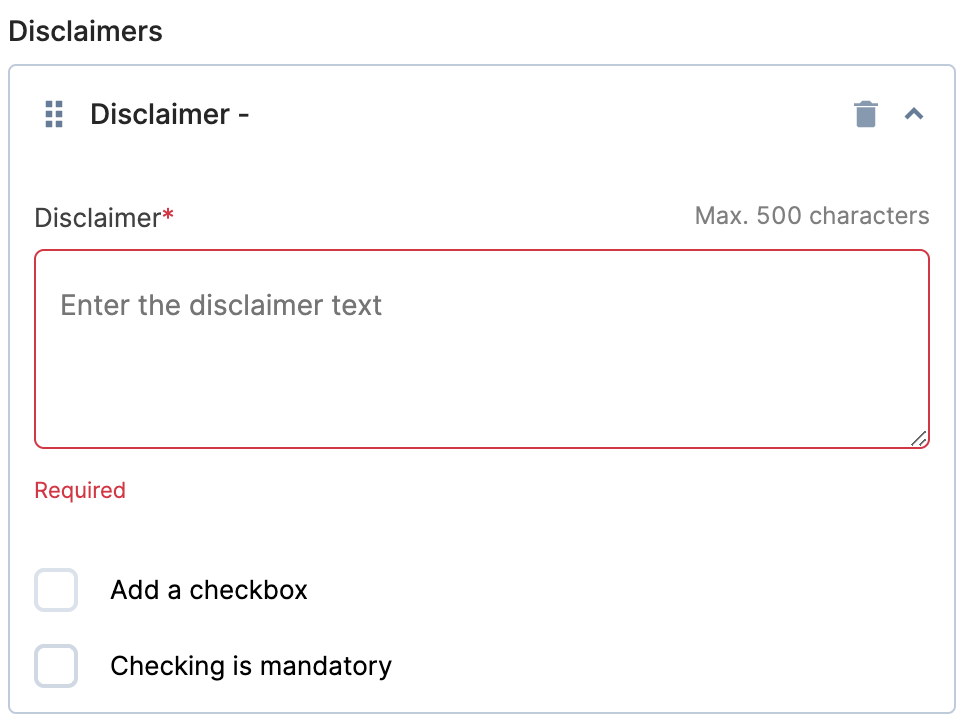
Disclaimers can be shown after the registration fields on your form. Click Add disclaimer and enter your disclaimer text in the text box.
Optionally, select the Add a checkbox, and Checking is mandatory option as you need.
To delete a disclaimer, click the bin icon on the disclaimer card.
You can click and drag the disclaimers to re-order them in the form.
Customize branding for the form
To customize the branding for your form, go to Registration > Form > Embeddable form.
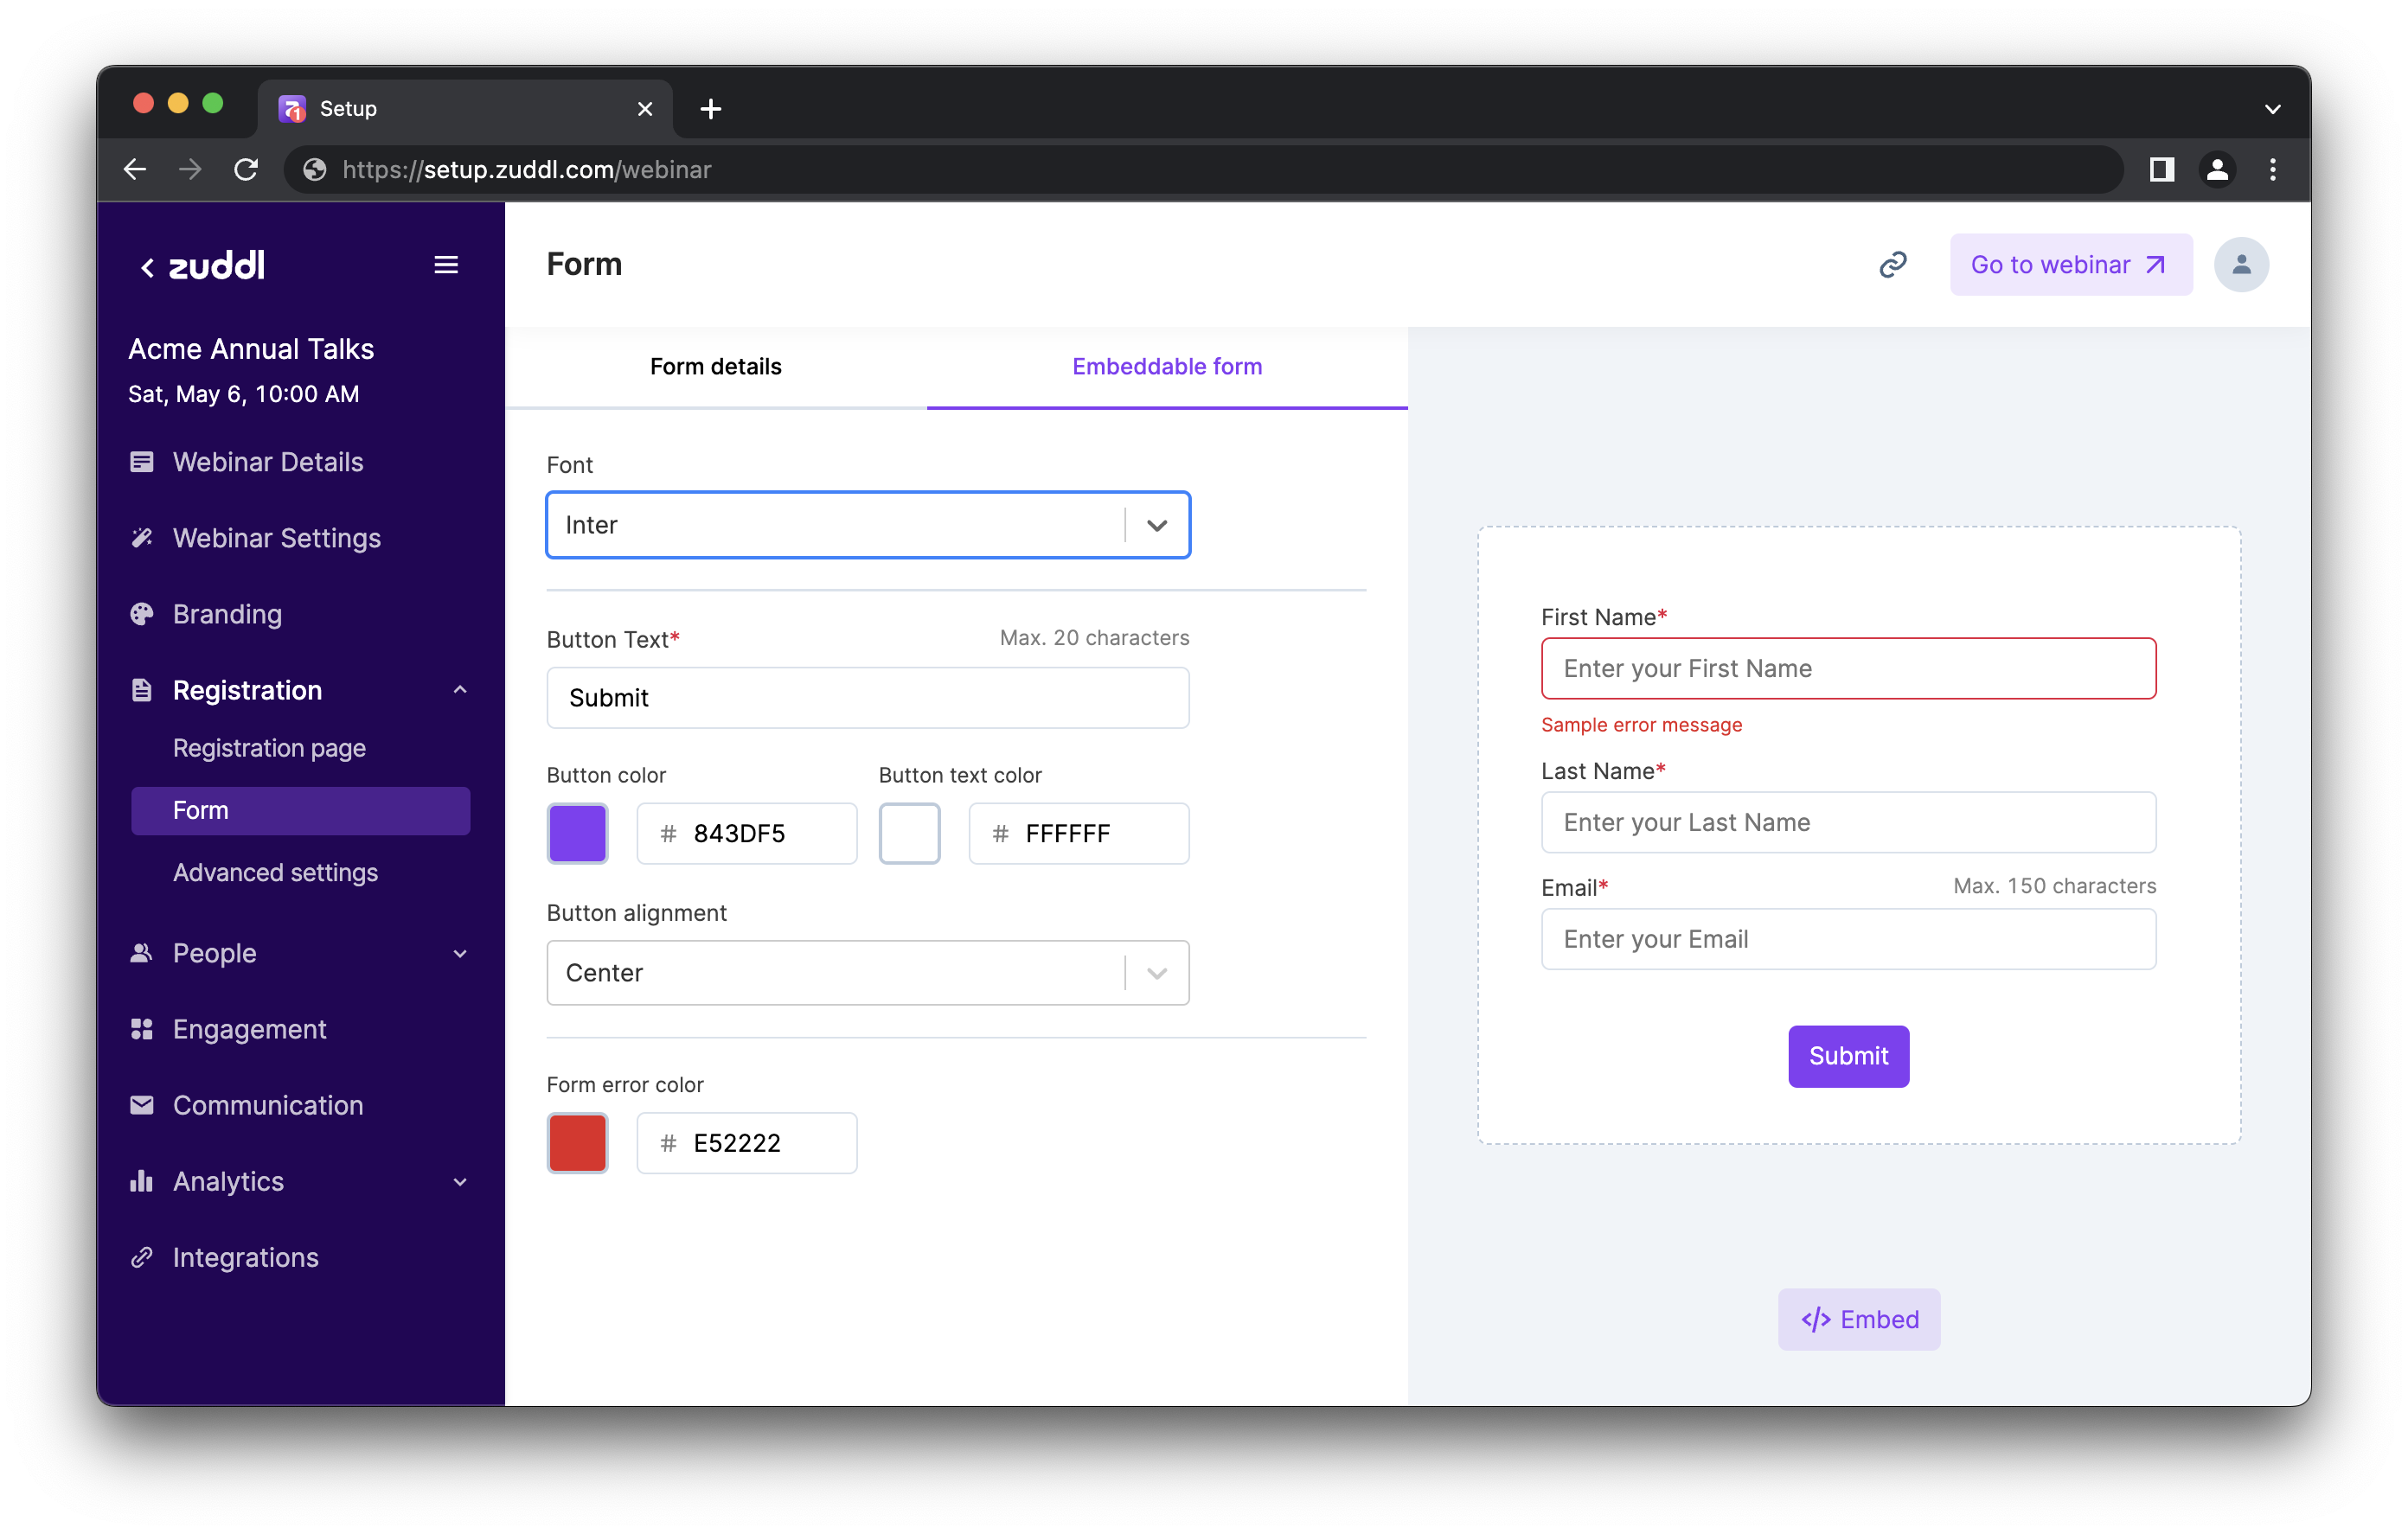
Customize the branding for your form
Choose a font
Select a Font from the available options. The form fields and responses will be displayed in this font.
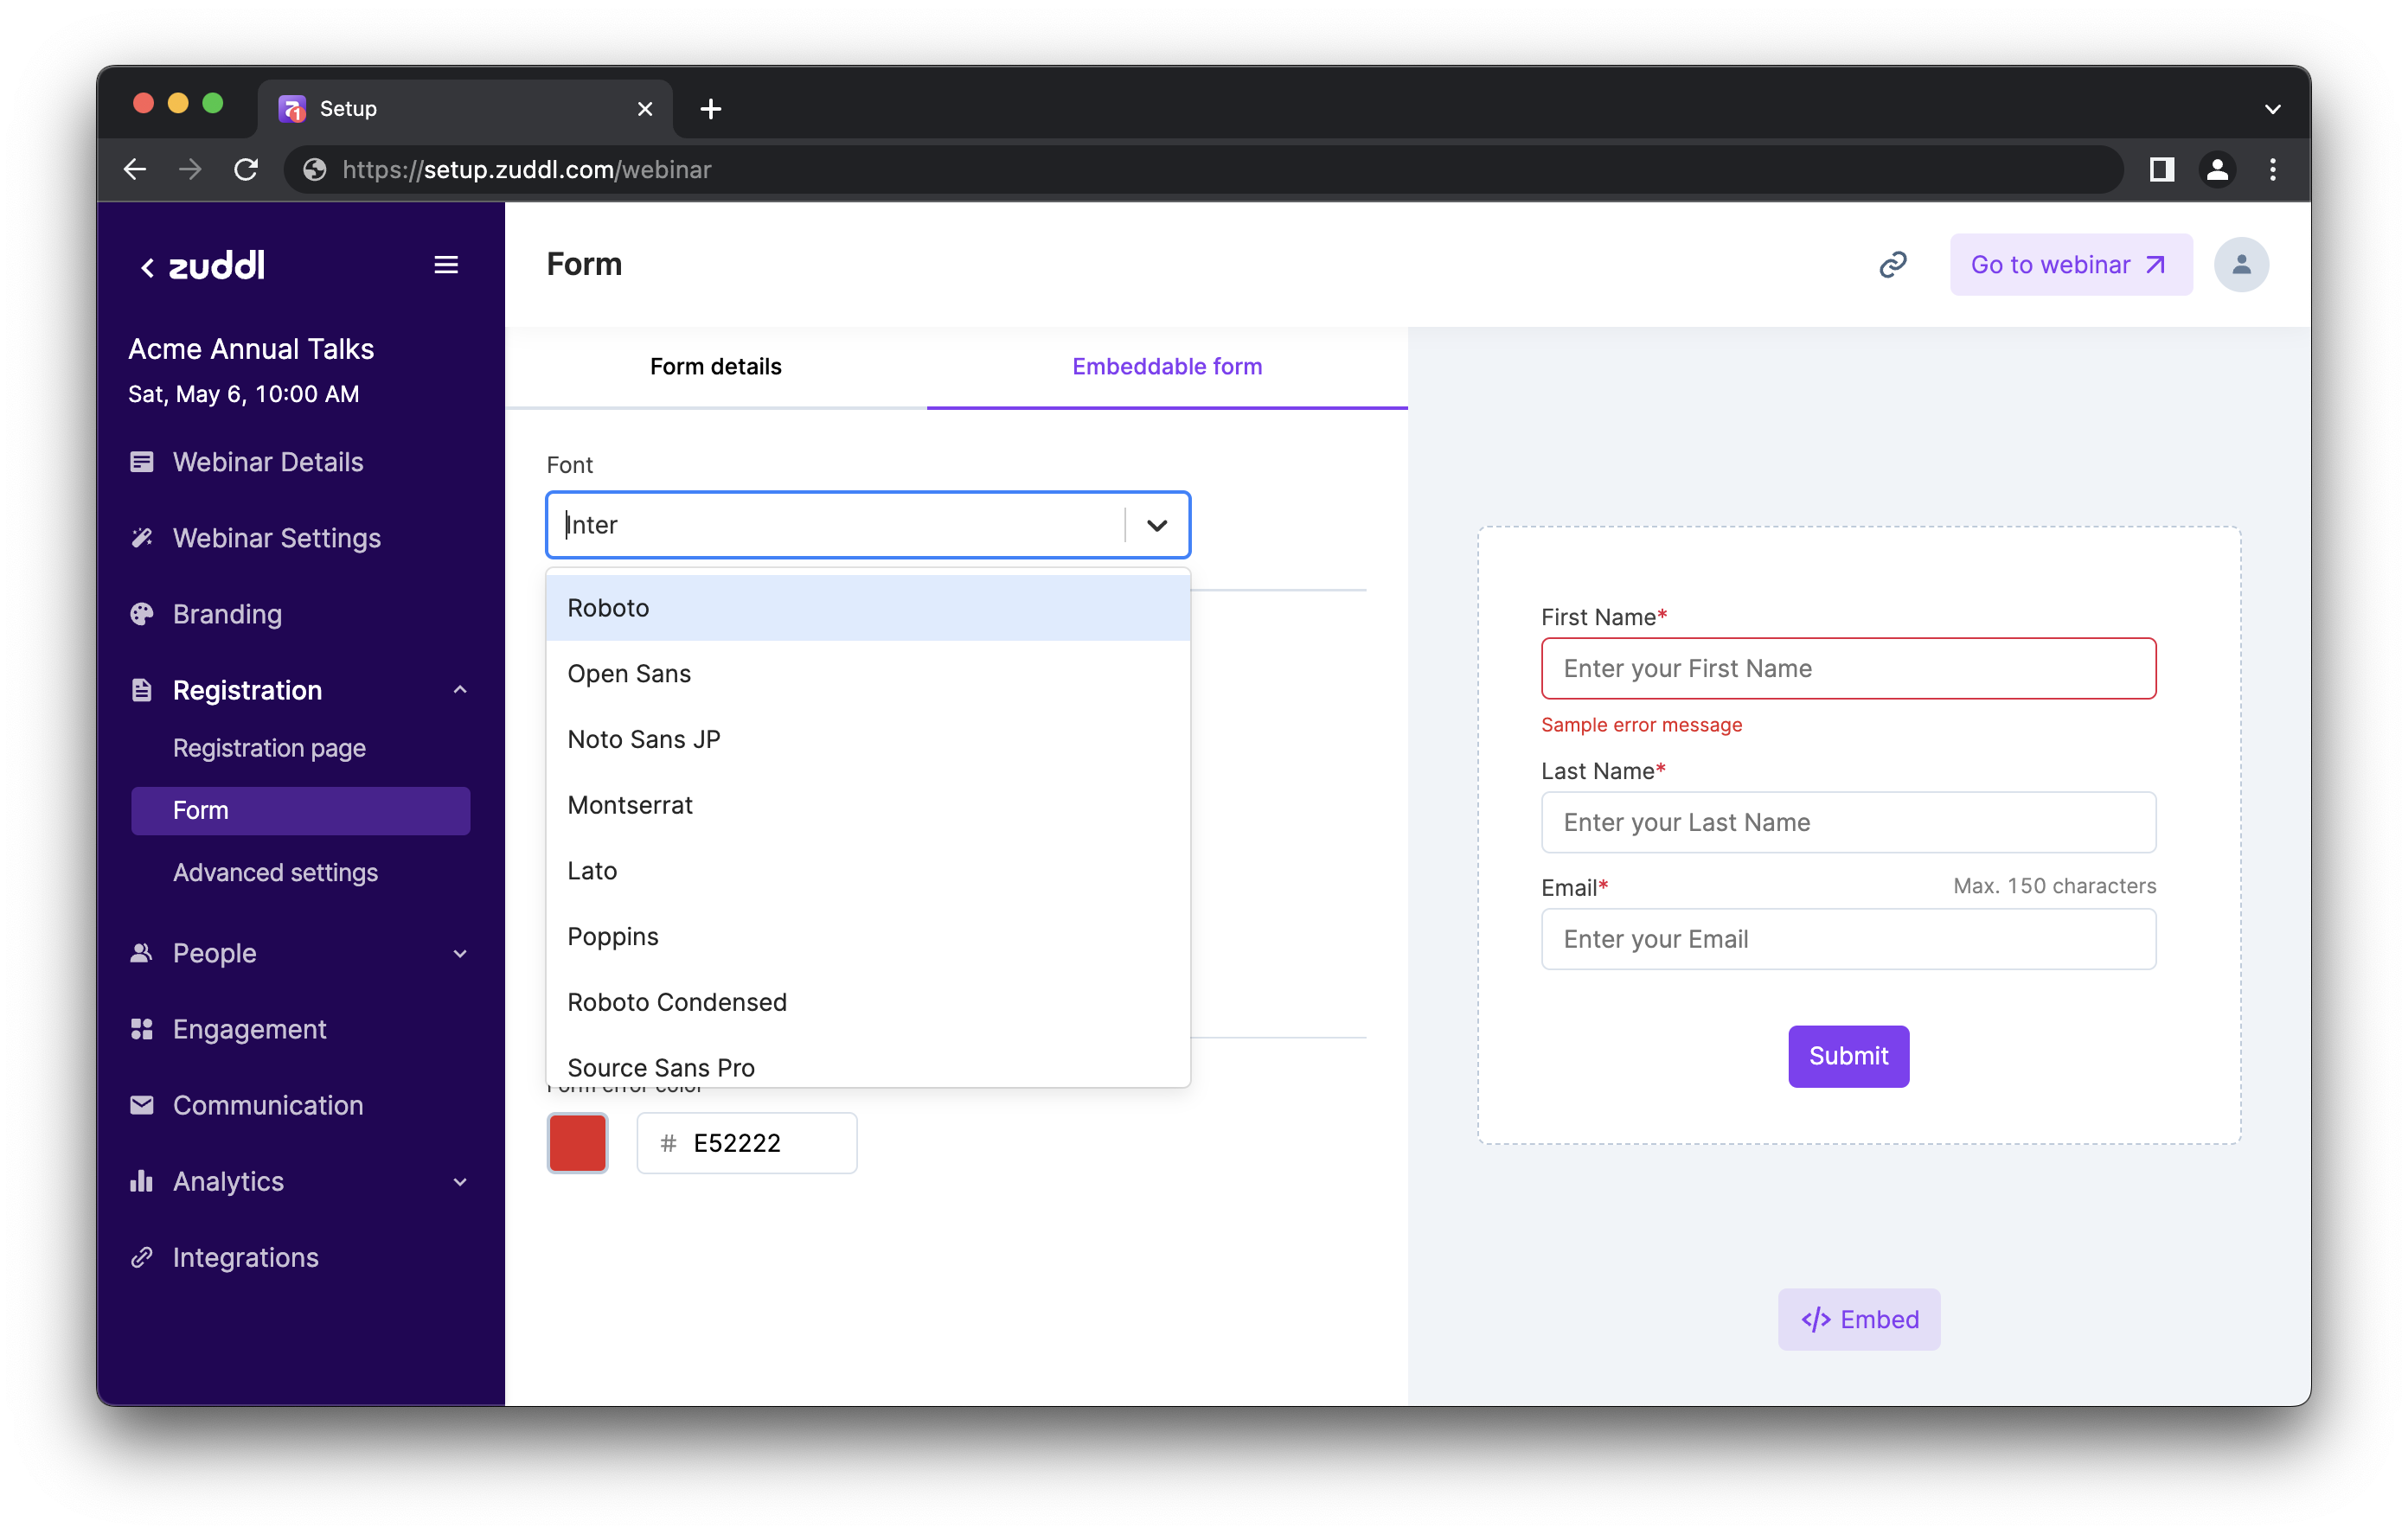
Choose a font for the form
Customize the button
Customize the Button text for the button on the form (up to 20 characters).
"Submit" is the default text used.
This text can be a simple confirmation like “Register” or “Save” or something more personal to your event or brand.
Choose the Button color and the Button text color by entering the color hex-code or using the color picker.

Choose a color using the color picker
Choose the Button alignment from the available options: Left, Right, Center, or Full-width.
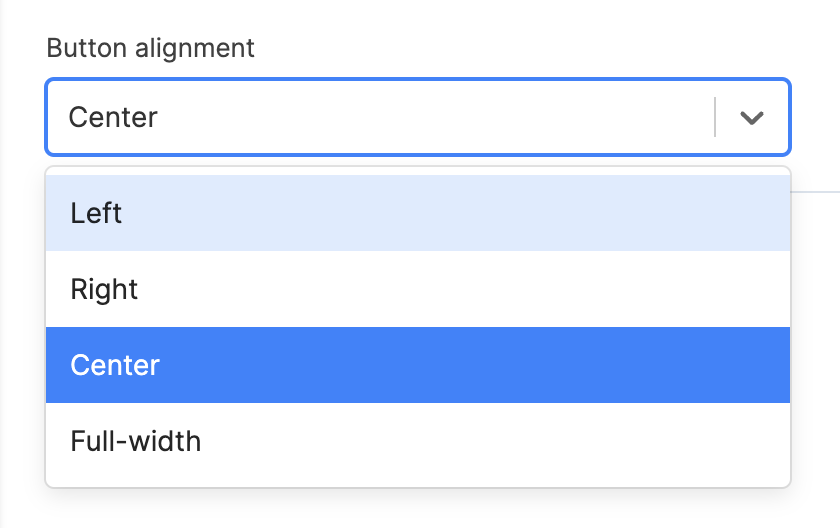
Button alignment options
Choose the Form error color by entering the color hex-code or using the color picker. All error messages in the form will be shown in this color.
You can preview the changes you make in real time using the preview pane on the right.

Form preview