Zoom <> Zuddl: Setup and Testing Walkthrough
Last updated: June 18, 2026
This guide walks you through testing the Zoom Webinar Embed feature end-to-end. The goal is simple: let organizers run their live webinars/ meetings on Zoom, while keeping registration, branding, communications, and analytics inside Zuddl. There are two ways to set this up — pick the one you want to test, or test both.
Two setup modes
1. Create new (Recommended): Zuddl creates a fresh Zoom webinar for you. Full sync: attendees, panelists, recordings, analytics. Attendees can watch embedded inside Zuddl. Requires a connected Zoom account.
2. Quick setup (Paste ID): Link an existing Zoom meeting or webinar by pasting its ID. Attendees are redirected to Zoom at join time into the specific webinar or meeting. Registration, branding, comms, and recordings still live in Zuddl.
Before You Begin
Make sure you have the following in place before setting up a Zoom-embedded webinar:
Zuddl organizer access: you must be an admin or organizer on your Zuddl org.
Zoom account with Webinar add-on: a paid Zoom account with the Webinar license. Free/Basic Zoom accounts have a 40-minute session limit and no panelist support.
Zoom OAuth connection: connect Zoom to Zuddl before you start configuring the webinar.
Note:
The Zoom account is connected at the organization level : connect once, reuse across all webinars in your org. You have to connect Zoom before you start configuring the webinar.
How to connect your Zoom account
Go to Organization Settings in Zuddl.
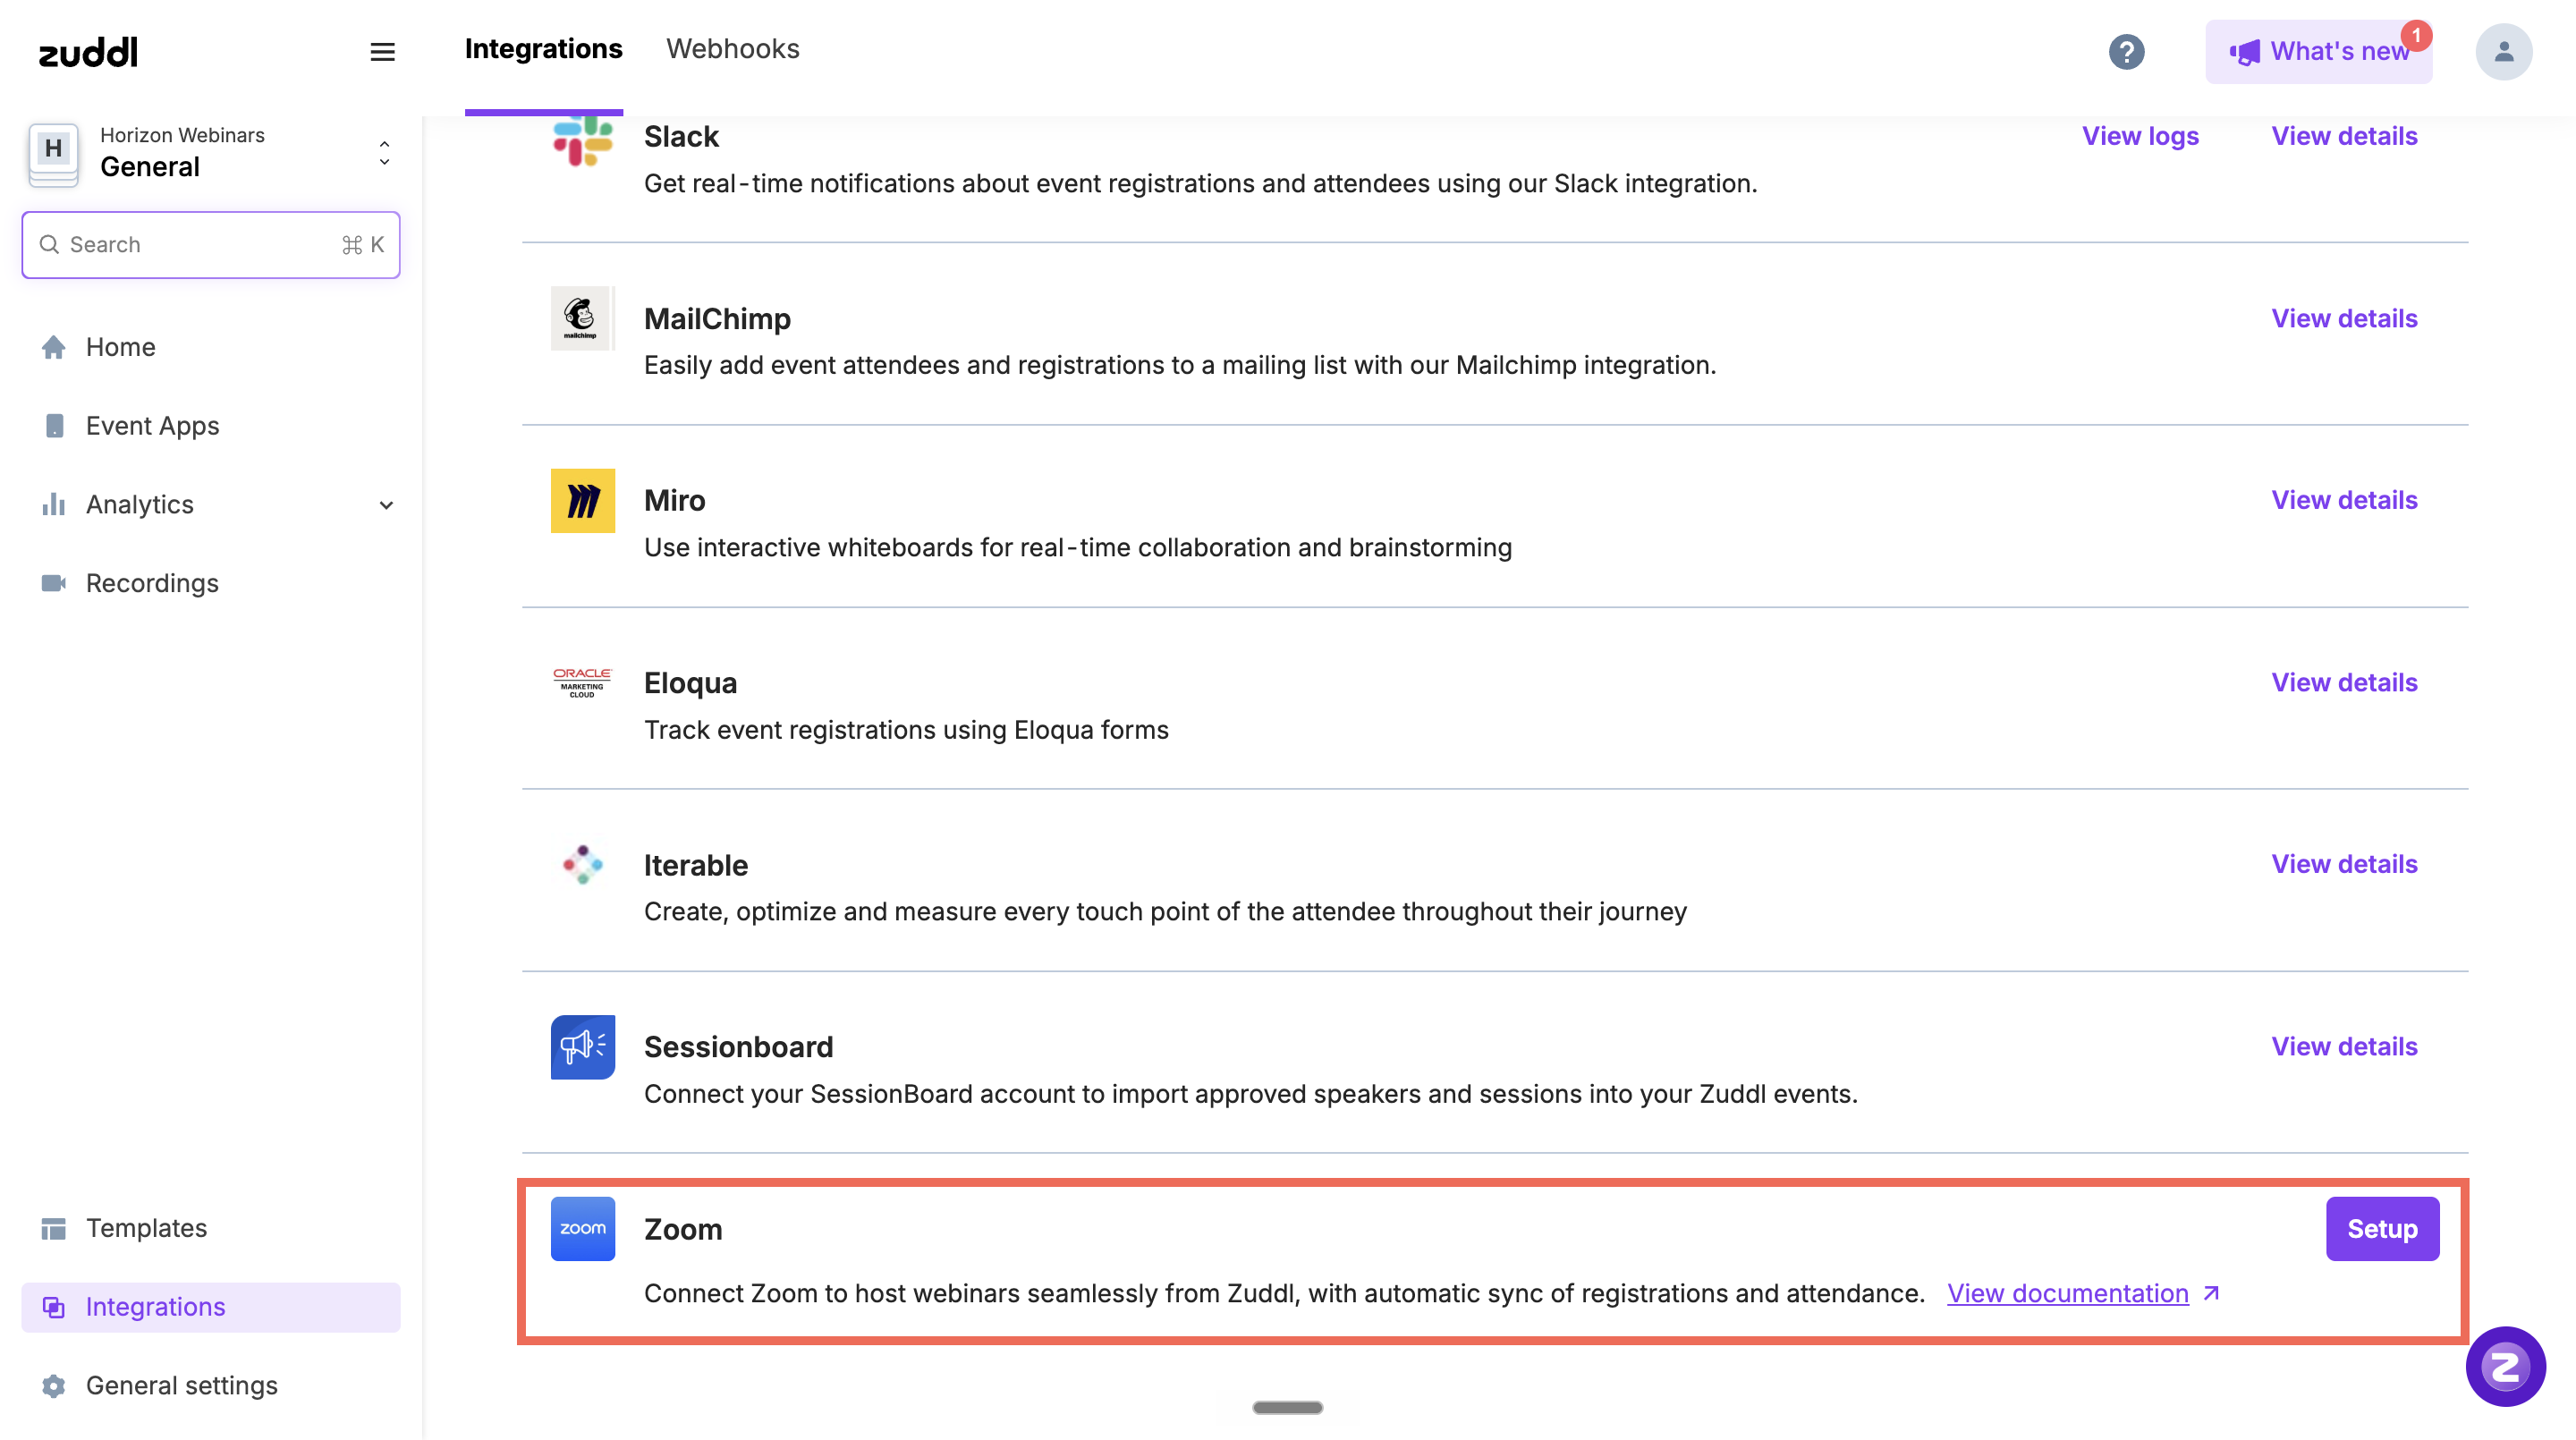
Navigate to Integrations > Zoom.
Click on 'Set Up'.
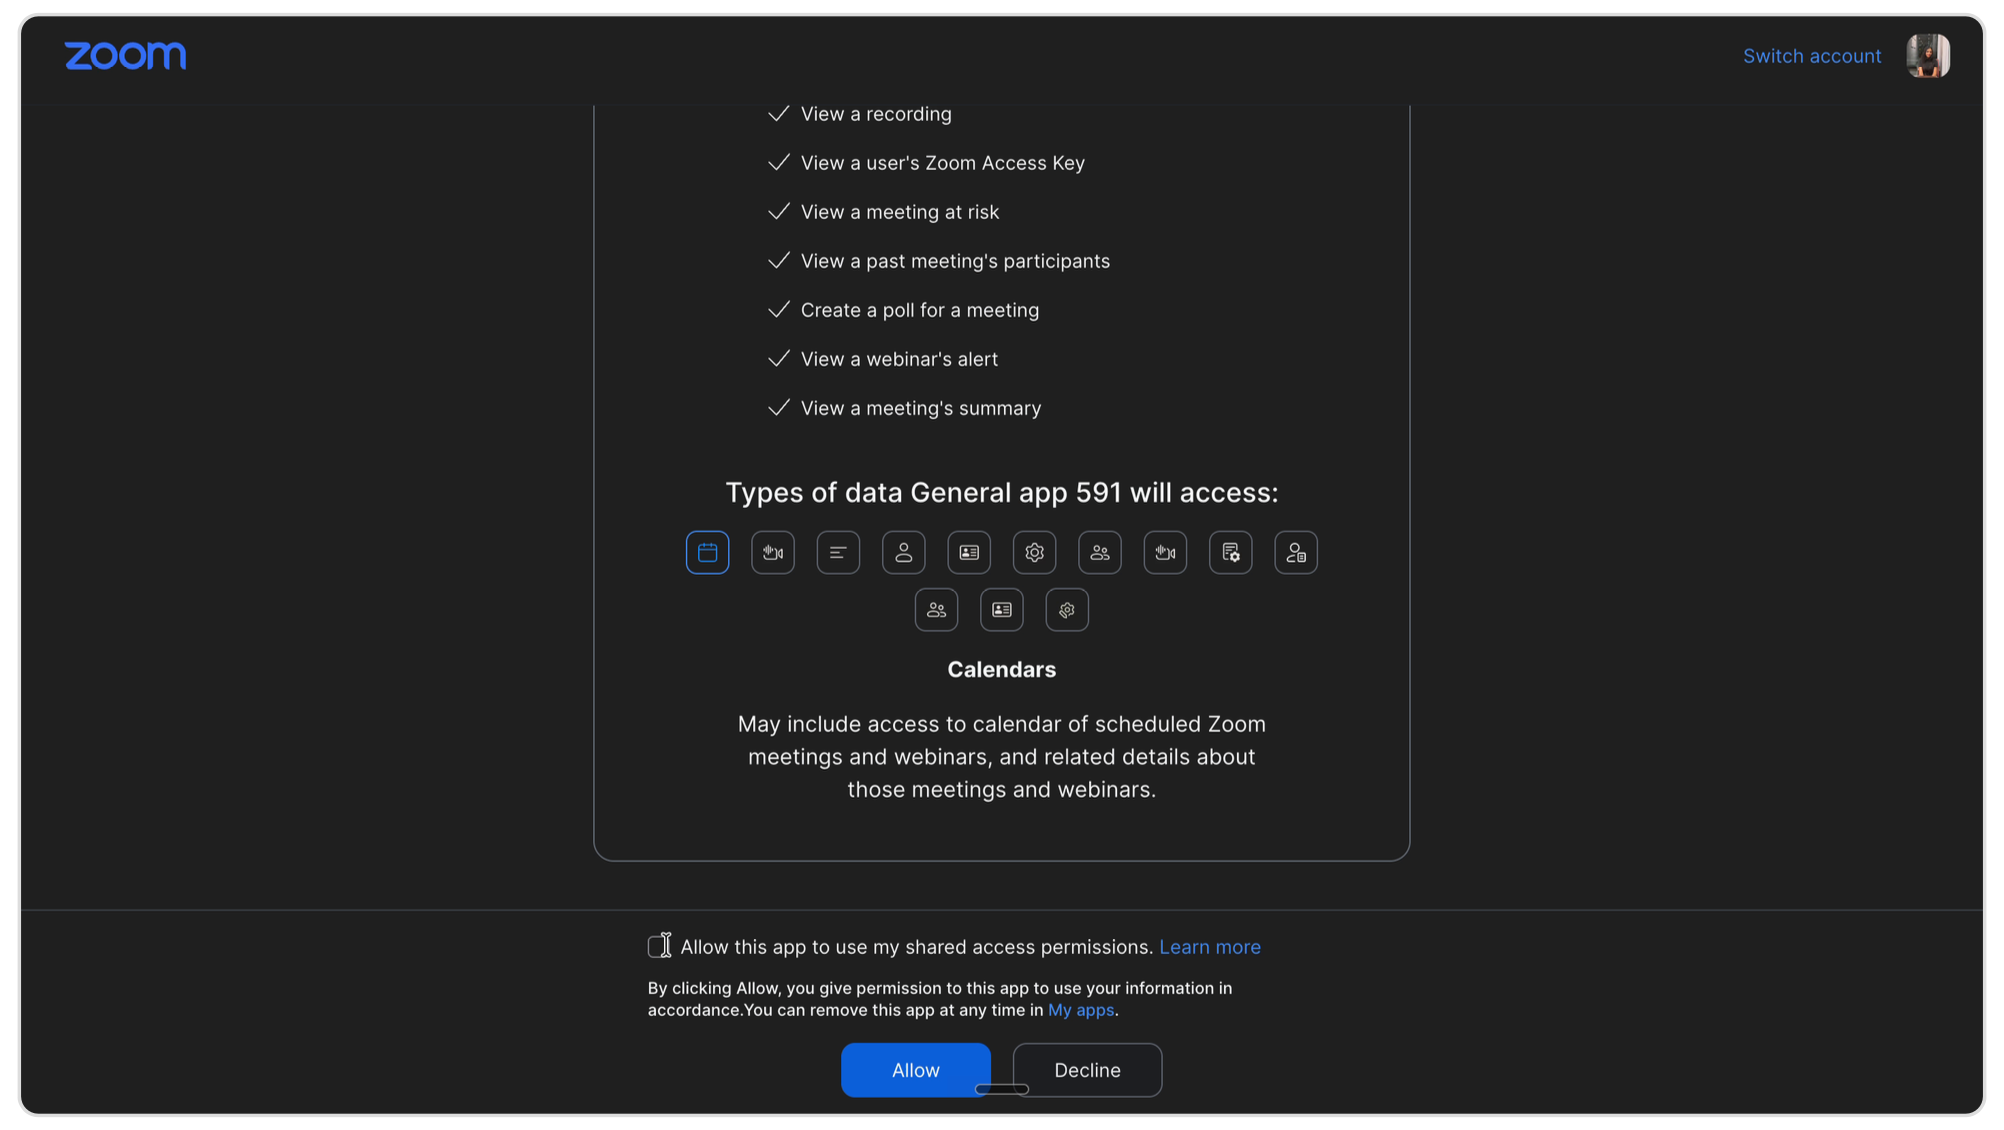
You'll be redirected to Zoom's sign-in and authorization screen. Sign in to the Zoom account you want to connect.
On the consent screen, check 'Allow this app to use my shared access permissions' and click 'Allow' to grant Zuddl access.
Once connected, the Zoom account will appear under your integrations and can be reused across your org.
Connecting Multiple Zoom Accounts to a Single Zuddl Org
Zuddl supports connecting multiple Zoom accounts to the same org. This lets different teams run their webinars on their own Zoom licenses, while registration, branding, communications, and analytics stay in Zuddl. Zoom accounts are connected via OAuth at the organization level, and each account can be reused across every webinar in the org.
Add another Zoom account
Go to Organization Settings > Integrations > Zoom. You'll see a list of all Zoom accounts already connected to your org.
Click + Add account at the top of the list to start a fresh connection.
Complete the same Zoom OAuth flow as the first account: sign in to the Zoom account you want to add, then check 'Allow this app to use my shared access permissions' and click Allow.
On success, you're returned to the integrations list with the newly added account highlighted.

Already connected? If you try to add a Zoom account that's already connected to this org, Zuddl shows "This Zoom account is already connected to your Zuddl org." and won't create a duplicate. (The same Zoom account can, however, be connected to different Zuddl orgs.)
See and manage connected accounts
The Zoom integrations page lists every connected account. Each row shows:
Account label — the Zoom account email.
Connection status — Active, Token expired, or Deleted.
Use Delete on a row to remove an account when a team no longer needs it.

Pick a Zoom account when creating a webinar
When you choose Create a new Zoom webinar, the Select Zoom account field on the webinar setup form adapts to how many accounts are connected:
0 accounts connected: you can't proceed. The field shows an empty state with a CTA to connect a Zoom account in Org Settings.
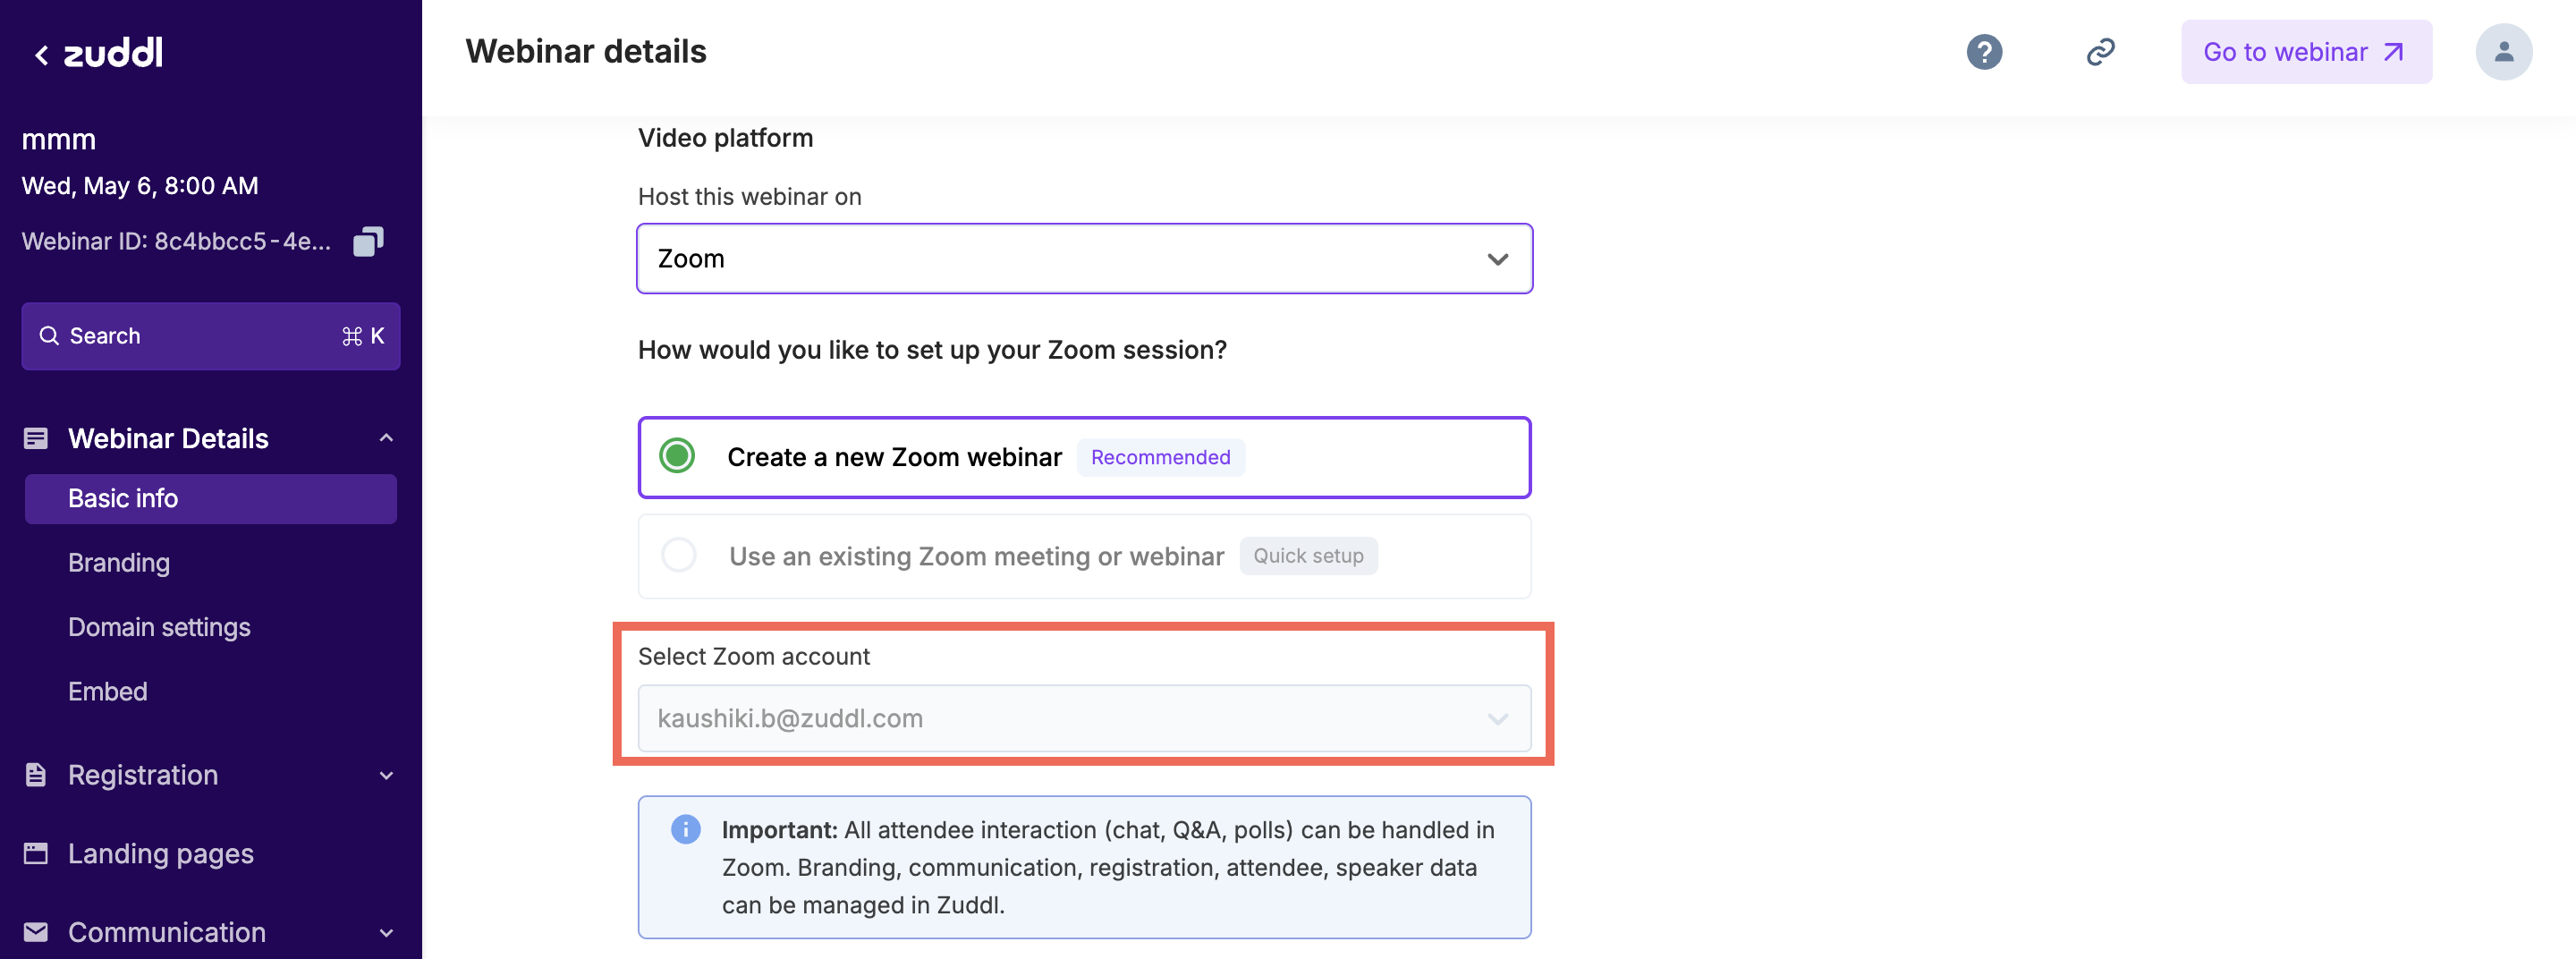
1 account connected: it's auto-selected. The field shows the account email and is read-only — nothing to pick.
2 or more connected: the field becomes a dropdown of all connected accounts (active and expired). There's no default — you must pick one before saving.

The account is locked to the webinar after creation. Once you create the webinar with a chosen Zoom account, that link can't be changed — the Select Zoom account dropdown is read-only on every later edit ("The linked Zoom account can't be changed after a webinar is created."). If the linked account's token expires, reconnect the same account (same email) to restore sync.
If a linked Zoom account expires or is deleted
What happens depends on when the account goes bad and whether it's expired (token failed but the account still exists — recoverable by reconnecting the same account) or deleted (removed from Zoom, or deleted from Zuddl by an admin). A deleted account can't be reconnected — it has to be added back from scratch via + Add account, and because the account-to-webinar link is locked after creation, any webinar that was tied to it must be recreated.
1. At the time of webinar creation
Expired: a Reconnect account box appears on the creation form (like the first-time set-up box). Reconnect in place to restore sync.


Deleted: the account simply doesn't appear in the account picker.
2. After the webinar has ended
An informational banner shows on the webinar's setup page — "The Zoom account linked to this webinar has expired" or "…has been deleted". No action is offered, since the webinar is already in the past.


3. For an upcoming webinar that was active when created
Expired: the setup page shows an error with a Reconnect account CTA. The dropdown stays locked, showing the linked account's email with a "Token expired" pill. Reconnecting the same account before the webinar starts restores sync.

Deleted: a confirmation modal on Org Settings > Integrations > Zoom spells out the impact, and an info banner shows on each affected upcoming webinar. Because the linked account can't be swapped after creation, the only fix is to recreate the webinar with an active Zoom account.


Deleting an account is non-destructive. It does not delete the Zoom webinars created through that account (they keep running in Zoom), and it doesn't delete the linked Zuddl webinars. Zuddl simply loses the ability to sync attendees, panelists, and recordings for those webinars until the account is added back. If an account is linked to upcoming webinars, Zuddl shows a confirmation modal listing them before you delete it.
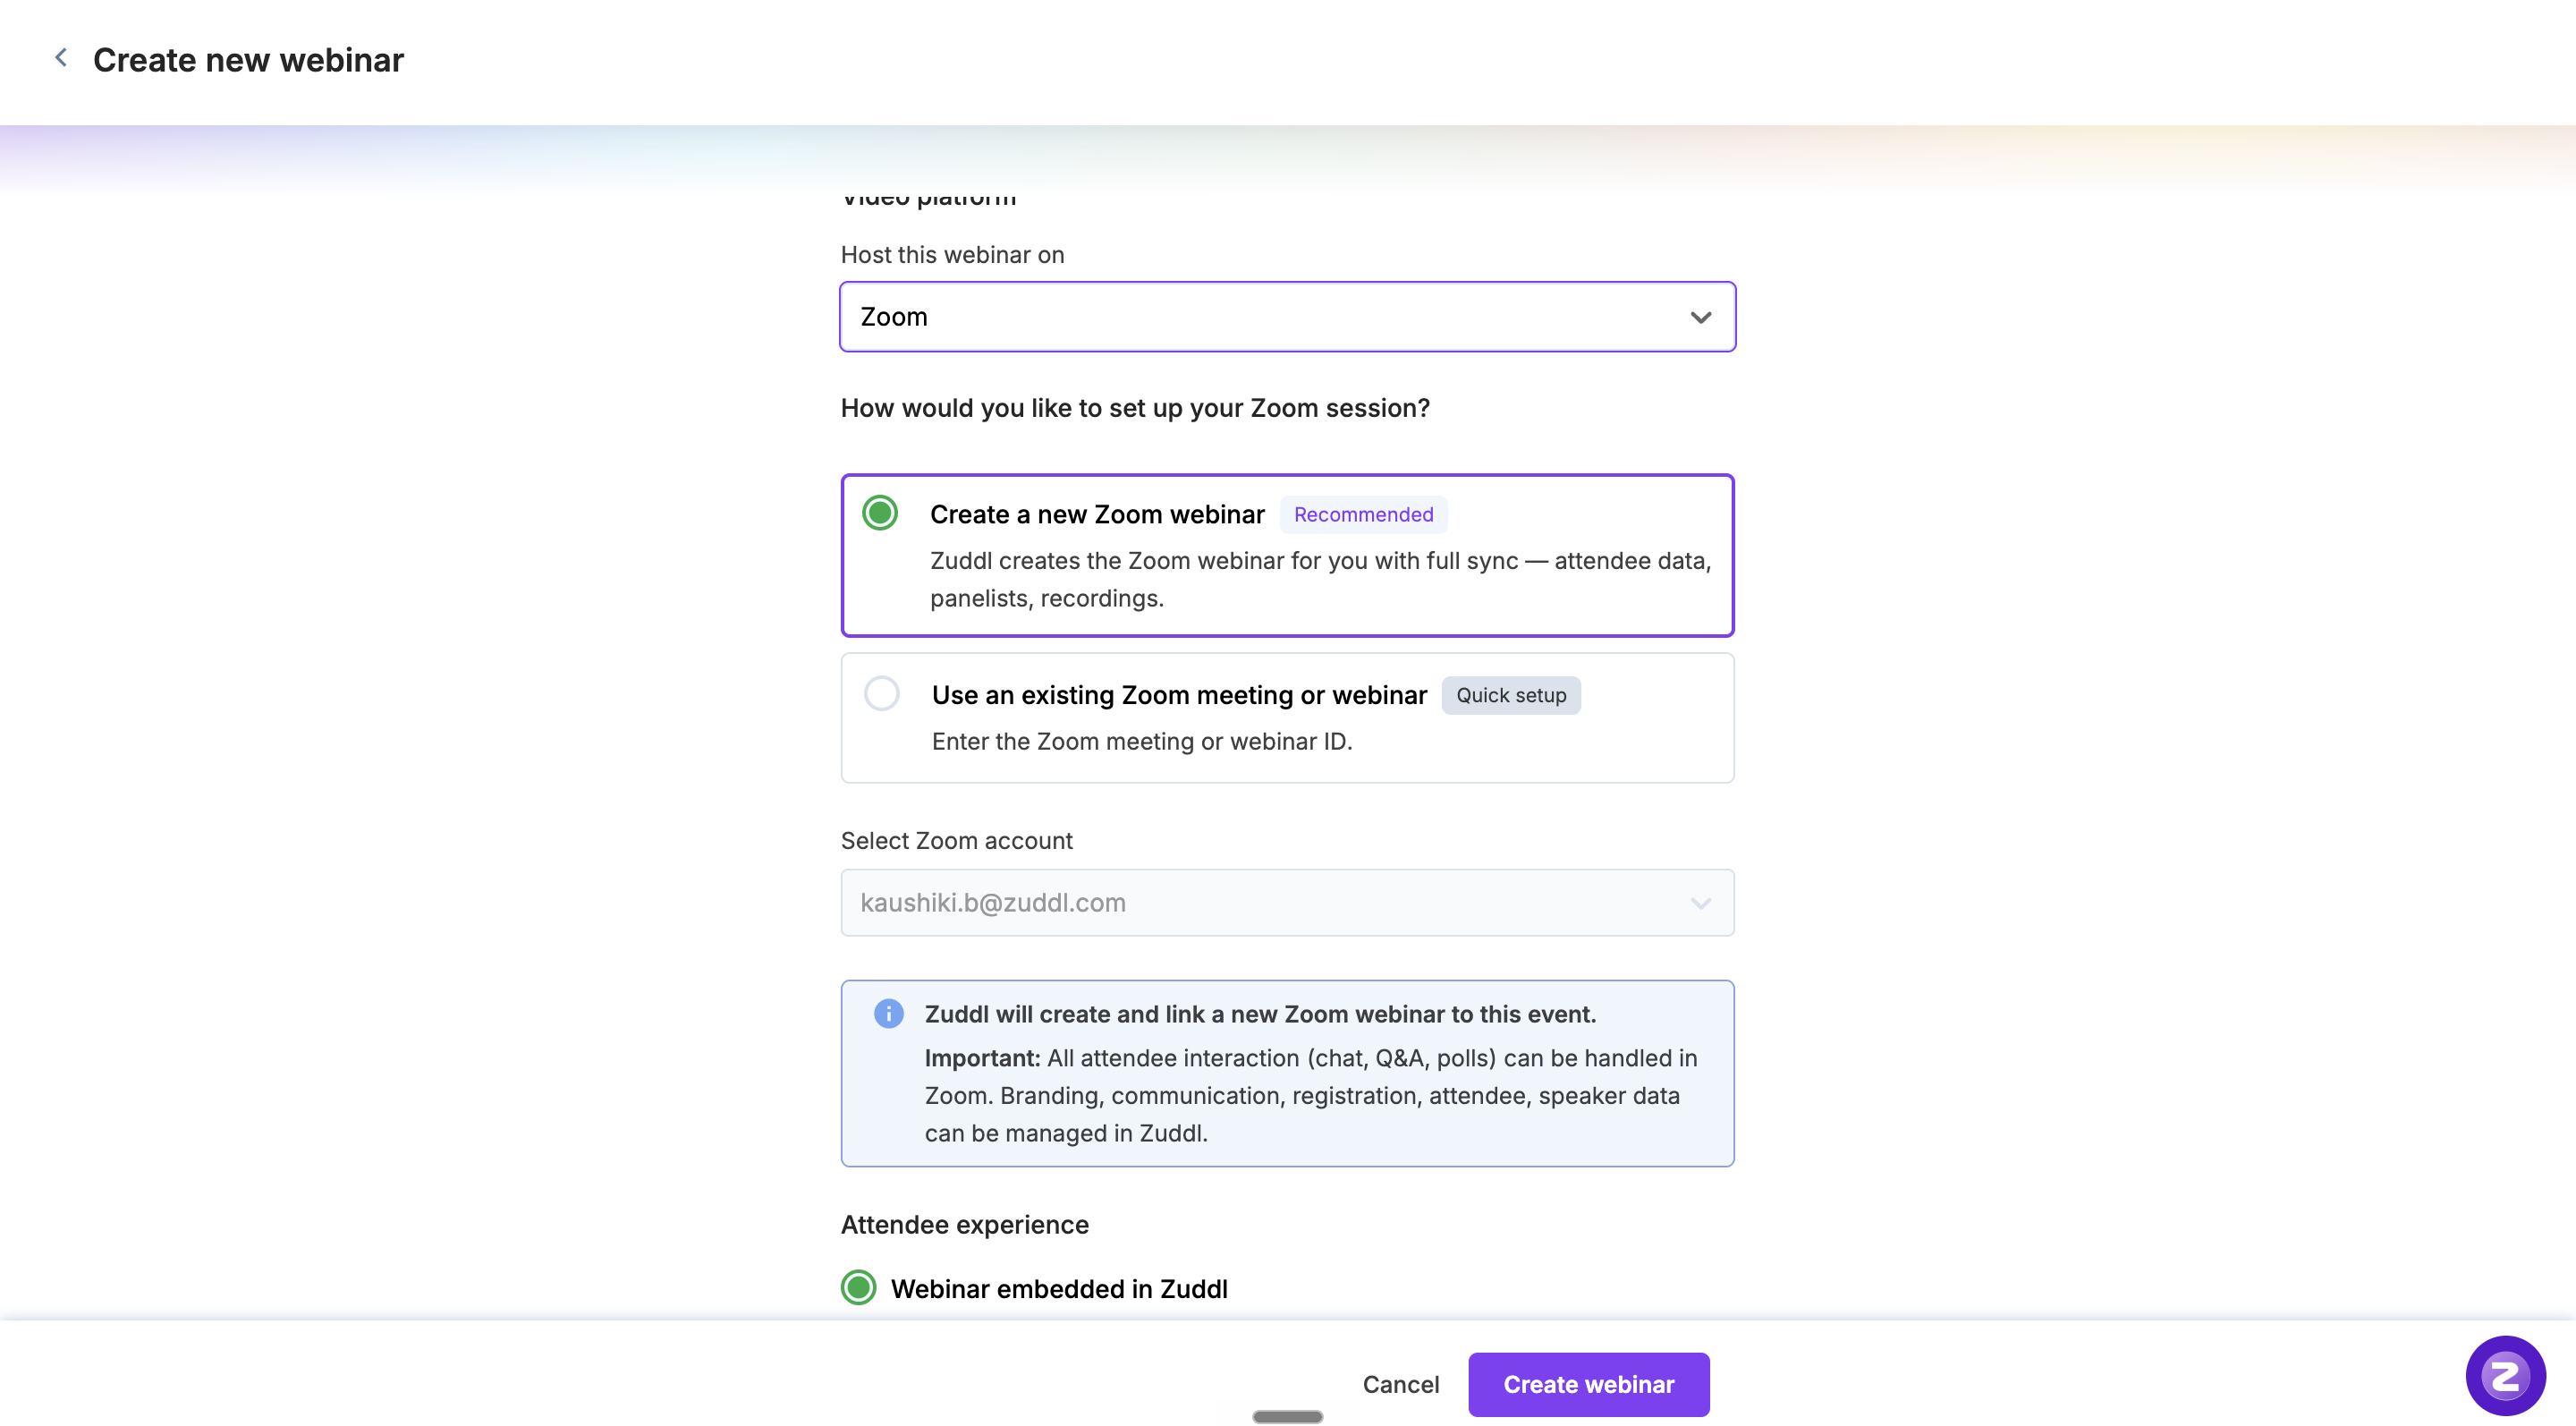
Step 1 · Create a Webinar and Pick Your Setup Mode
From your Zuddl dashboard, click Create Webinar.
Enter basic details: Name, Date, Time.
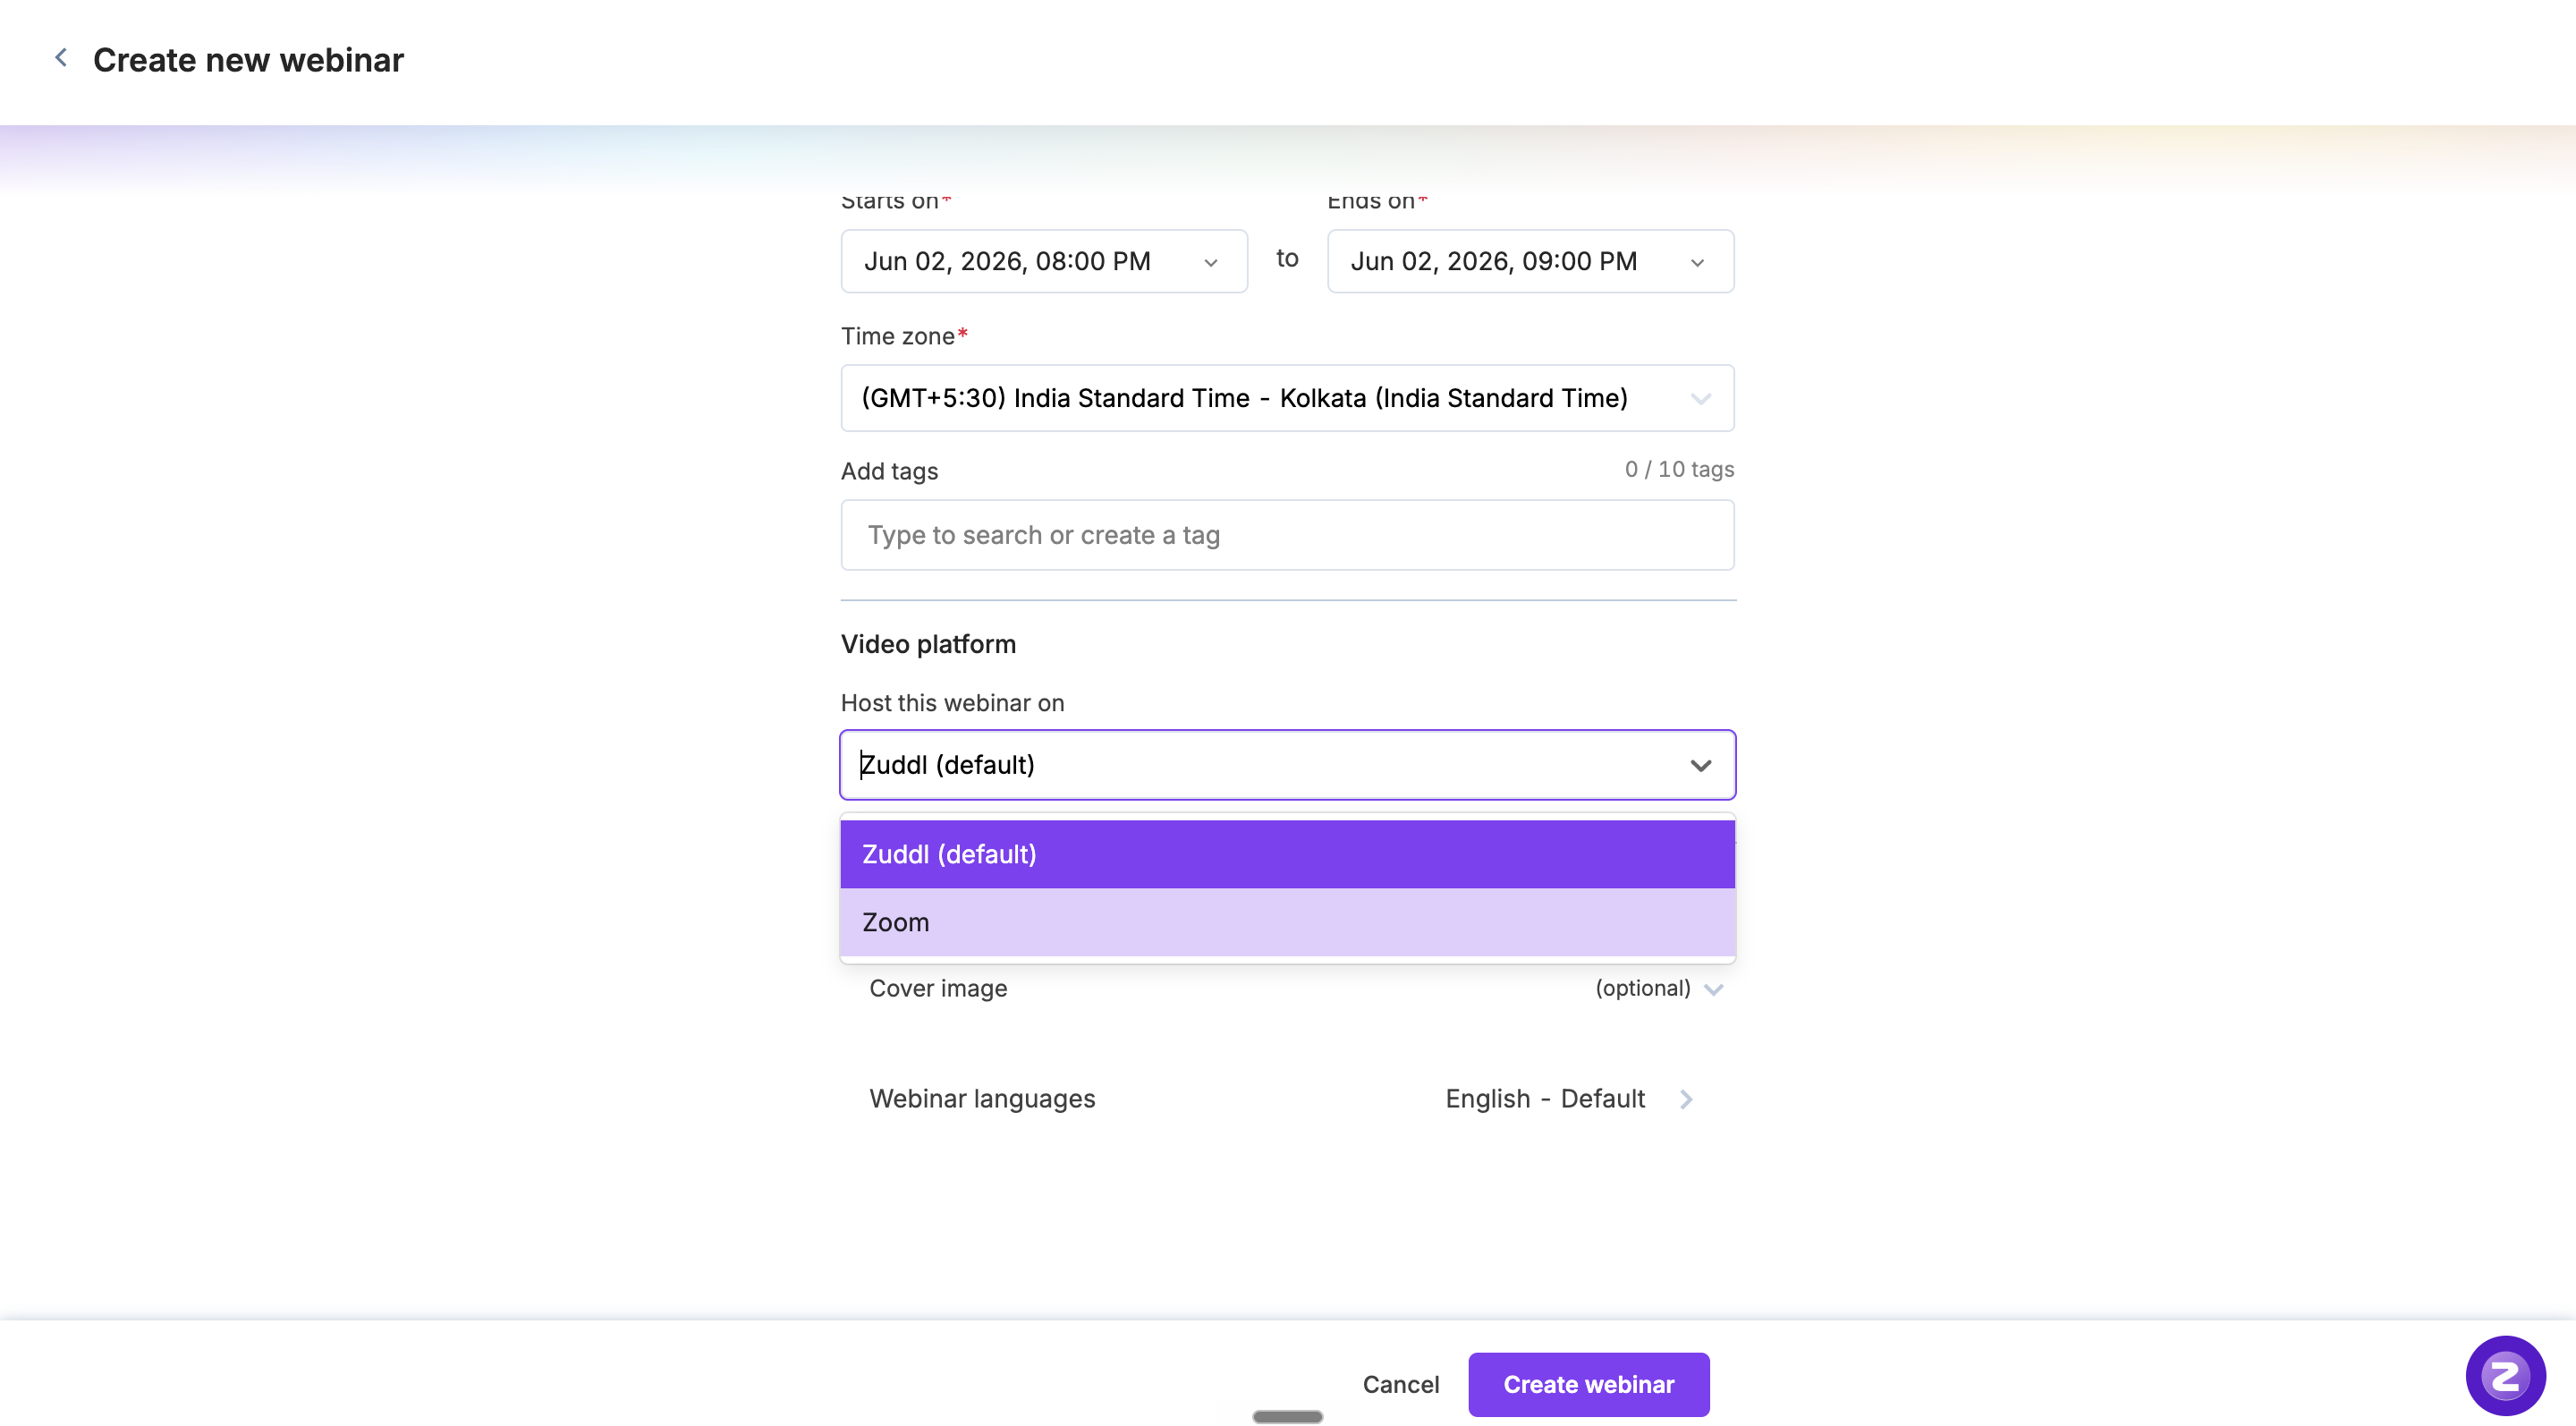
Under Video Platform, select Zoom as the hosting platform.
Choose your setup mode:
Create a new Zoom webinar (Recommended): Zuddl creates the Zoom session for you with full sync - attendee data, panelists, recordings, embedded experience. Requires a connected Zoom account.
Use an existing Zoom meeting or webinar (Quick setup): Paste your Zoom meeting/ webinar ID. Attendees are redirected to Zoom at join time.
The next sub-step depends on which mode you picked. Pick the path that applies and skip the other.
Step 1A · Path 1: Create a new Zoom webinar
Zuddl auto-creates the Zoom webinar in your connected Zoom account based on your Zuddl webinar details (name, date, time).

Clicking View in Zoom opens the newly created webinar directly in your Zoom dashboard.


A direct Zoom link is also provided, which can be shared with attendees who are having trouble joining.
When the organiser selects "Create a new Zoom webinar," they also choose how attendees experience the live session:
Webinar embedded in Zuddl : the live Zoom webinar is rendered inside Zuddl as an embedded view, so attendees watch without leaving the Zuddl interface.

Direct Zoom link : attendees are routed straight into the Zoom webinar (via the Zoom app or browser) when the session starts.


Step 1B · Path 2: Quick setup with an existing Zoom meeting or webinar
Choose what you're linking: Zoom meeting or Zoom webinar (radio button).

Enter the Zoom meeting or webinar ID (10-11 digits). You can find this in the Zoom invite (e.g., 934 9737 0705) or under "Meetings" / "Webinars" in your Zoom account.


Zuddl validates the ID format. If invalid, you'll see an inline error: "IDs should be 10-11 digits."

Zuddl also validates the type. If the organiser selects "Zoom meeting" but pastes a webinar ID (or selects "Zoom webinar" but pastes a meeting ID), Zuddl shows an error and blocks the organiser from proceeding until the type and the ID match.

Reconciling details with Zoom: If the linked Zoom session's date or time differs from Zuddl's, Zuddl updates only those two fields to match Zoom. Other fields (name, description, etc.) are left as-entered and stay editable, so the organiser can update them manually if needed.
Quick setup constraints to know before testing:
Attendee experience is locked to Direct Zoom link.
The embedded experience is disabled because Zoom embed requires a fully Zuddl-created webinar.
Step 2 · Choose the Attendee Experience
How attendees access the live webinar depends on the mode you picked in Step 1:
Create new mode - two choices:
Webinar embedded in Zuddl (Recommended): Zoom plays inside Zuddl's branded interface. Attendees never leave Zuddl. Zoom-native chat, Q&A, and reactions work inside the embed.
Quick setup mode: locked to Direct Zoom link. The embed option is disabled with the message "Not available when linking an existing Zoom session."
Step 3 · Configure Registration
Registration is managed entirely in Zuddl in both modes.
Go to the Registration tab in your webinar setup.
Customize the registration form fields as needed.
Publish your landing page.
Behind the scenes
Create new mode: when an attendee registers on Zuddl, they are auto-synced to Zoom as a registrant.
Quick setup mode: Zuddl owns registration entirely. Attendees join via the Direct Zoom link at event time.
Zuddl is the single source of truth for registration data in both modes.
Note:
Before linking an existing Zoom meeting to Zuddl, make sure "Registration" is turned on for that meeting in your Zoom settings. Without it, Zuddl can't push your registrants to Zoom, so attendees won't get personalized join links, they'll all share the generic Zoom URL.

Step 4 · Set Up Landing Pages and Branding
All branding is owned by Zuddl in both modes. In Create new mode, Zoom's UI branding is also hidden inside the embed for consistency. In Quick setup mode, once the attendee is redirected to Zoom, the Zoom UI takes over, Zuddl branding is only on the landing page and emails.
Navigate to the Branding section of your webinar.
Customize the landing page with brand colors, logos, and imagery.
Preview the attendee-facing landing page.
Step 5 · Configure Communications (Emails and Reminders)
All email communications are sent from Zuddl in both modes. Zoom's automated emails are turned off to prevent duplicates to your attendees.
Go to the Communications tab.
Set up your confirmation email, reminder emails, and follow-up emails.
Confirmation emails will include a Zuddl magic link as the primary join link.
Calendar invites include both the Zuddl magic link (primary) and a direct Zoom link (fallback).

Step 6 · Add Speakers / Panelists

Go to People > Speakers and click Add Speaker to add speakers/ panelists directly in Zuddl.
The speakers who are added to Zuddl will get auto-synced to Zoom.
Step 7 · Add attendees on Zuddl

Go to People > Attendees and click Add Attendee to add attendees directly in Zuddl.
These attendees will receive a Zuddl email with the join link inserted.
The attendees who are added to Zuddl will get auto-synced to Zoom.
Step 8 · Go Live
On event day:
Start the webinar/ meeting from Zoom.
Create new mode: the embedded Zoom interface loads automatically inside Zuddl.
Quick setup mode: attendees are redirected to the linked Zoom session via the join URL at start time.
What attendees see (Create new + embed)
Pre-event: Zuddl landing page with countdown.
At start time: the embed loads automatically, no page refresh required.
During the session: Zoom-native Chat, Q&A, Reactions, and Captions inside the embed.
What attendees see (Quick setup or Direct Zoom)
Pre-event: Zuddl landing page with countdown.
At start time: redirected to Zoom (app or browser, depending on their device).
During the session: full native Zoom experience.