Integrating Vimeo with Zuddl to auto-sync session recordings
Last updated: July 29, 2026
What This Does
The Vimeo integration automatically syncs your Zuddl session recordings into your Vimeo account, uploading each recording into a Vimeo folder that you choose for the event. Recordings are uploaded with the stage background, exactly as they appear in Zuddl.
Setting this up takes two parts:
Install the Vimeo app at the organization level (done once).
Enable event-level integration for each event whose recordings you want synced.
Warning: Only sessions recorded after the integration is set up are synced to Vimeo. Existing recordings are not backfilled.
Before You Begin
You need organizer access to the Zuddl dashboard with permission to manage Integrations.
You need a Vimeo account that can create an app at developer.vimeo.com.
Your Vimeo app must have Upload Access approved — it is not enabled by default, and the integration cannot upload recordings without it.
You need a Vimeo folder (project) already created for the event before you enable event-level integration.
Your Vimeo plan must have enough storage available for the recordings you expect to sync.
Steps
Part 1 — Generate your Vimeo Personal Access Token
The Zuddl app authenticates using a Vimeo Personal Access Token. The token must be an Authenticated token and carry the scopes Zuddl needs to create and upload recordings on your behalf.
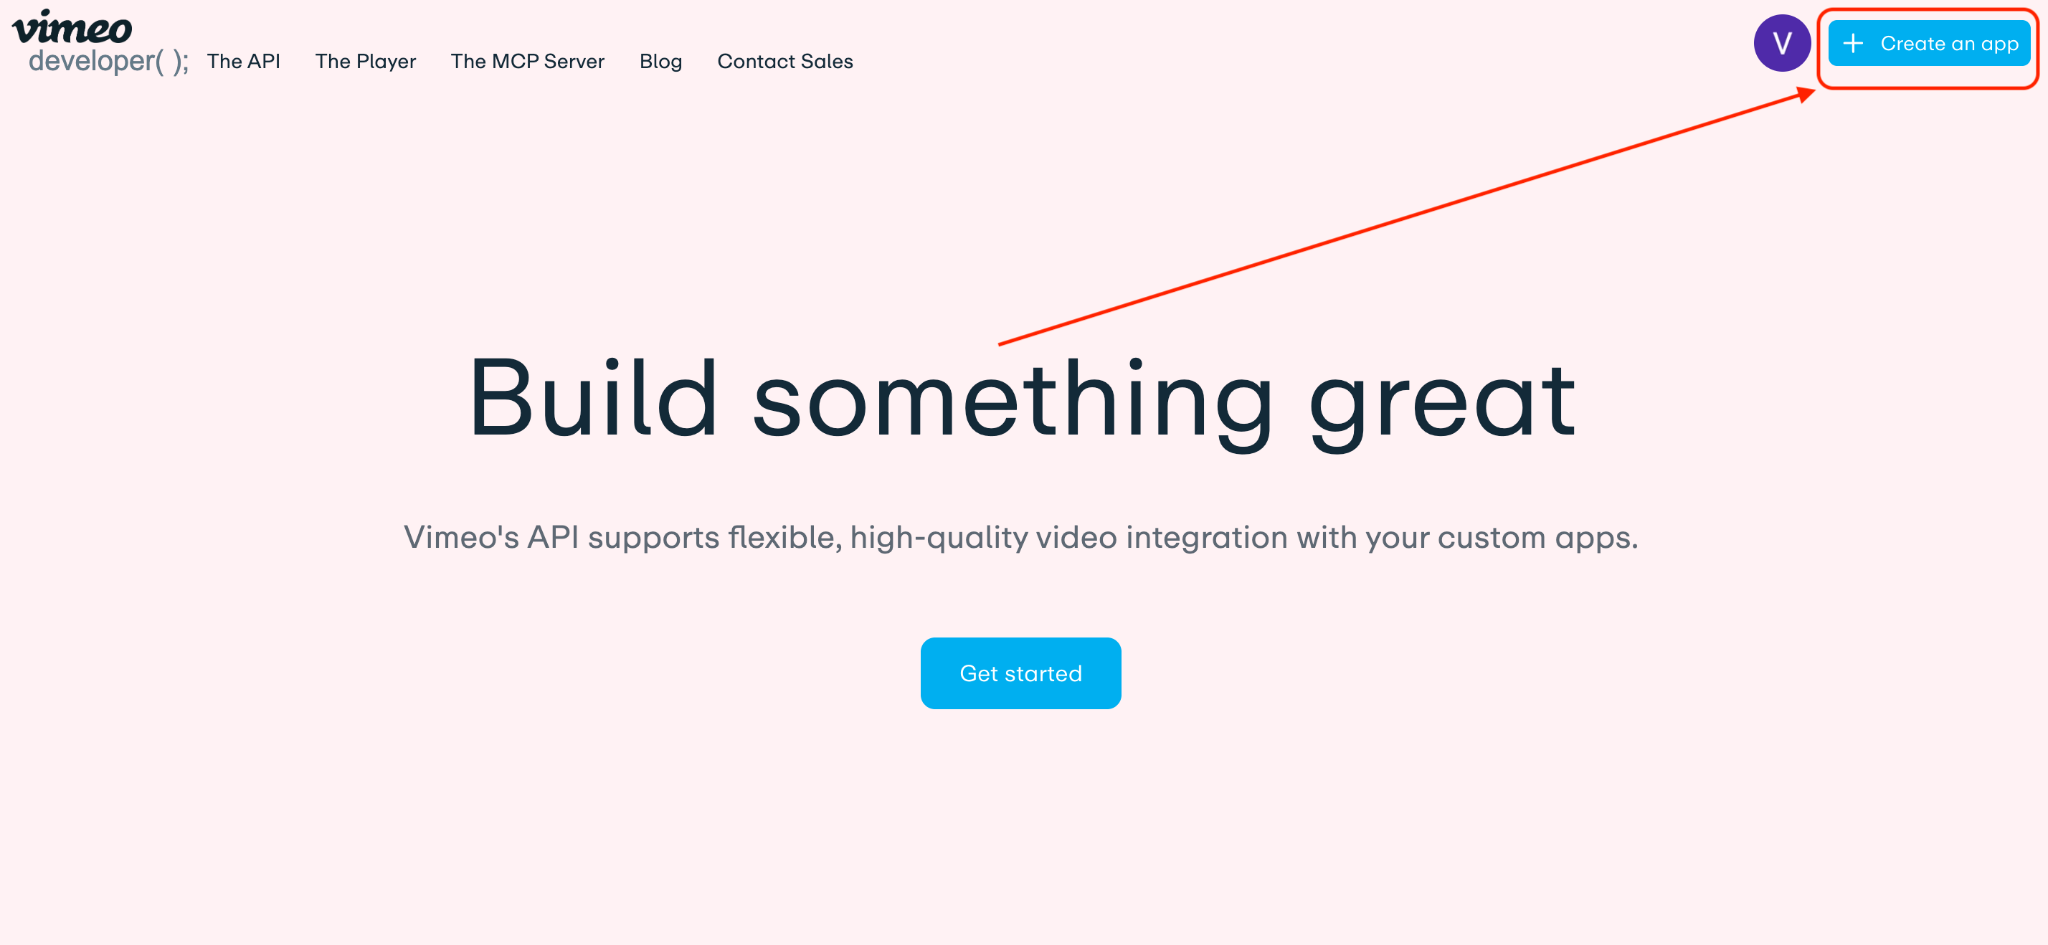
Log in to Vimeo and go to developer.vimeo.com > My Apps.
Click Create an app to create a new app, or open an existing one.
On the app's General information page, request Upload Access for the app.
Note: Approval of upload access can take a short while on Vimeo's side. Complete this step before generating the token.
In the left menu of the app page, go to Authentication > Generate Access Token and scroll to the Personal Access Tokens section.
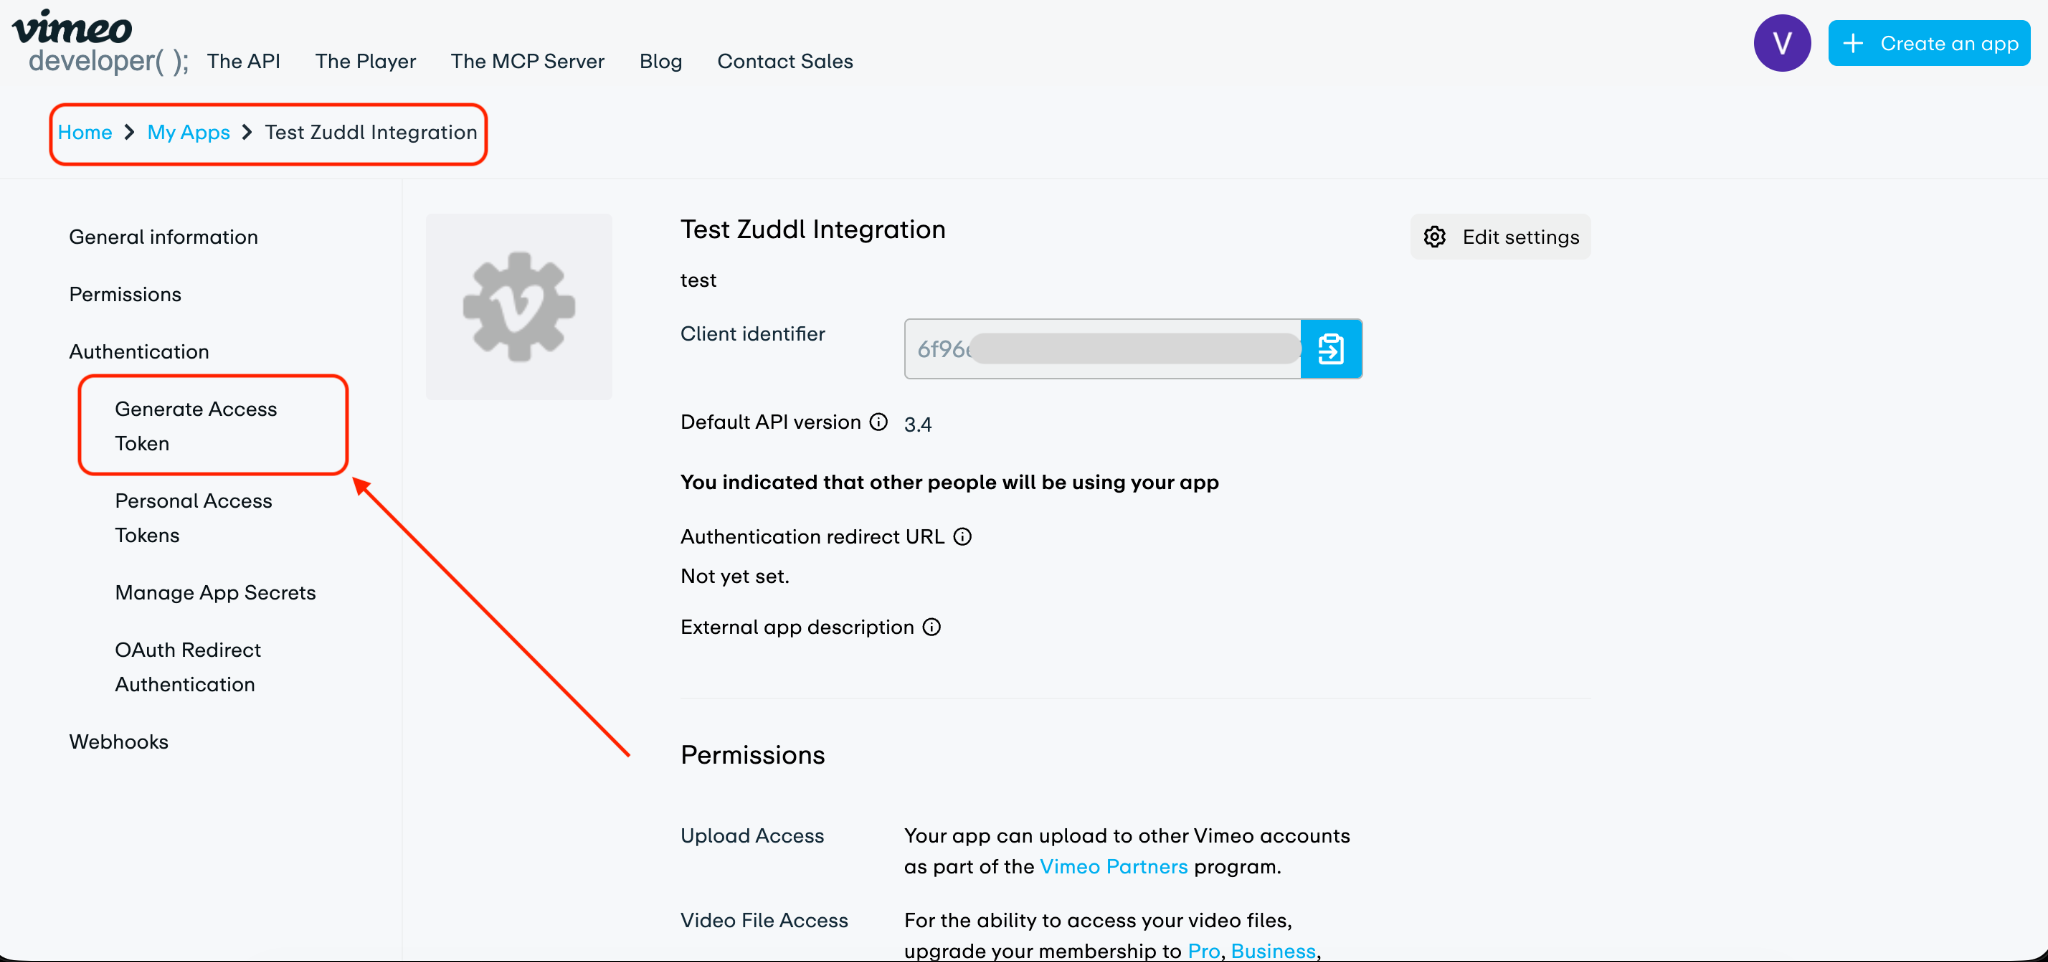
Select the Authenticated option, then enable these scopes:
Scope
Why it is needed
public
Base access to Vimeo resources
private
Read your folders and your recordings' upload / transcode status
upload
Upload the session recordings into Vimeo
Click Generate, then copy the token string and store it securely.
Warning: Vimeo shows the token string only once. If you lose it, you must generate a new one.
Part 2 — Install the Vimeo app in Zuddl
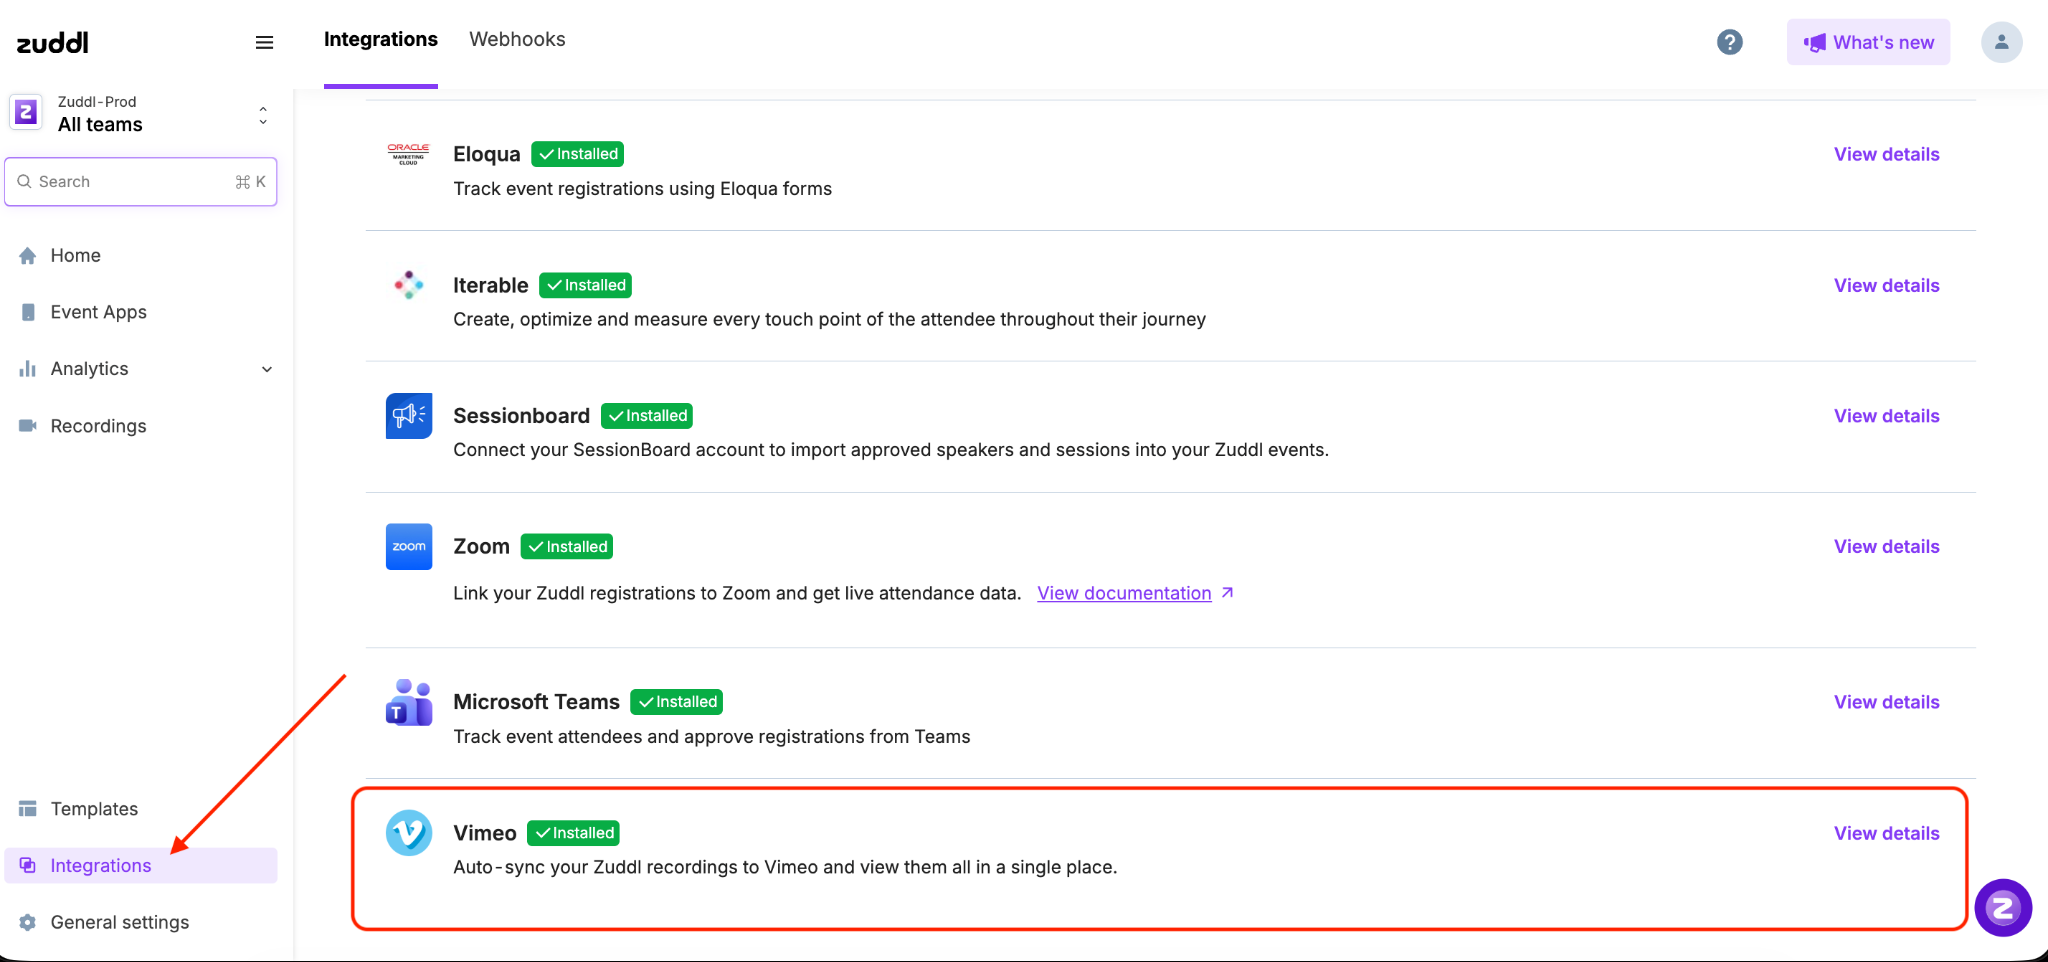
In your Zuddl organizer dashboard, go to Integrations and find the Vimeo card, then click View details.
Click Install app to start the installation.
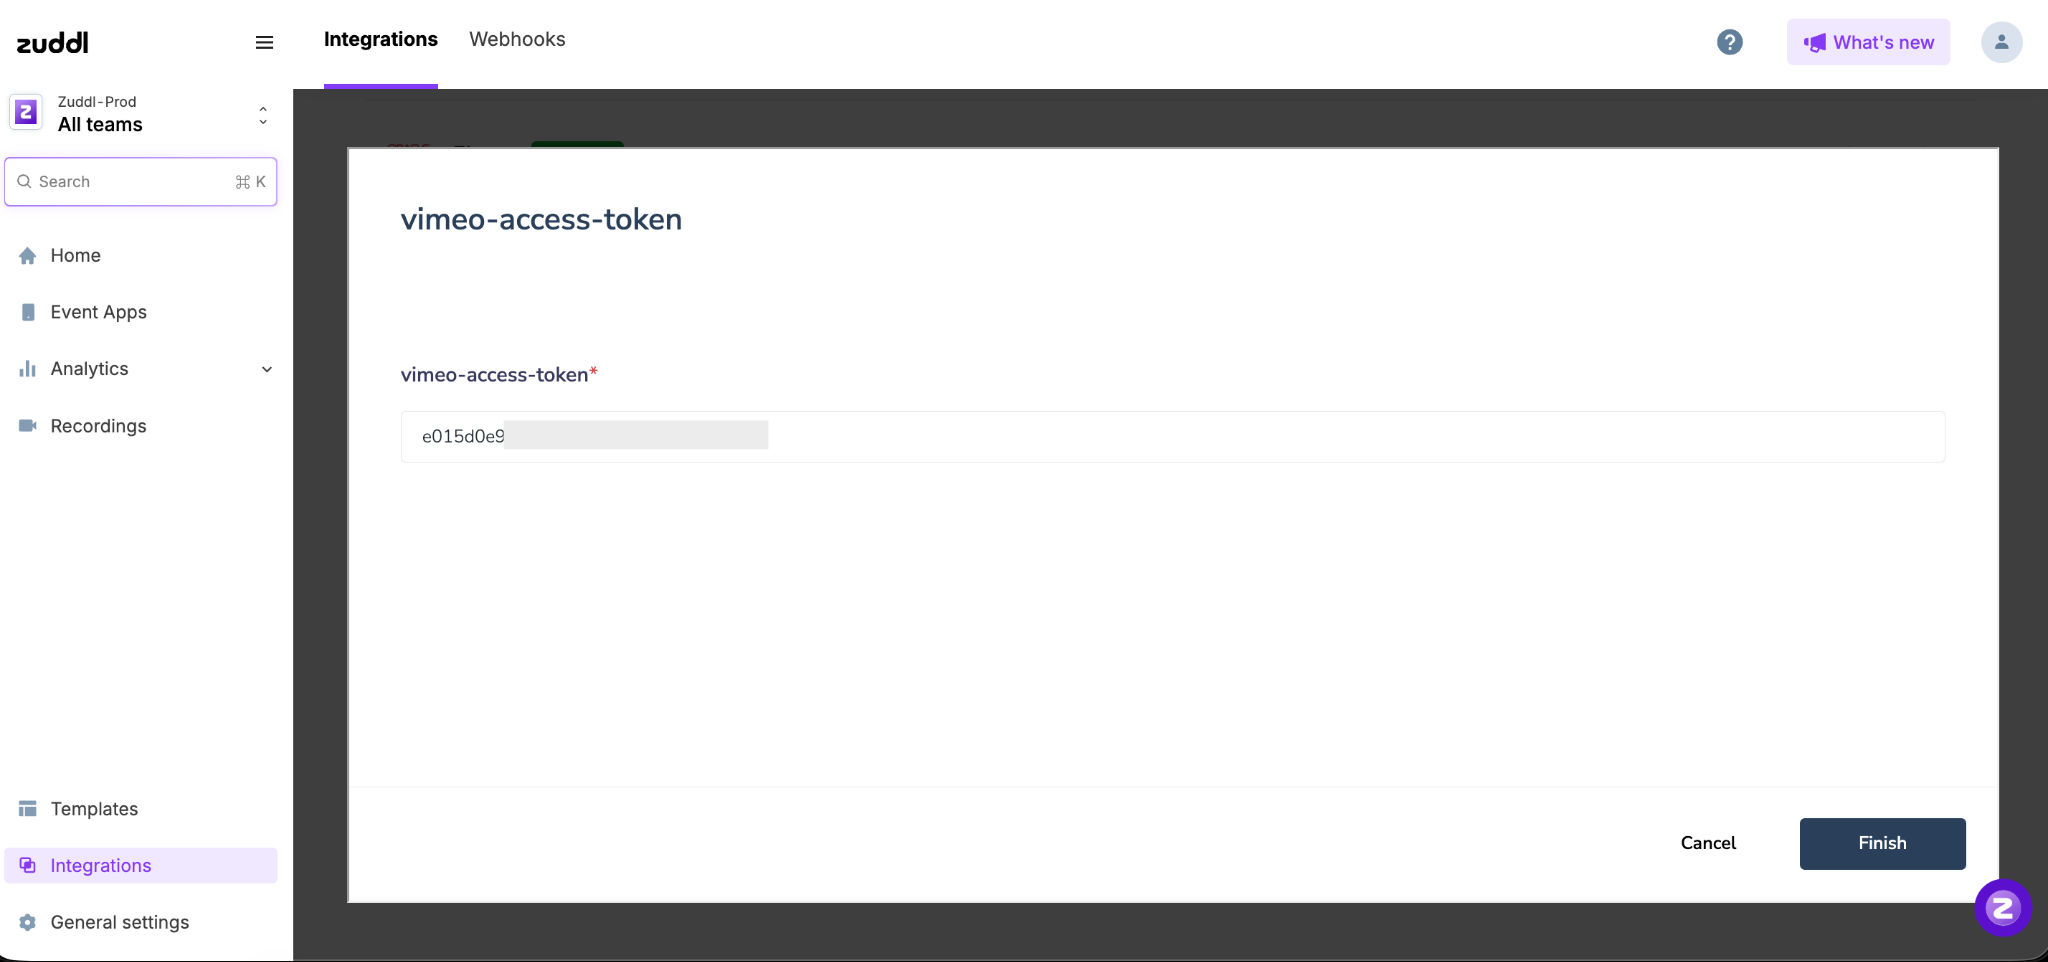
In the vimeo-access-token field, paste the Personal Access Token you copied from Vimeo, then click Finish.
The Vimeo card now shows as Installed. The app is connected at the organization level, but no recordings sync yet — you still need to enable the integration on each event.
Part 3 — Enable the integration for an event
Repeat this for every event whose session recordings should sync to Vimeo.
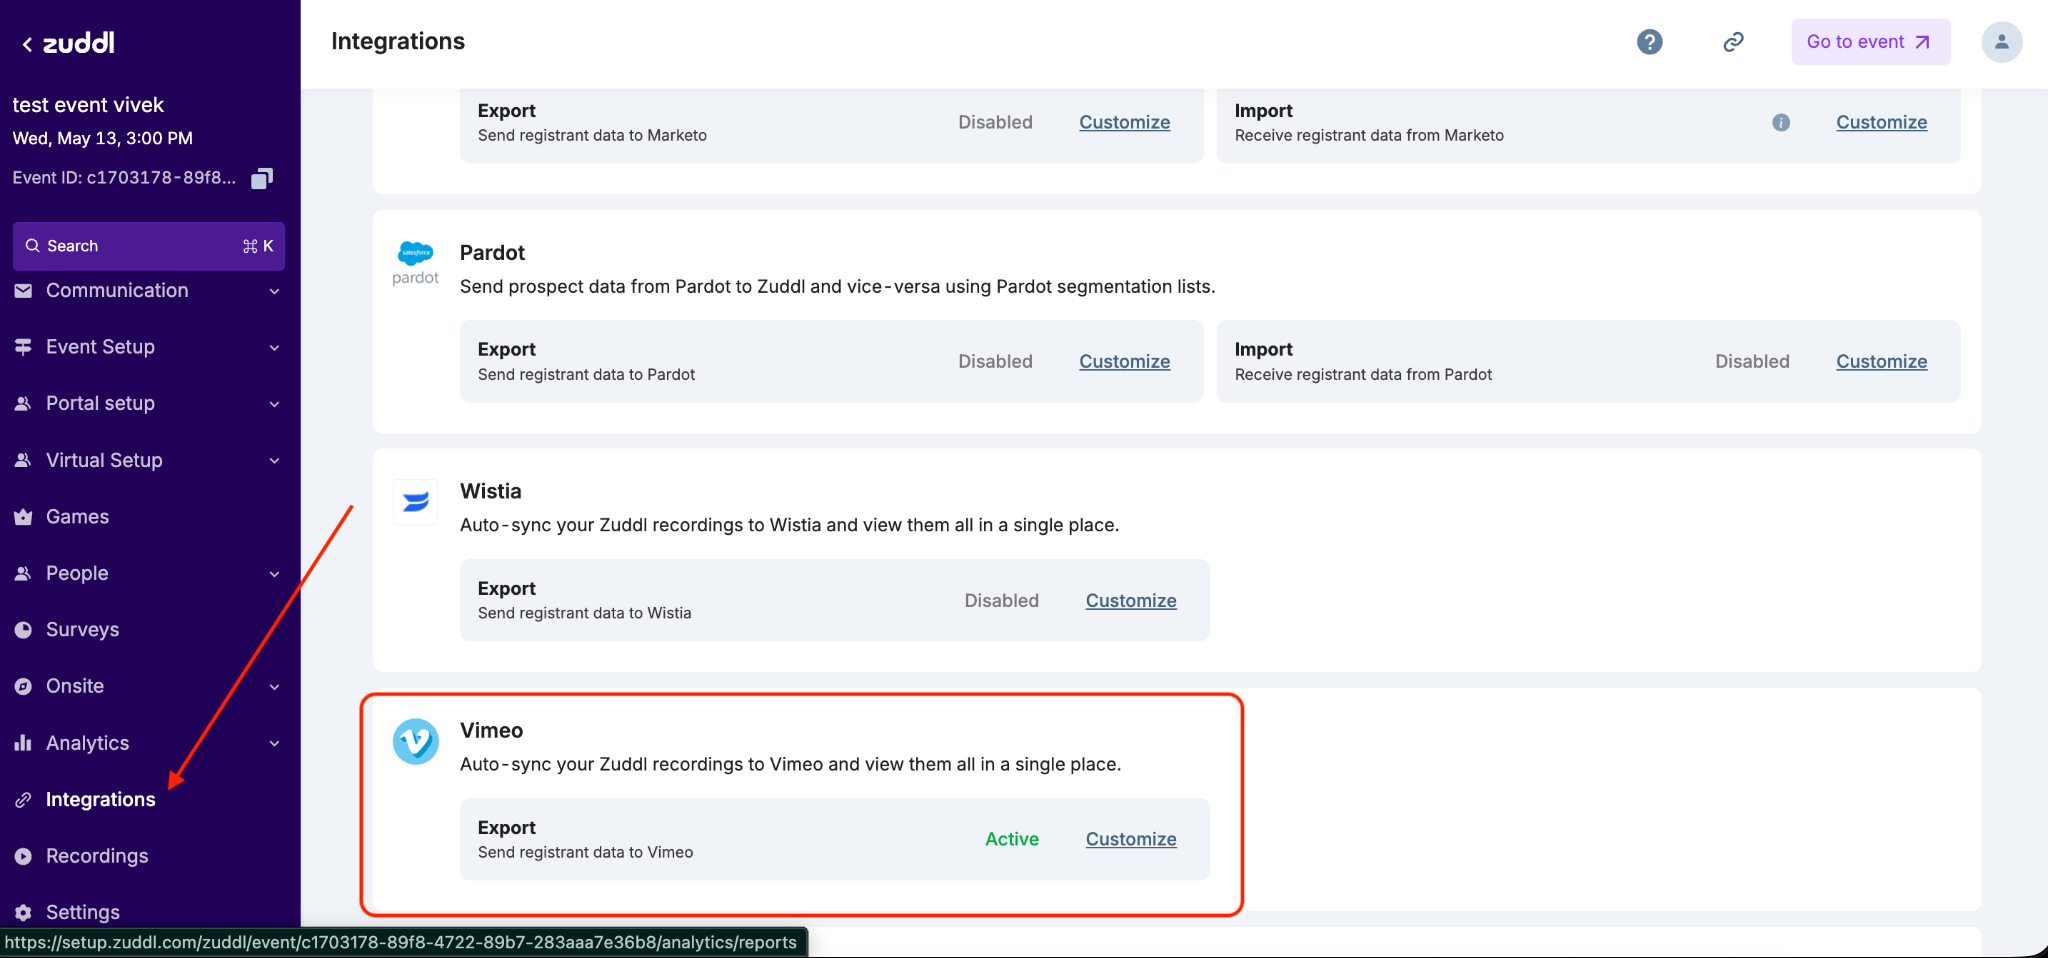
Open the event in your organizer dashboard and go to Integrations in the left menu.
Find the Vimeo card and click Customize on the Export row.
In the Export data to Vimeo dialog, turn the toggle on (top right).
On the Projects tab, select your Vimeo folder from the dropdown and click Save.
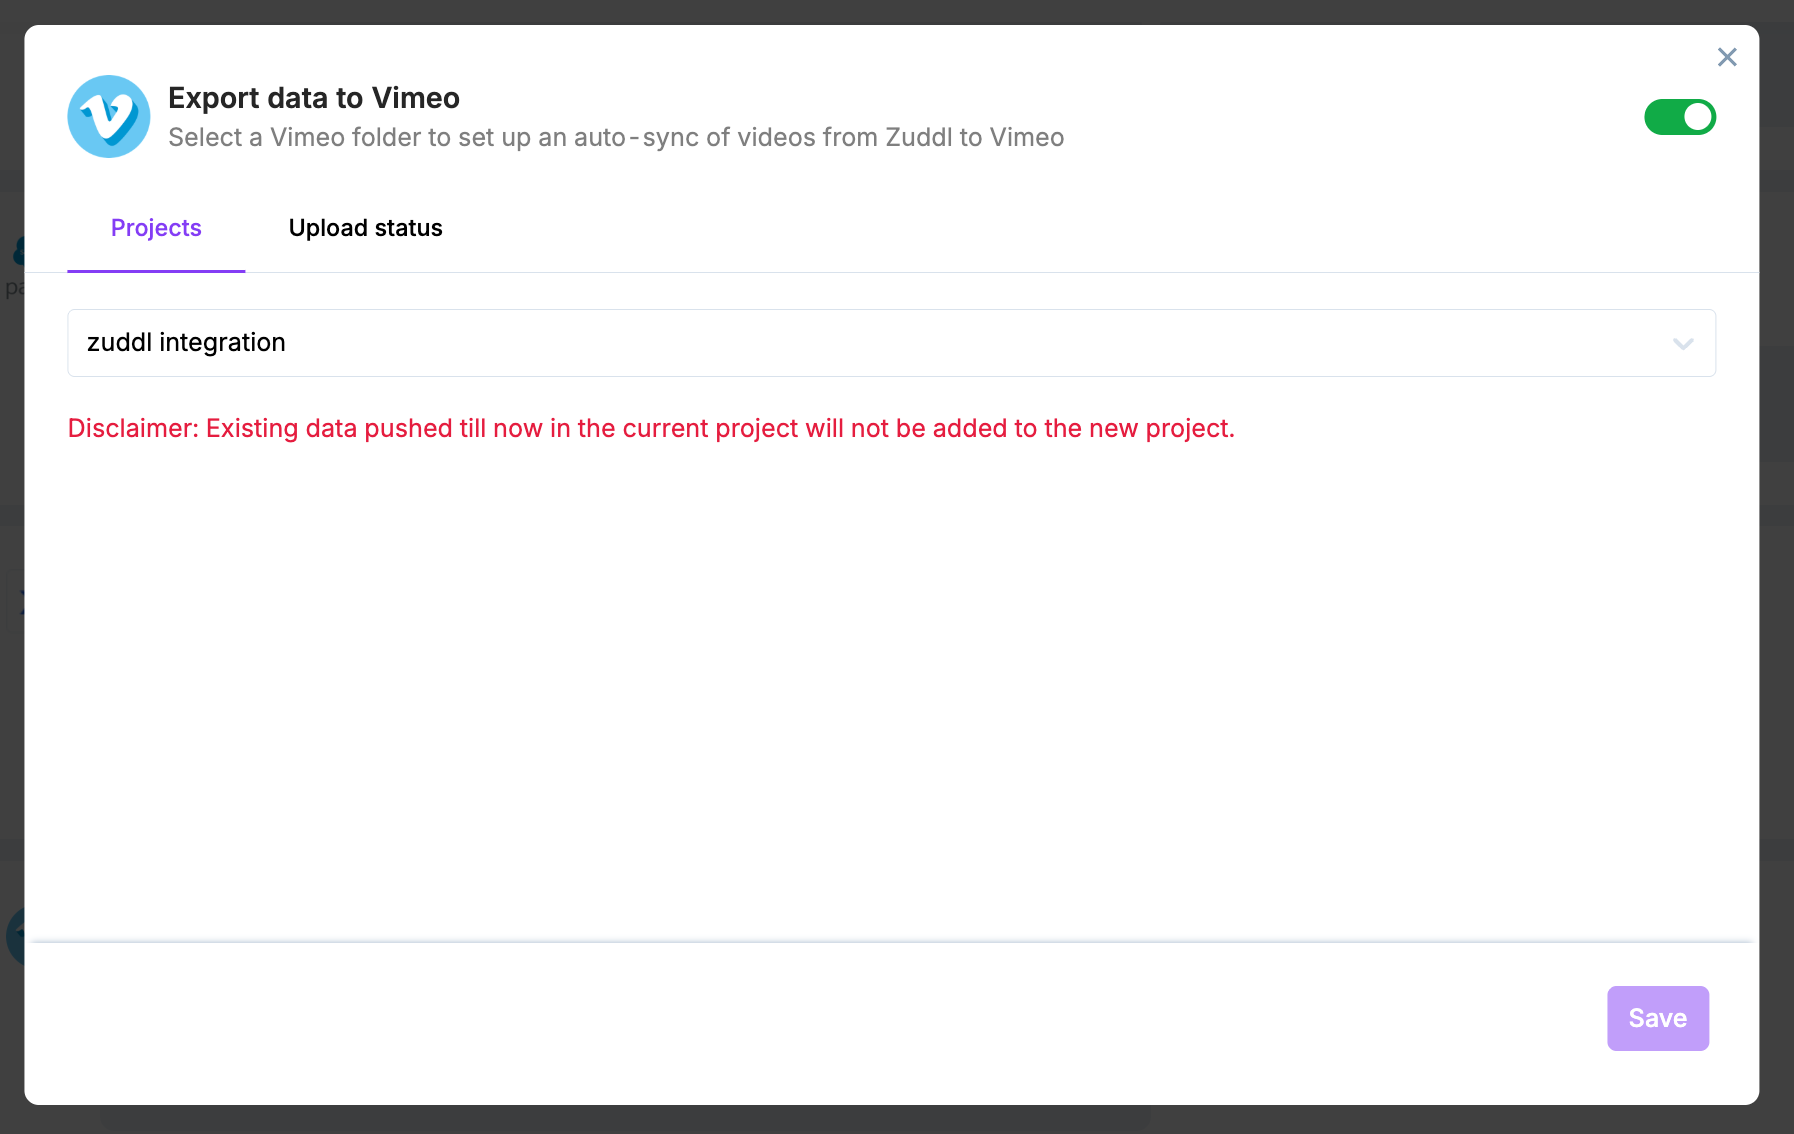
Note: If you later change the selected folder, recordings already pushed to the previous folder are not moved into the new one.
What Happens Next
Once your event goes live and sessions are recorded, each recording is uploaded to your Vimeo account automatically.
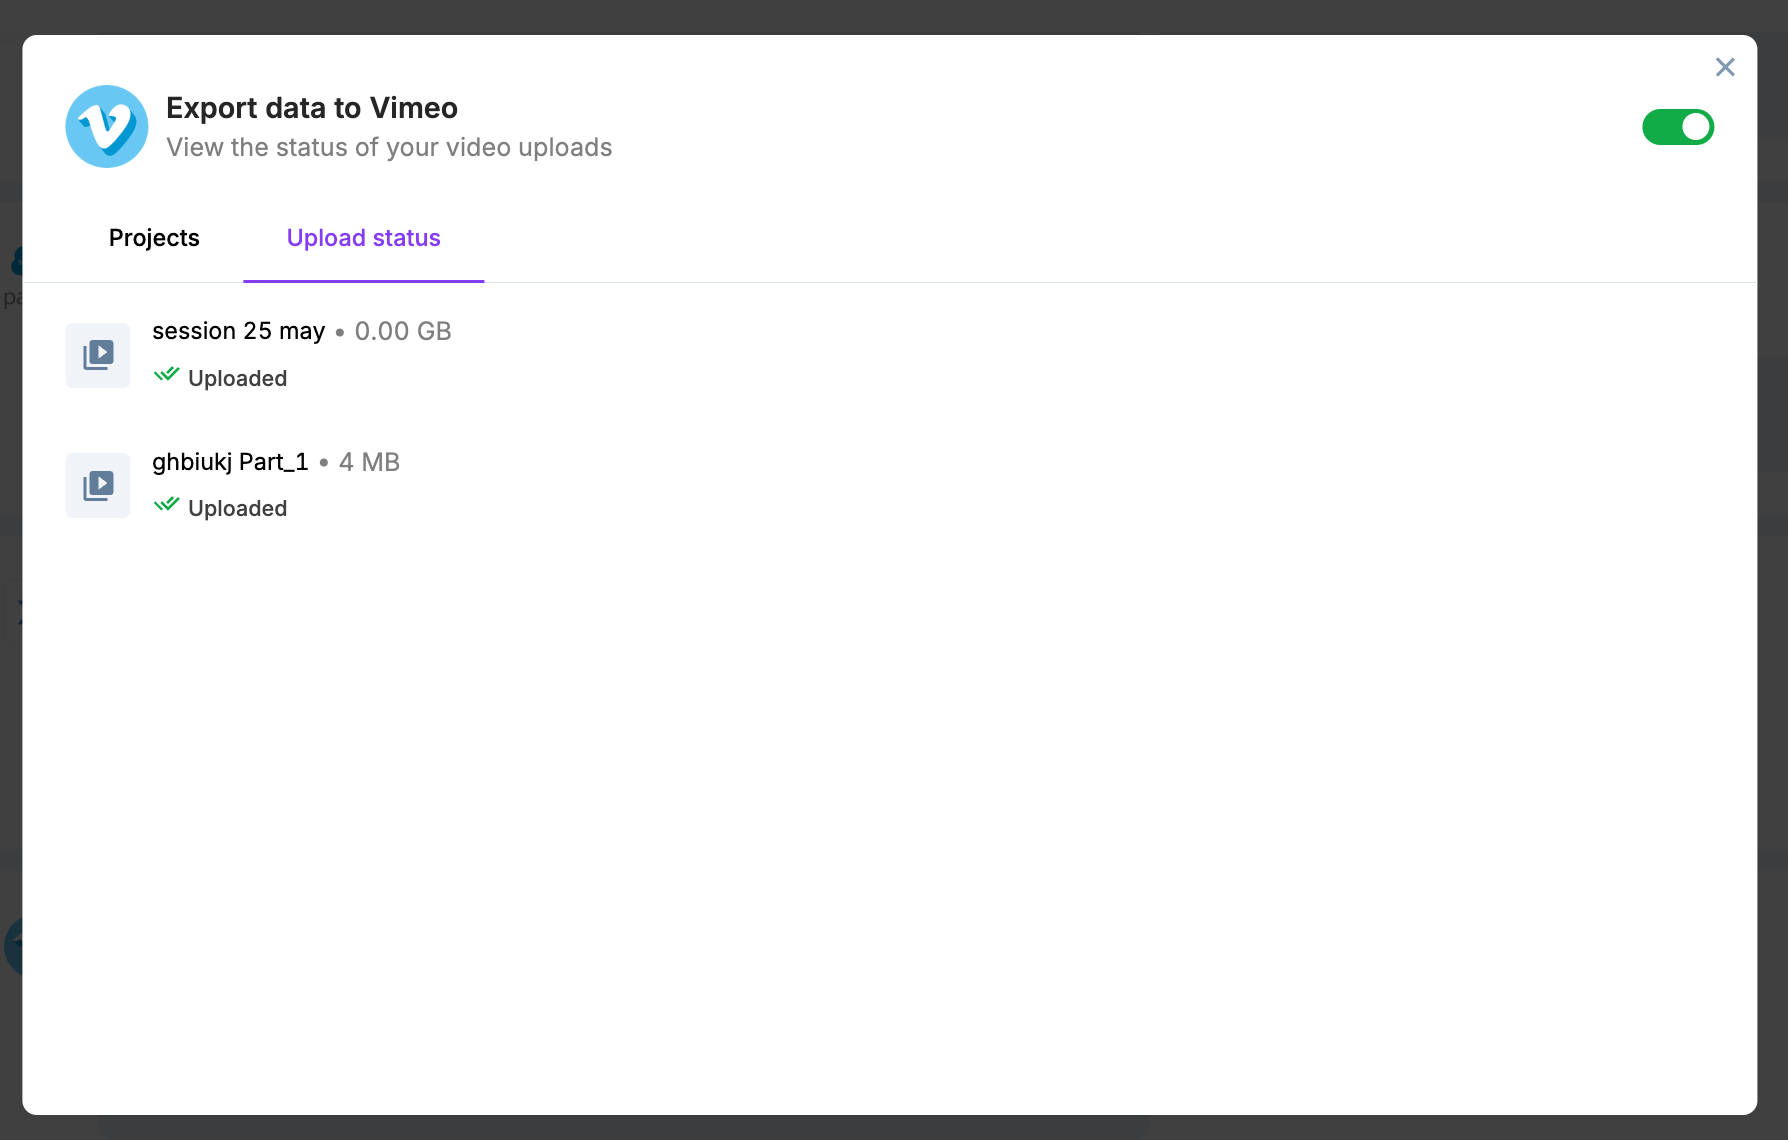
Track progress on the Upload status tab of the Export data to Vimeo dialog. Each recording shows its name, size, and status.
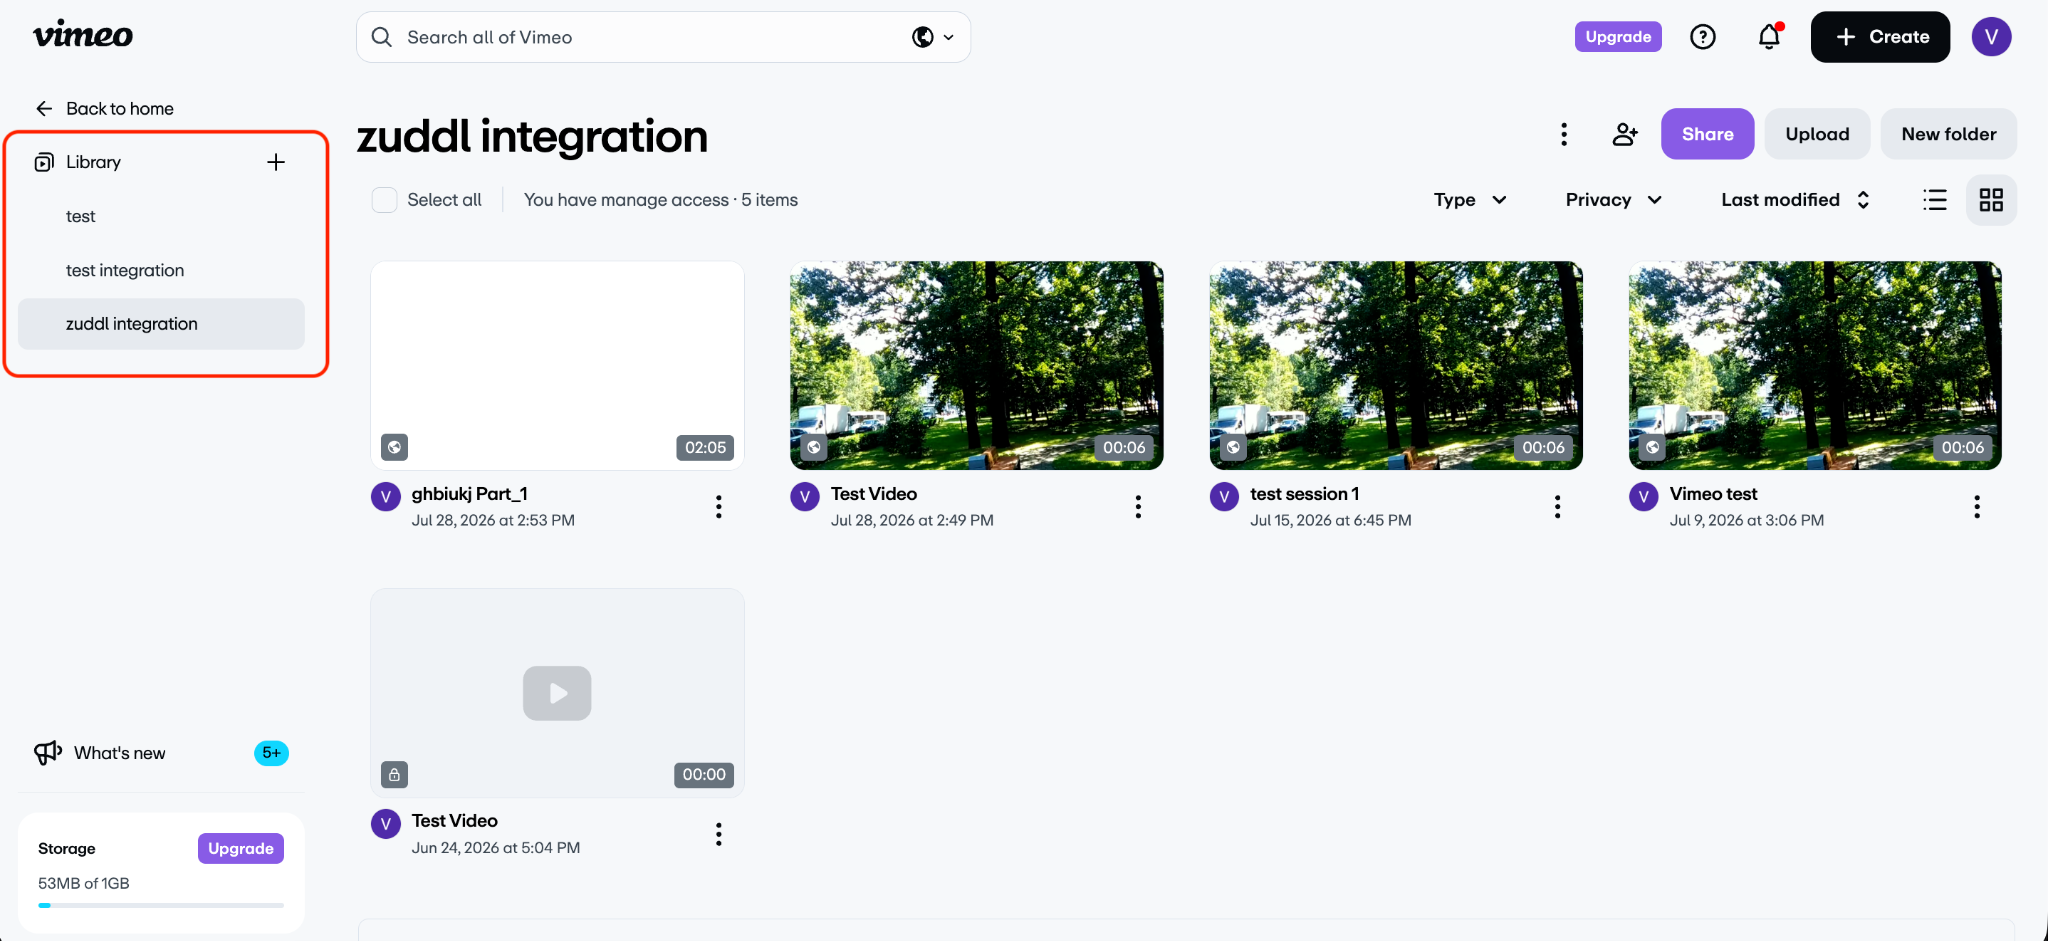
When an upload completes, the same video appears in the selected Vimeo folder alongside your other videos.
Troubleshooting upload errors
If an upload fails, Zuddl shows a Retry button on the Upload status tab so you can retry that recording. Zuddl also sends an email with the recording details to help you resolve the problem in your Vimeo instance.
Check these common causes on the Vimeo side before retrying:
Upload access not enabled for your Vimeo app — request it from the app's General information page, wait for approval, then retry.
Missing scope on the token — the token must include public, private, and upload. If any are missing, regenerate the token with all three scopes and reinstall the app in Zuddl.
Expired or revoked token — generate a fresh Personal Access Token in Vimeo and update it on the Vimeo card in Zuddl.
Storage or plan limit reached on your Vimeo account — free up space or upgrade your Vimeo plan, then retry.
Notes
Only recordings created after the integration is enabled are synced. Earlier recordings are not backfilled.
Event-level integration must be enabled separately for every event — installing the app once does not sync all events.
Deleting a recording in Zuddl after it has uploaded does not remove the corresponding video from your Vimeo account. Delete it in Vimeo separately if needed.
Recordings are uploaded with the stage background applied.
The Vimeo folder must already exist in Vimeo — you cannot create one from the Zuddl dialog.