How to Build an Attendee Profile Form for a Virtual Event in Zuddl
Last updated: August 1, 2025
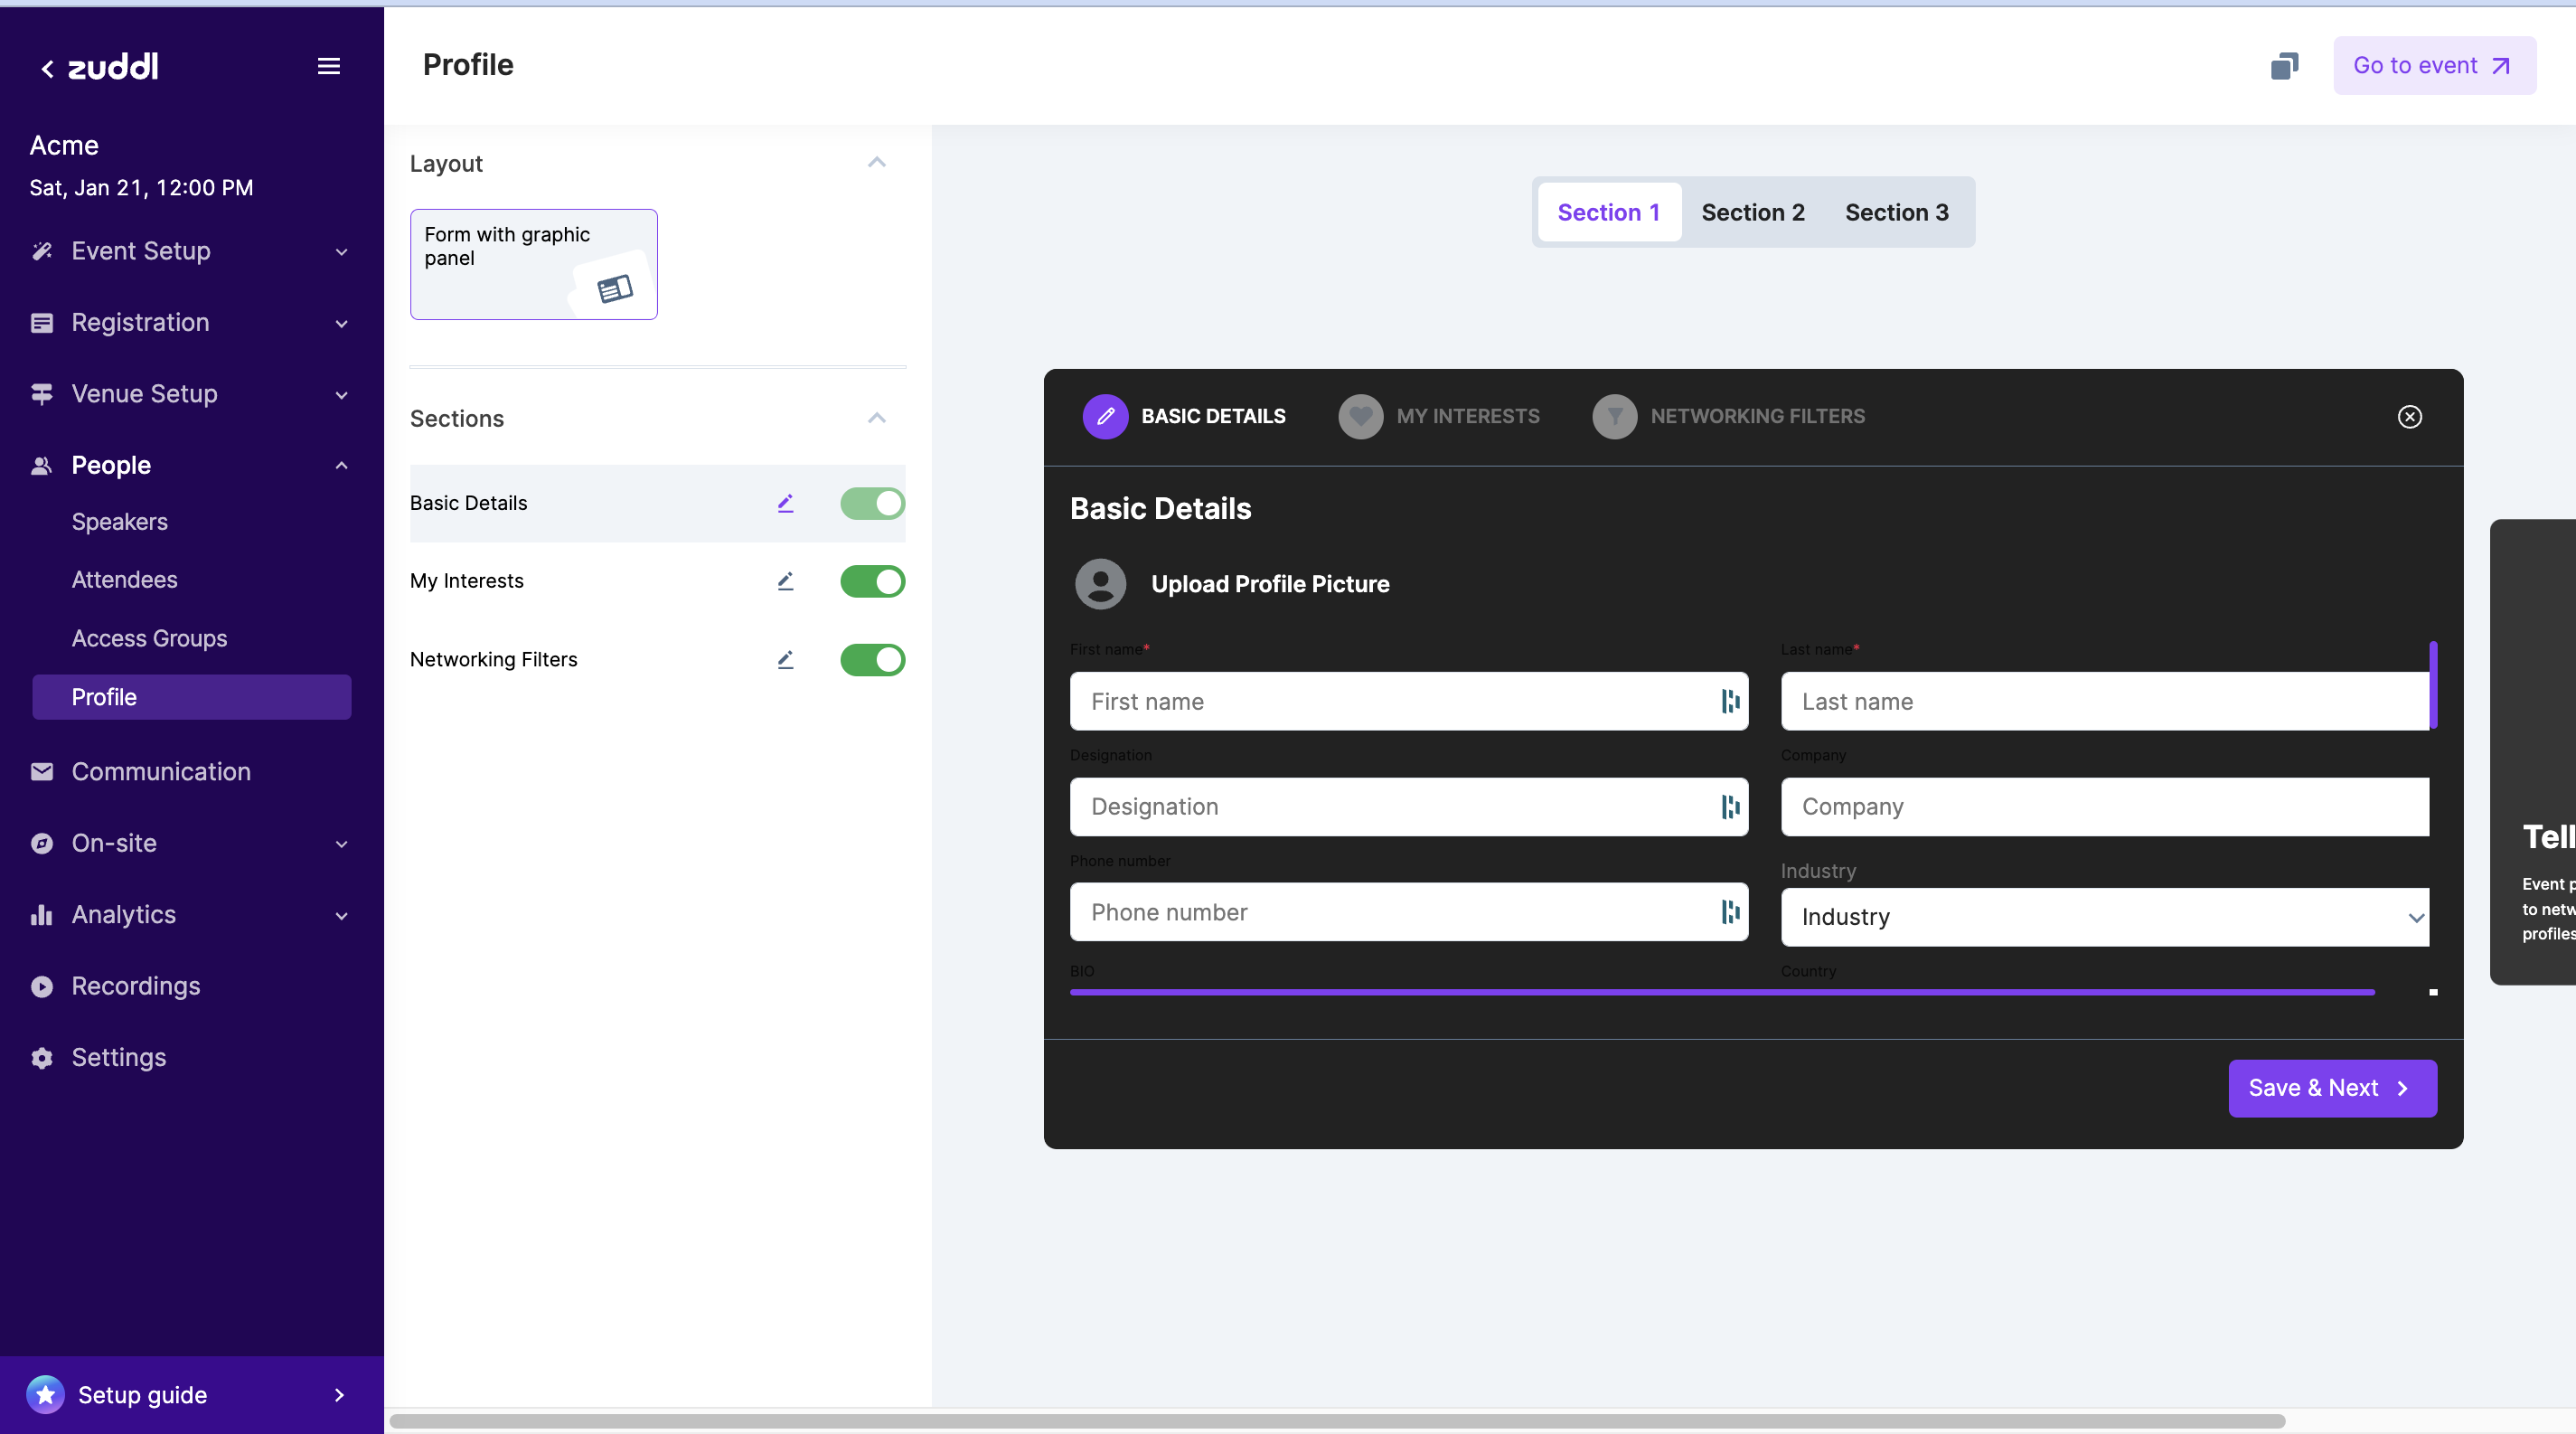
Go to People > Profile. This shows the settings pane and an interface view side-by-side. The changes made are shown on the interface view on the right.
Profile Settings.png - Select a Layout. A form is where the attendees enter their details and preferences.
Form with the graphic panel: just a form field where attendees enter their details.
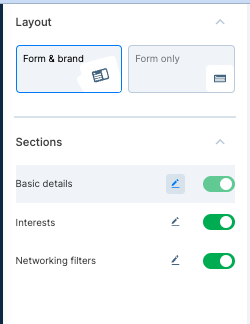
- Toggle on/off Sections. Sections help categorize the different forms attendees must fill out to complete their profile setup. All units are toggled on by default. Toggling off any area will hide it from the view.
The Basic Details section is mandatory and can’t be toggled off.
Edit a Section
By default, the profile settings screen is divided into three main sections: Basic Details, My Interests, and Networking Filters.
If you want to customize the section, you can edit and modify it according to your needs. To reach the “Edit section” screen, click the edit icon beside a particular area or go to the right pane, toggle the sections tabs, and hover over the interface to click the Edit Section button.
To edit Section 1:
Under Title and icon, choose a suitable icon from the dropdown and enter an appropriate Section name.
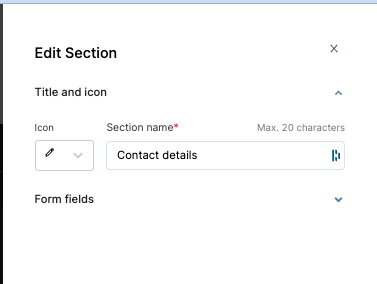
Expand the form field and click the +Add a field button at the bottom.
The greyed-out fields cannot be edited as they are mandatory.
- Enter a Field name
- Select a response type from the following options:
- Short Answer (Text): for allow brief responses as texts
- Dropdown: for selecting a suitable option from a list
- Multiselect: for selecting more than one option as answers
Number: for allowing attendees to enter numbers
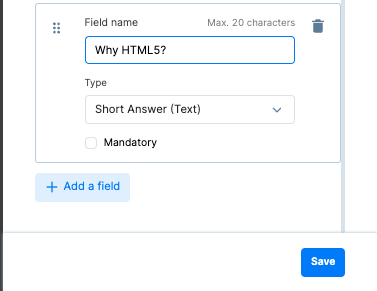
- Click Save.
To edit Section 2
- Under Title and Icon, choose a suitable icon from the dropdown and enter an appropriate Section name.
- Expand the Interests dropdown and click the +Add an interest button at the bottom.
Enter the interest name in the text field.
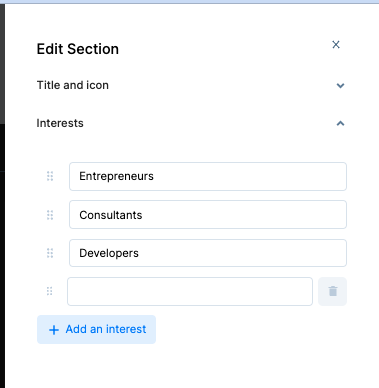
You can also reorder the interests list and delete an appeal from the list.
- Click Save.
To edit Section 3
- Under Title and Icon, choose a suitable icon from the dropdown and enter an appropriate section name.
- Expand the Looking For dropdown and click the +Add a filter button at the bottom.
- Enter the filter title in the text field.
Expand the Offering dropdown and click the +Add a filter button at the bottom.
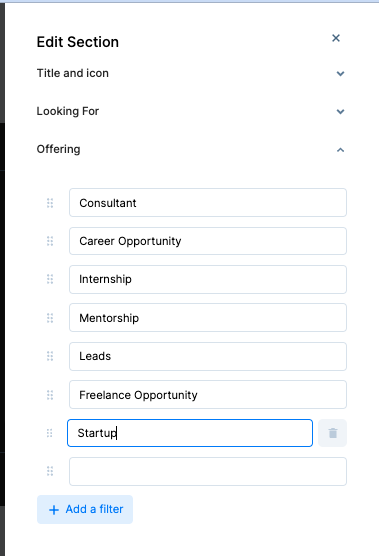
Enter the filter title in the text field.
The added filter appears on both Looking For and Offering filters.
- Click Save.