How to Use the Installer Package to Integrate with Salesforce
Last updated: September 4, 2025
The Salesforce installer app lets you configure your Salesforce instance to connect with Zuddl quickly and conveniently. The installer app performs the following actions on your behalf:
Create attended and registered statuses automatically whenever a new campaign is created.
Create fields that will be used to pass attendee activity data after the event.
If you wish to manually configure the Salesforce integration, refer to the integration guide.
The installation involves three main steps:
Install app
Configure Zuddl Campaign Layout
Configure Campaign Member Layout
Importing data (from unmanaged package)
Install app
Refer to the version-wise change-log to install the required version.
Select the 'Do not install' option on the 'What if existing component names conflict with ones in this package?'.
Similarly, if you have previously configured the integration manually, installing the package may result in conflicts and eventually loss of data as ‘Renaming conflicting components in package’ is not supported for unlisted apps.
Select the user profile you wish to grant access to this installer package.
If any special user profiles have been created, ensure this selection accounts for the same.
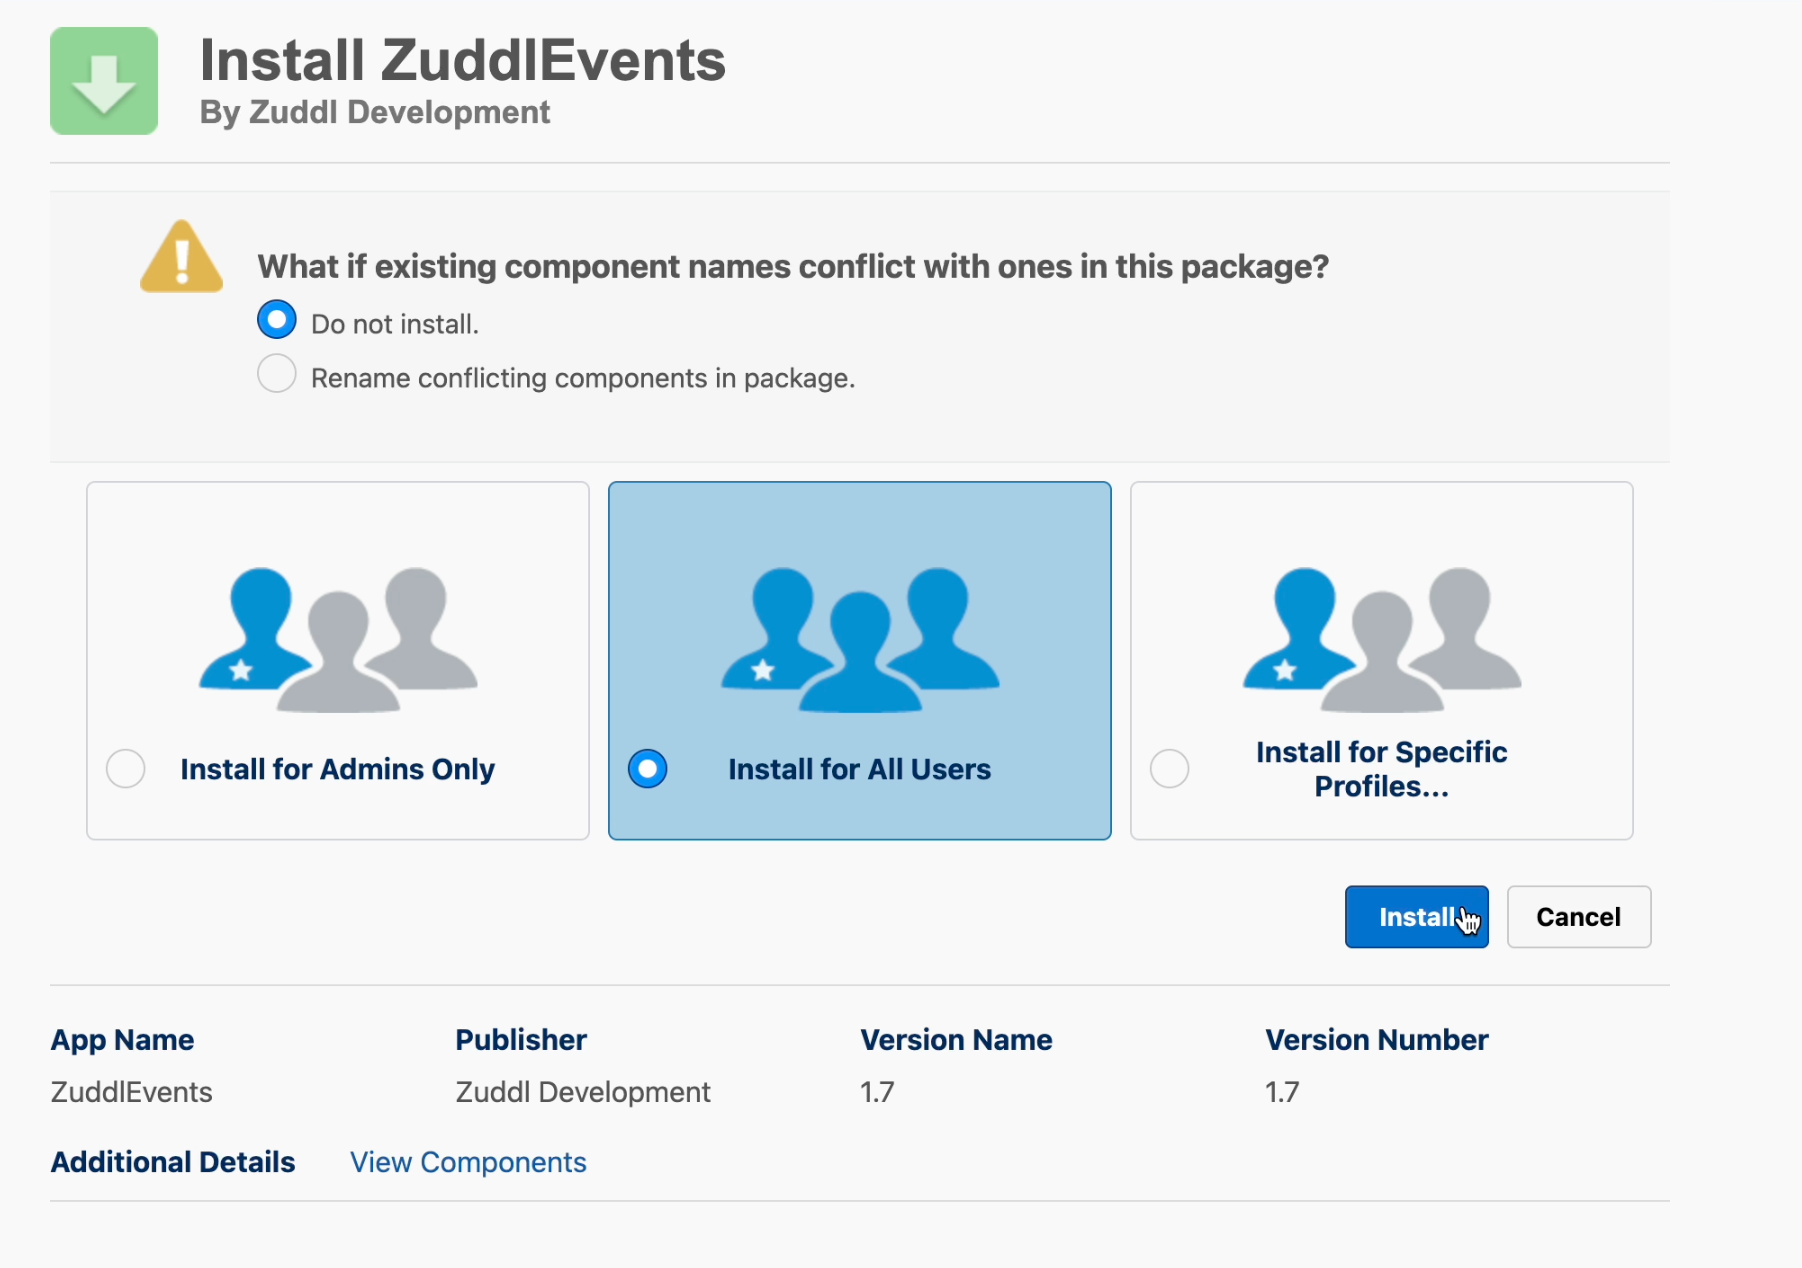
Click Install. This installs the package into your Salesforce instance.
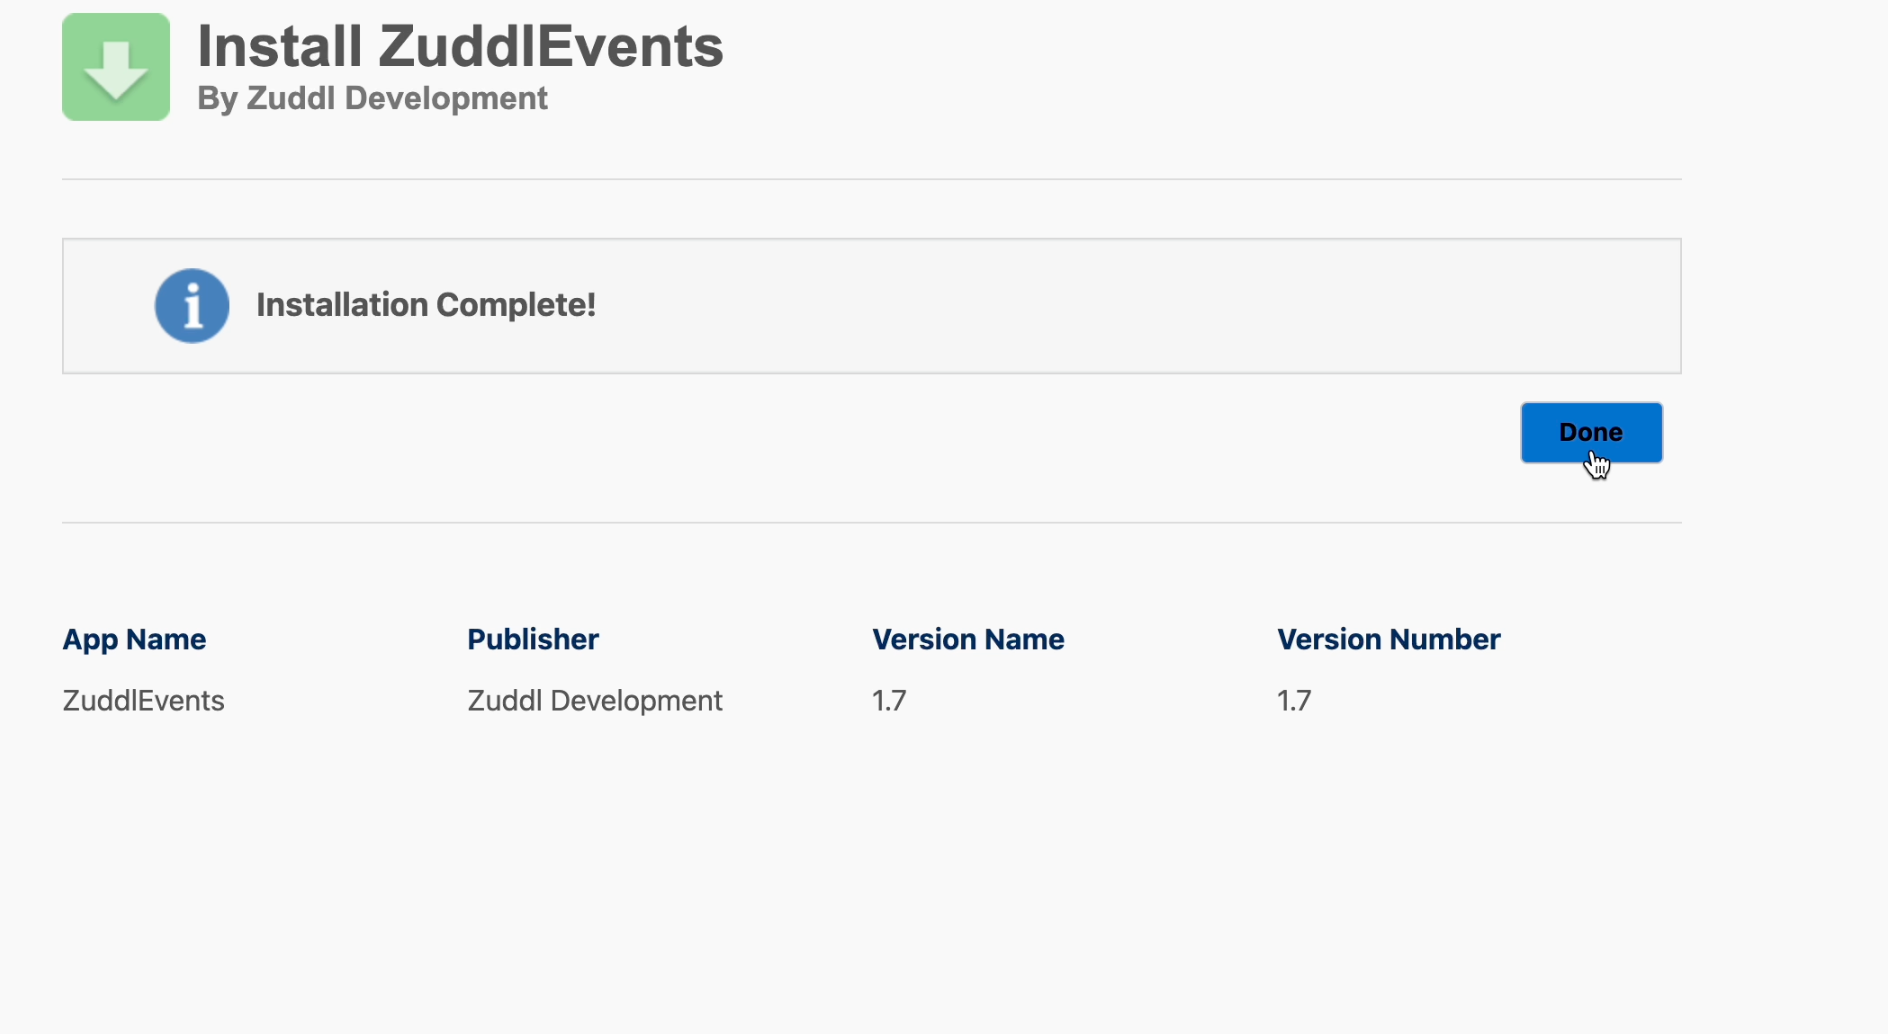
After the installation is complete, click Done.
The installed app can be found inside Setup > Platform Tools > Apps > Packaging > Installed Packages.
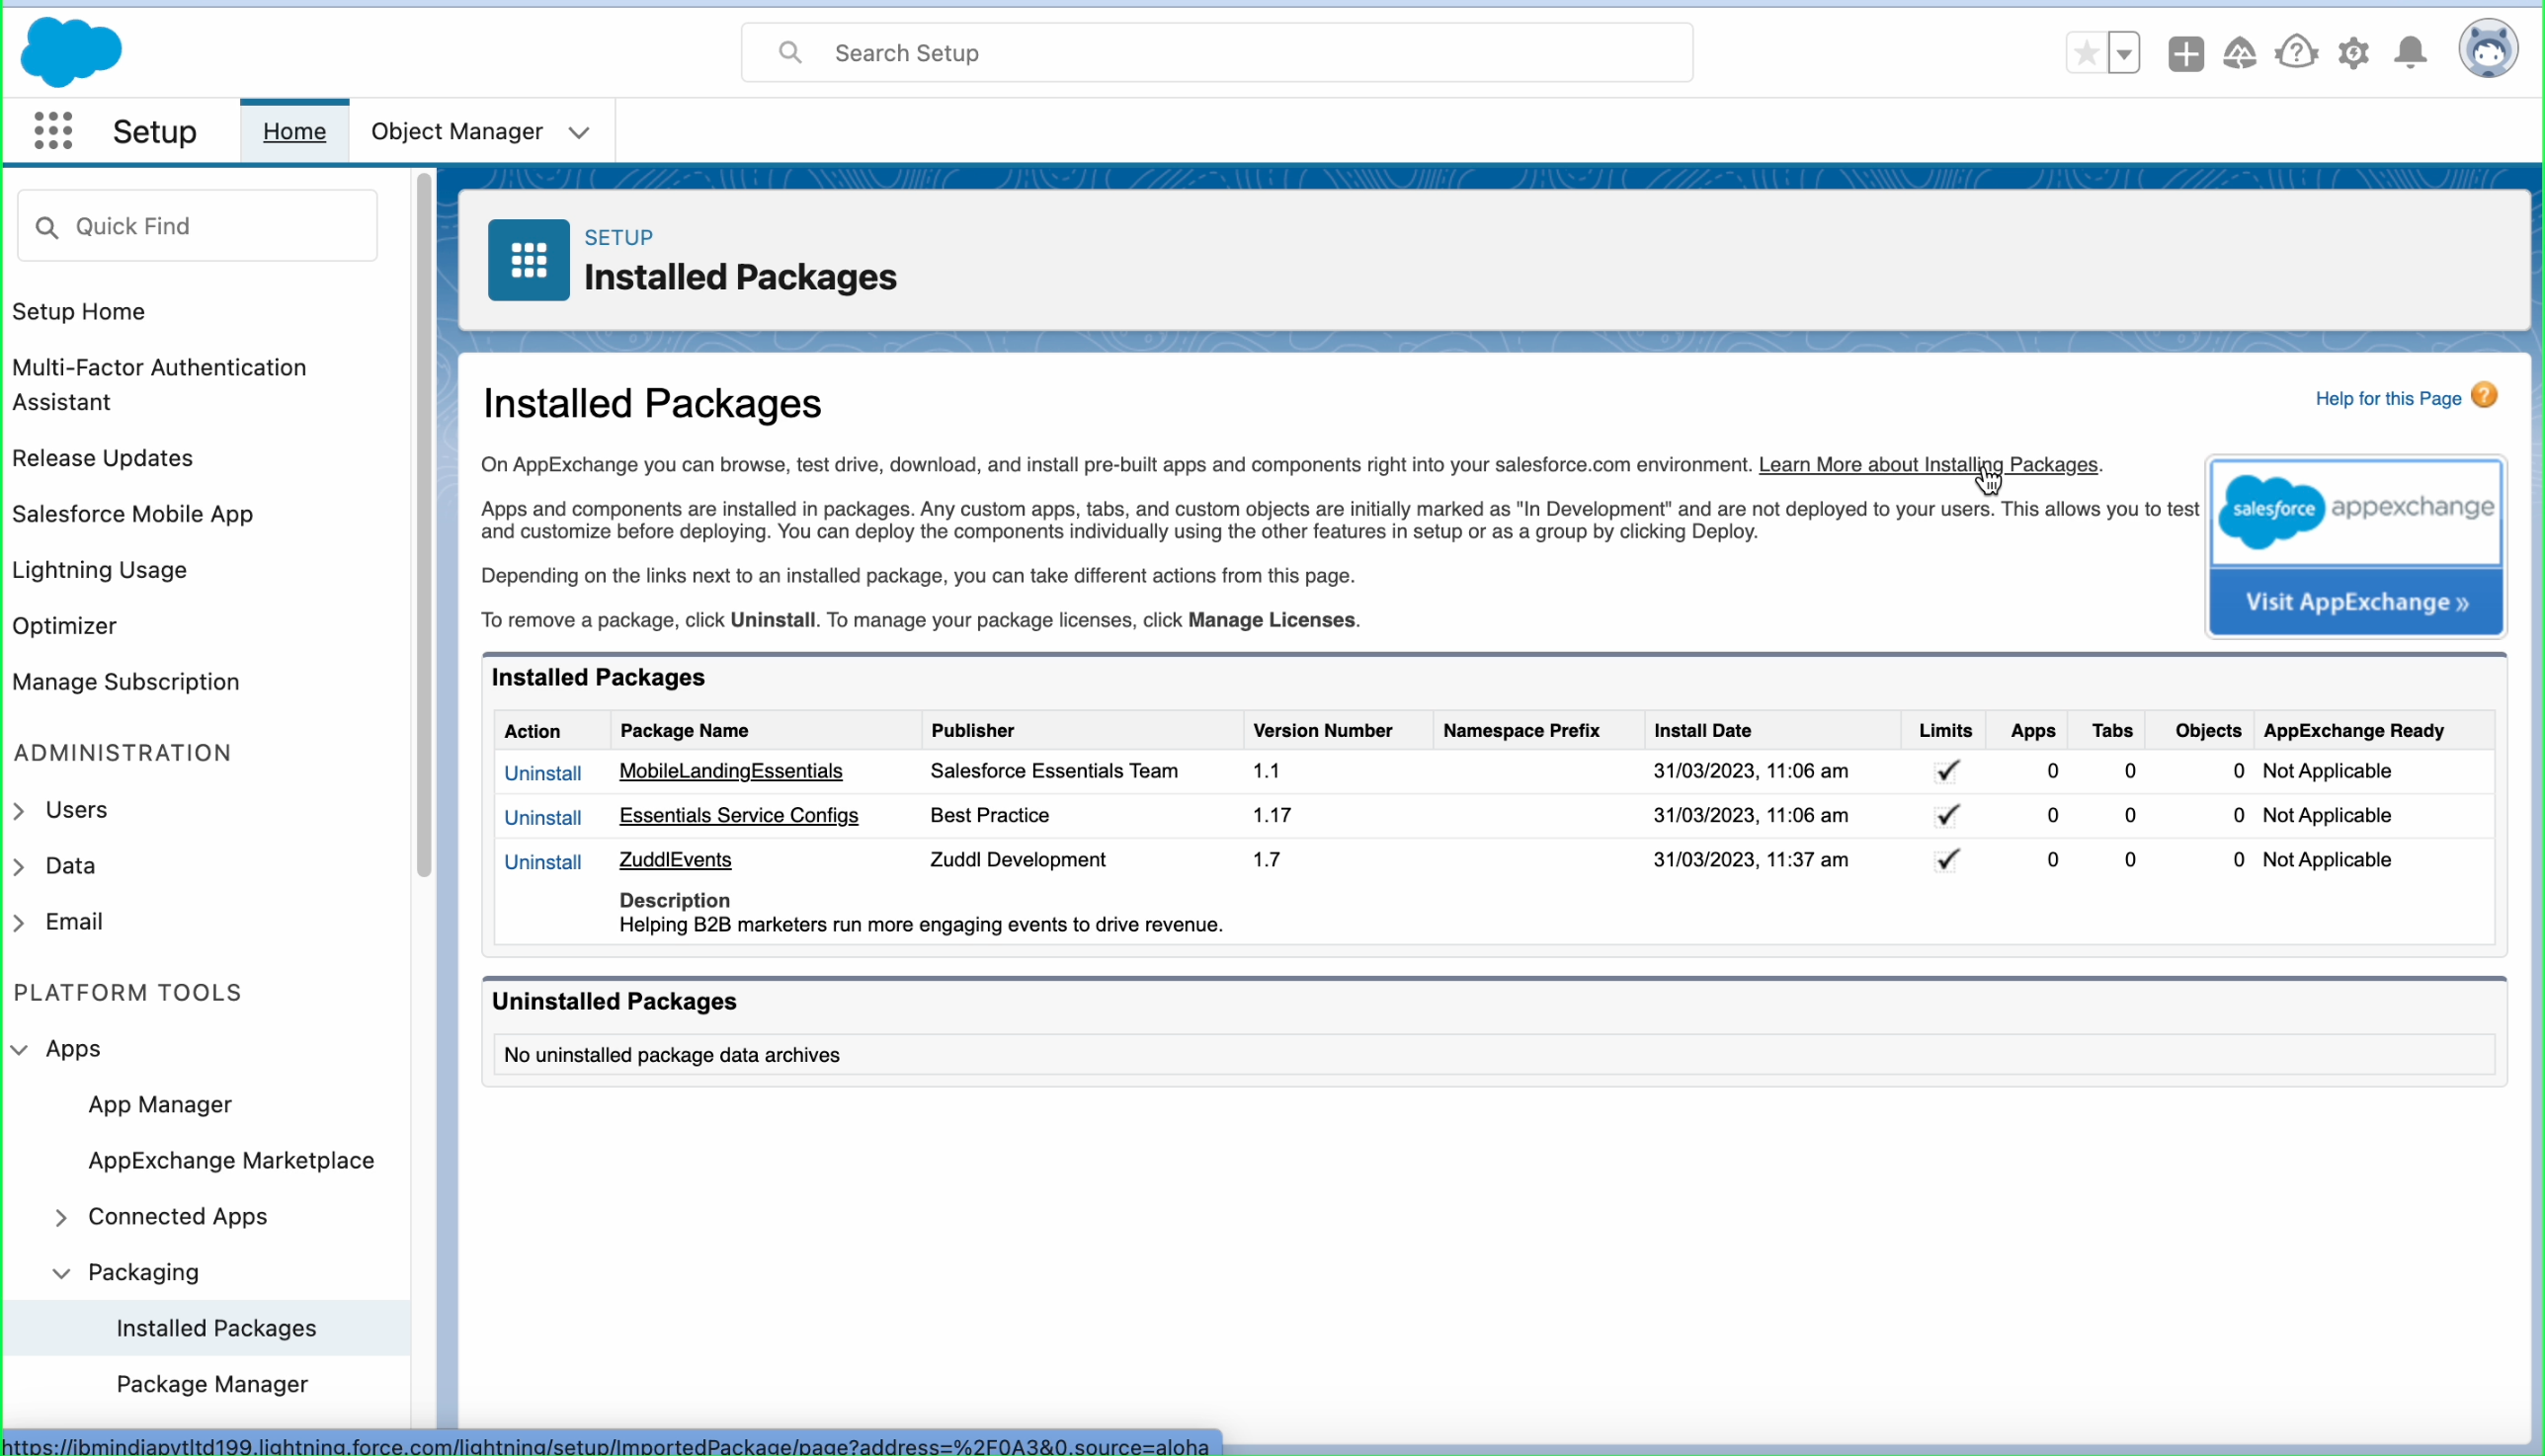
You can verify the components added to the package.
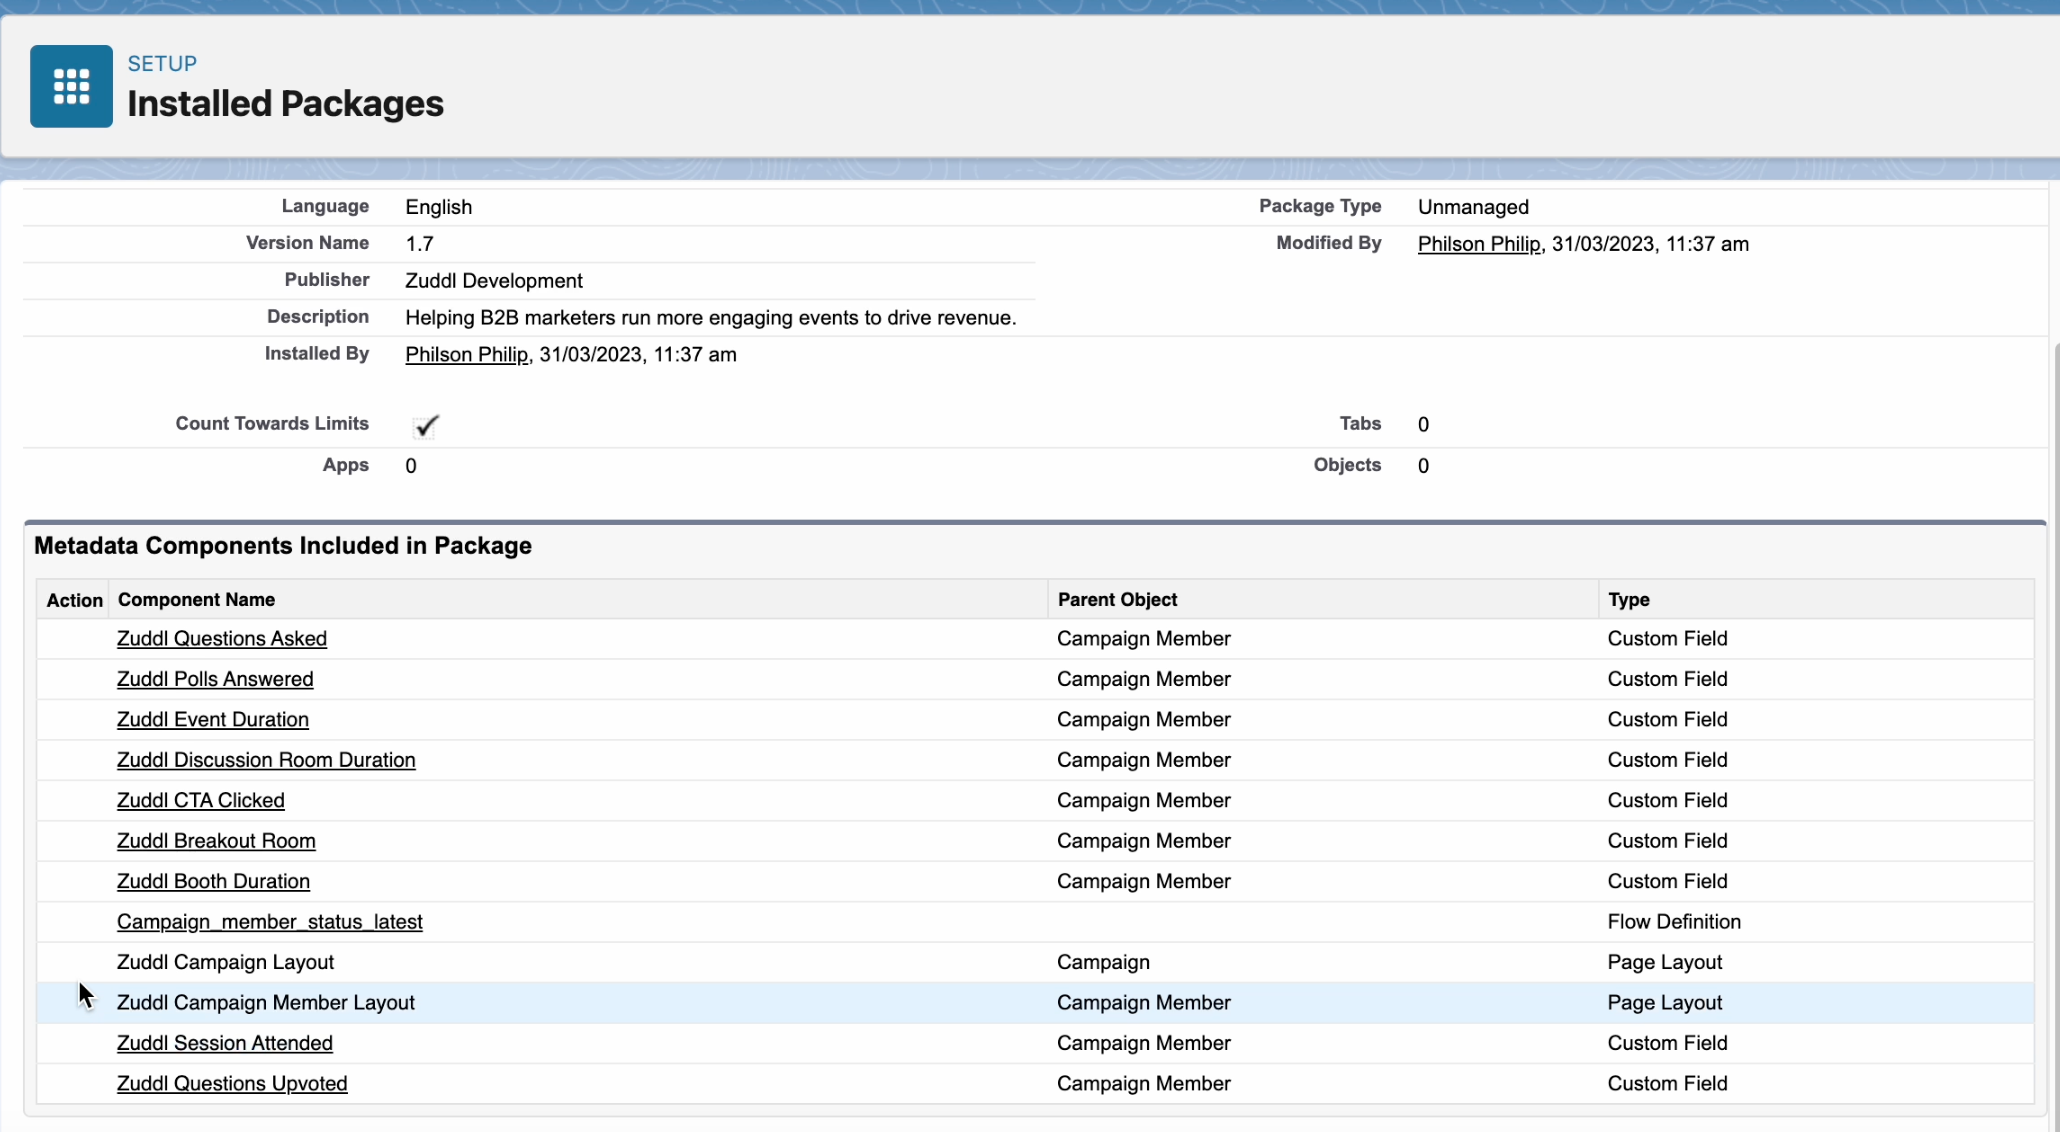
Now, you must edit the page layouts for Campaign and Campaign Member objects for desired user profiles.
Configure Zuddl campaign layout
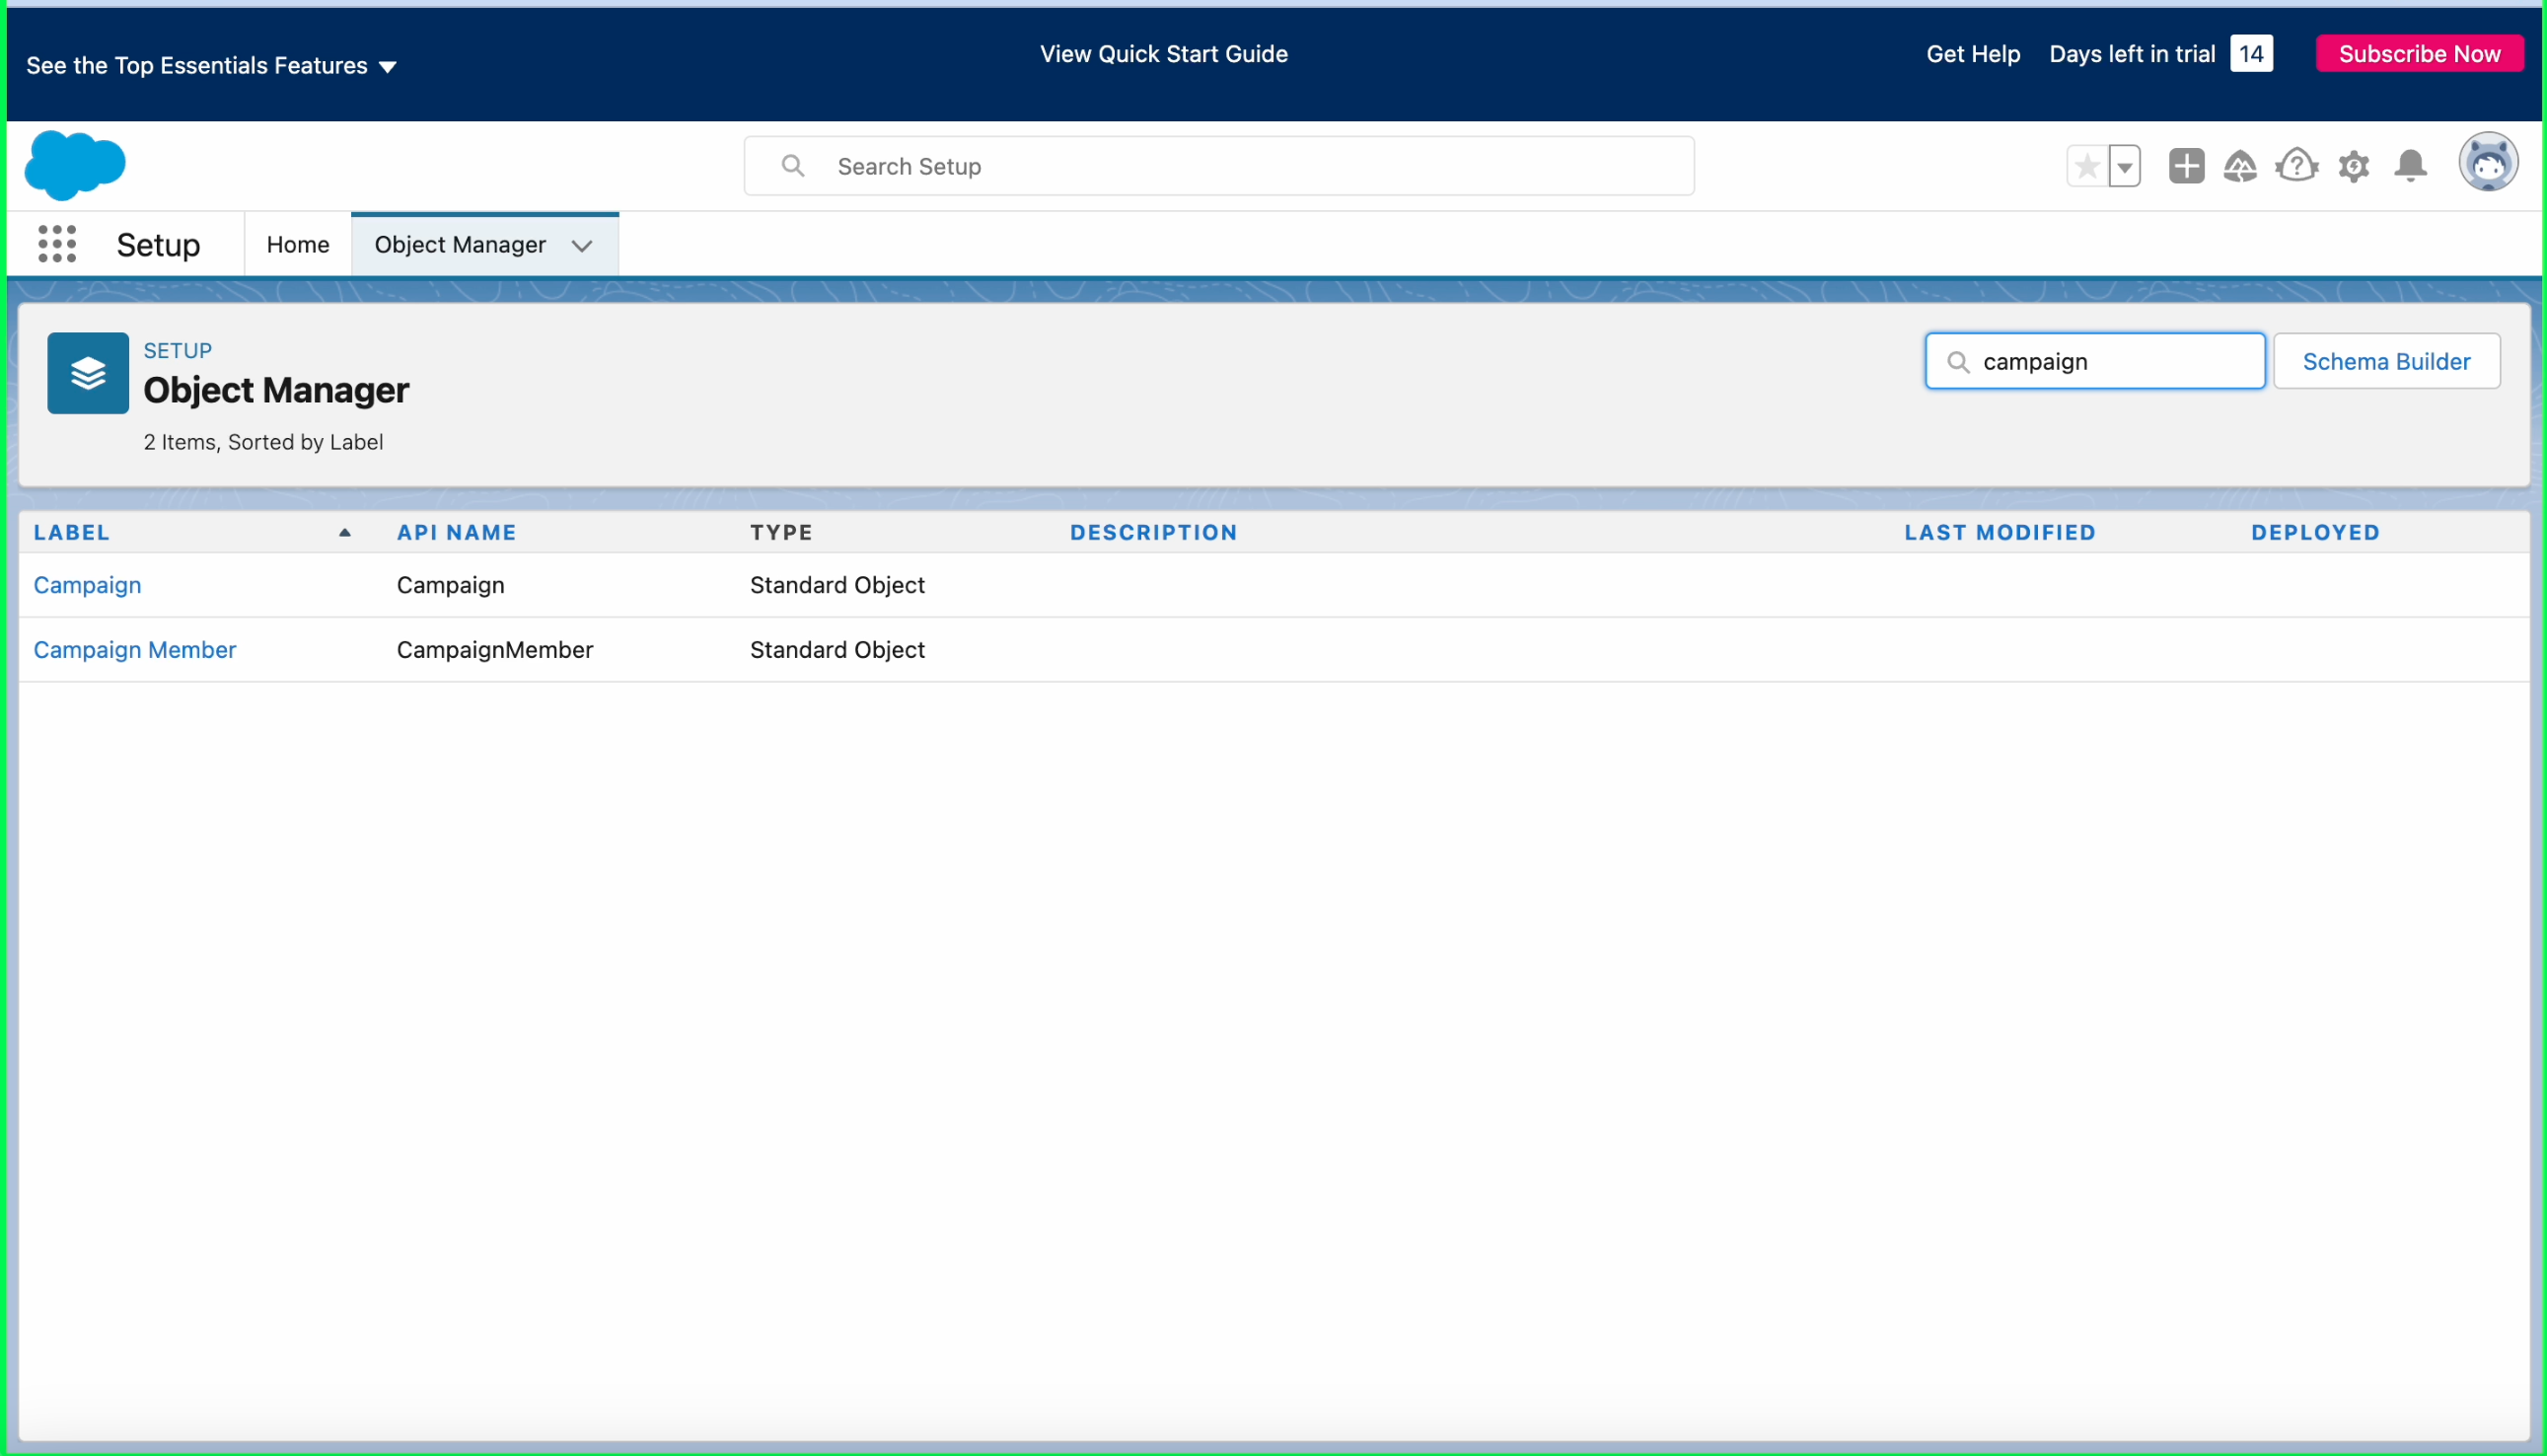
Now, you can edit page layout assignments for the default Campaigns view such that a particular user profile can view the Zuddl Campaign Layout. Go to Object Manager > Campaign.
Inside Campaign, go to Page Layouts and click Page Layout Assignment. This shows the different user profiles with access to the default campaign view.
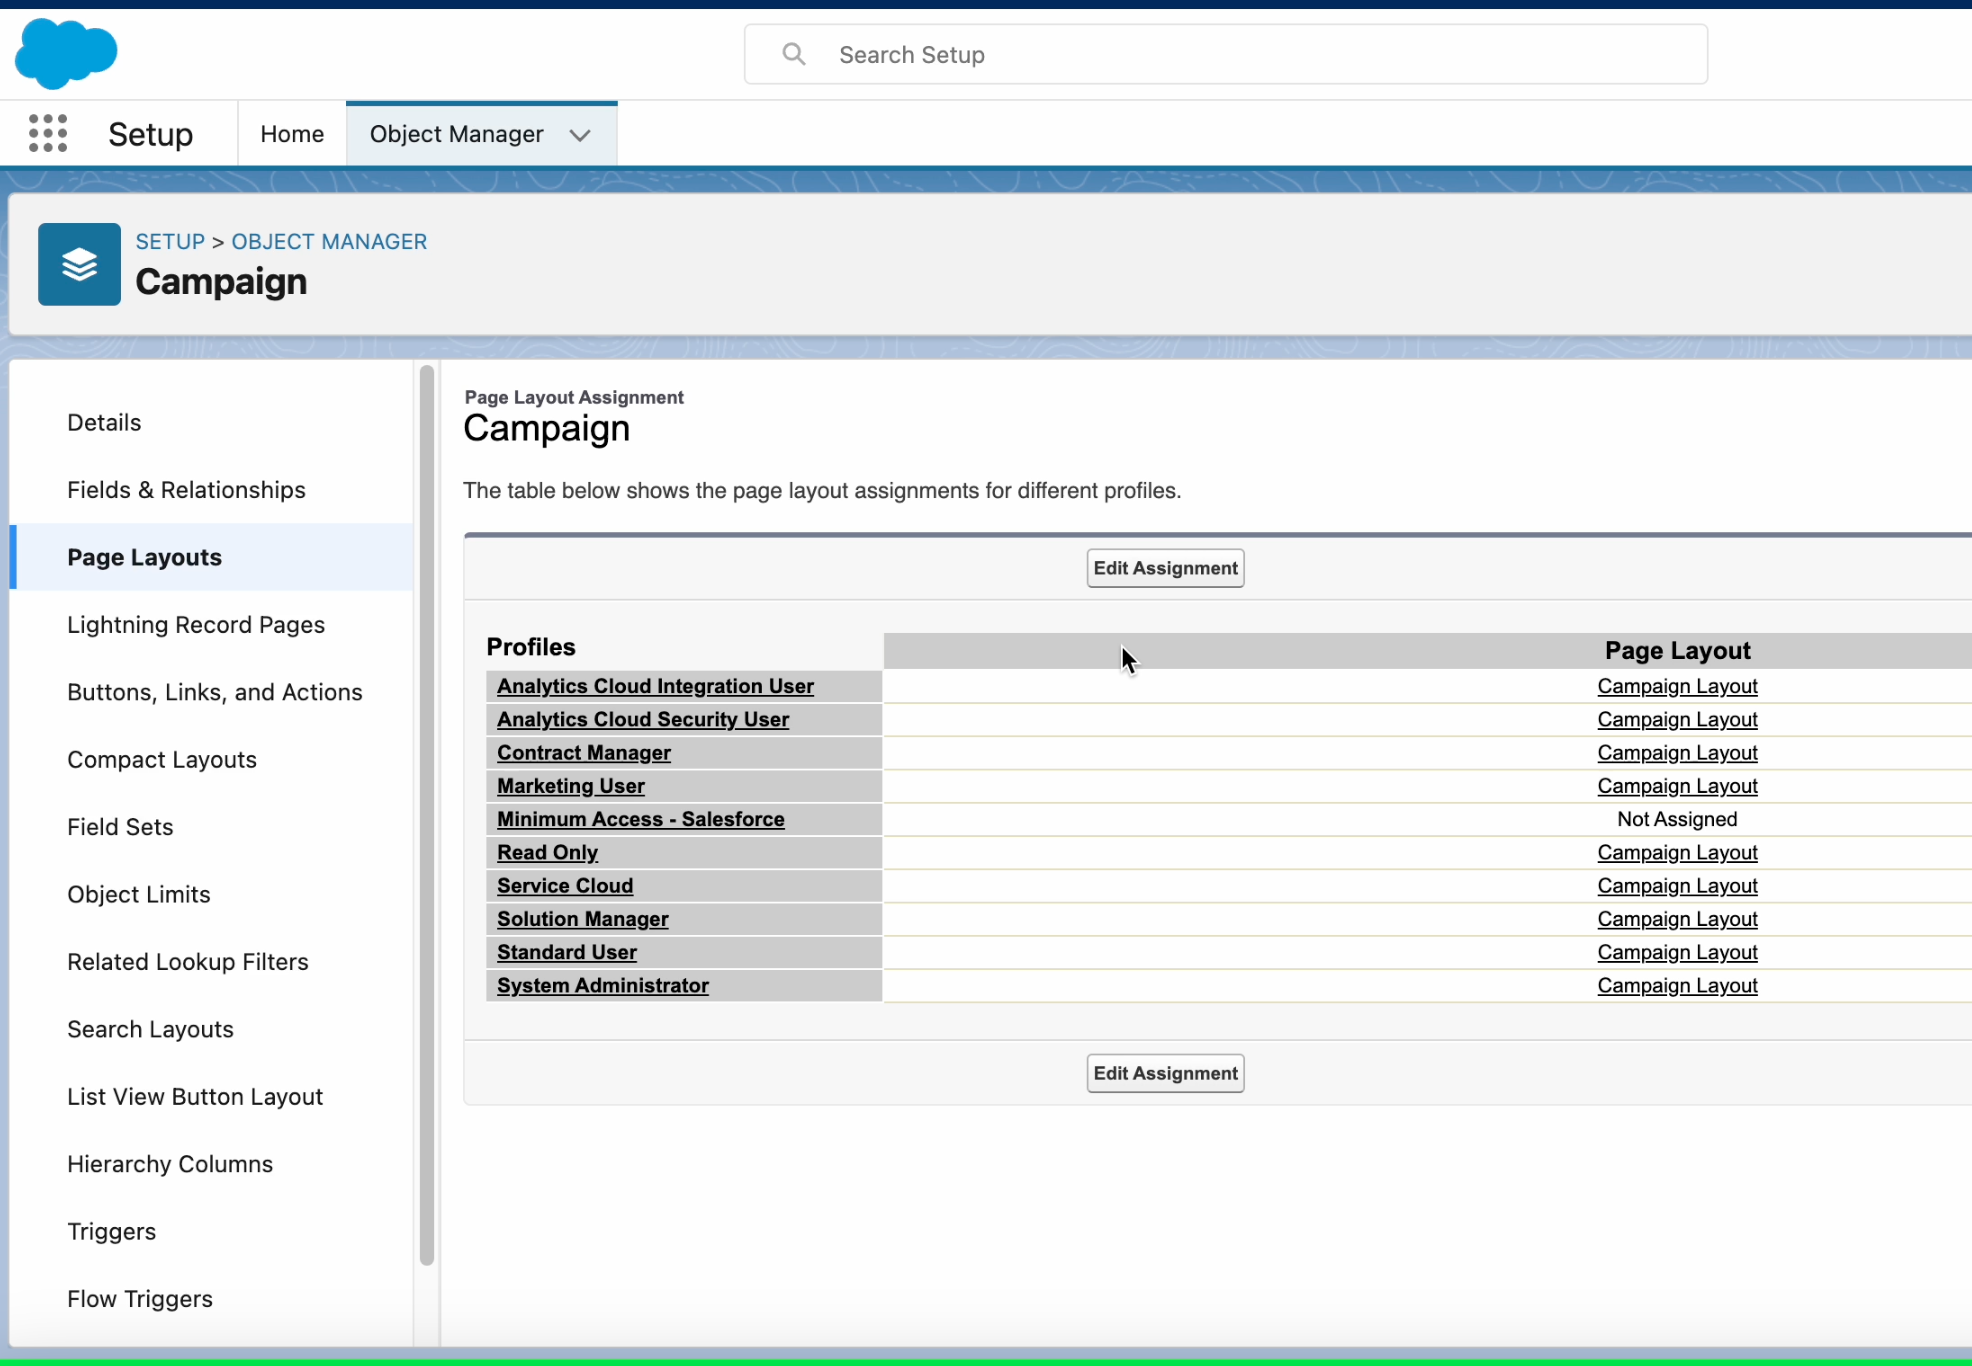
Click Edit Assignment.
Select ‘Zuddl Campaign Layout’ in the Page Layout To Use dropdown.
Select the users to whom the page details should be shown. In this case, we selected Standard User and System Administrator.
Note: The Zuddl Campaign Layout includes all the components of the default Campaign layout in Salesforce.
Click Save. This saves the layout view for the selected users.
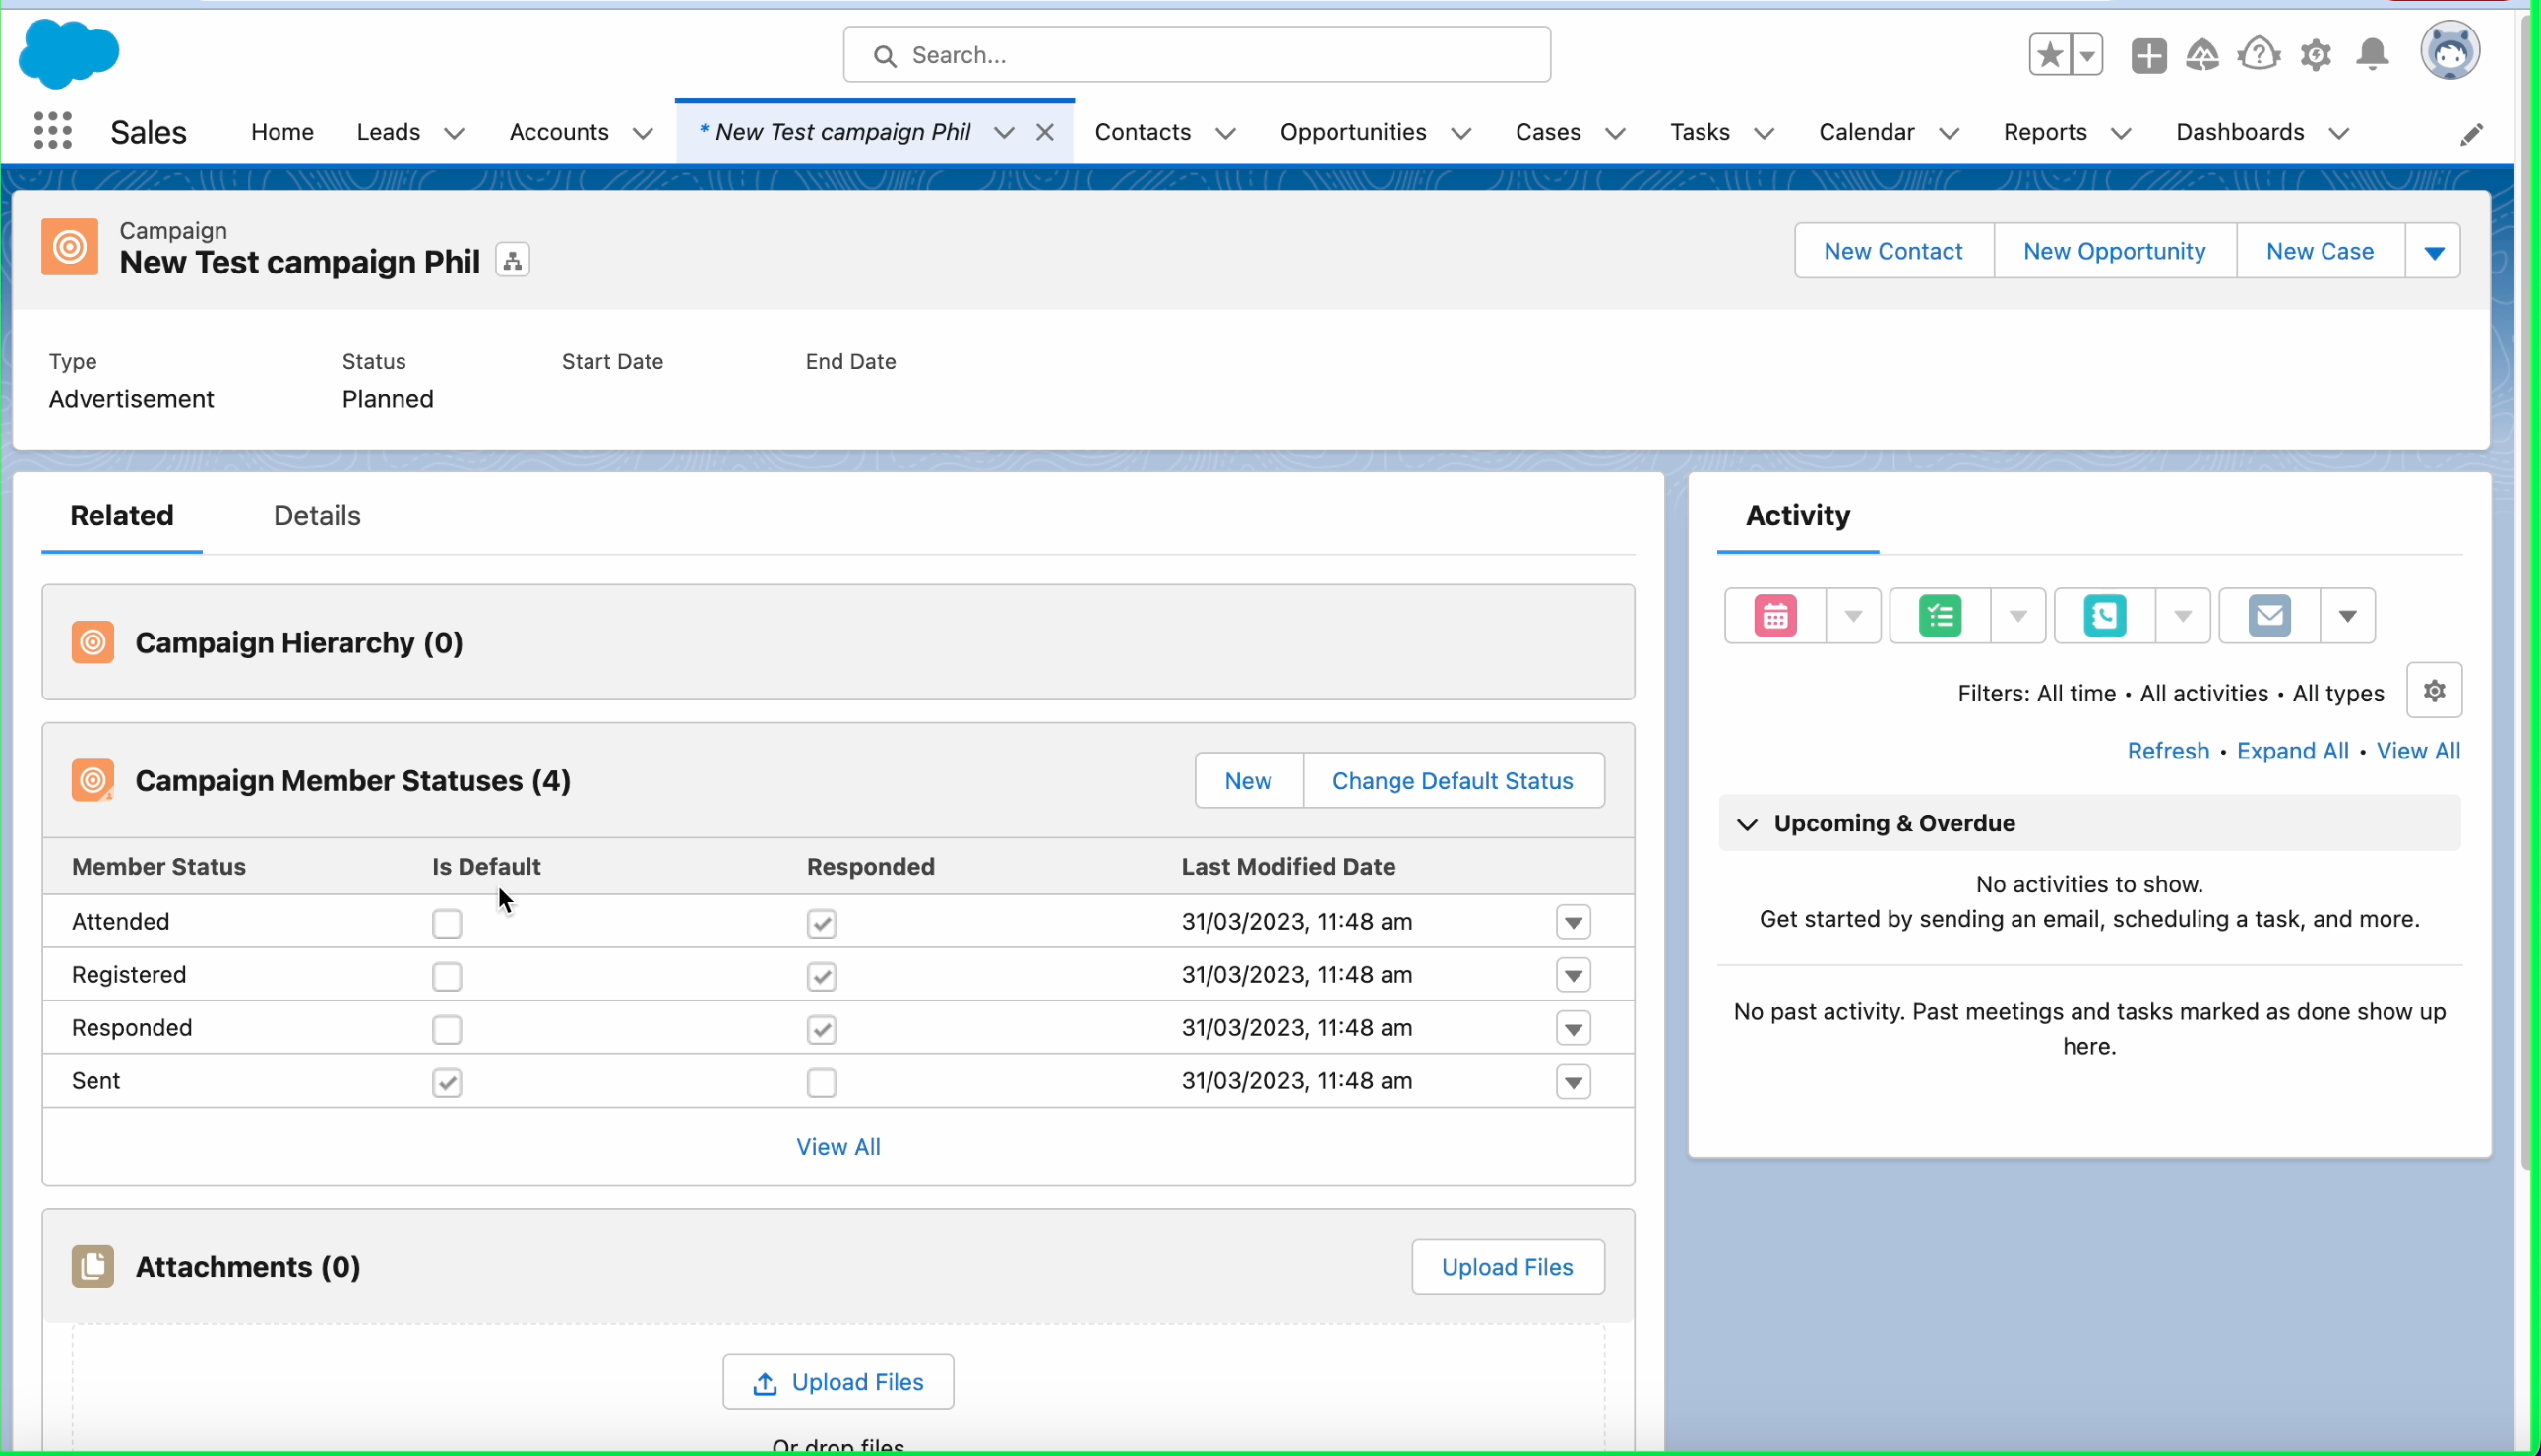
The assigned user profiles can now view the Zuddl campaign layout components in their Marketing or Sales app, as shown below.
Now, you need to configure the layout for campaign members.
Configure campaign member layout (optional step)
Now, you can edit page layout assignments for campaign members such that a particular user profile can view the Zuddl Campaign Layout. Go to Object Manager > Campaign Member.
Inside Campaign member, go to Page Layouts and click Page Layout Assignment. This shows the different user profiles with view access to the default campaign.
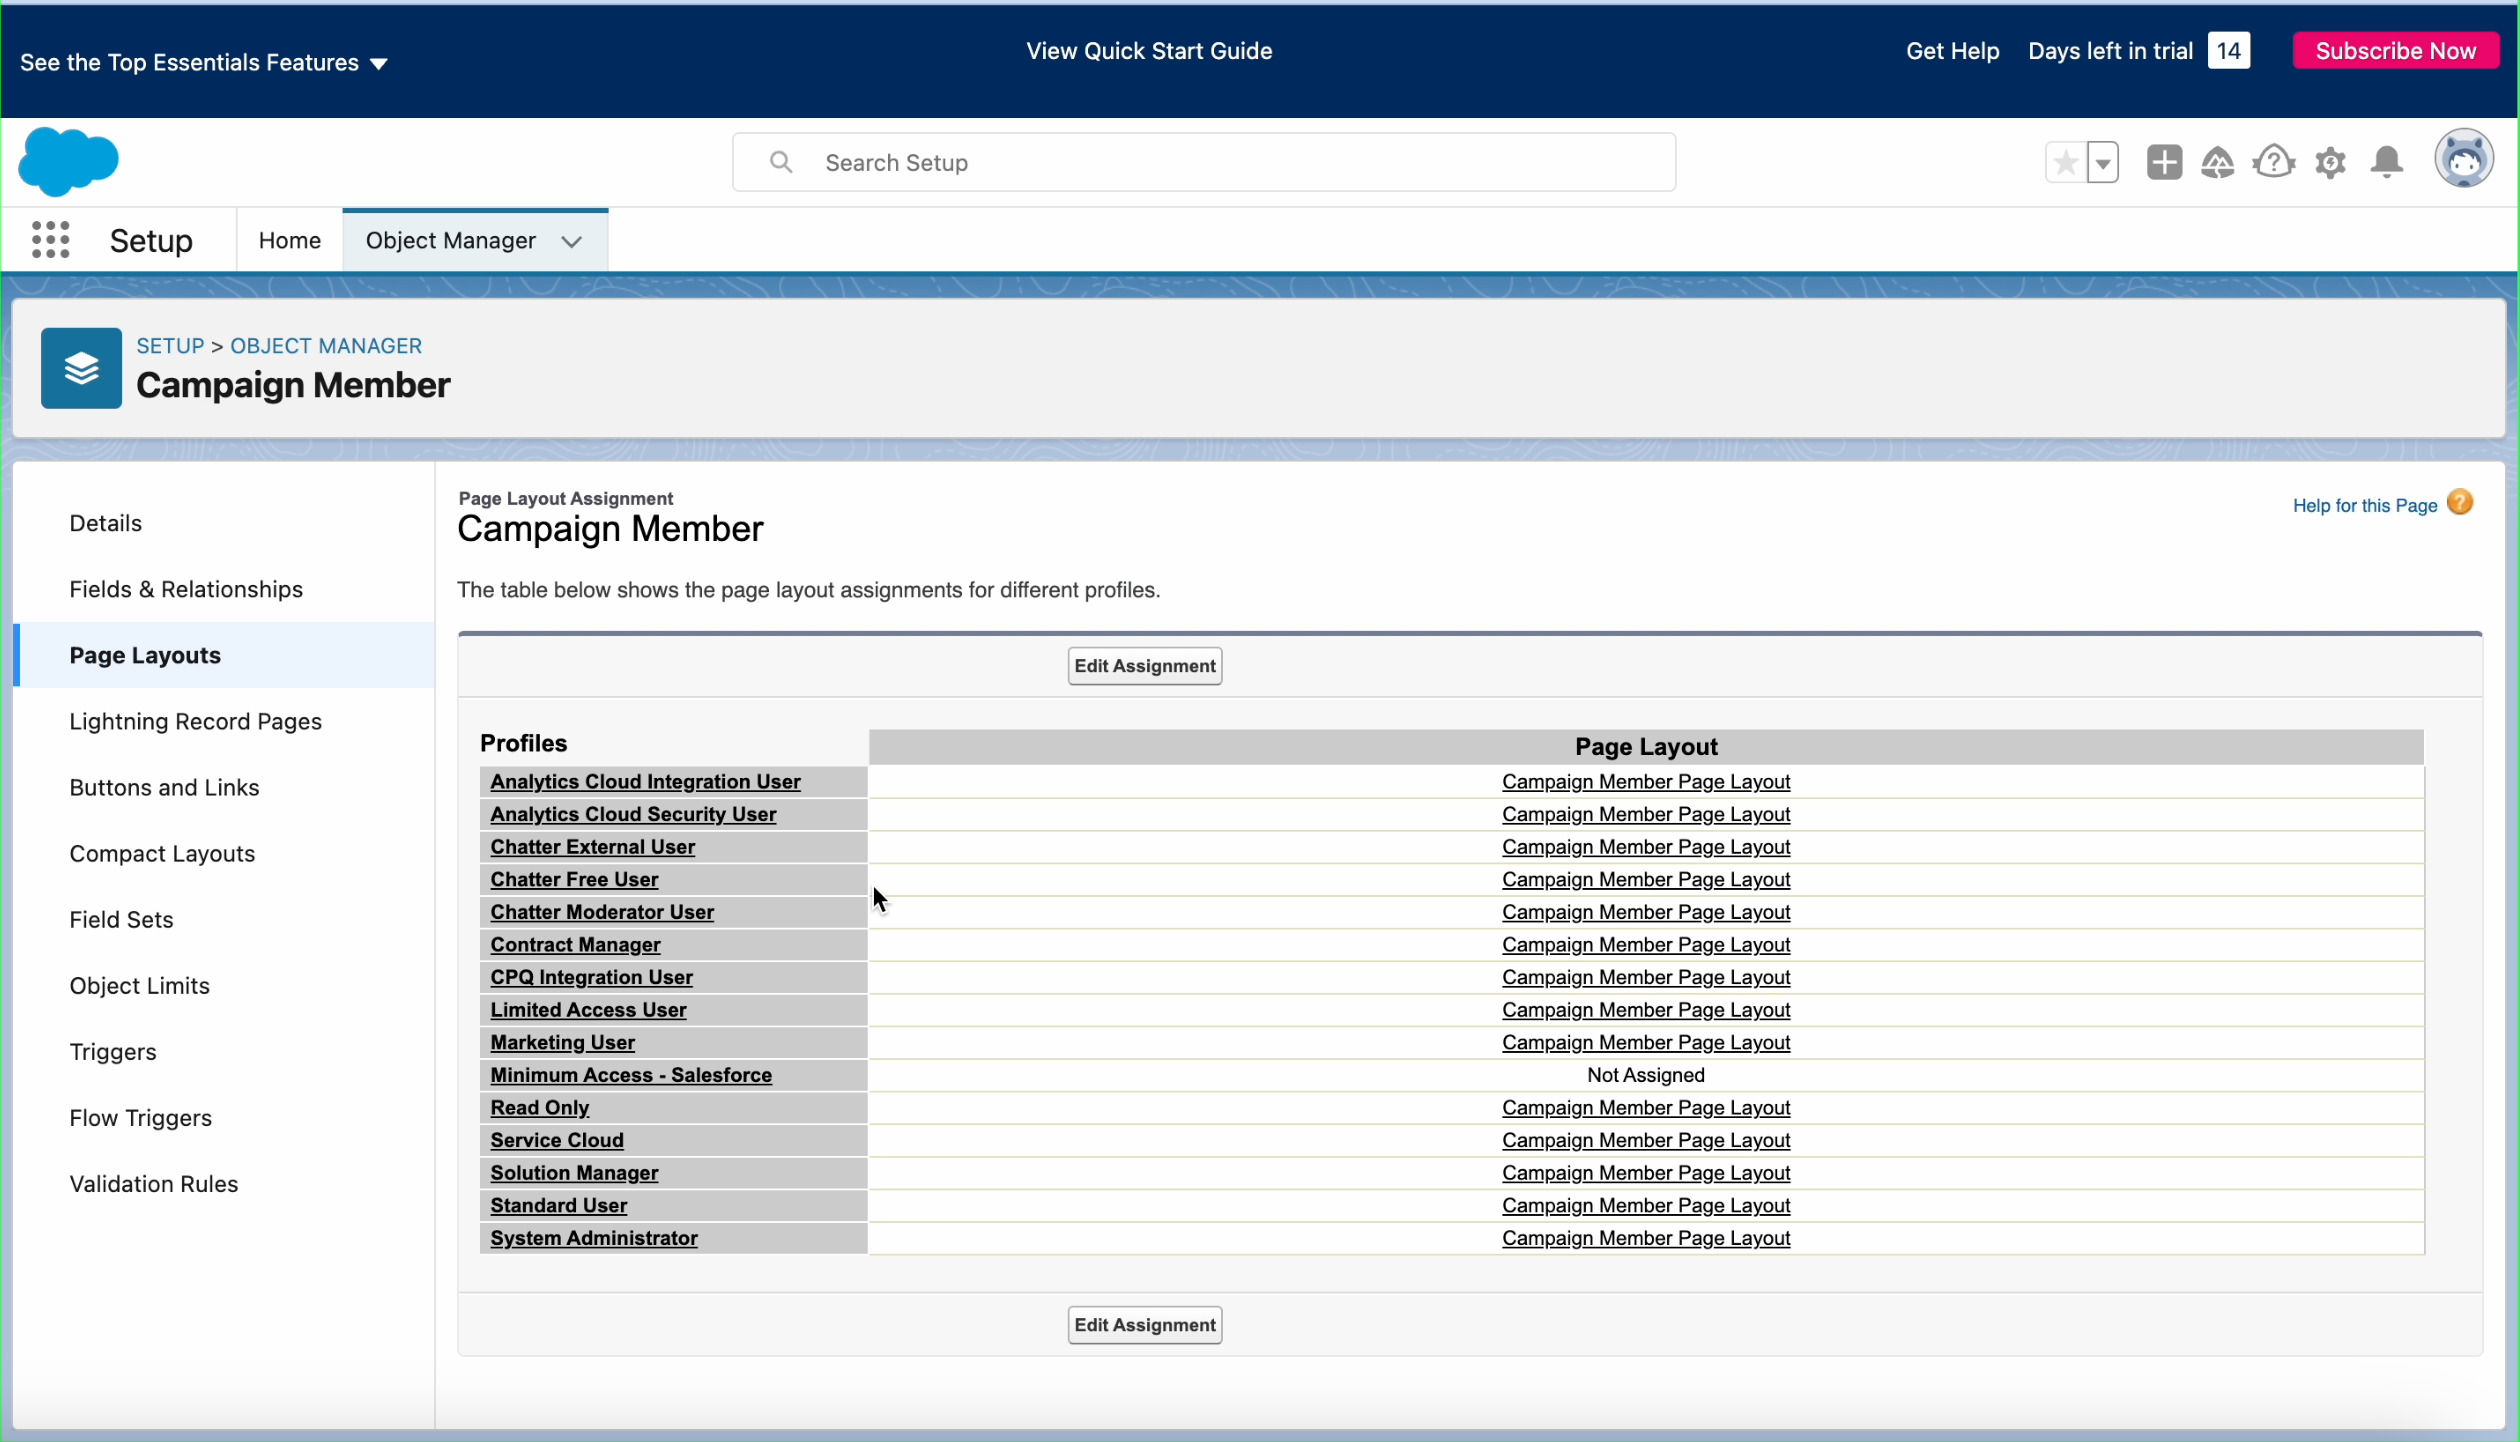
Click Edit Assignment.
Select ‘Zuddl Campaign Member Layout’ in the Page Layout To Use dropdown.
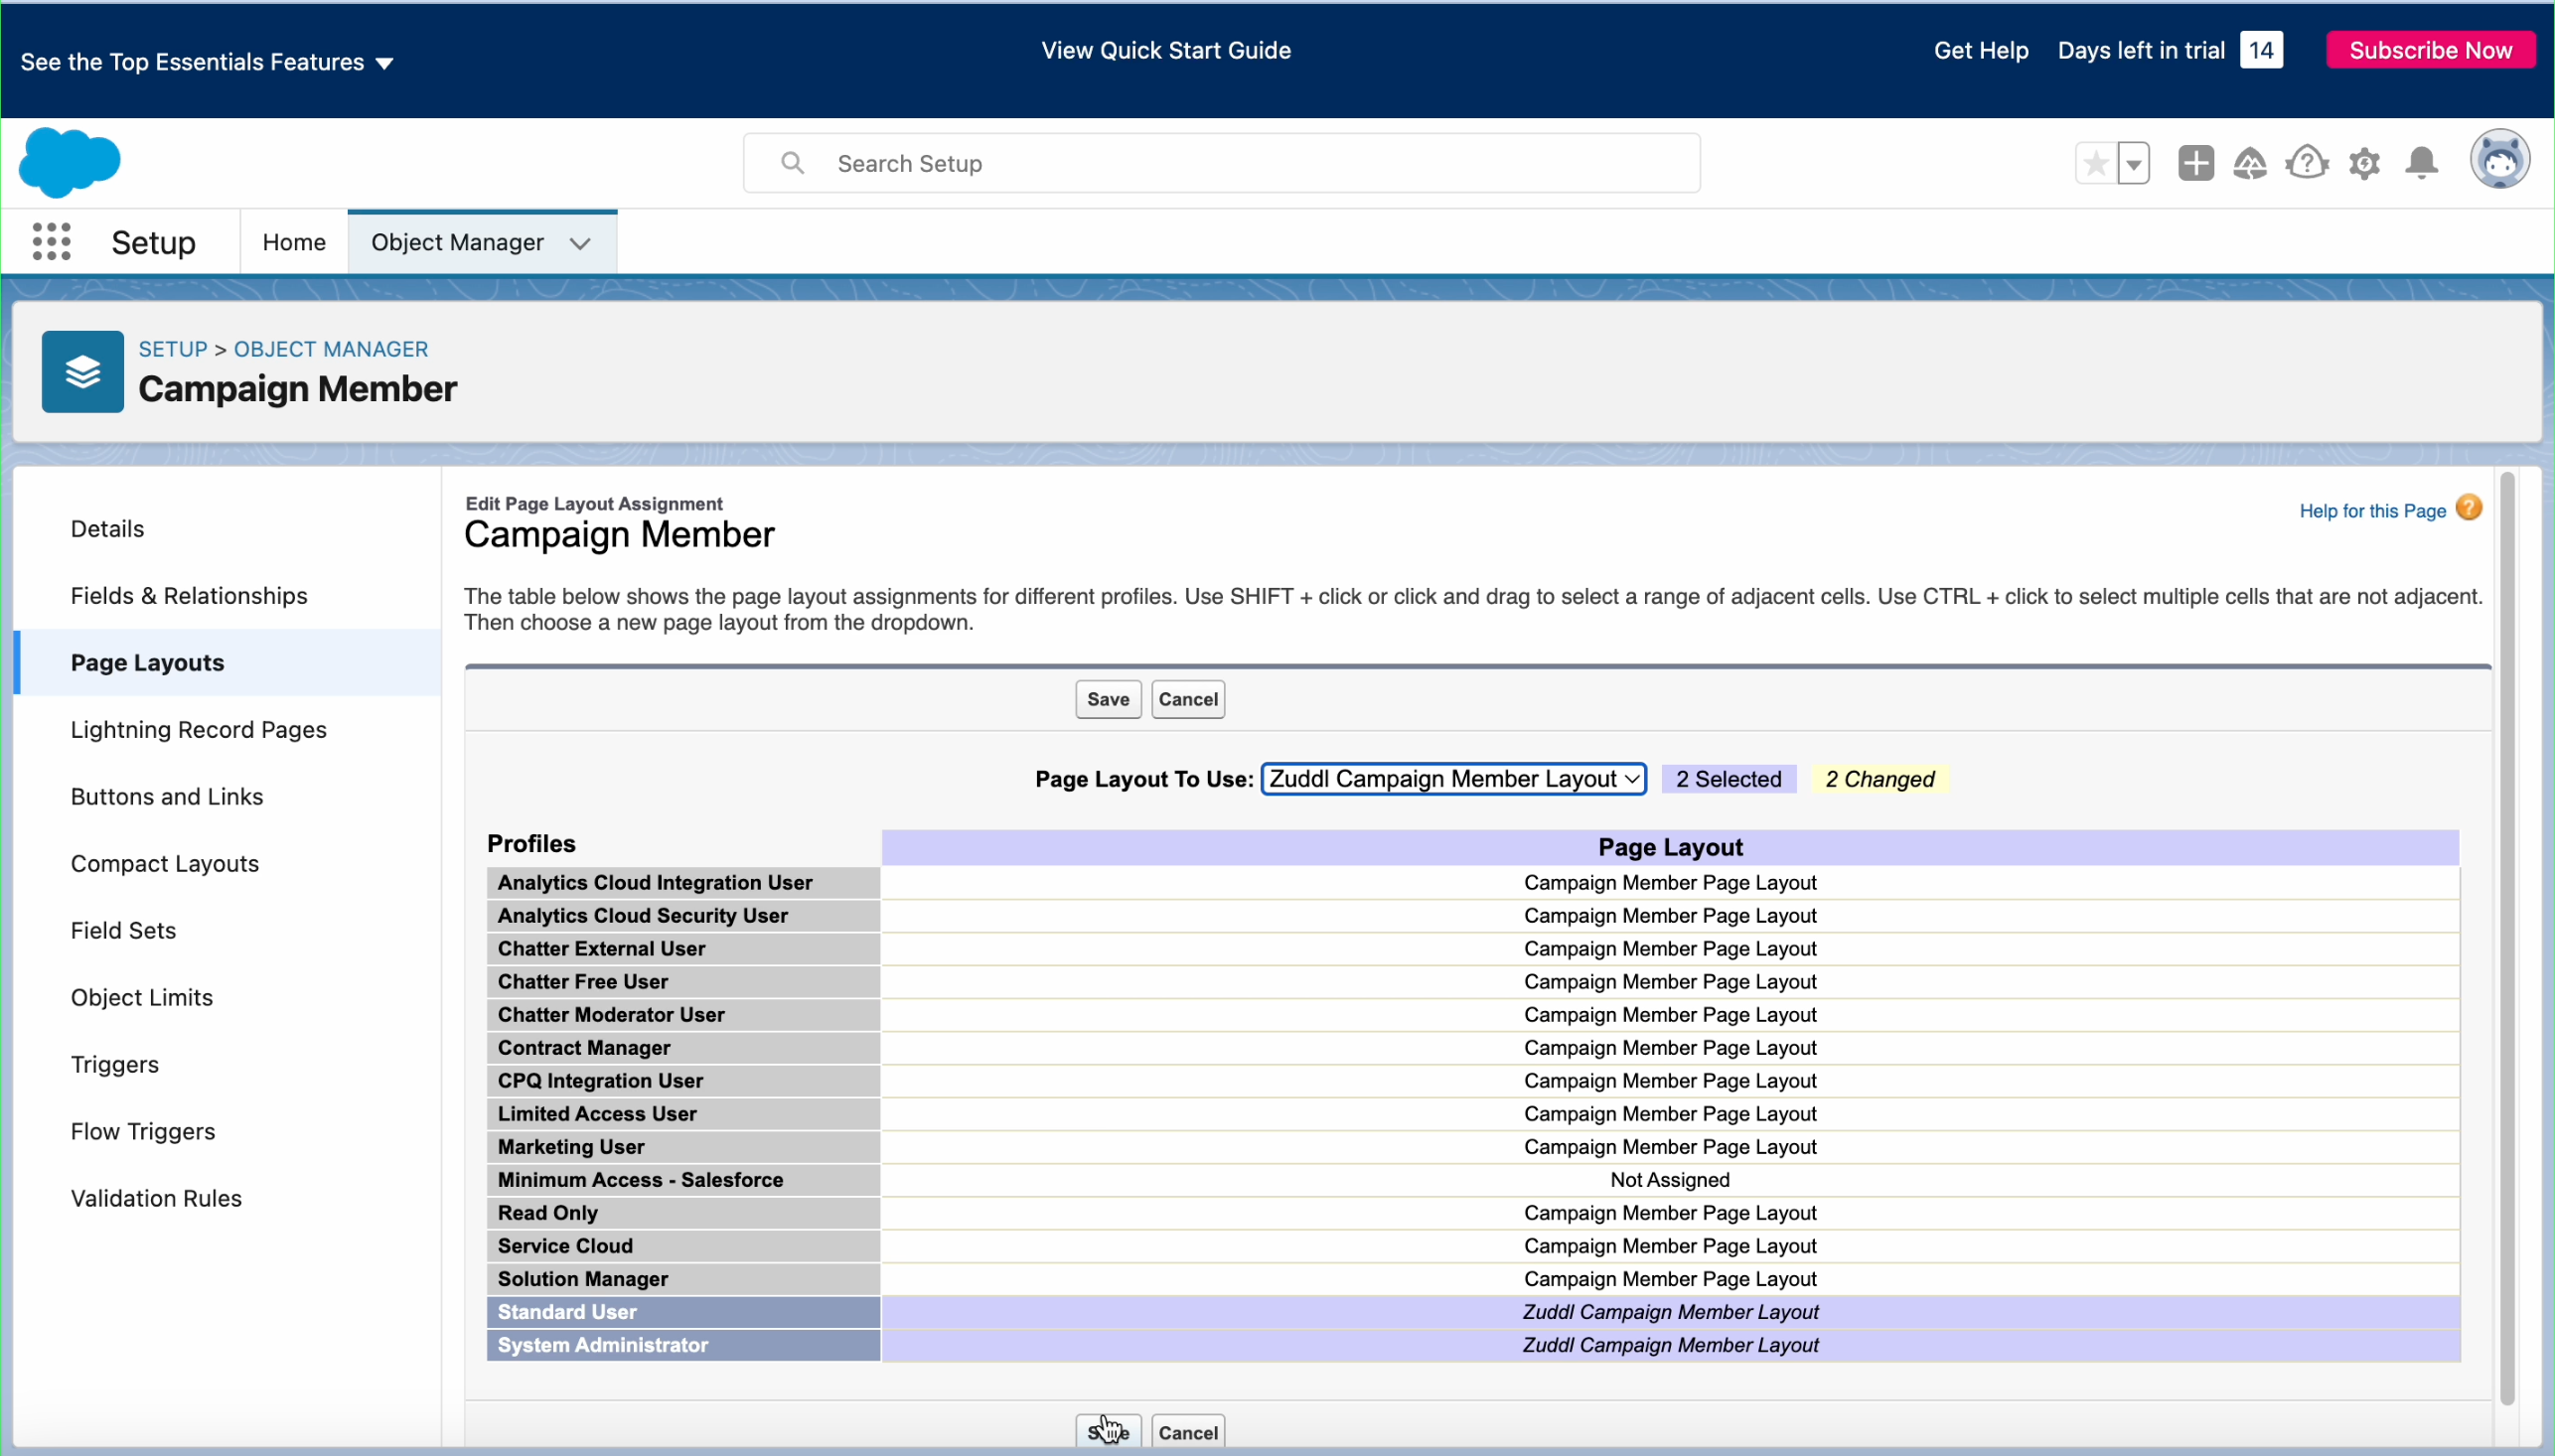
Select the users to whom the Zuddl Event Activities should be shown. In this case, we selected Standard User and System Administrator.
Click Save. This saves the layout view for the selected users.
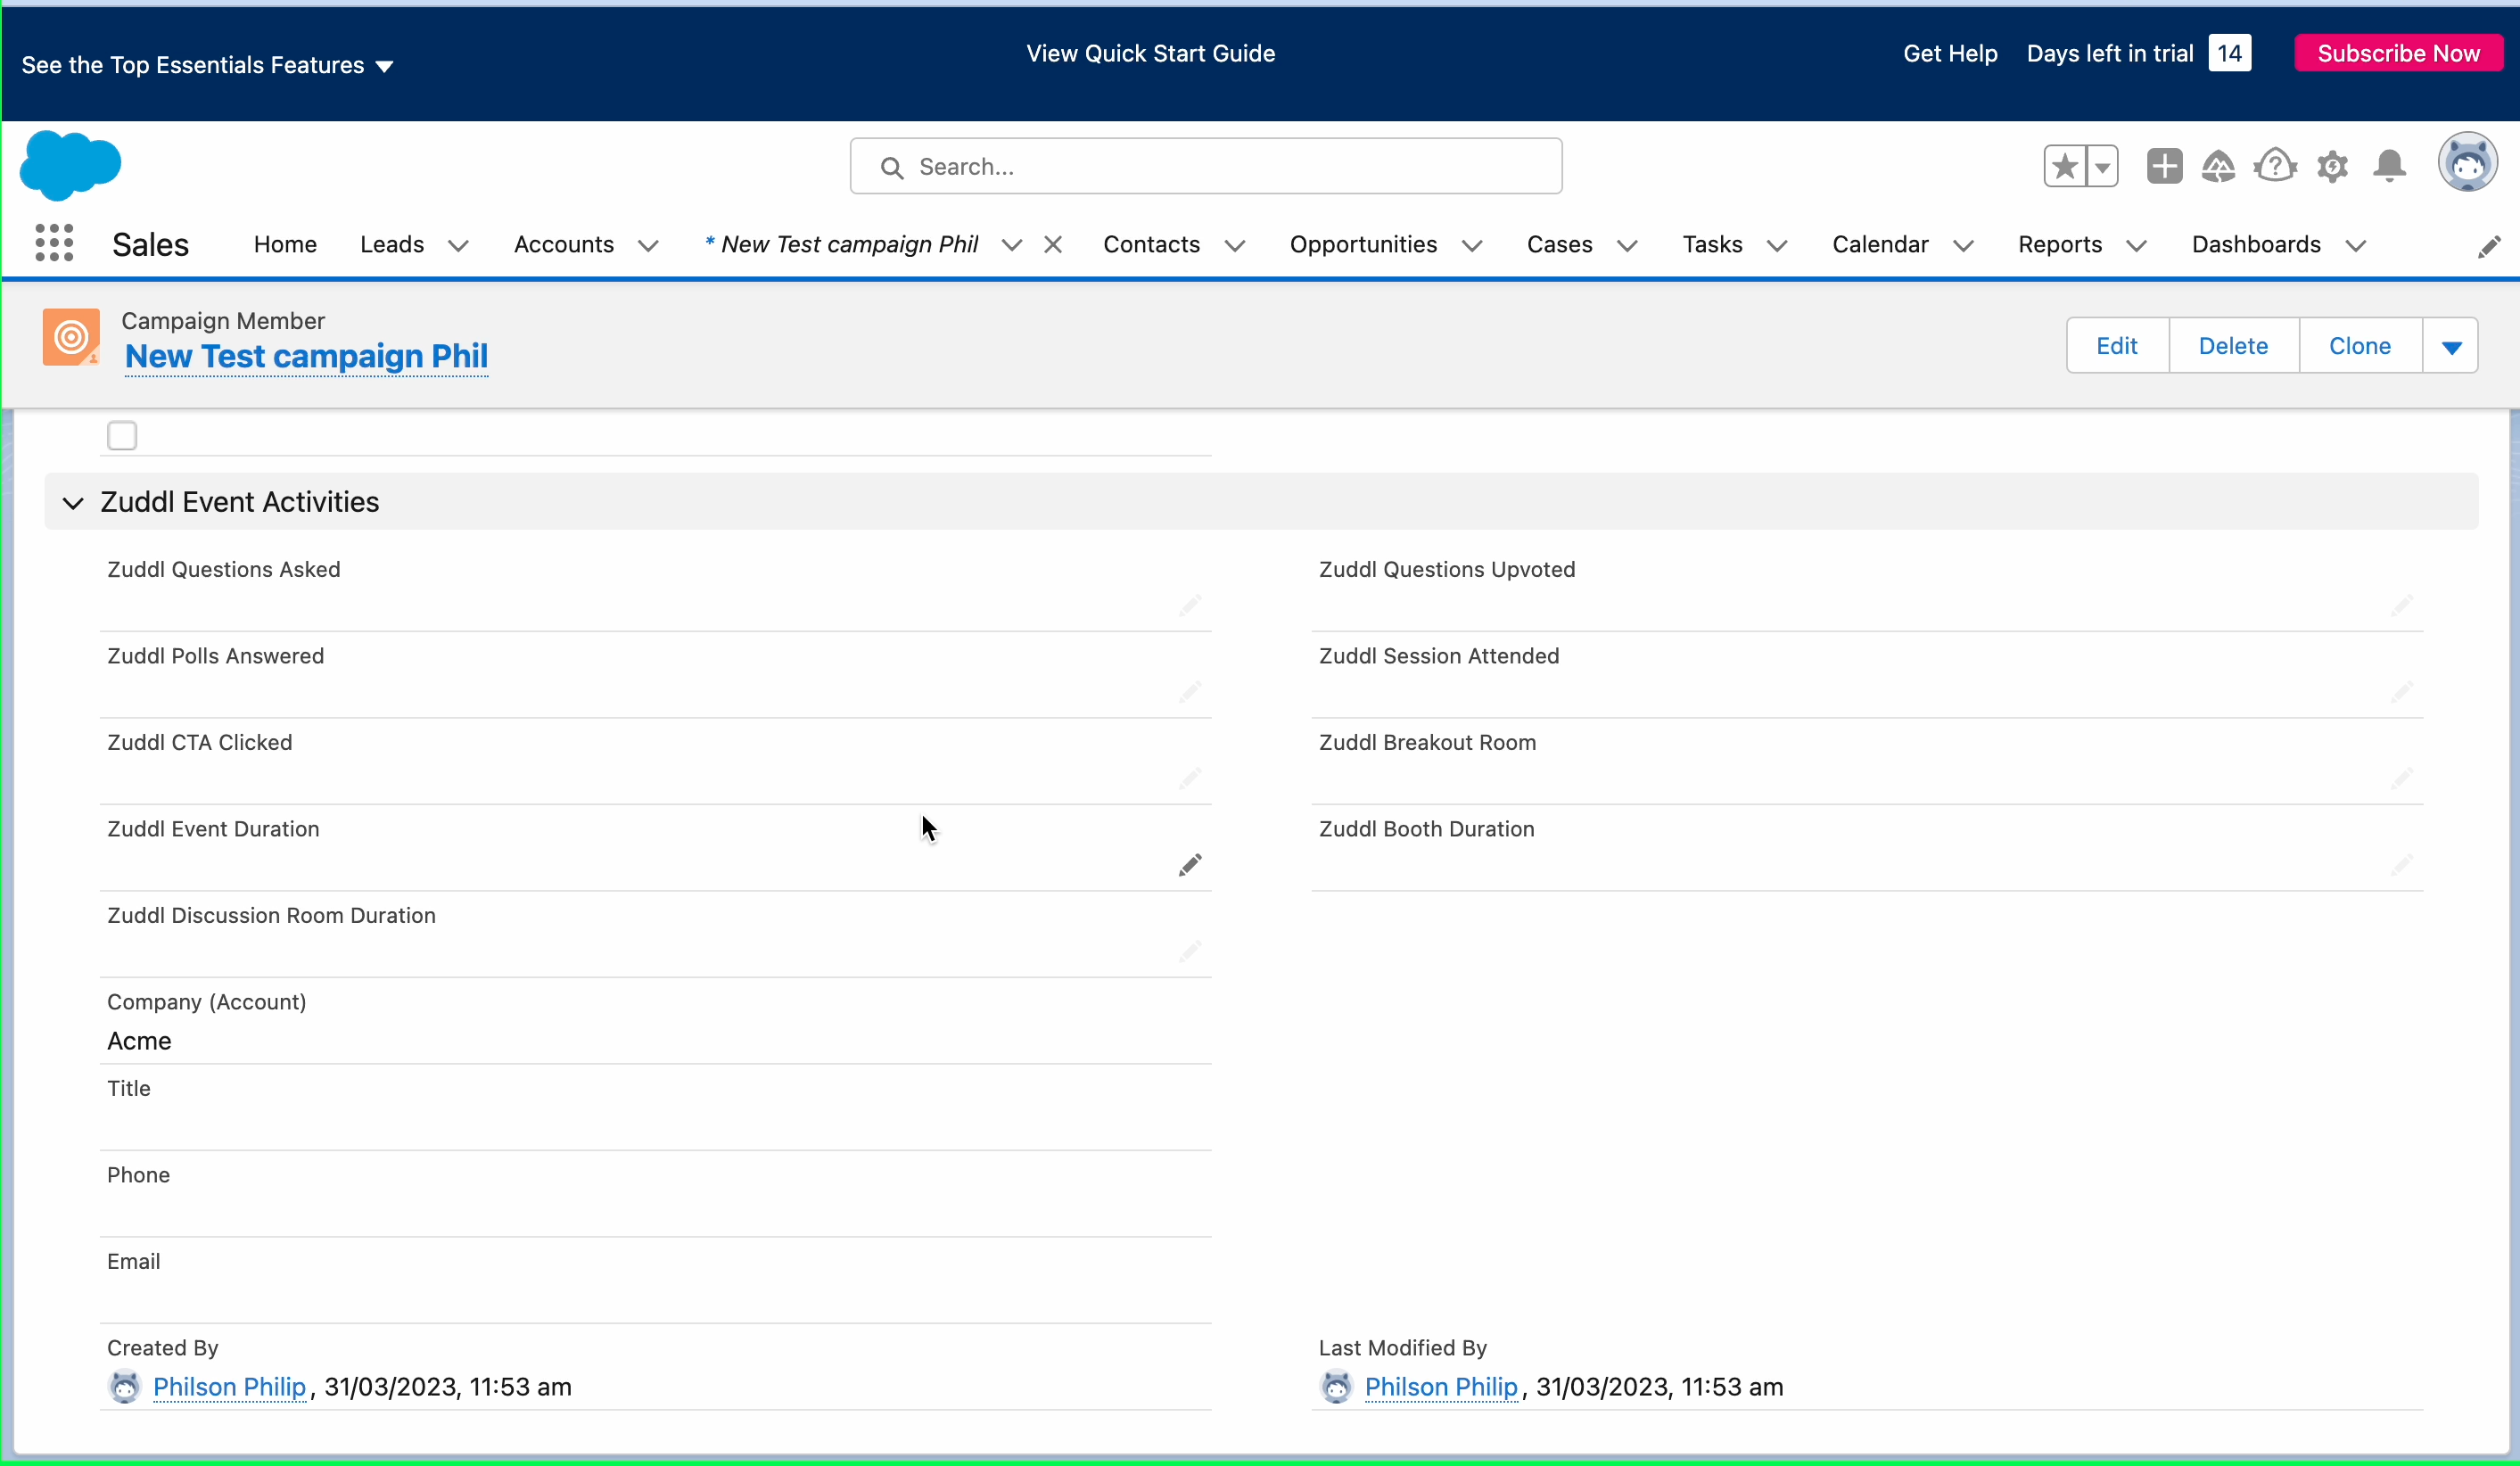
The assigned user profiles can now view the Zuddl campaign member layout components in their Sales app, as shown below.
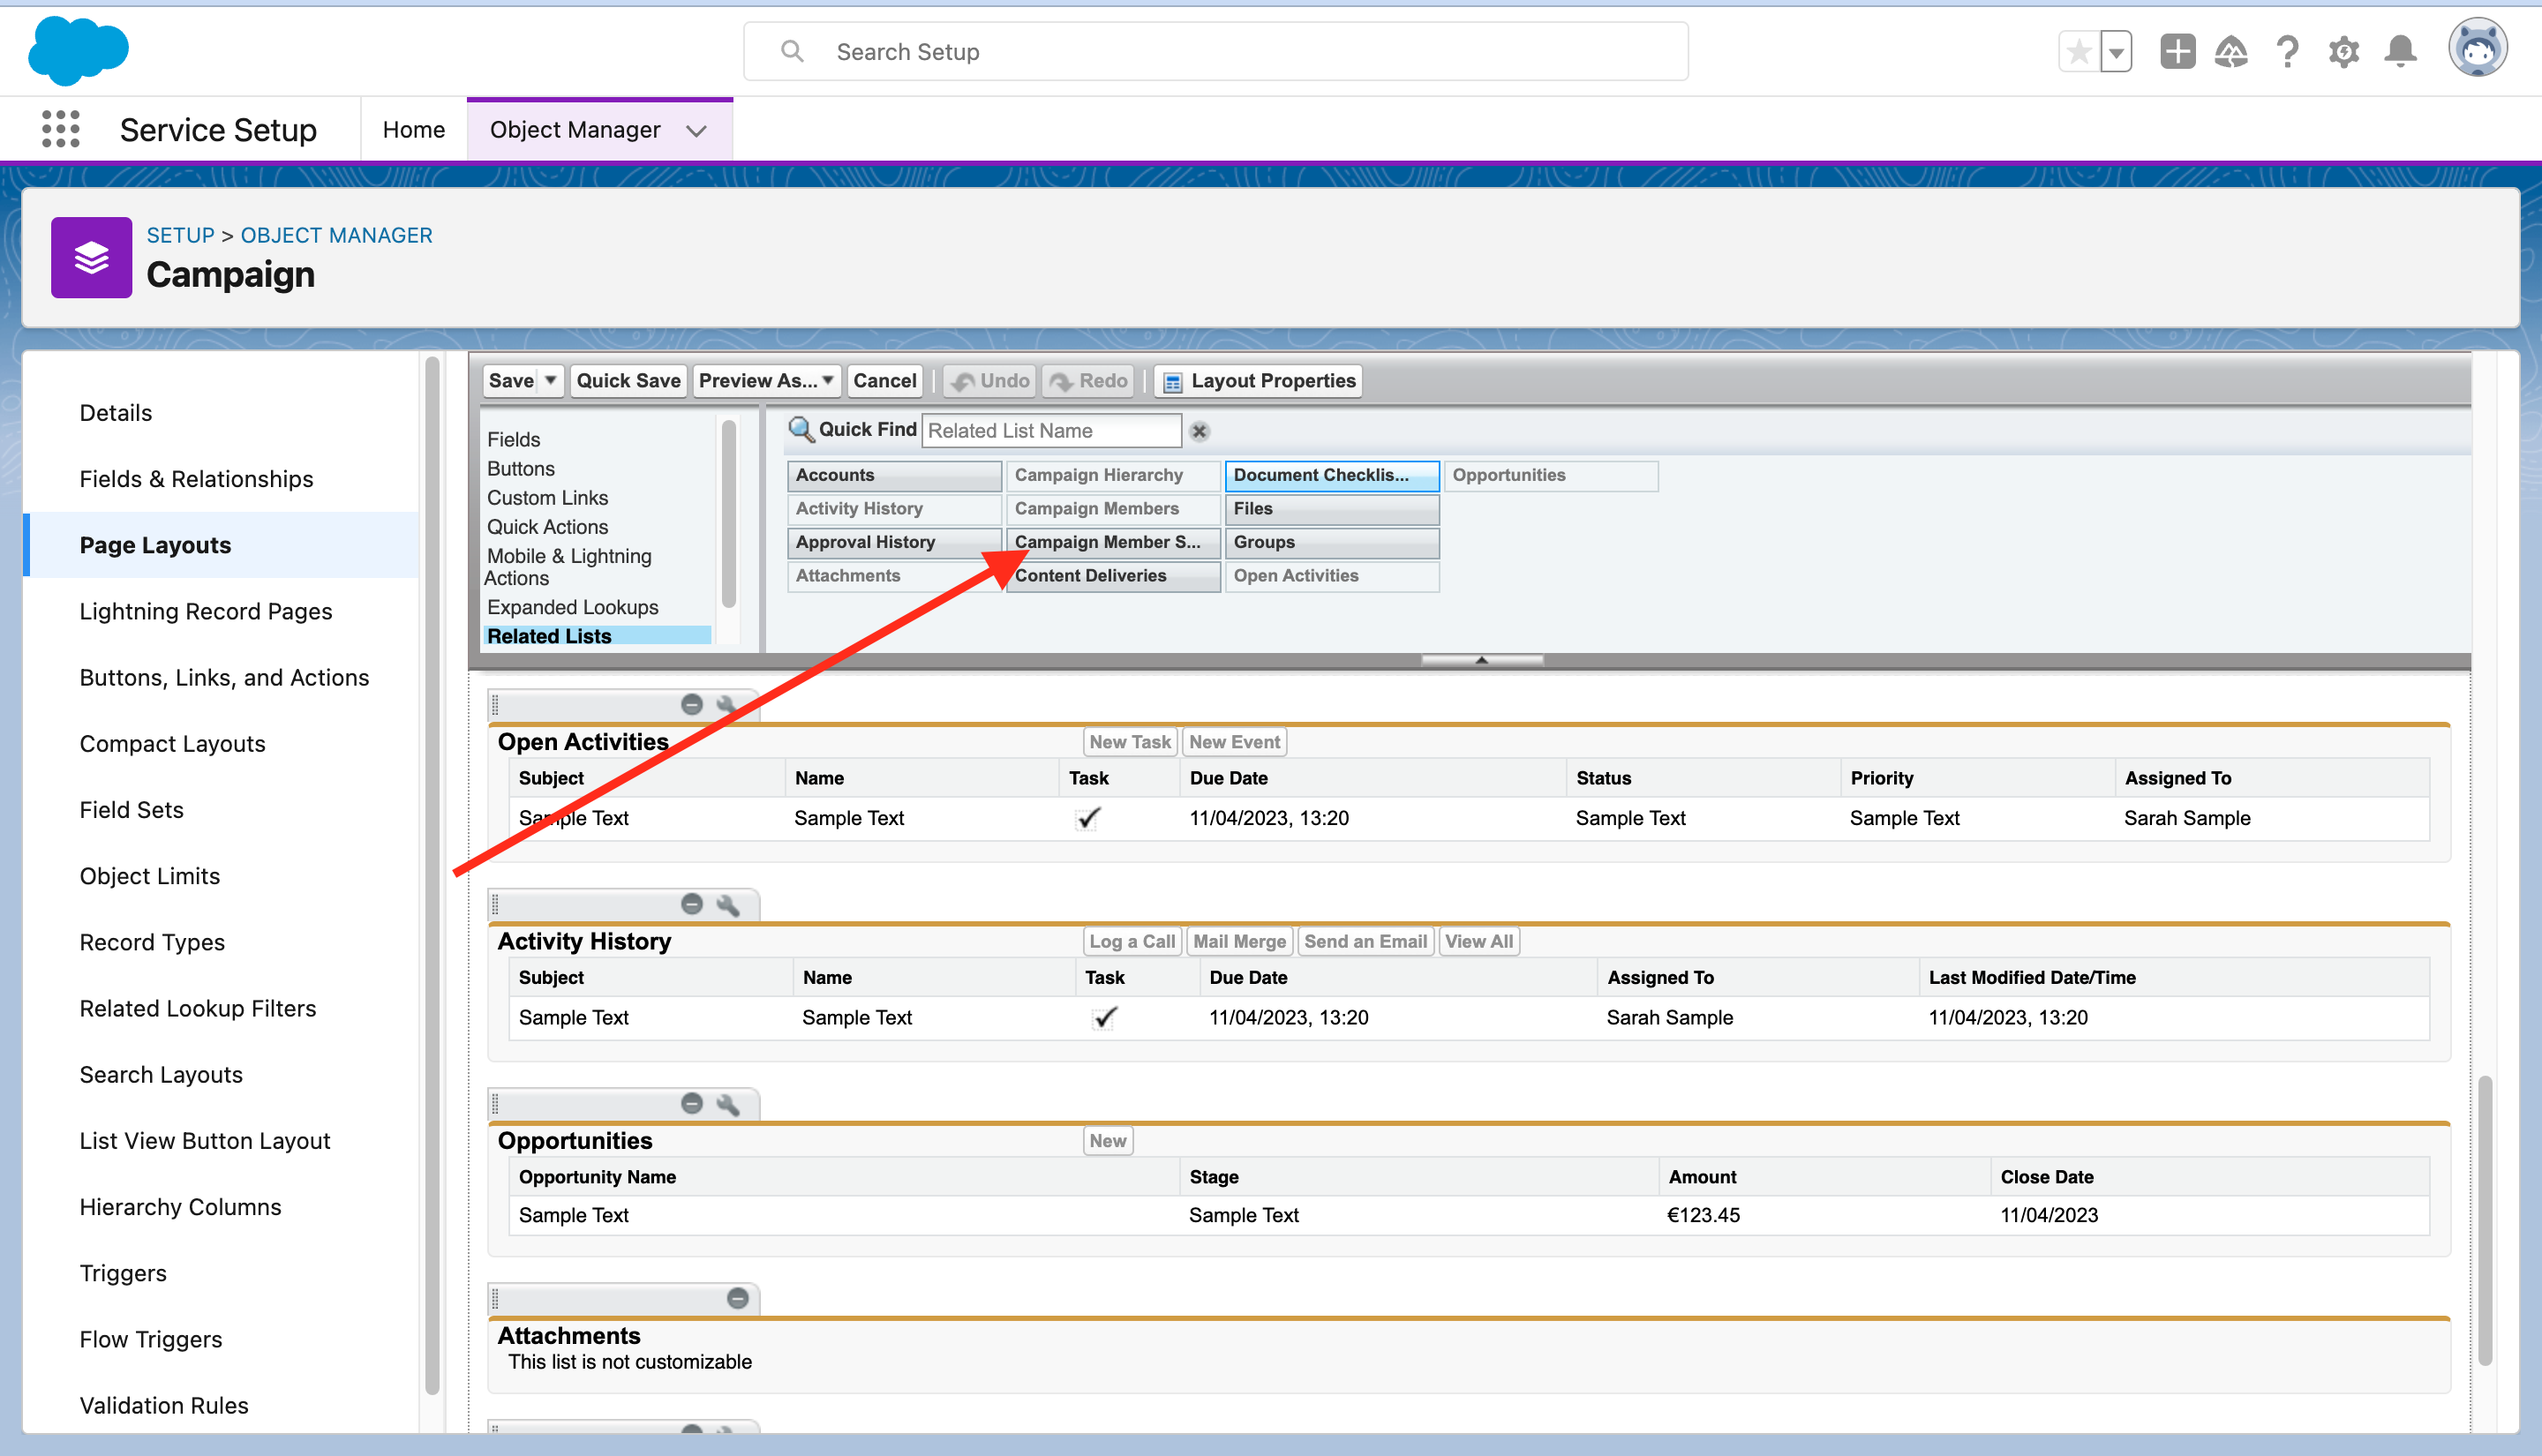
Configure objects manually
If you wish to use the default campaign layout, you can add the Campaign Member Status (under the Related Lists) to your default campaign page layout. After you have positioned the Campaign Member Status related list to the page layout, Zuddl statuses will start showing up.
This is a one time settings for all campaigns.
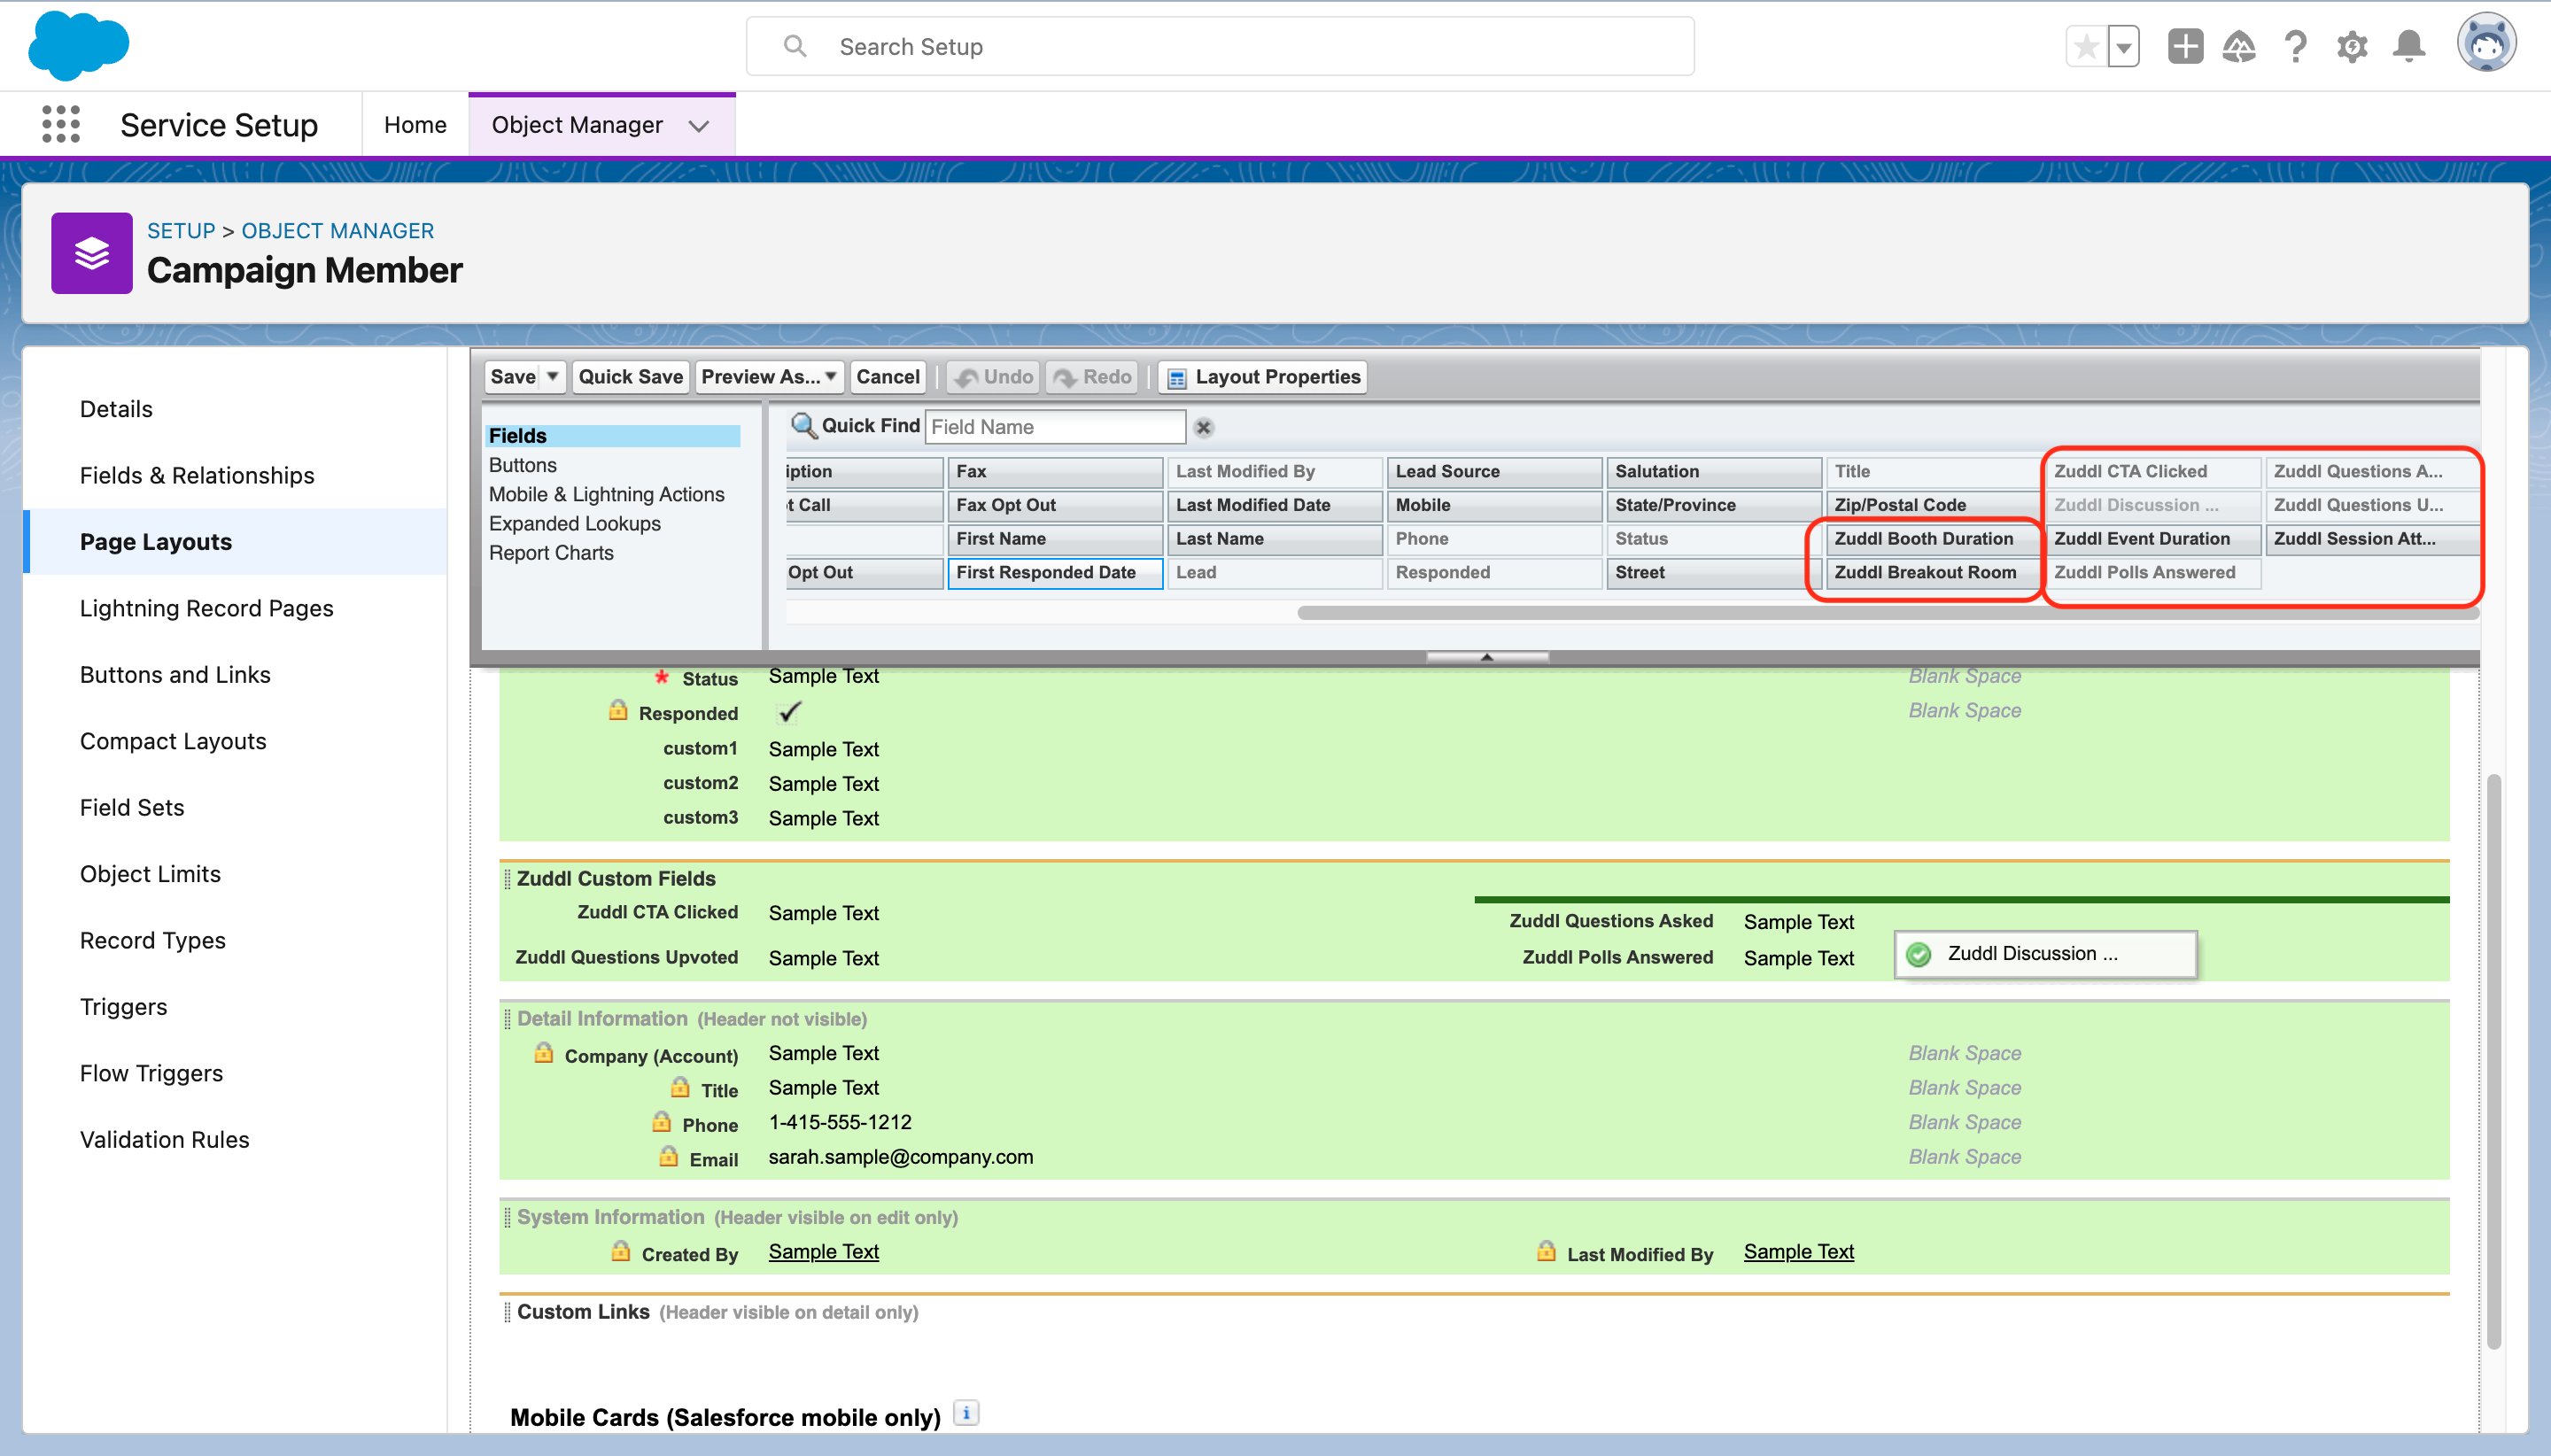
Similarly, you can add Zuddl activity fields to the default campaign member view using the page layout tool (under Fields property) as shown below:
Import data to the campaign member object
If you are migrating from an unmanaged package and have exported the data on your older installation, follow the steps explained below to import it to your newly installed managed package.
After installing the required managed package, follow the steps below to import the data to the CampaignMember object.
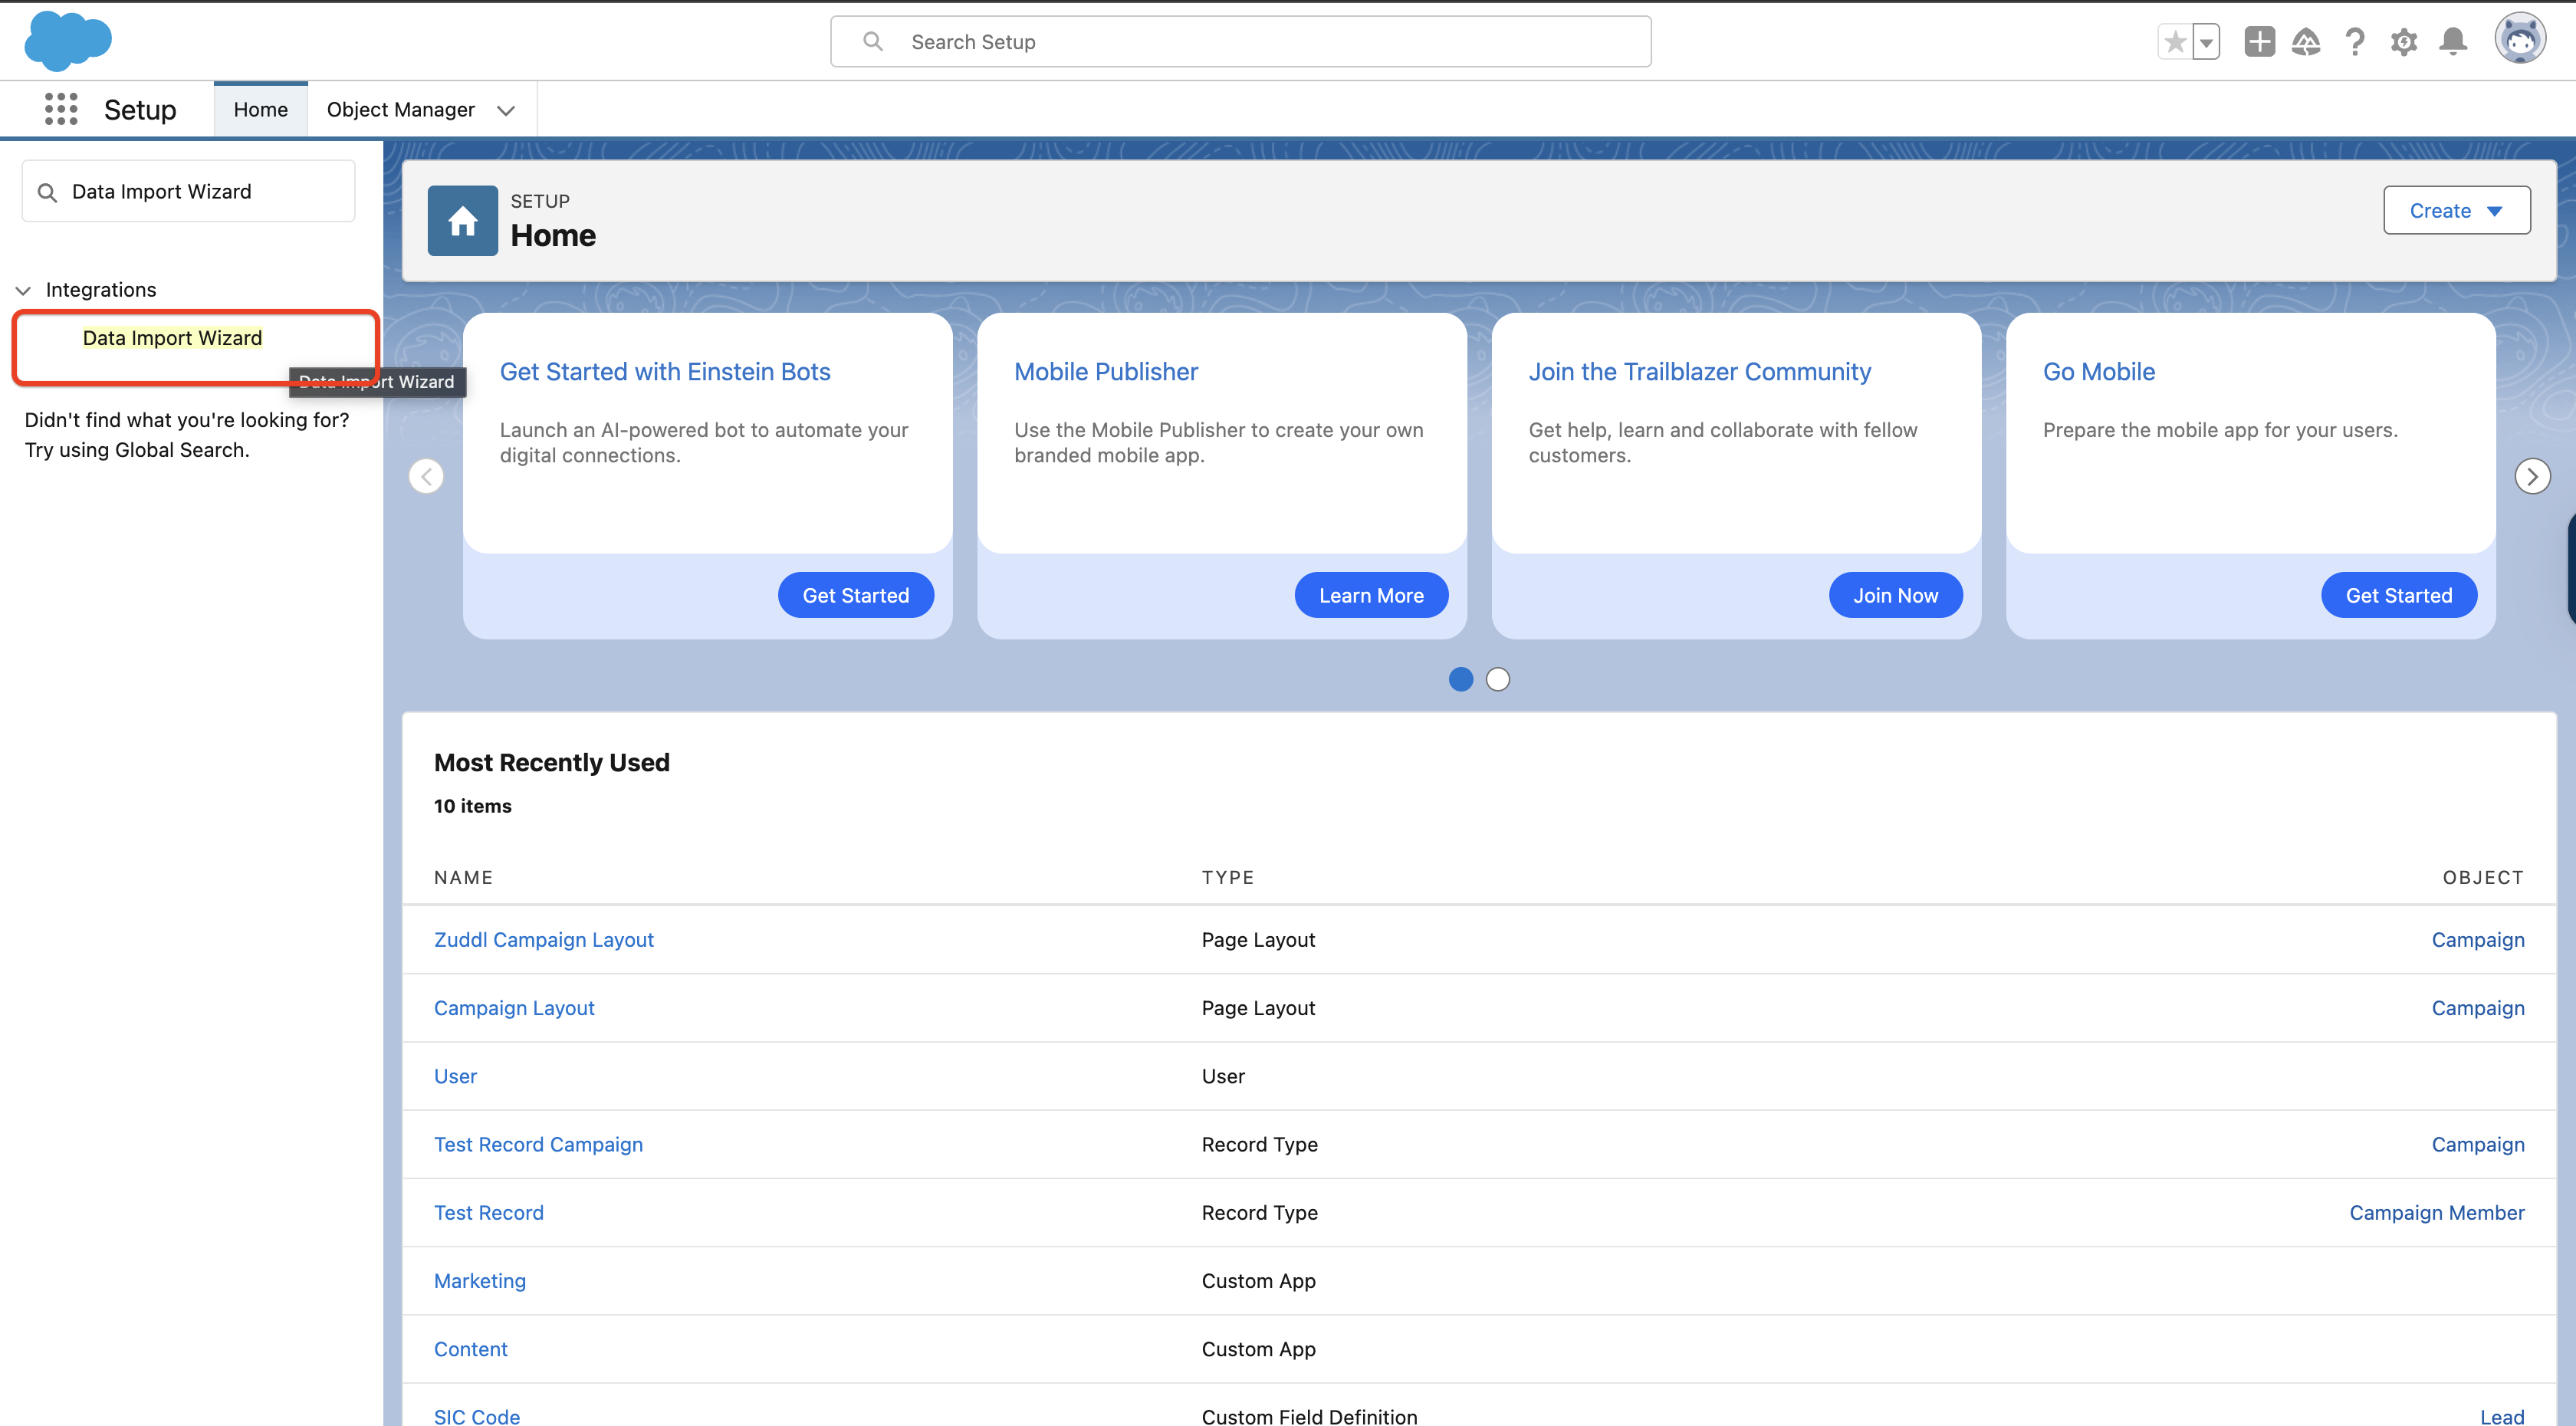
On your Salesforce Setup page, search for ‘Data Import Wizard’ and click on ‘Data Import Wizard’ under Integrations on the left navigation.
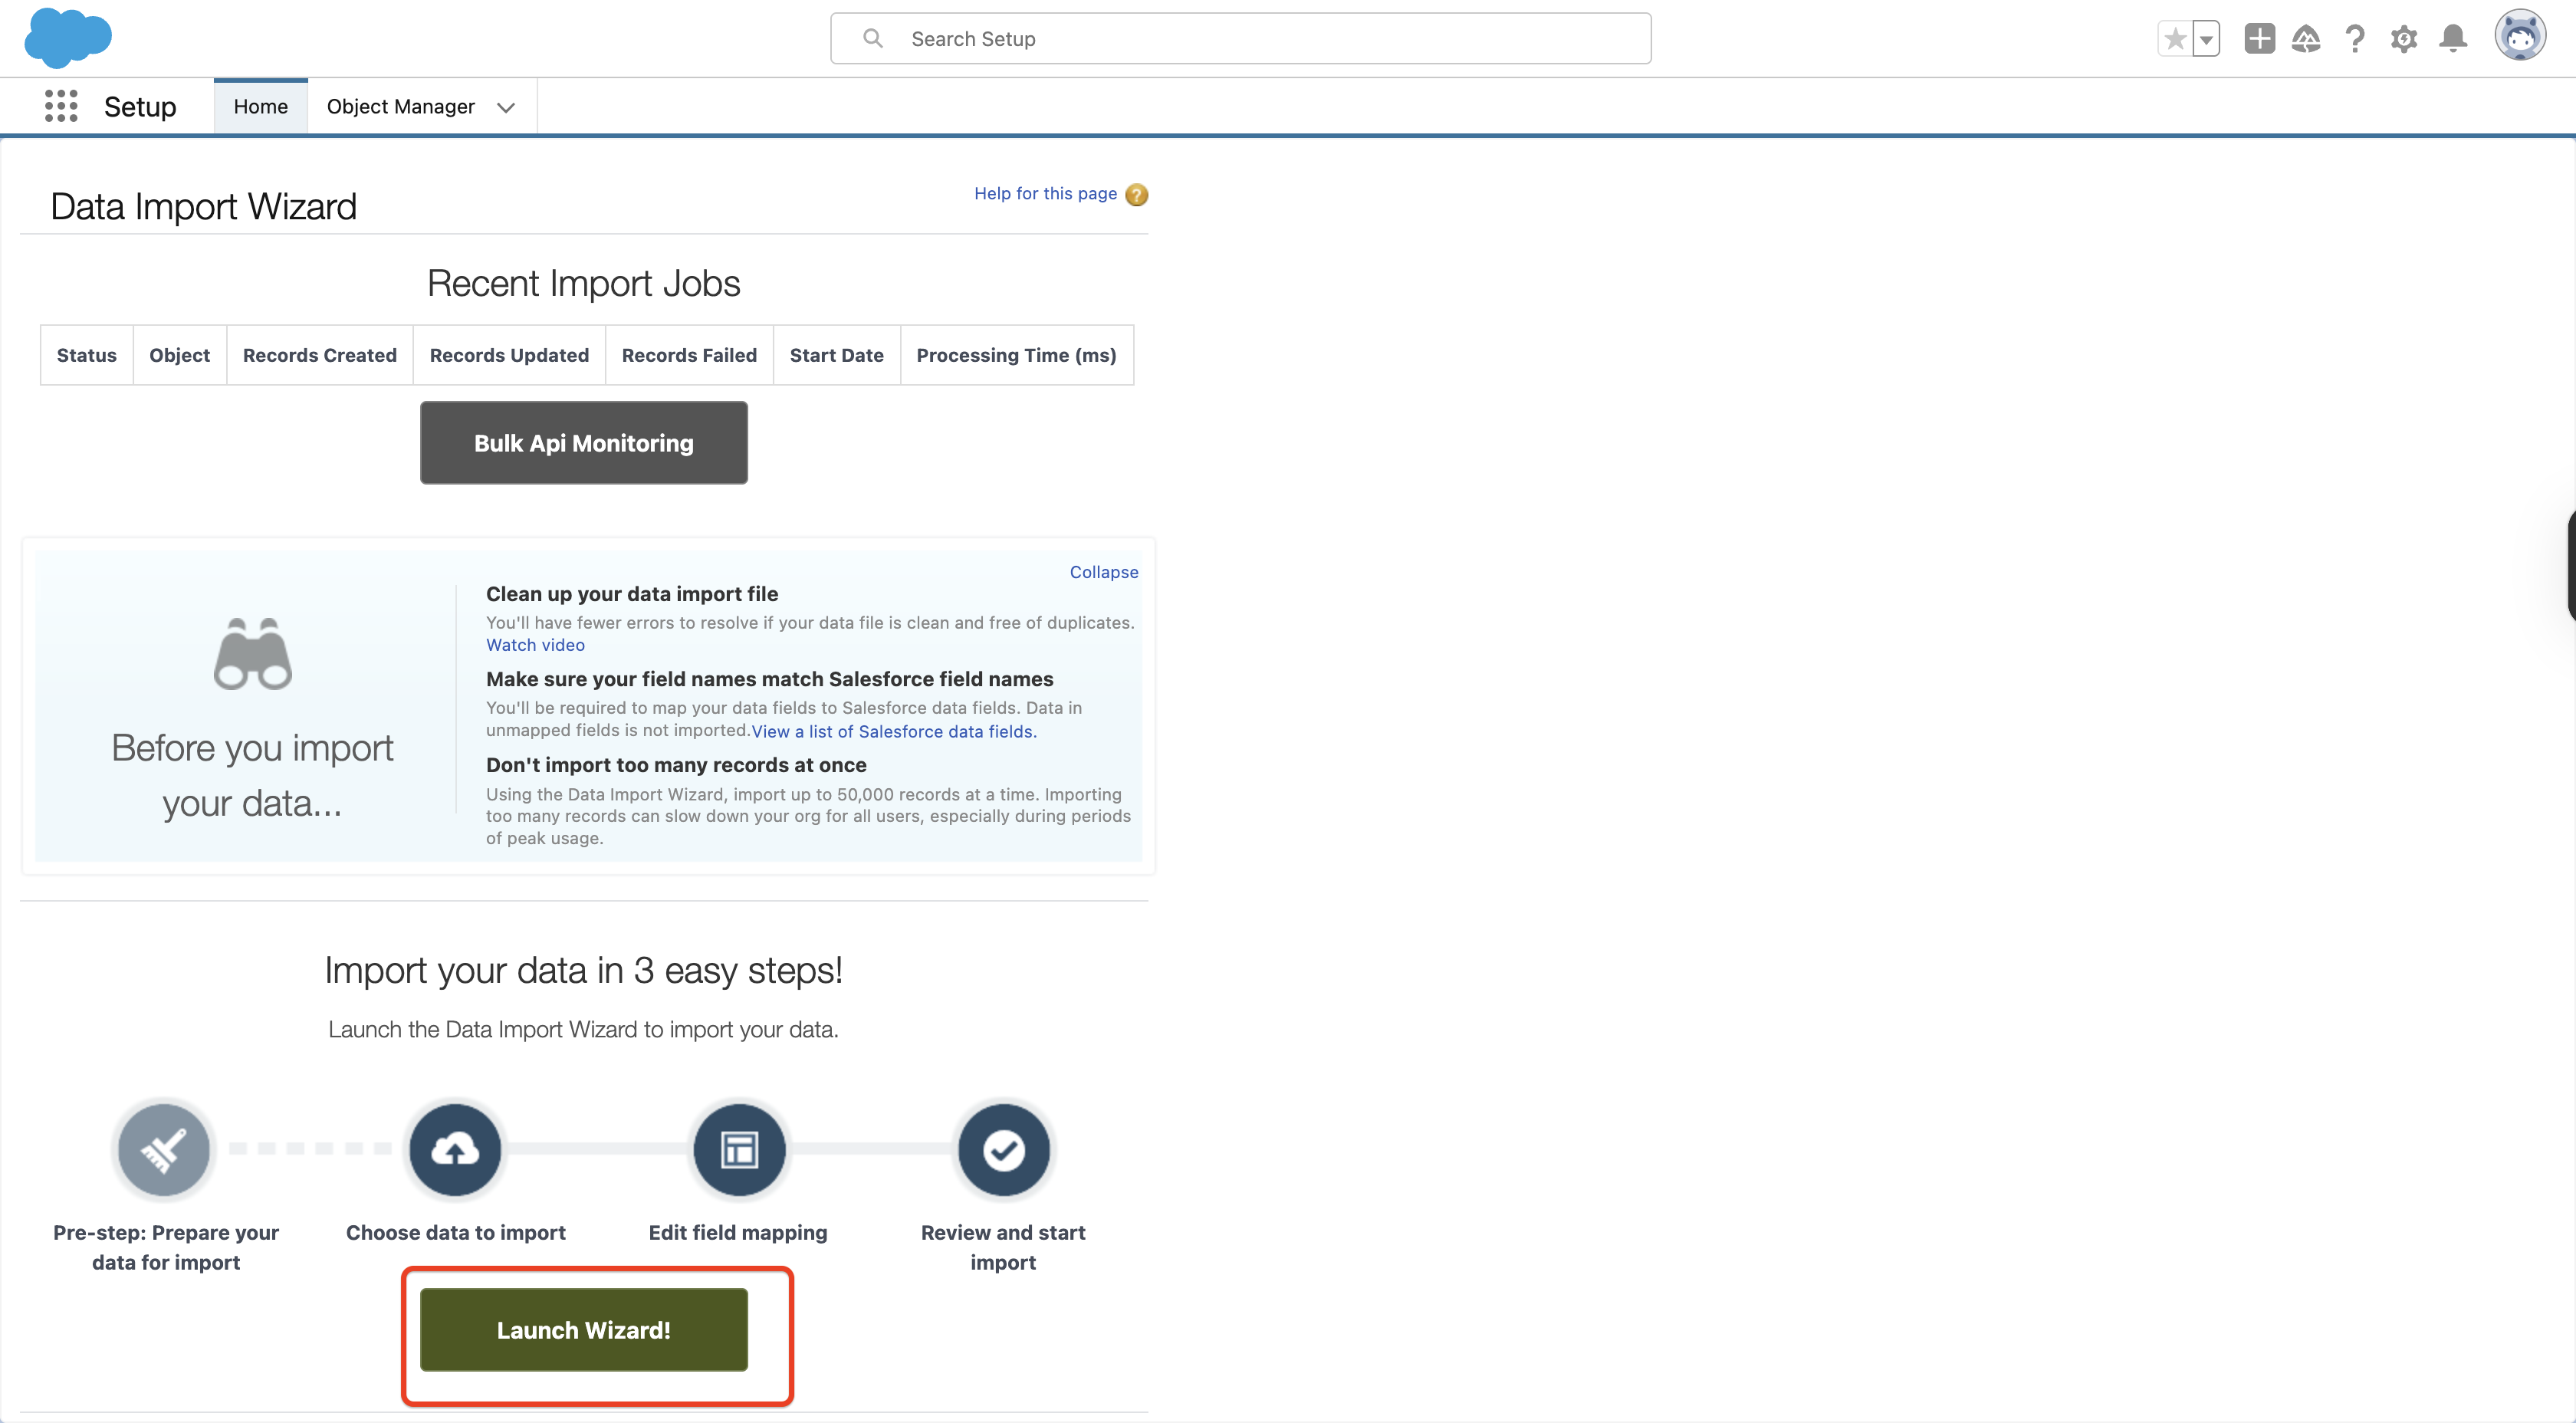
Read the instructions given by Salesforce on Data Import Wizard page and click on Launch Wizard.
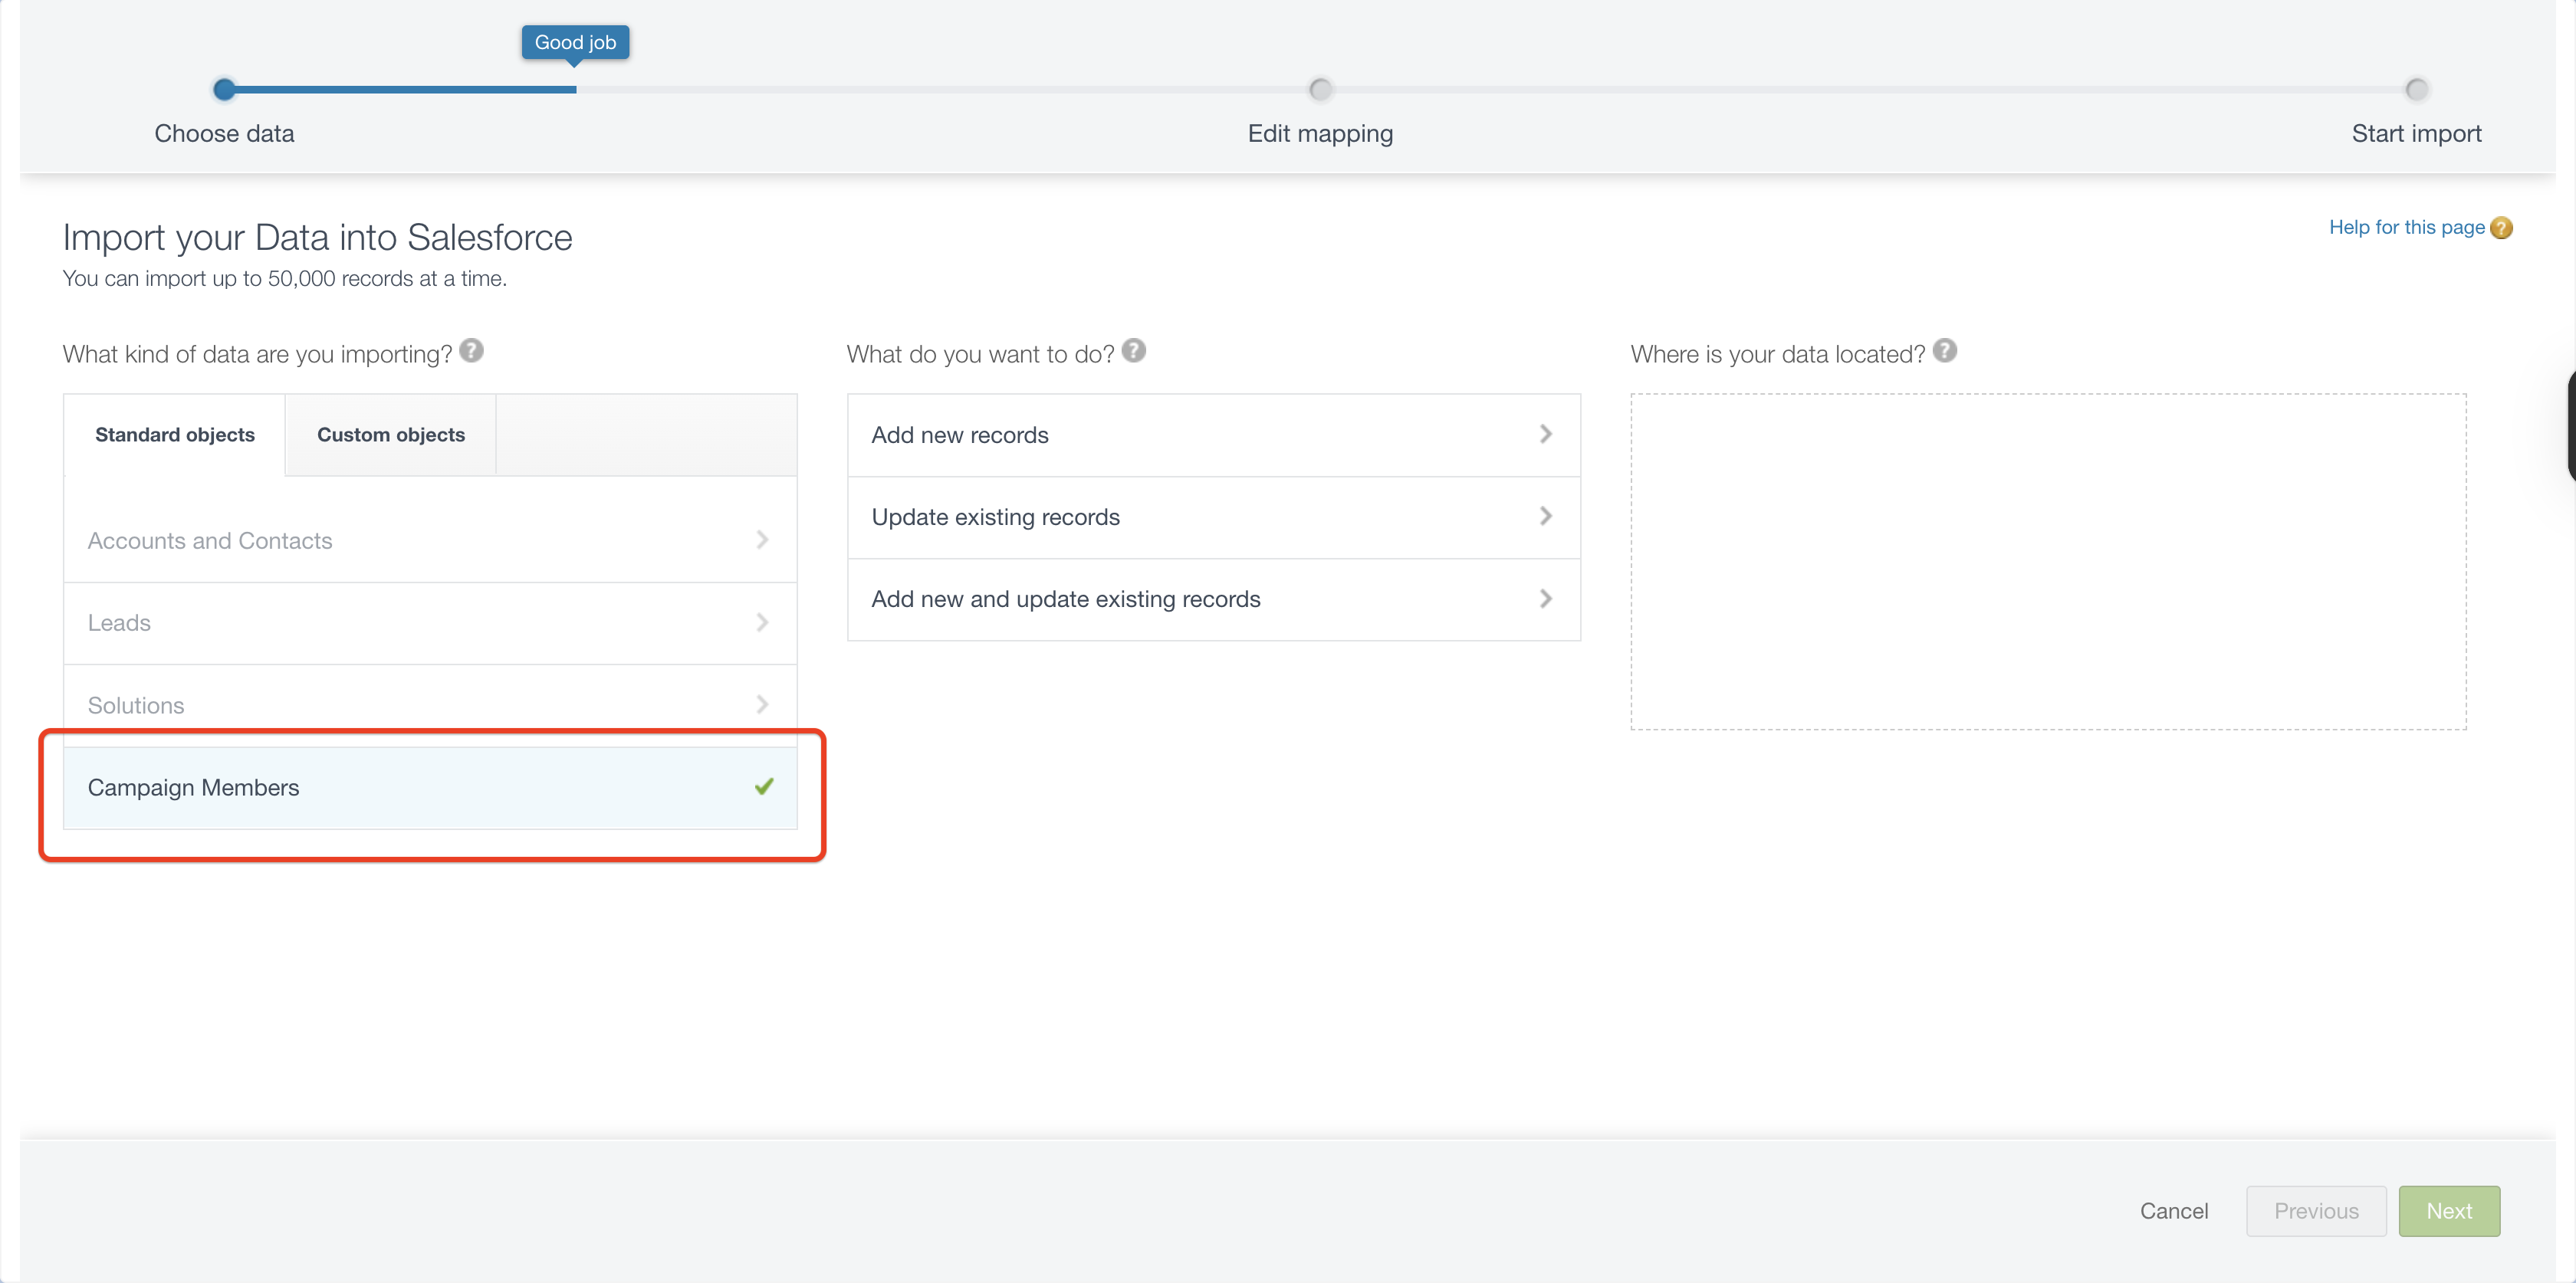
Select Campaign Members as the kind of data that you are importing.
Select Update existing records that you wanted to do.
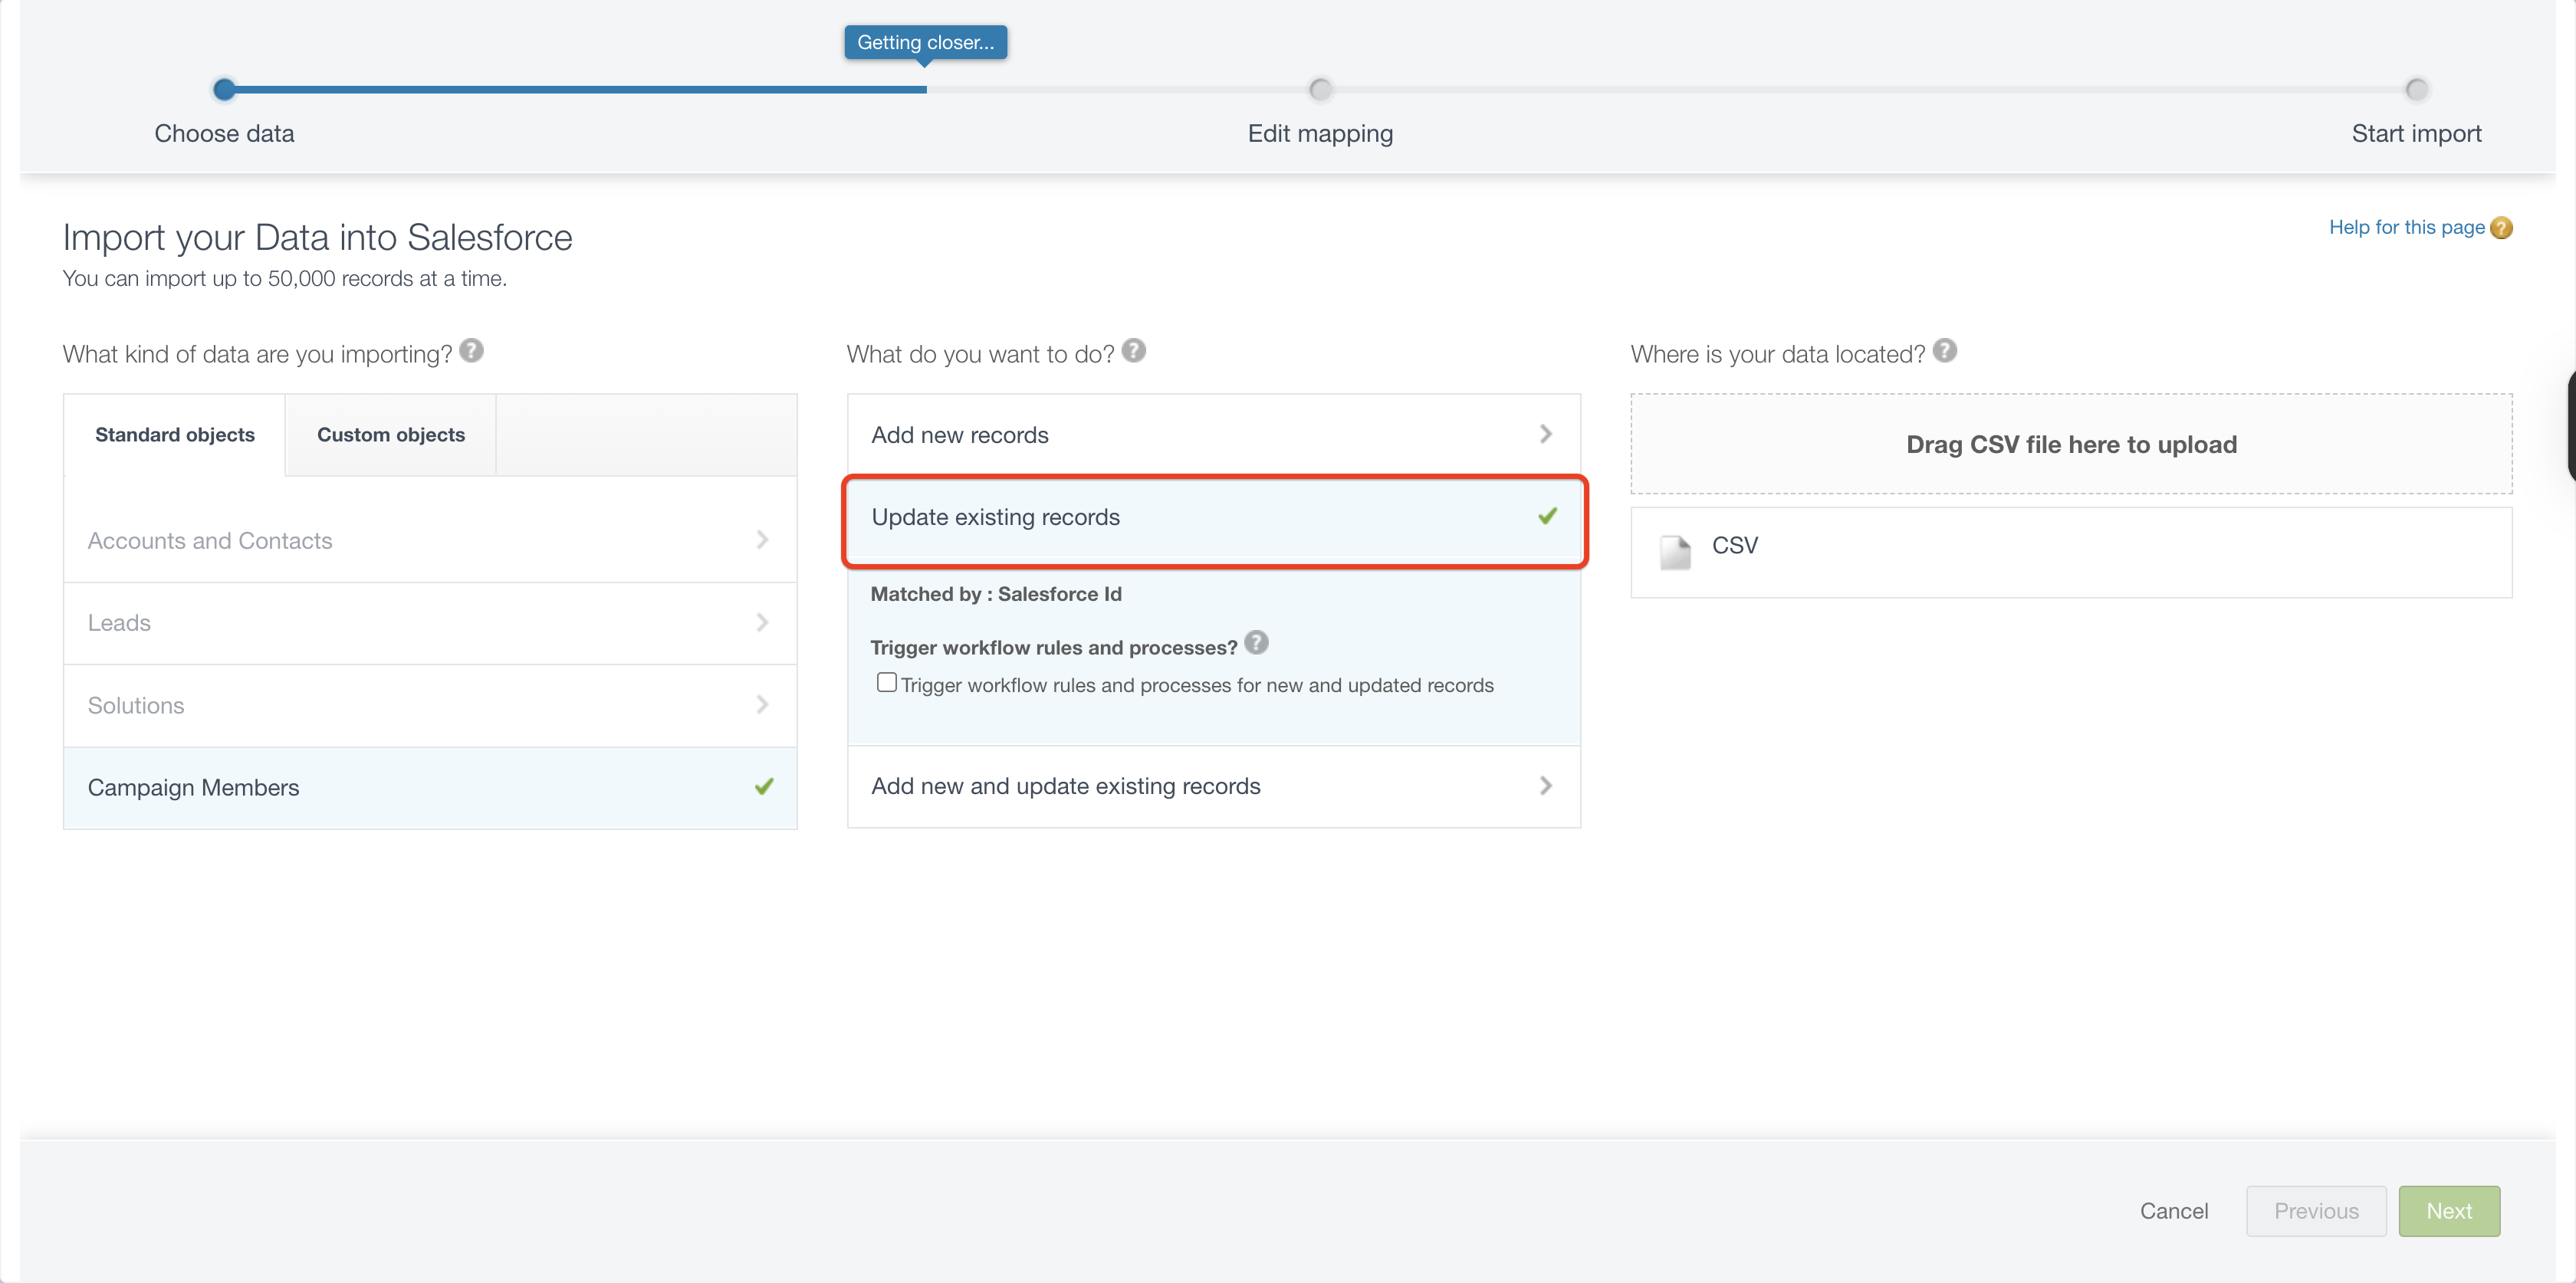
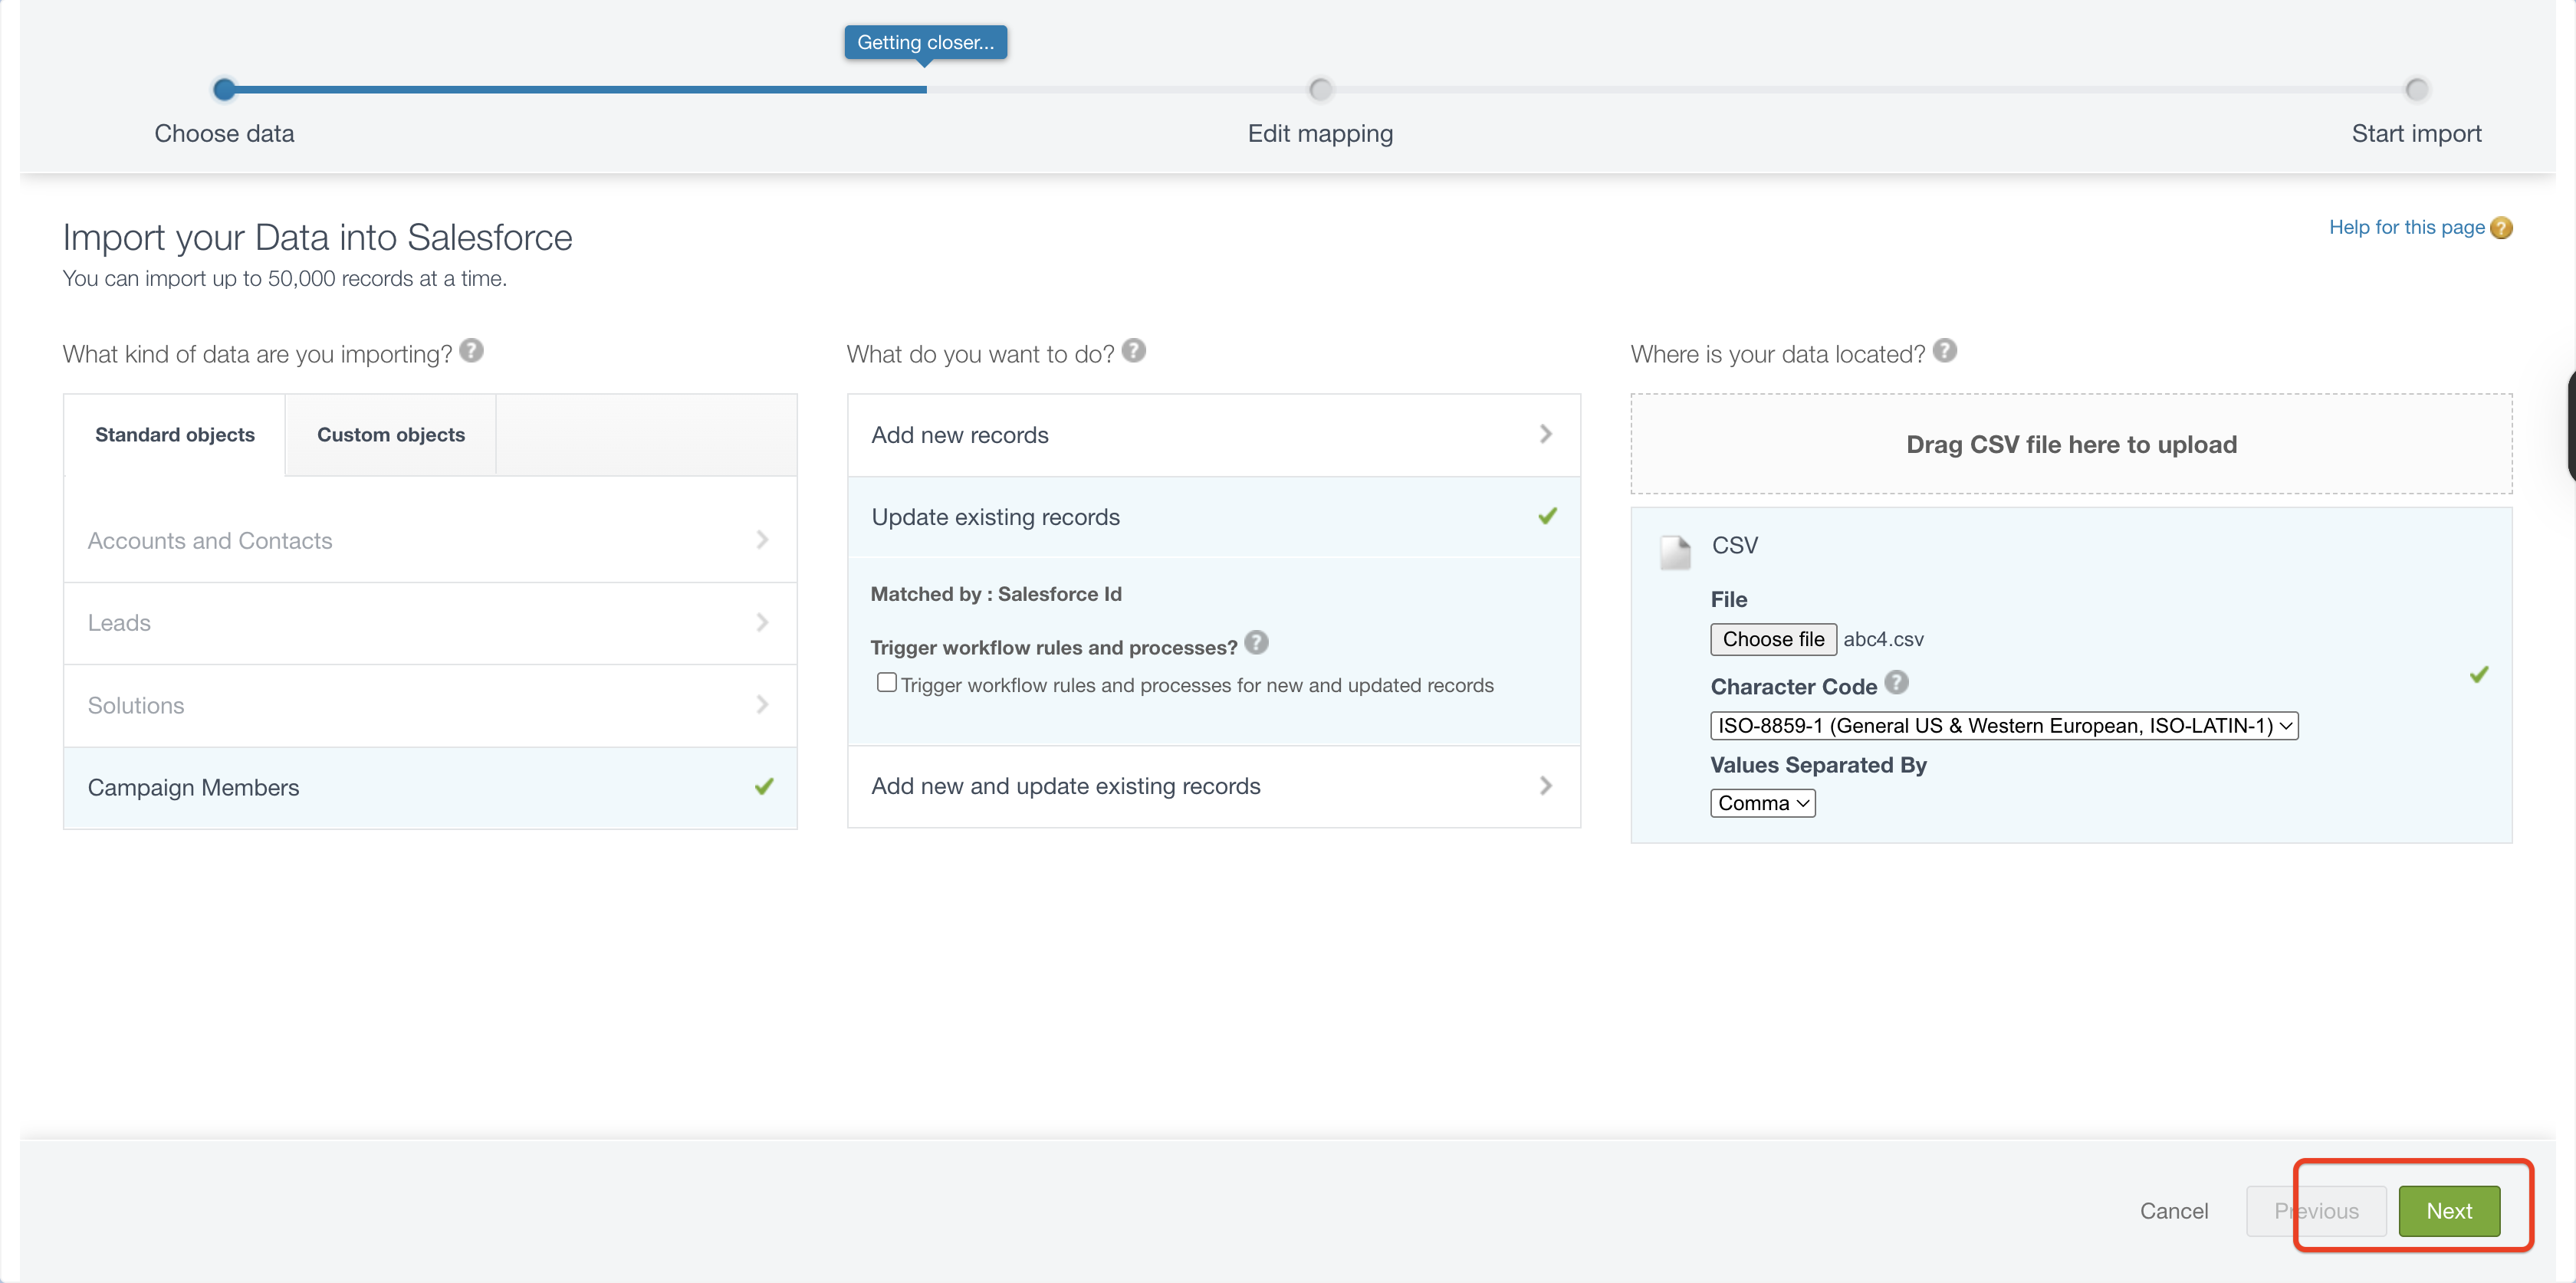
Upload the CSV file that you have downloaded from workbench.
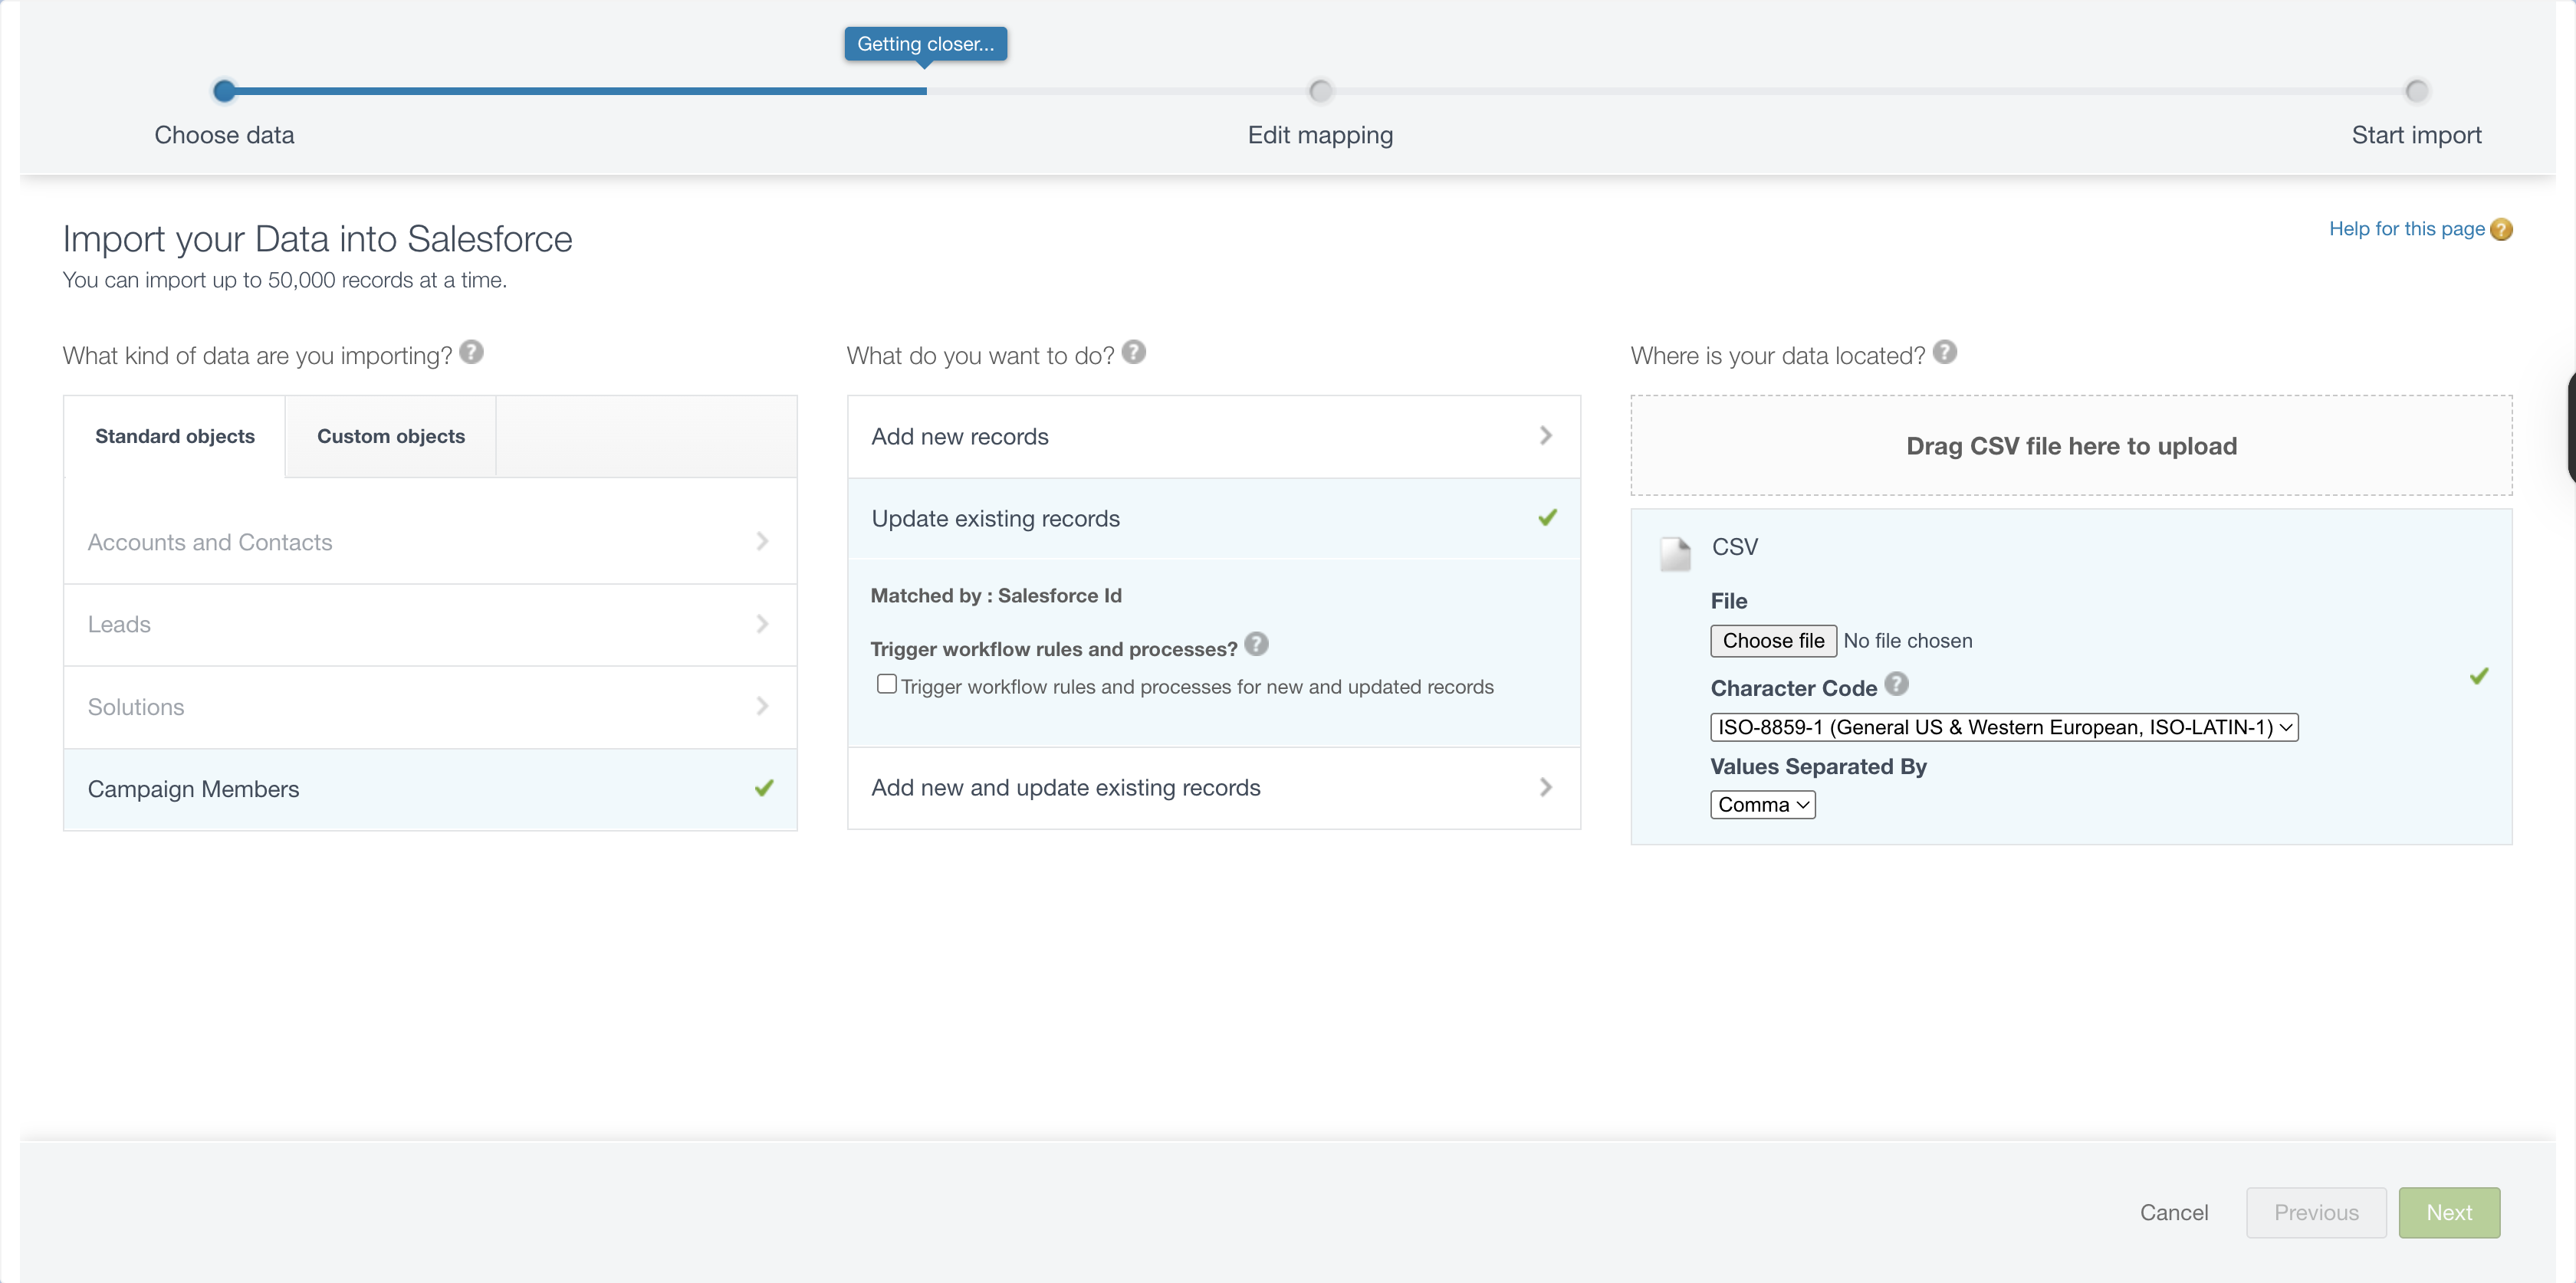
Once you have uploaded the file, click Next to proceed to the fields mapping step.
In the fields mapping step, click on ‘Map’ corresponding to each CSV Header and map the respective CampaignMember object fields.
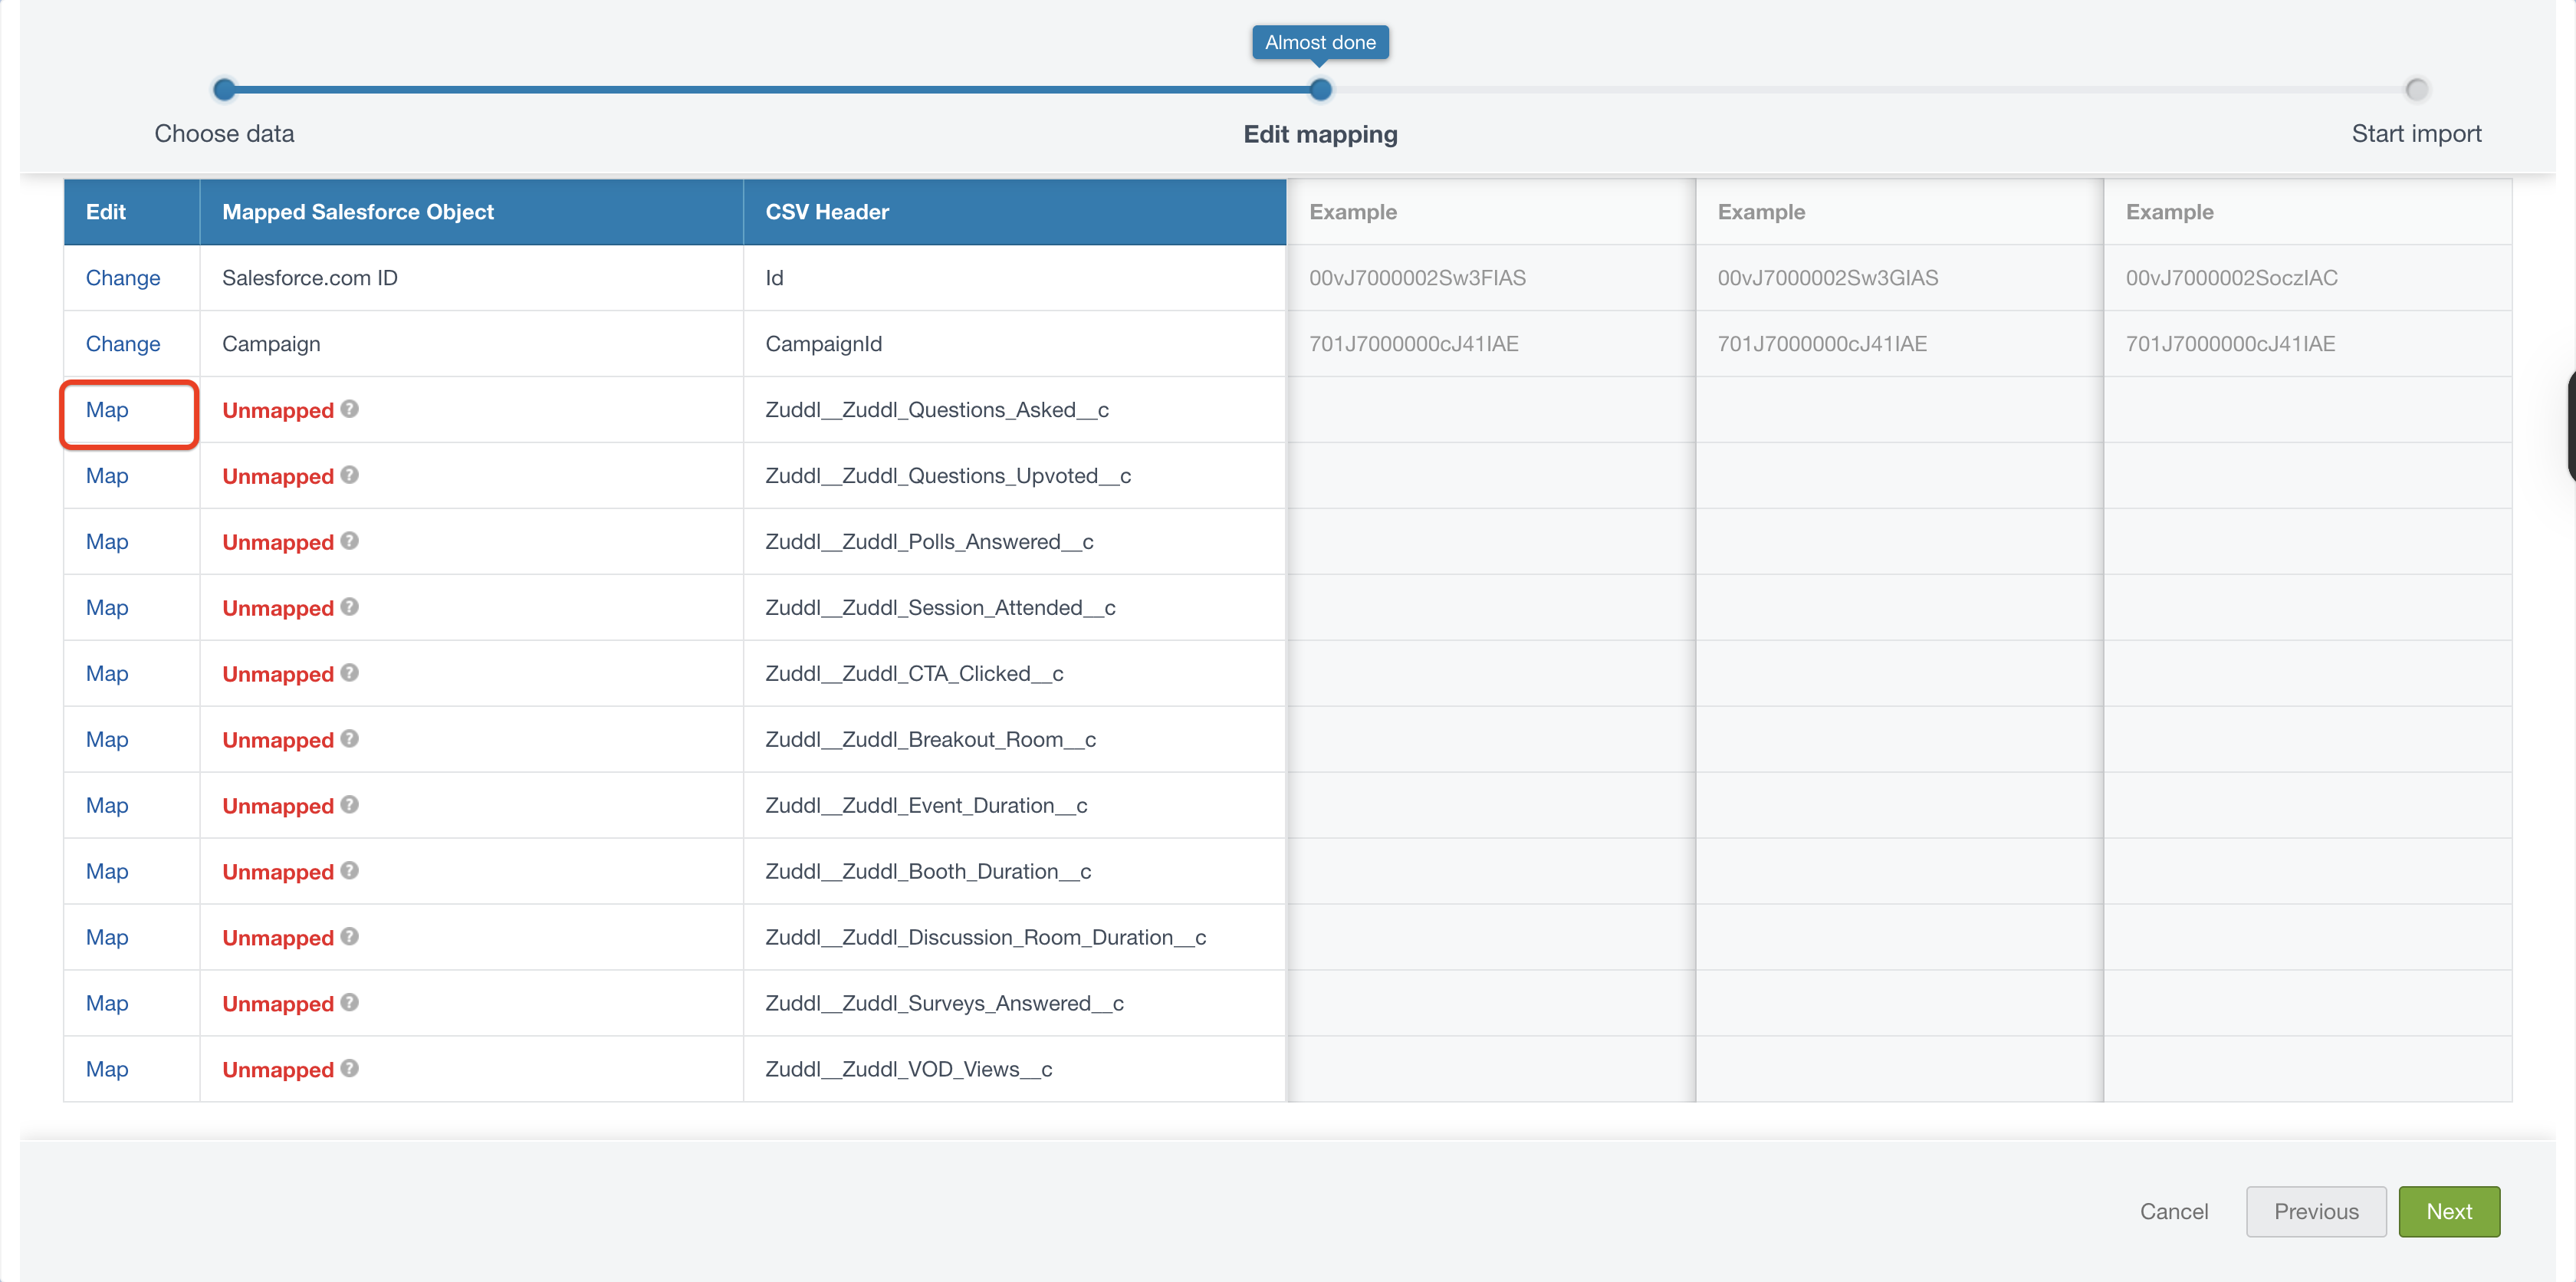
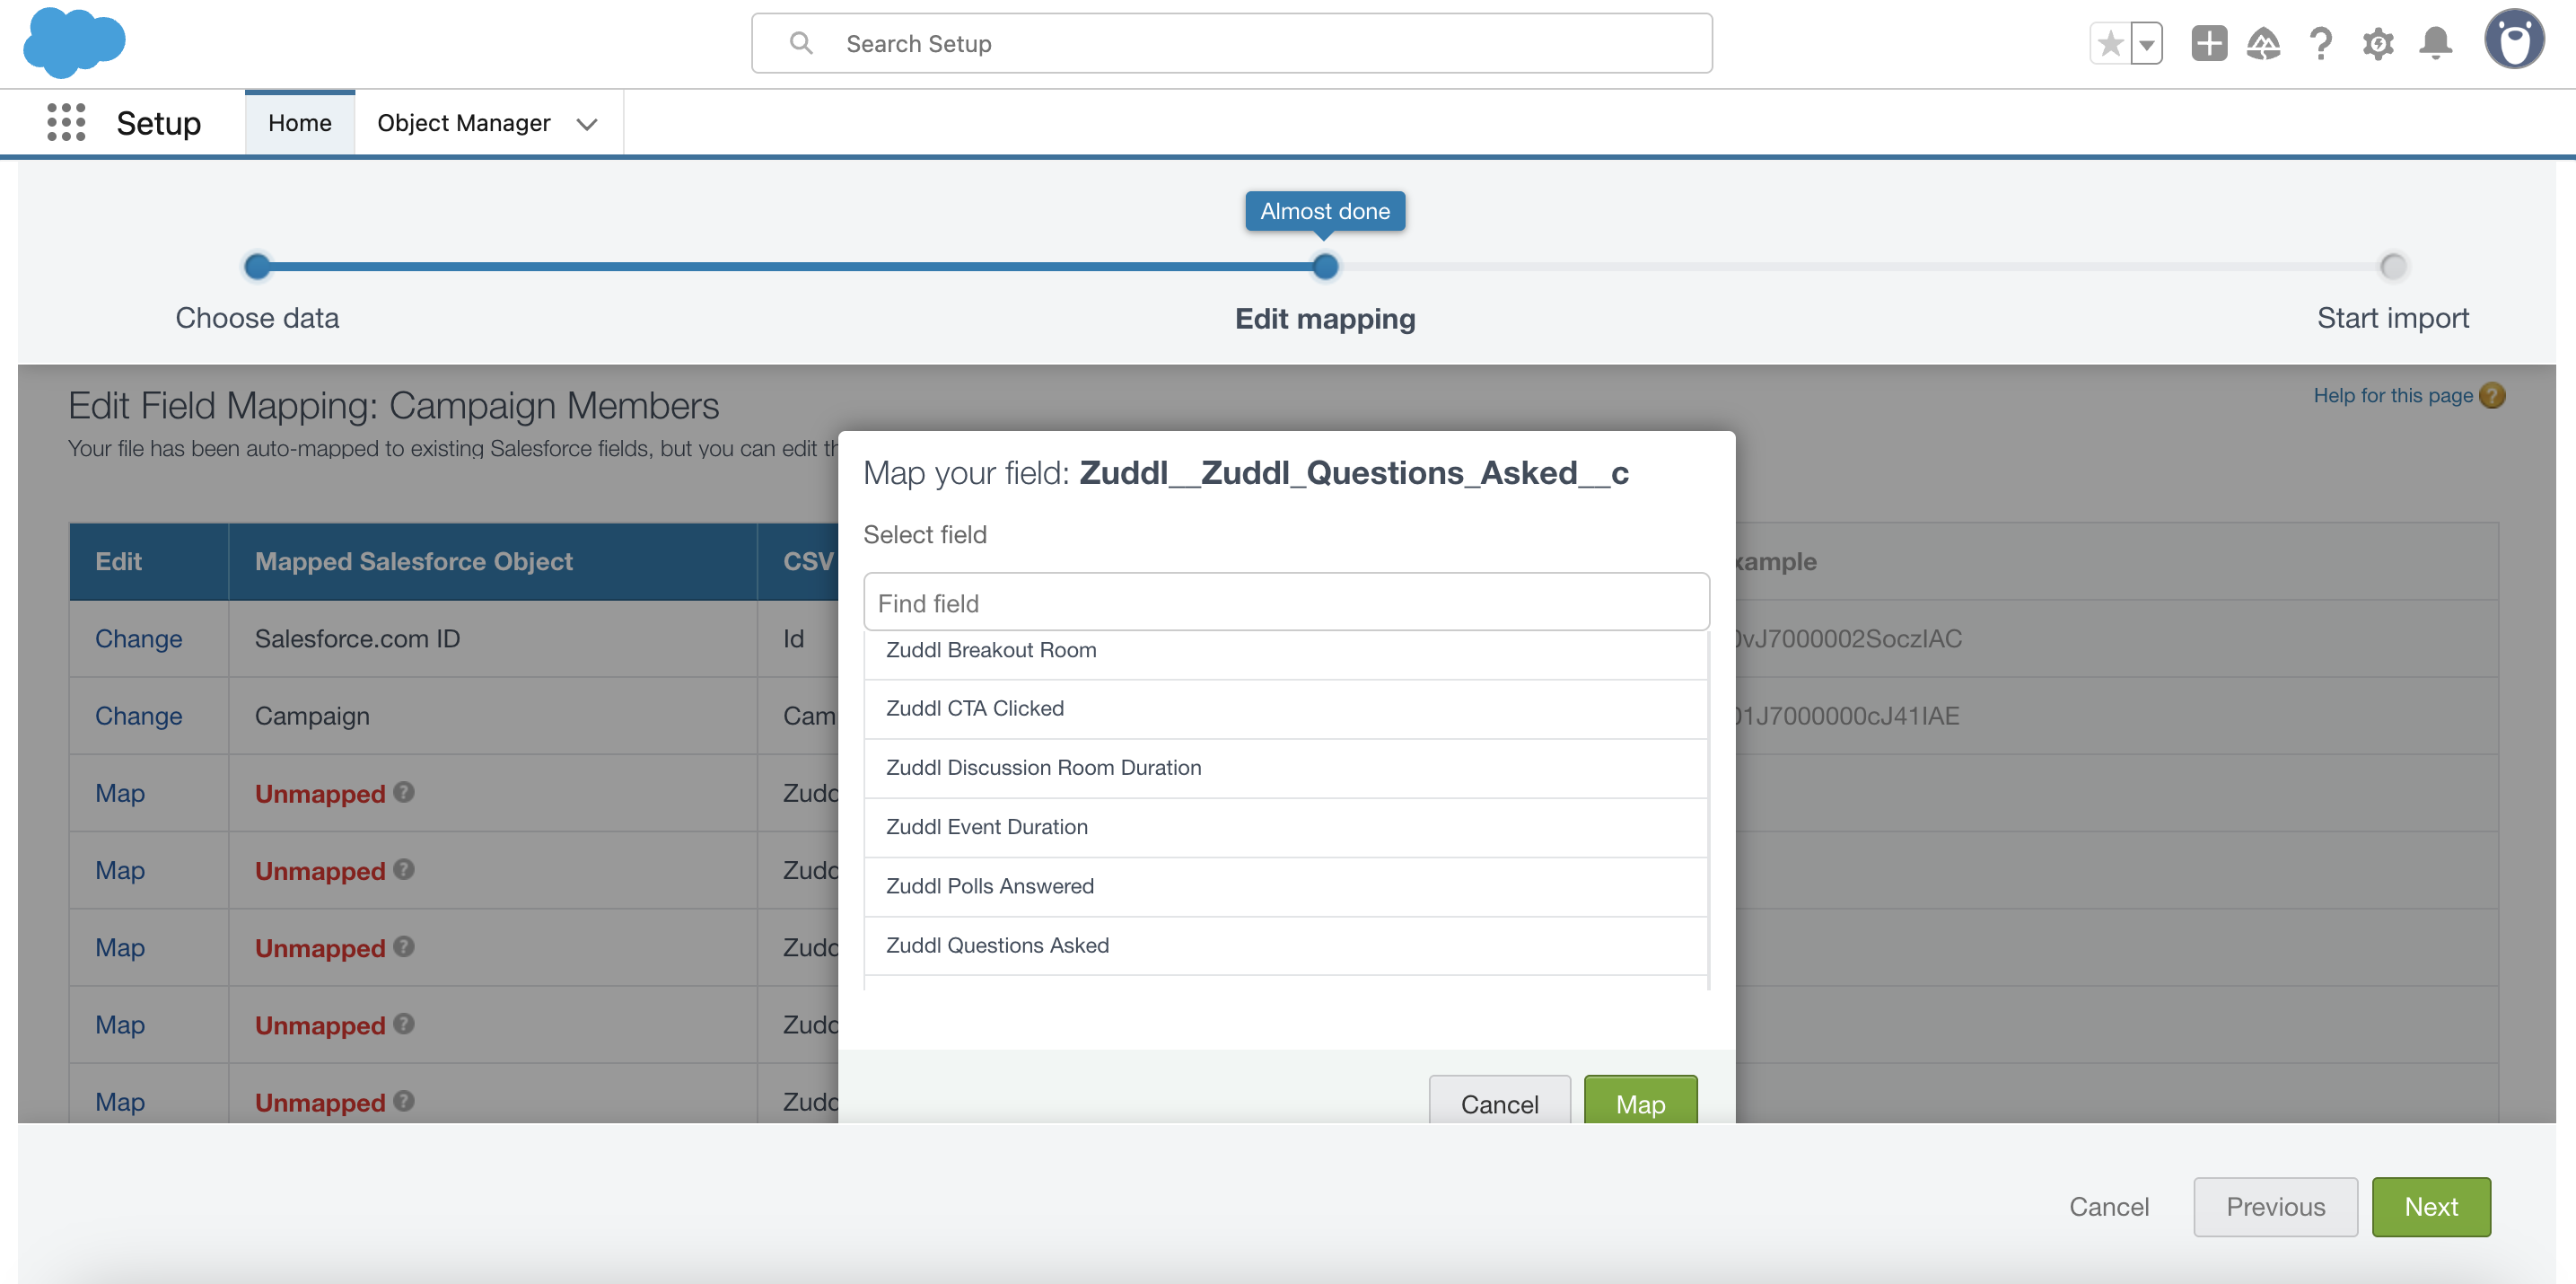
Ensure that you are mapping the right Salesforce field to the respective CSV column.
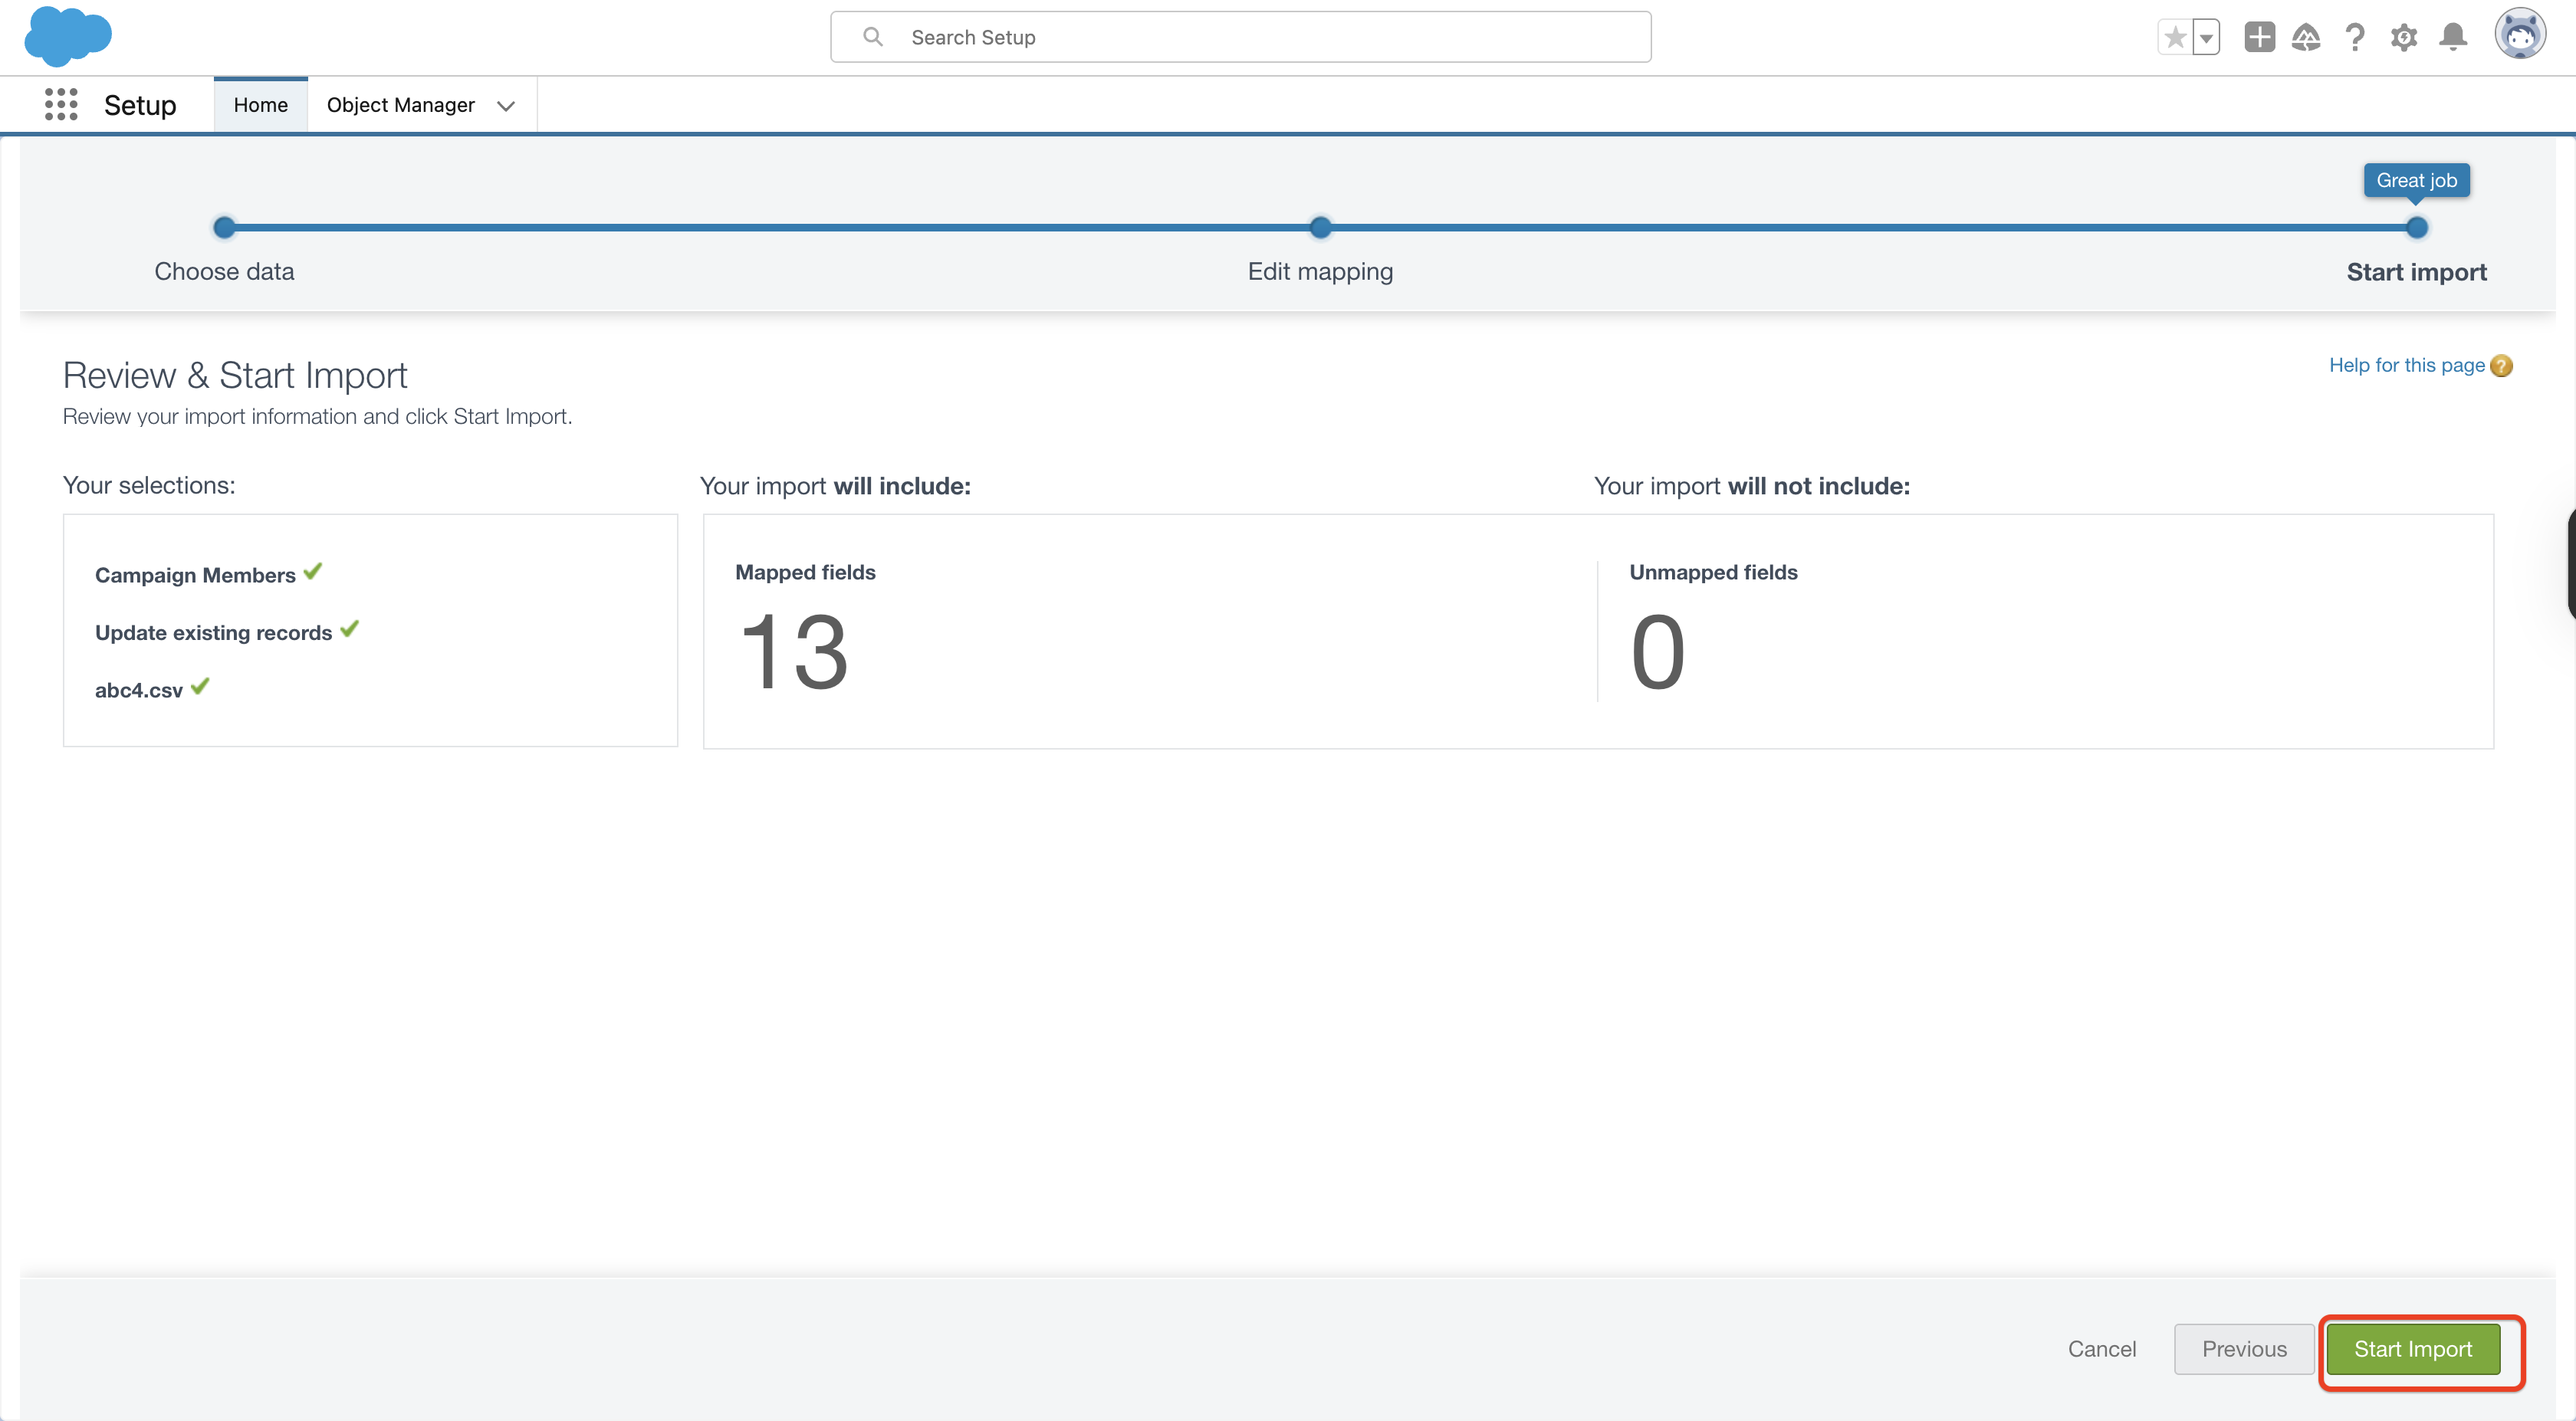
Once the fields are mapped, a summary screen appears highlighting the object that you are trying to update, the records of that object that will get updated, and the count of columns that have been mapped/unmapped. Once you’ve verified the settings, click on ‘Start Import’.
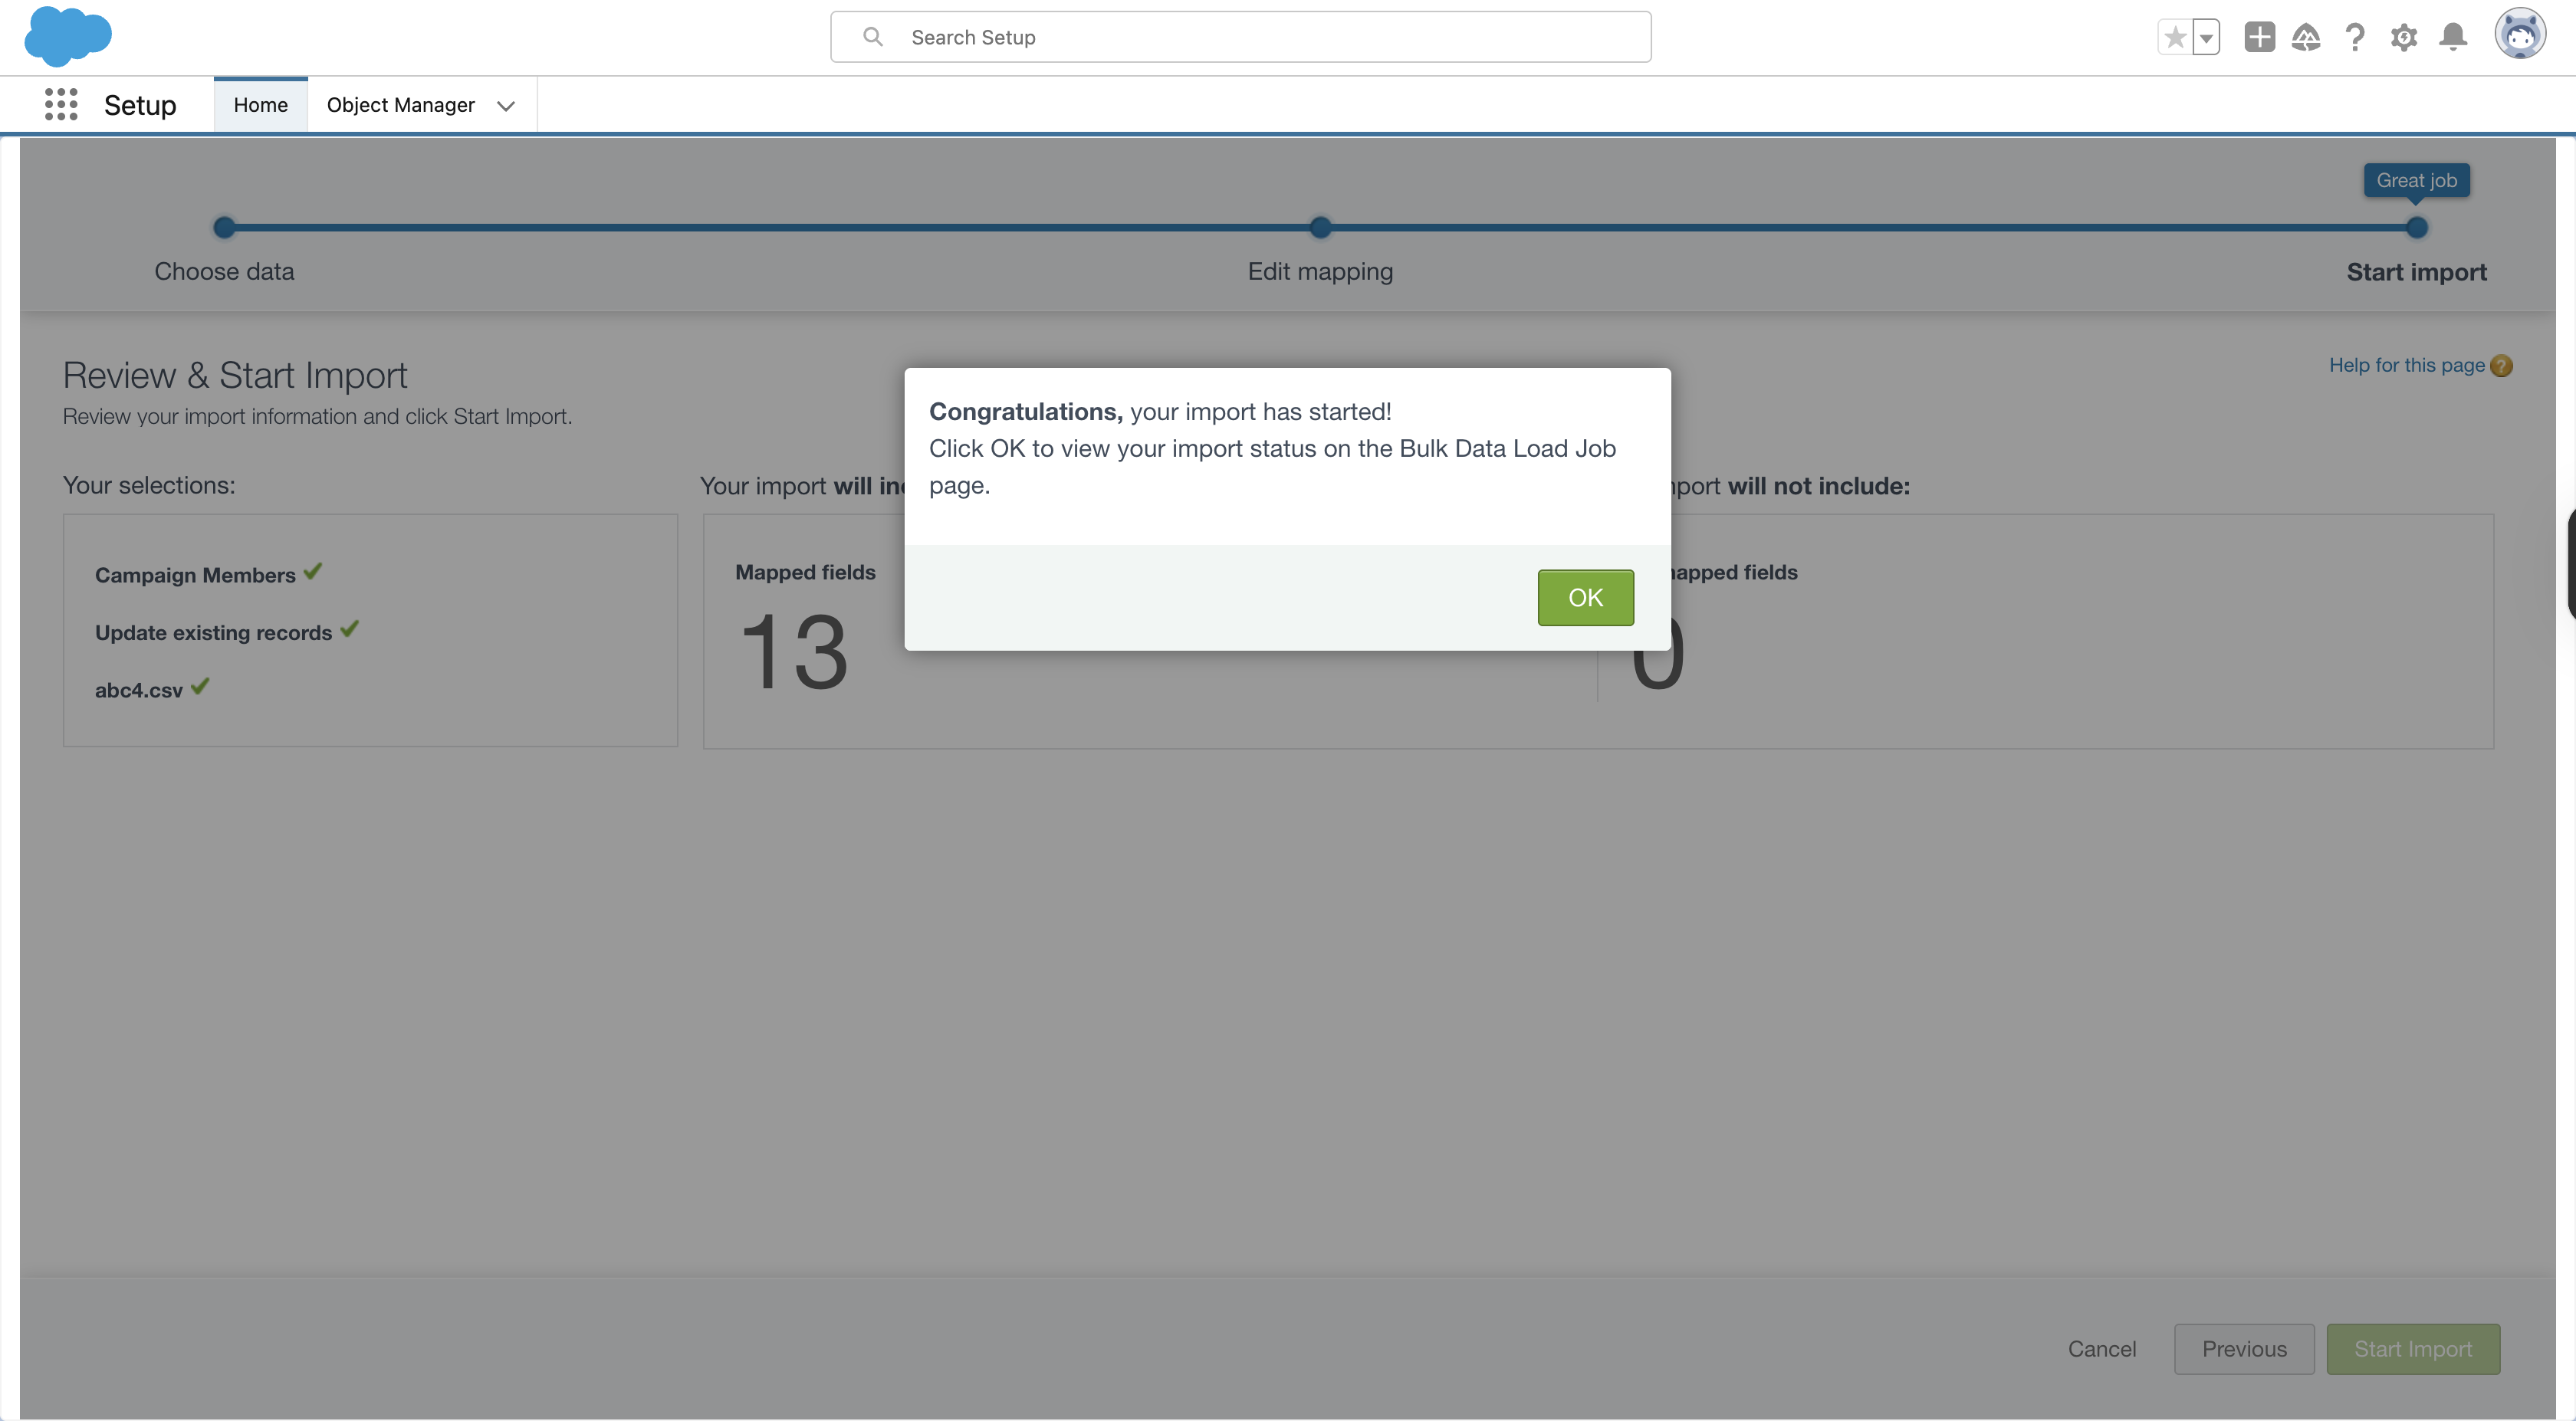
In the next step, click on ‘Ok’ to see the import status and all the other details of Bulk Data Load Job.
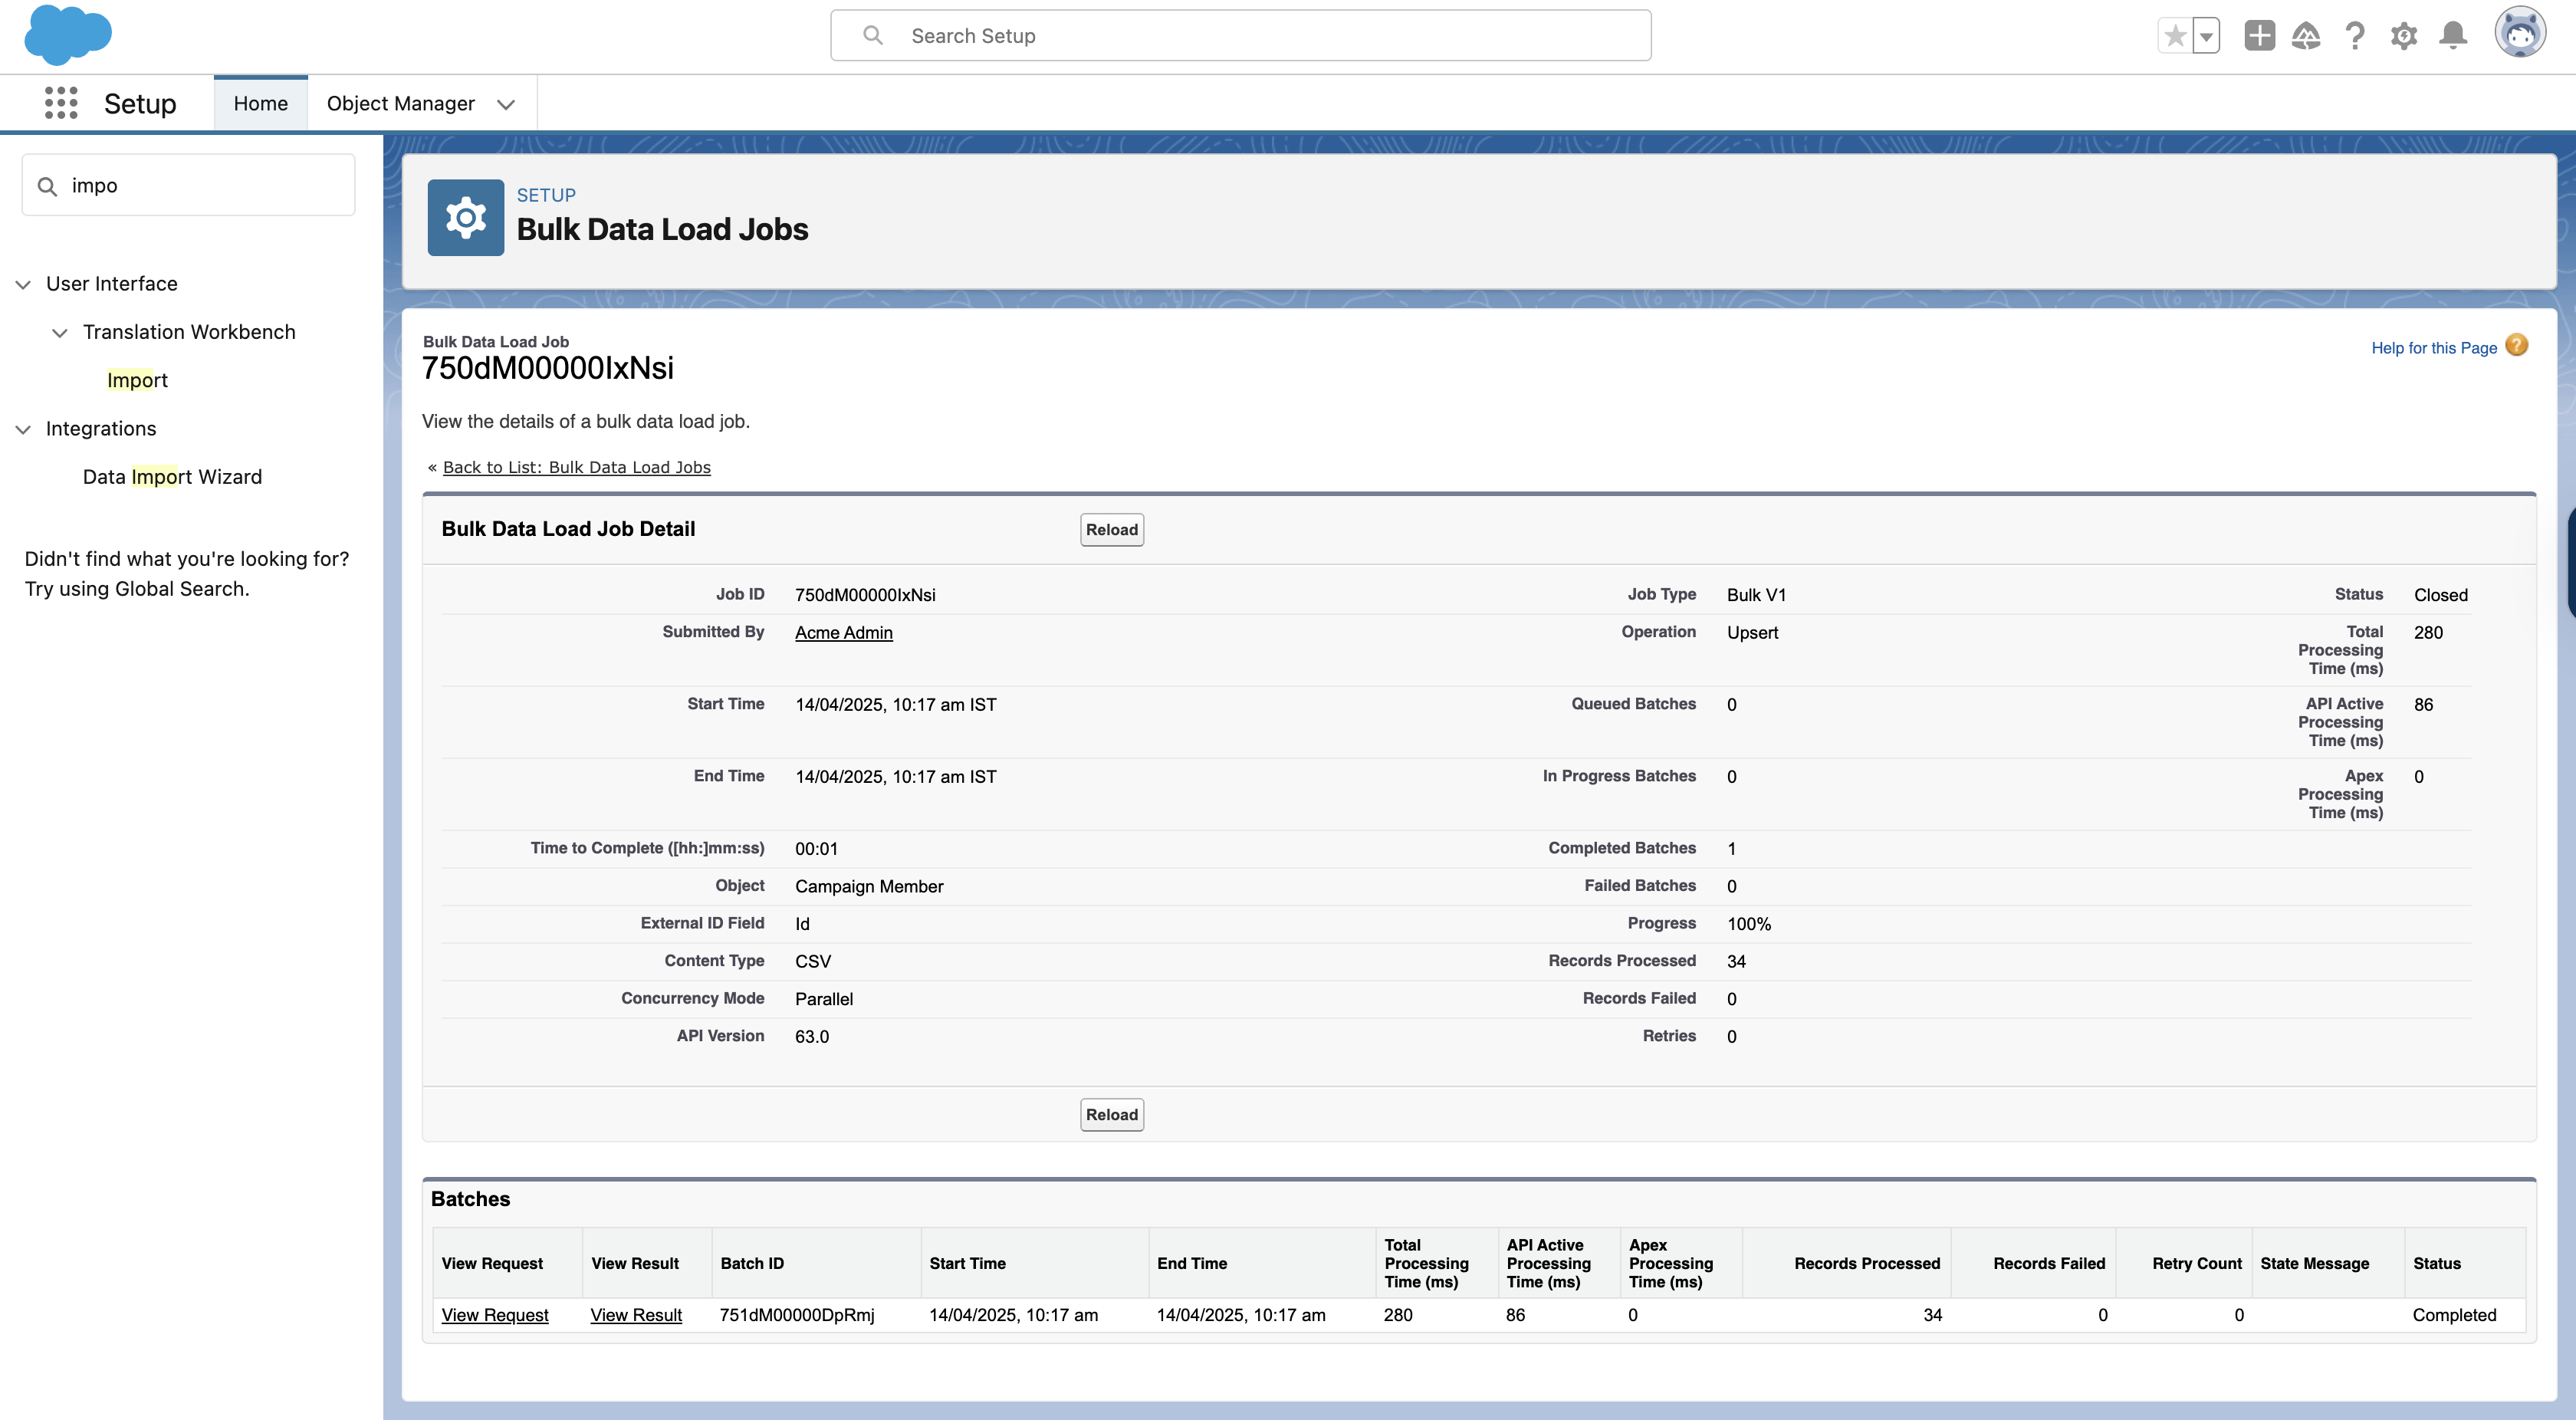
Once the import is successful, you will have the previous data related to your older unmanaged package in CampaignMember object.