Integrate Slack with Zuddl
Last updated: July 20, 2026
The Zuddl app in Slack delivers event notifications to your Slack workspace and — with the latest release — supports agentic capabilities that let your team query attendee data and act on registrations from Slack.
This article covers how to authenticate the integration, and the configuration options available at the org level and the event level.
Part 1 — Authenticating Slack with Zuddl
Authentication happens at the org level. Go to Integrations in the left navigation, open the Zuddl x Slack integration, and click ‘Install’ to begin.
The authentication experience differs depending on whether the person performing it is a Slack admin. Both paths are covered below.
If you are a Slack admin
If you have admin rights in your Slack workspace, authentication is direct.
Go to Integrations at the org level, open the Zuddl x Slack integration, and click Install/Edit.
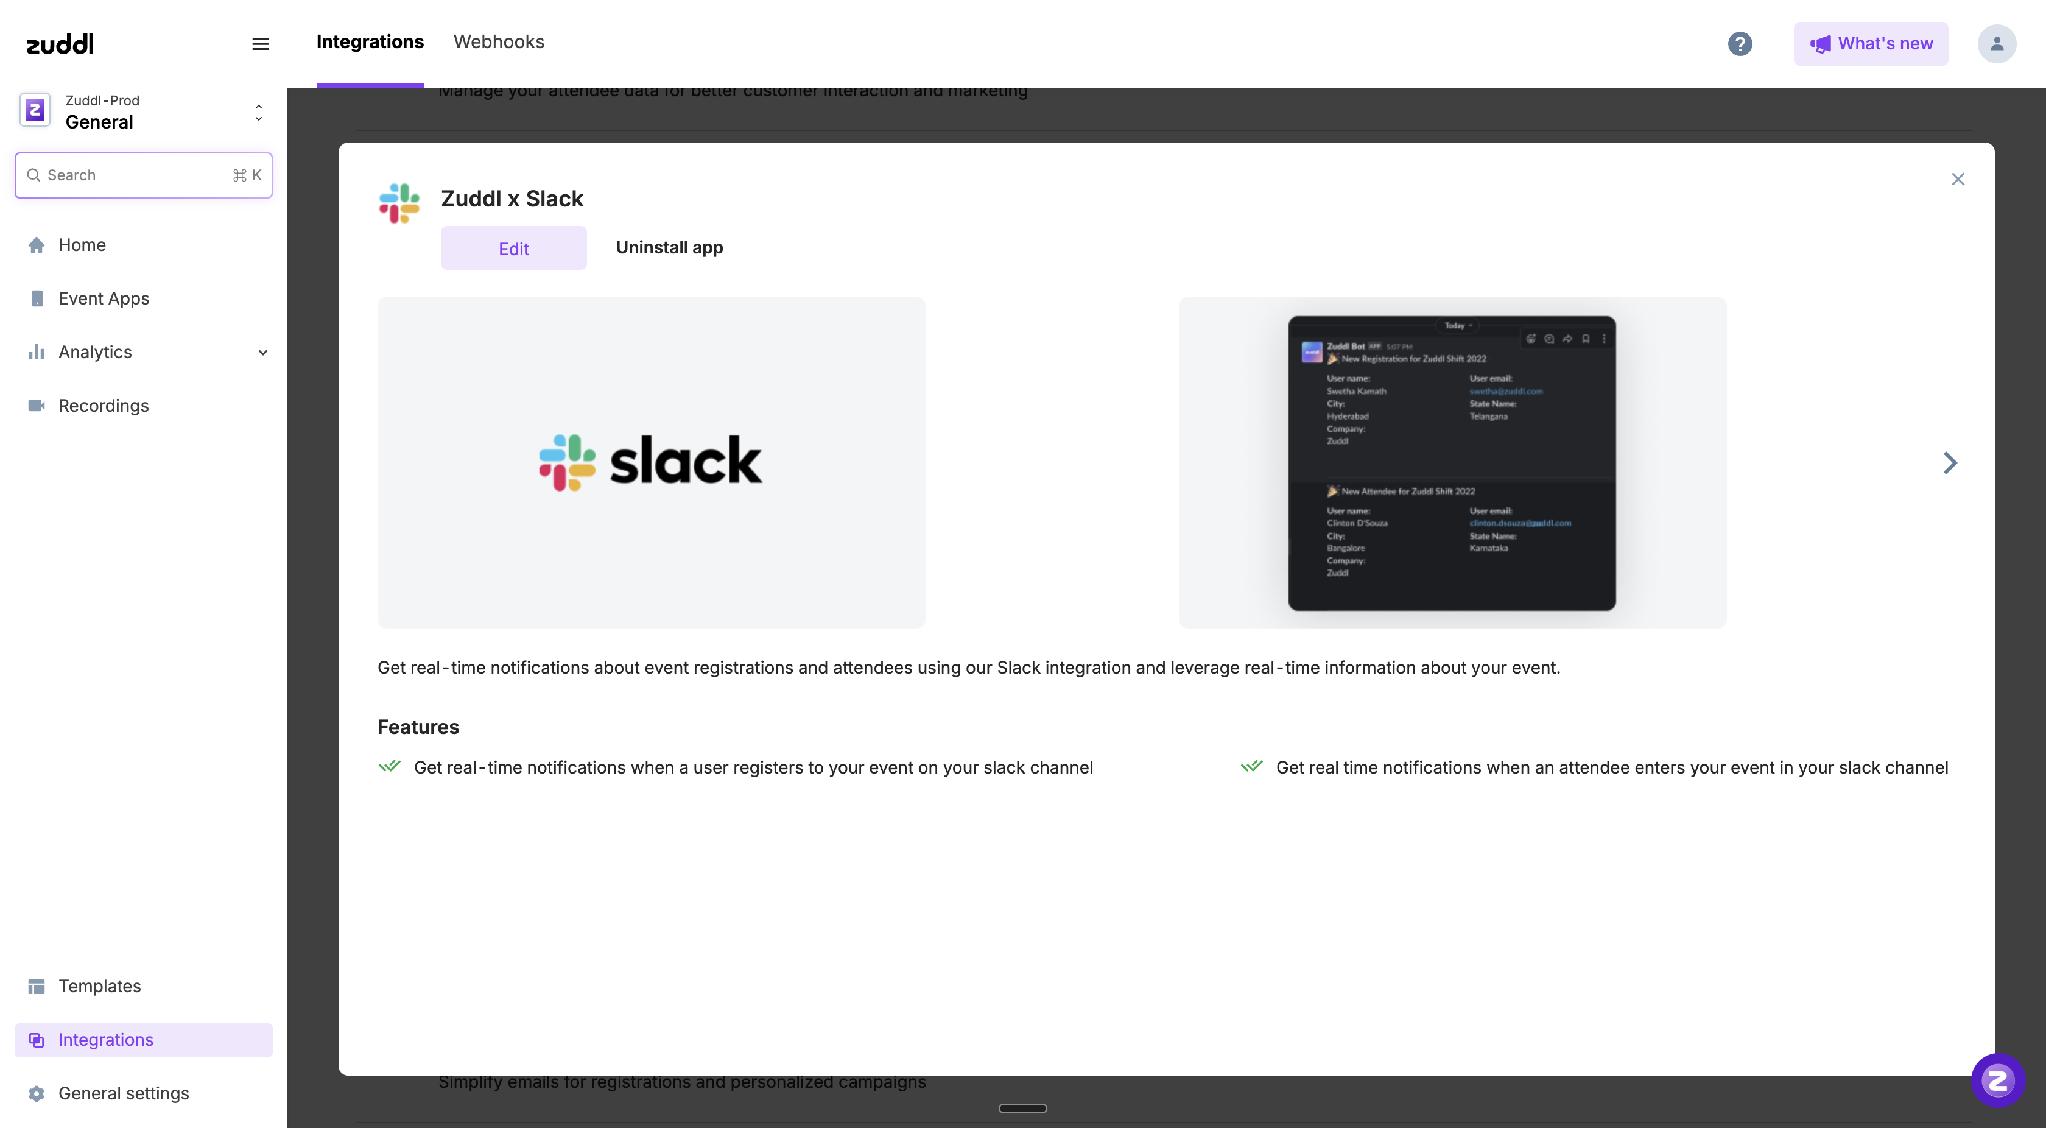
Slack opens its authorization screen showing the permissions the app is requesting. Review them and approve.
Click Finish.
Once authentication succeeds, then you will see the configurations of the integration.

If you are not a Slack admin
If you do not have admin rights, you can start the process, but a Slack admin must approve the app permissions before it can be completed.
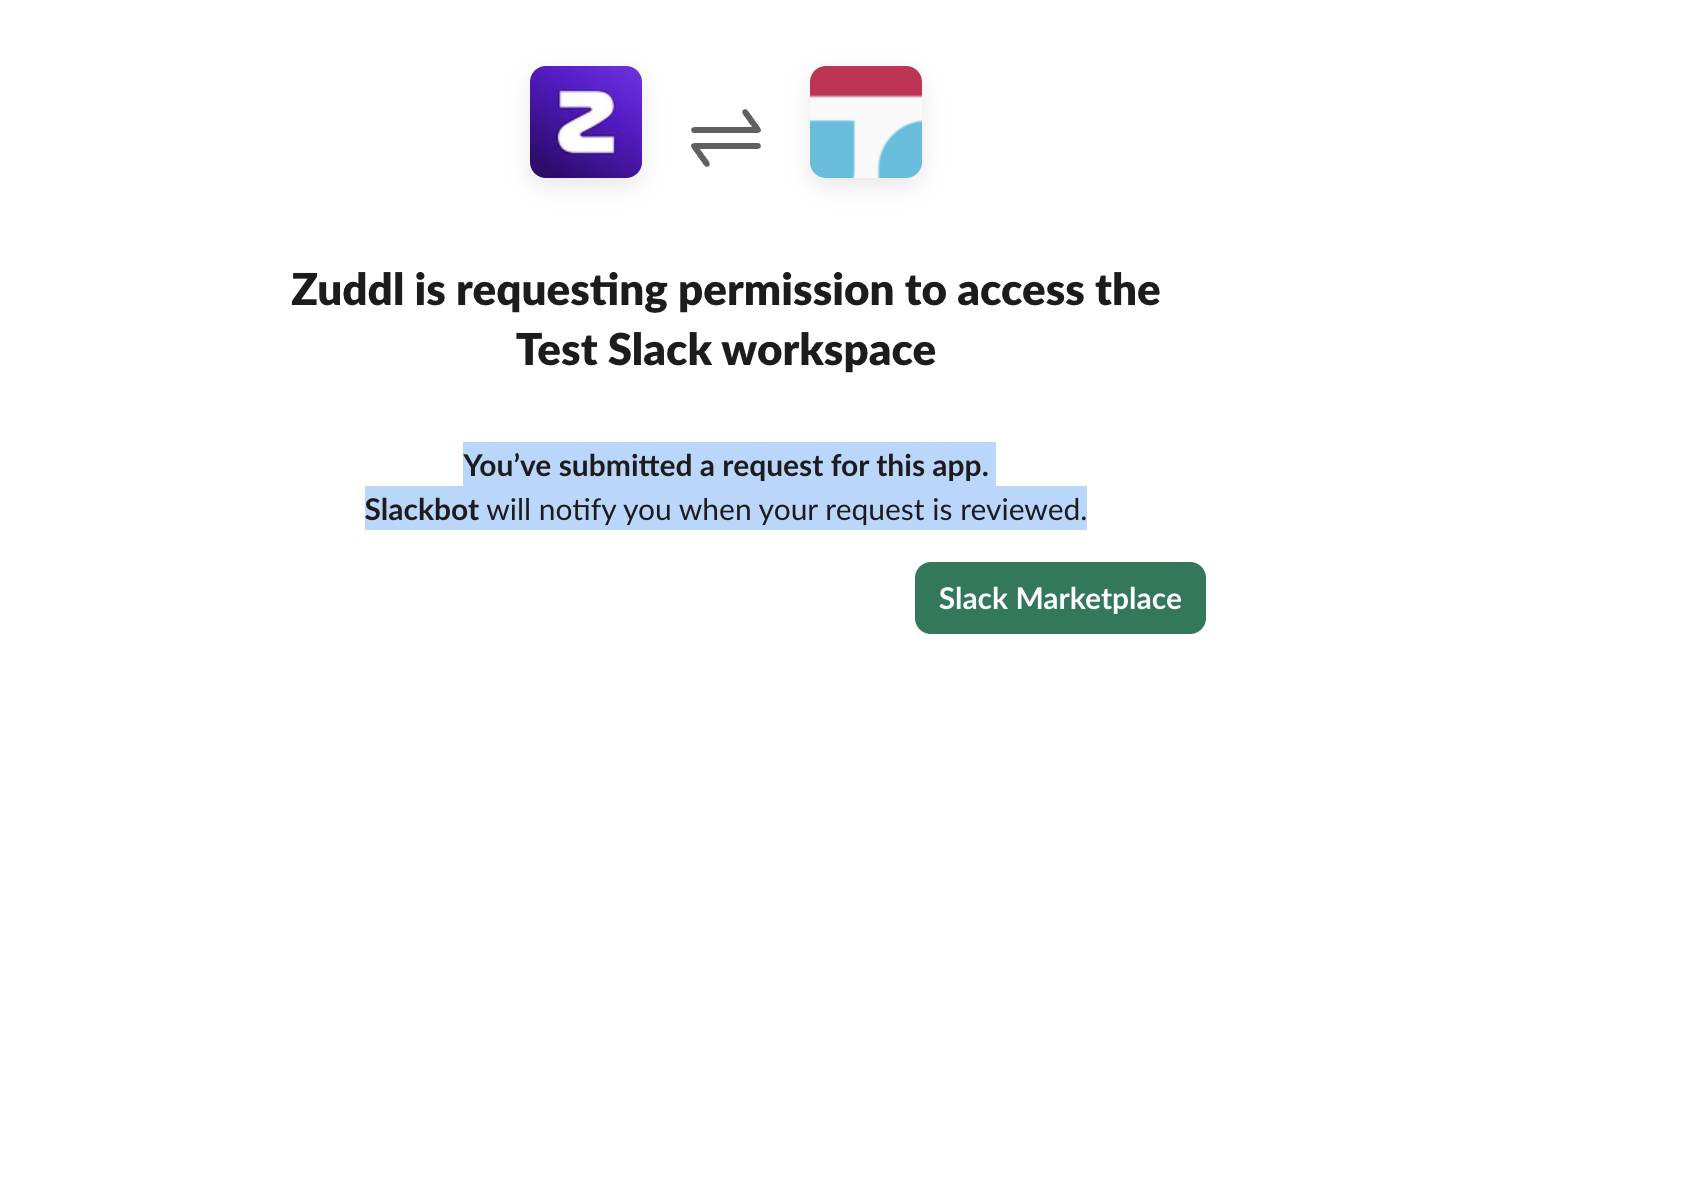
Go to Integrations at the org level, open the Zuddl x Slack integration, and click Install/Edit. Slack opens its authorization screen and shows that the app must be reviewed by a Slack admin.

Add a short message for your Slack admin explaining the request, then click Submit Request.
You'll see a confirmation that the request has been submitted. Slackbot notifies your admin, and notifies you once the request is reviewed.
Your Slack admin receives the request with the reason and the full list of permissions, and can review and approve it.
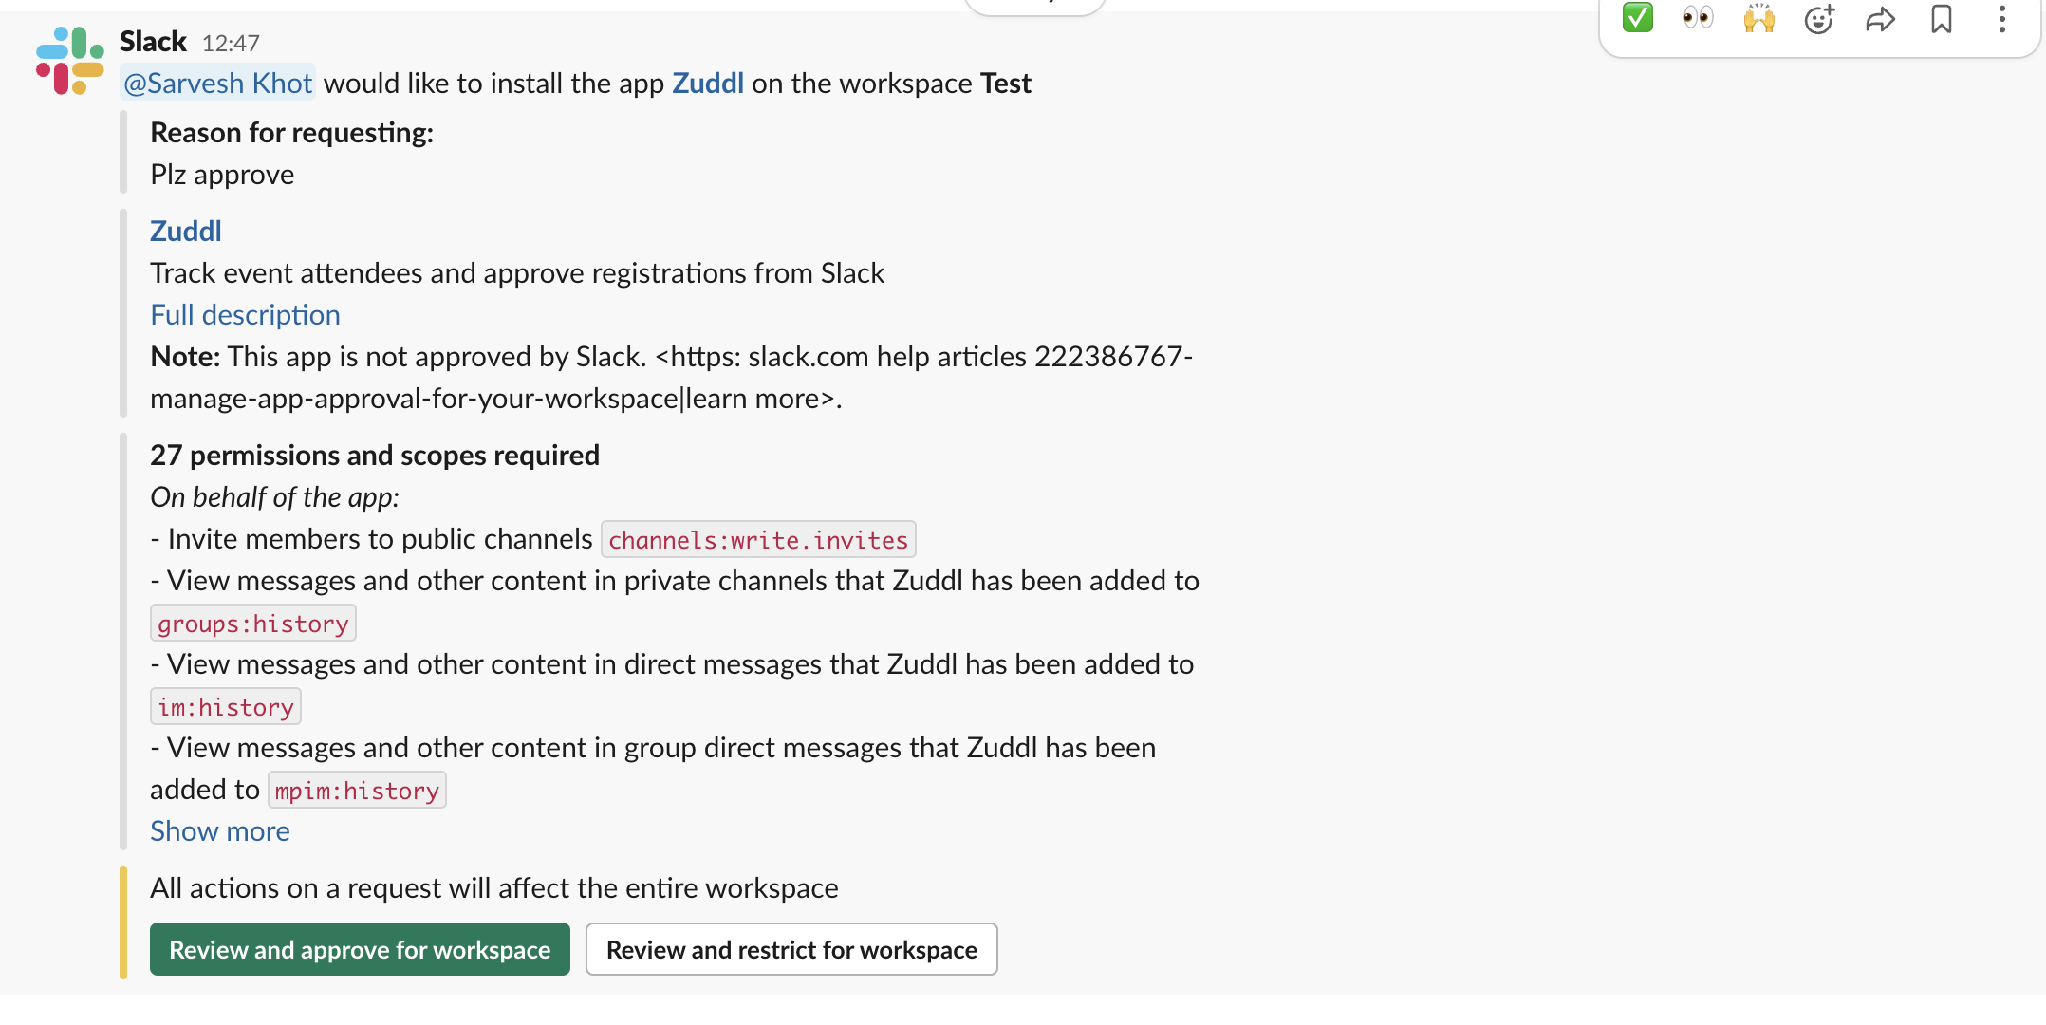
The admin reviews the requested scopes and approves. This approval is for the whole workspace and is a one-time action. You are notified once it is approved.
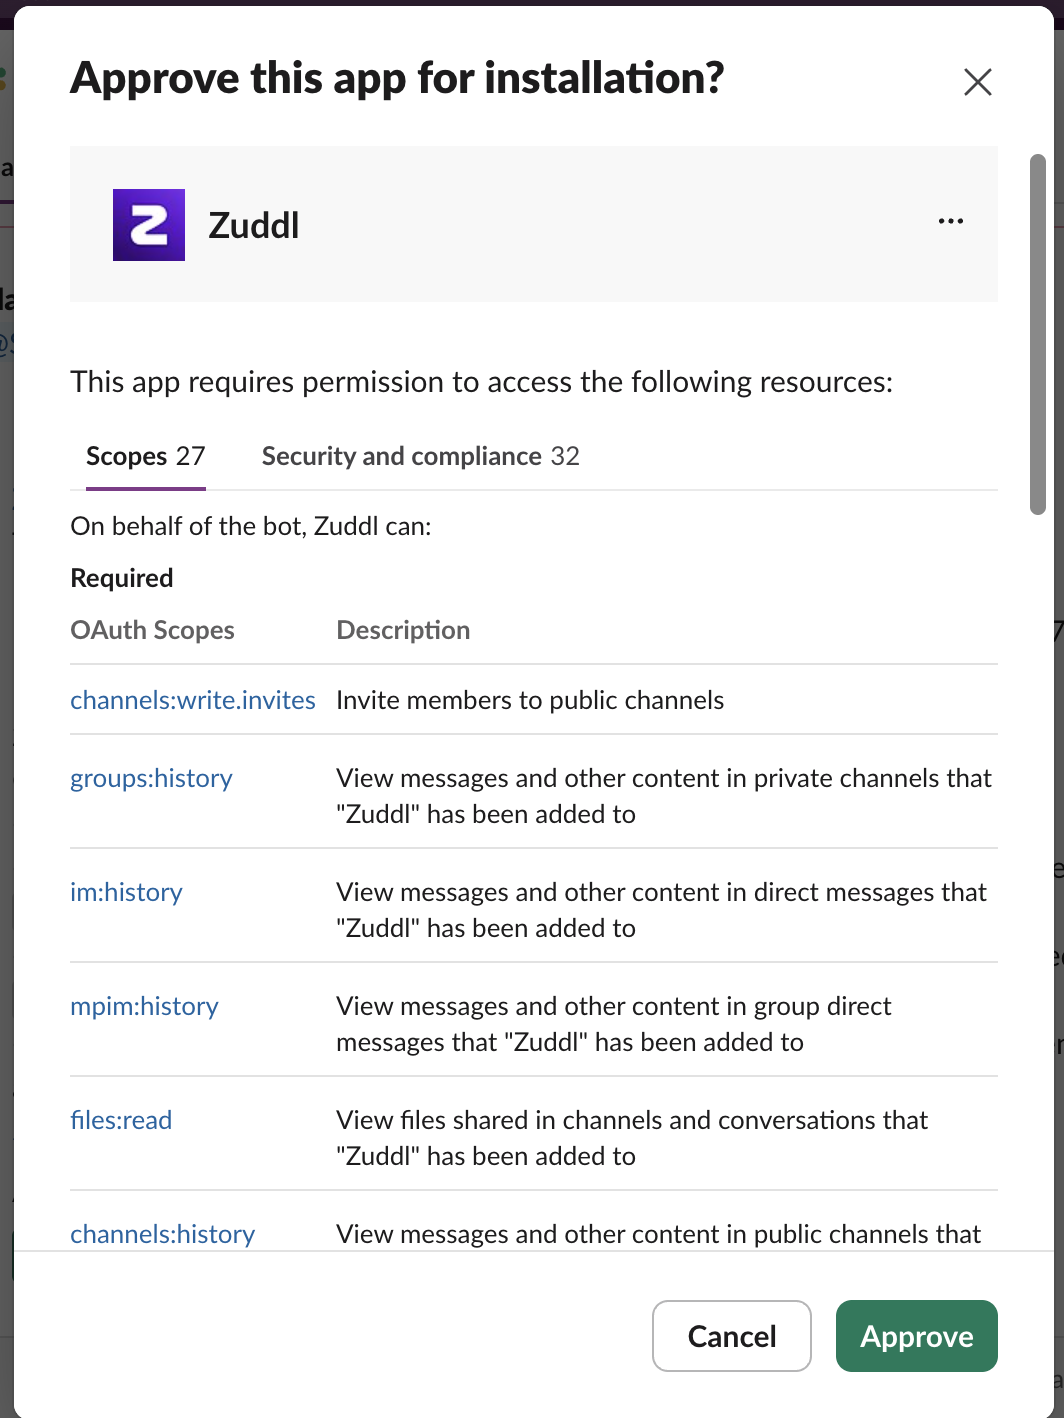
The admin's approval screen showing the requested OAuth scopes. Once approved, return to Integrations > Zuddl x Slack > Install/Edit and run the authentication once more to complete it. The app now has the permissions it needs.
Why authentication runs a second time after admin approval
The admin's approval grants permission for the app to be installed with all the allowed scopes, but does not complete the connection to Zuddl on its own. Running authentication once more lets Zuddl receive the updated authorization. This second pass is quick.
Part 2 — Org-level configuration
Org-level configuration applies across all events by default. It is set from the Zuddl x Slack integration at the org level.
Notification channel
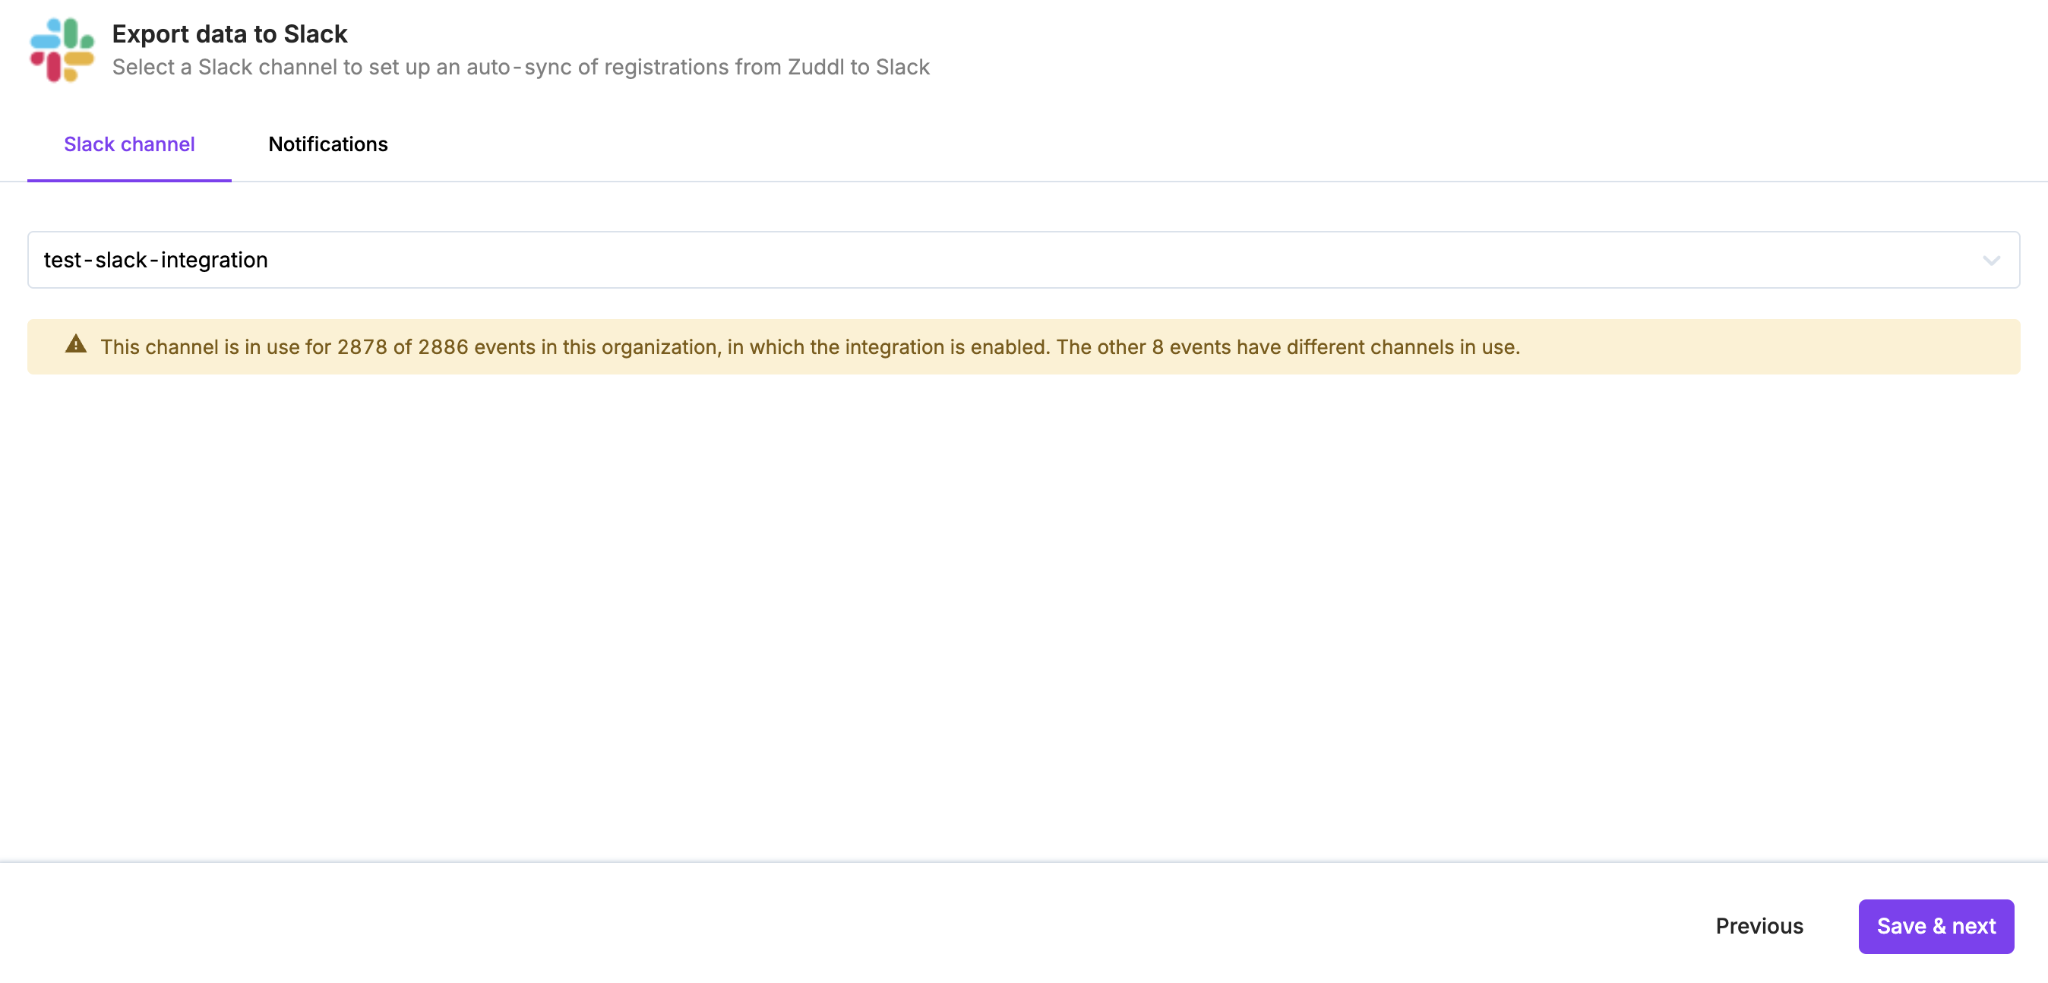
In the Slack channel tab, search and select the channel where notifications should be delivered.
Notifications for all events are sent to the channel selected here. If a specific event needs its own dedicated channel, that is set at the event level (Part 3). If the channel selected here is changed, the change applies to all events using the org-level channel.
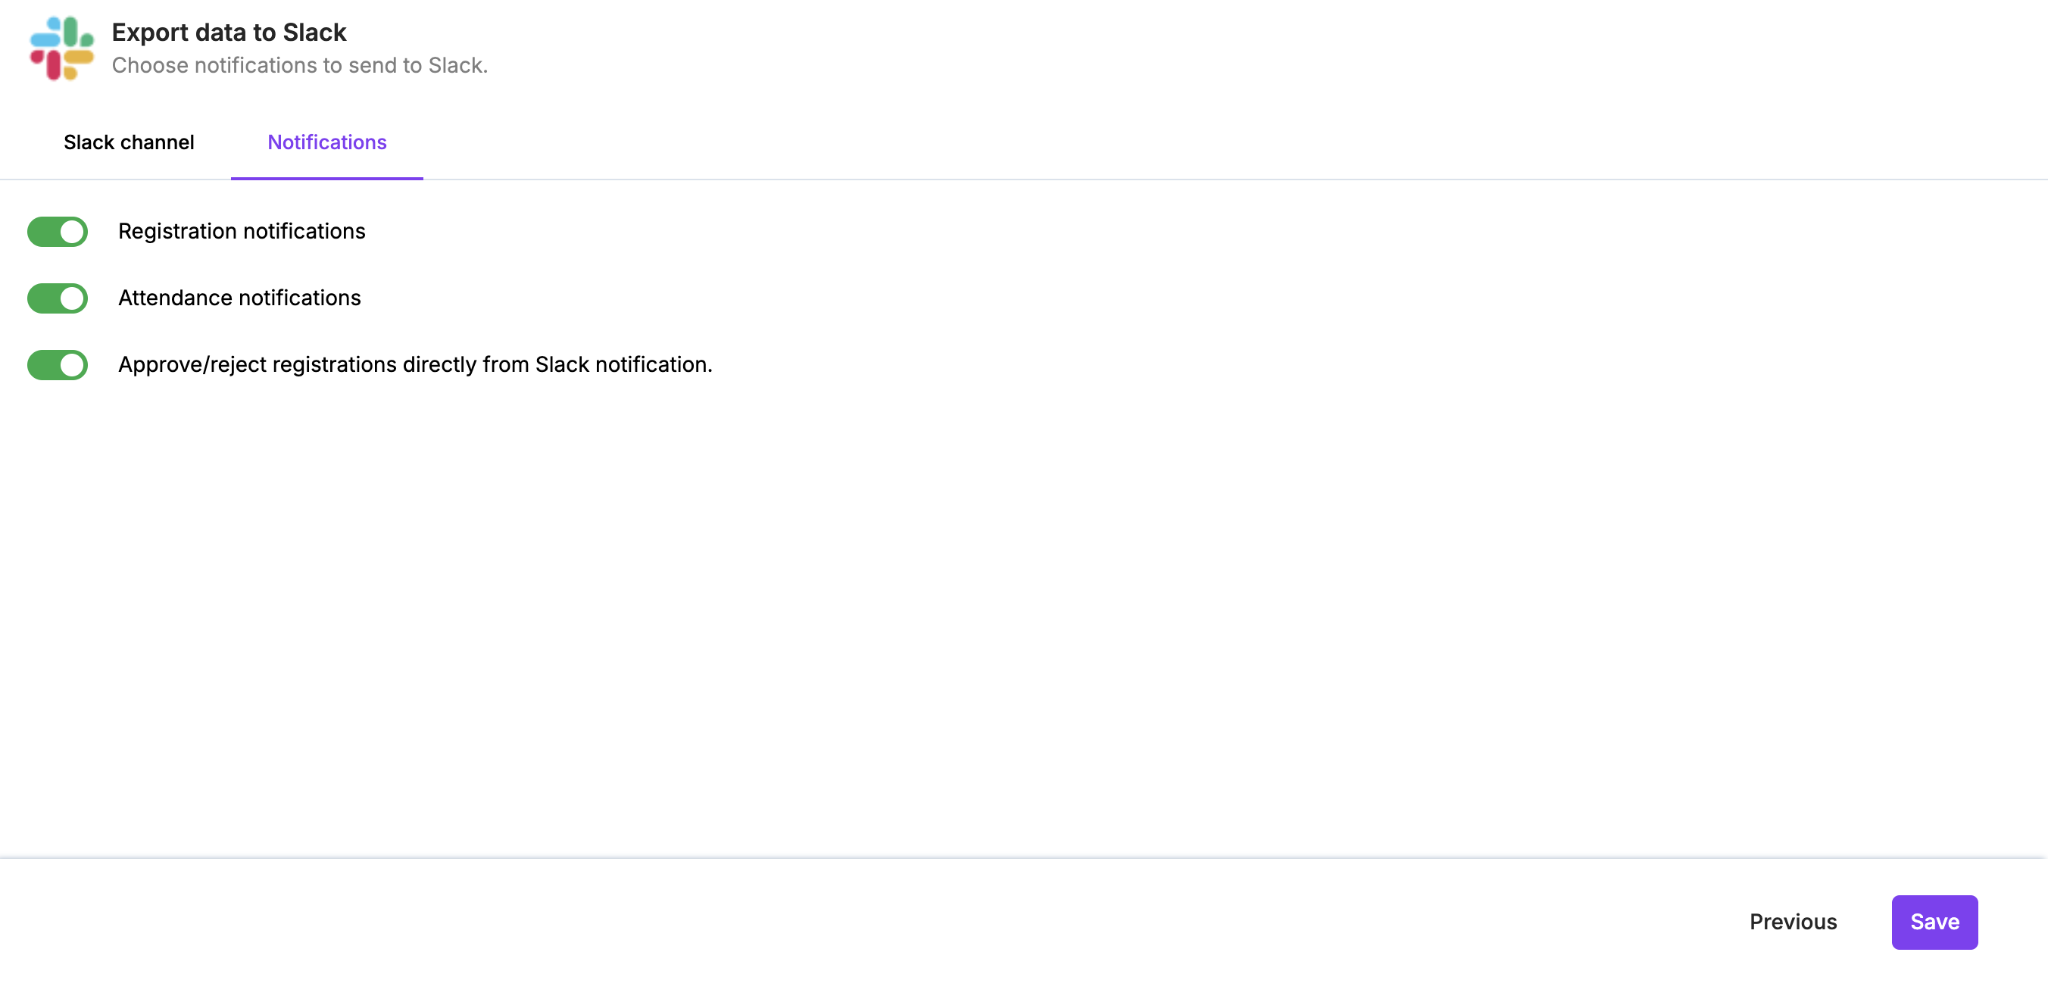
Notifications
In the Notifications tab, enable the notifications you want delivered. Notifications enabled here apply to all events; individual events can override this at the event level.
Editing the authentication or channel
Use the Edit option to change the channel or re-authenticate.
If a channel is archived, messages will no longer be delivered to Slack.
Part 3 — Event-level configuration
Event-level configuration lets you override the org-level notification settings for a single event, and configure the Zuddl’s agentic capability for that event.
To open it, go to an event, then Integrations > Slack > Customize. The configuration is organised into tabs: Slack channel, Notifications, and Ask Zuddl.
Event-level channel and notification settings take precedence over org-level settings for that event.
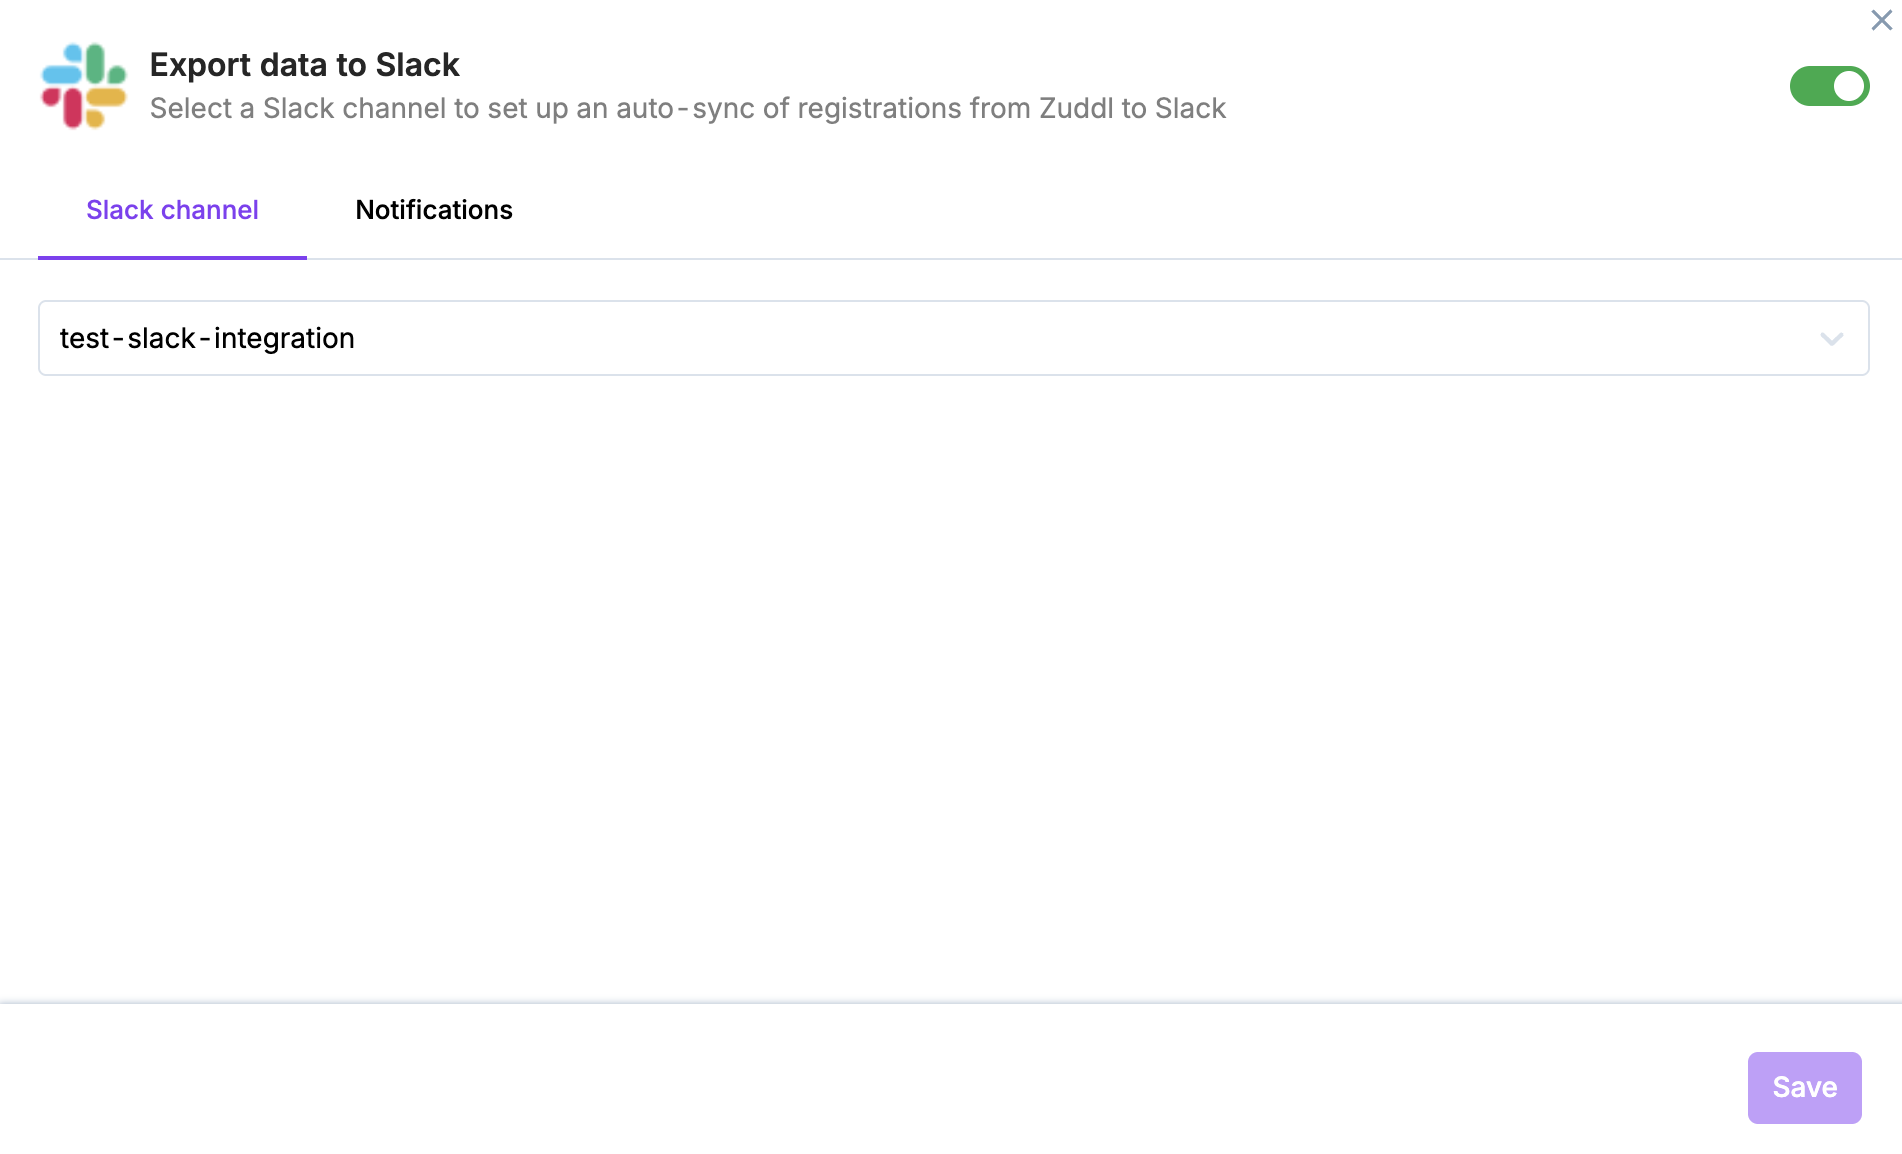
Slack channel
Under the Slack channel tab, choose the dedicated channel where this event's notifications should be sent.
Notifications & fields
Under the Notifications tab, toggle on the specific activities you want to be notified about for this event.
Optionally toggle on Approve/reject registration directly from the Slack notification.
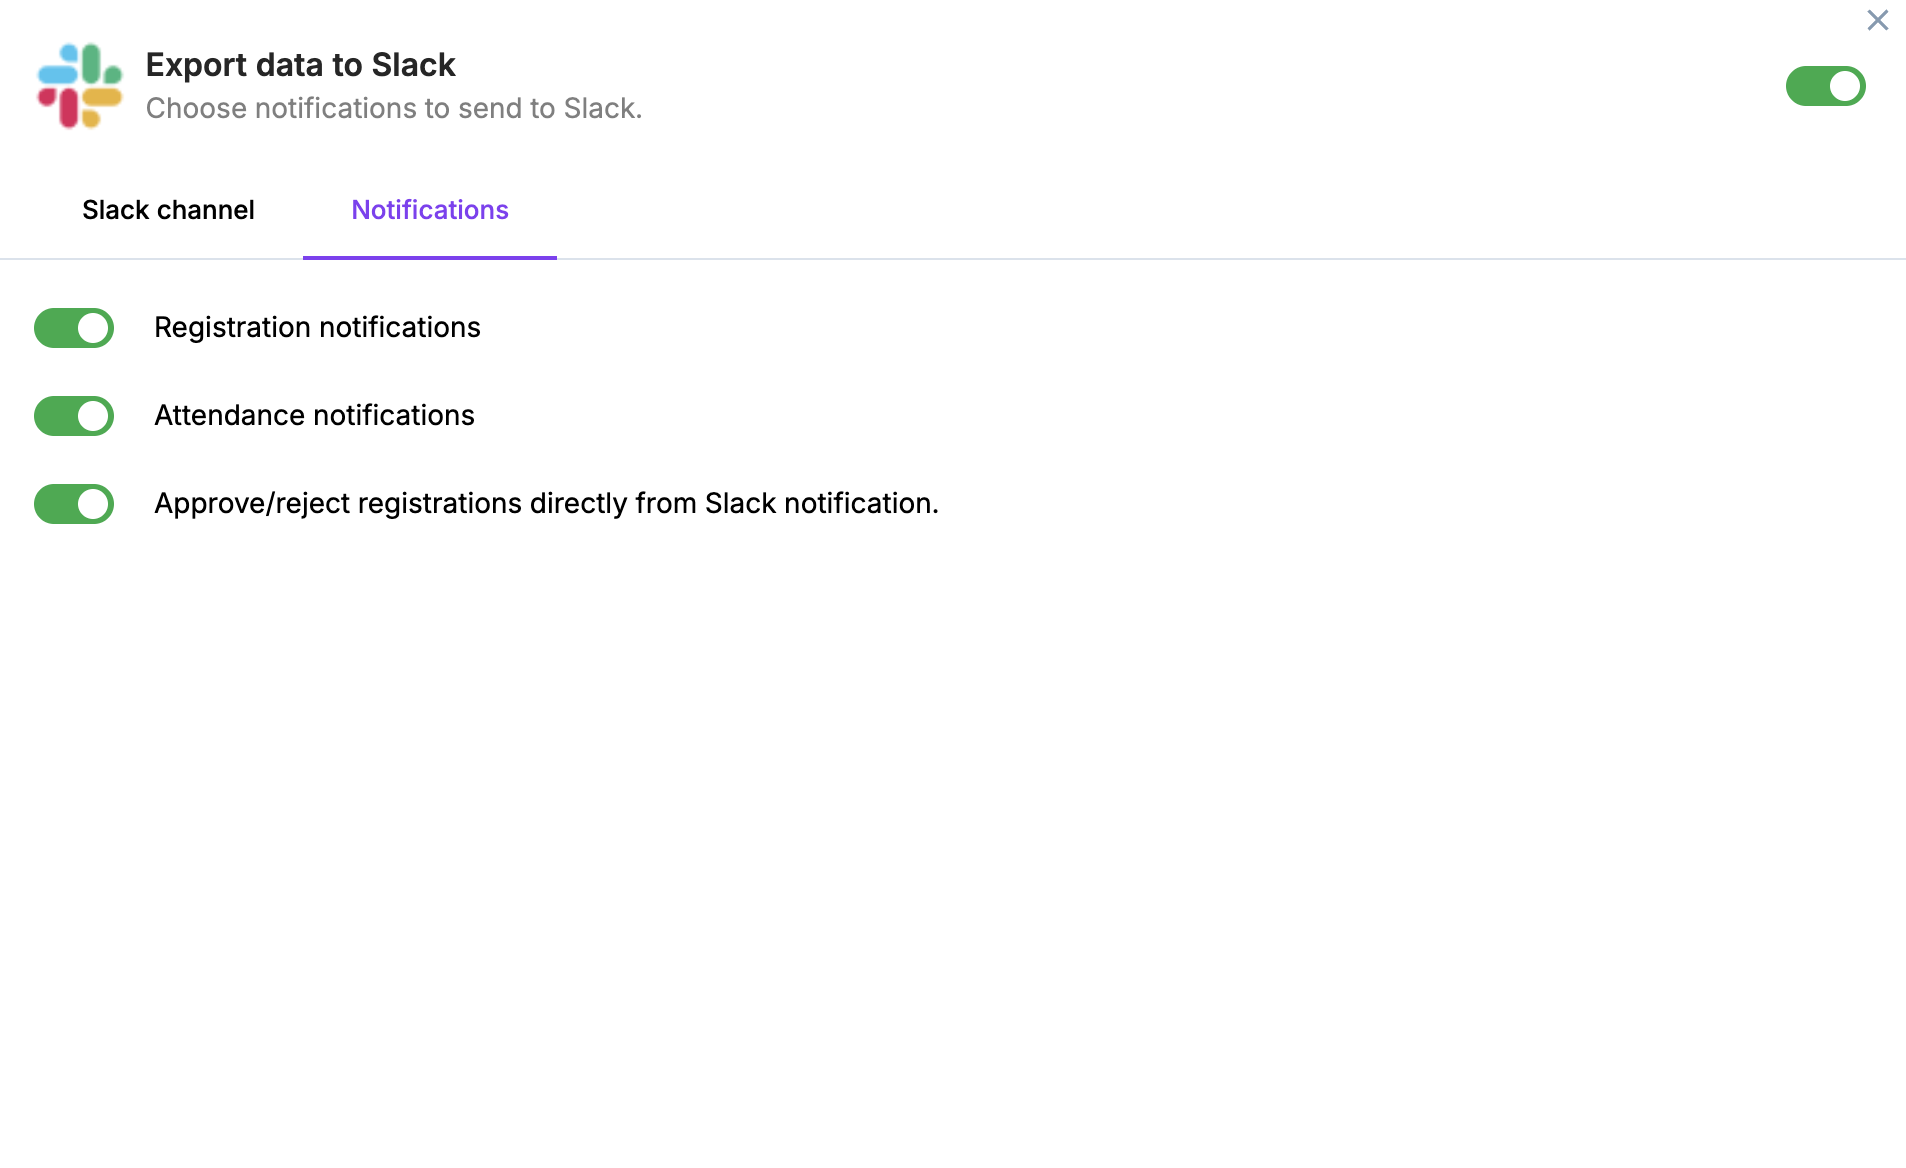
Click Save, then Confirm on the pop-up to enable event-level notifications.
A Slack notification has a hard limit of 10 registration fields per section.
Notifications can be turned off entirely for an event using the top-right toggle in that event's Slack integration.
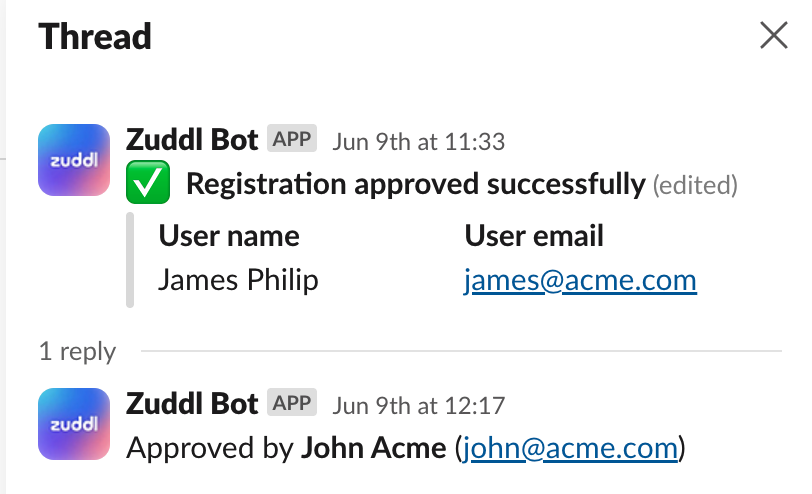
The Slack notification with Approve and Reject button is shown below:

Once the organizer has taken the approval/reject action, the Slack notification is edited as 'Registration approved successfully' for approve action, 'Registration rejected' for reject action, or 'New registration pending for approval <#event name>' for pending request. The rejected/approved/pending registrants appear in the respective lists on the Approval page in the event dashboard.
When you approve or reject a request, the Zuddl bot sends a reply message as shown below:
Already approved
If a request has already been approved from the dashboard or from Slack itself by someone else, you will receive a message 'This registration has been already approved'. If you are not an organizer who is authorized to approve/reject a registration, then you will receive a message, 'Only event organizers can take action on this request'.
If, for your organization, both Slack integration and Slack+Salesforce integration are turned on, then you will receive the same notification twice. If some action is required, it can be taken on any channel.
Ask Zuddl tab
The Ask Zuddl tab configures the agent capability for the event. It becomes available only if you have opted in for AI features of the platform. You can reach out to your CSM to get it enabled.
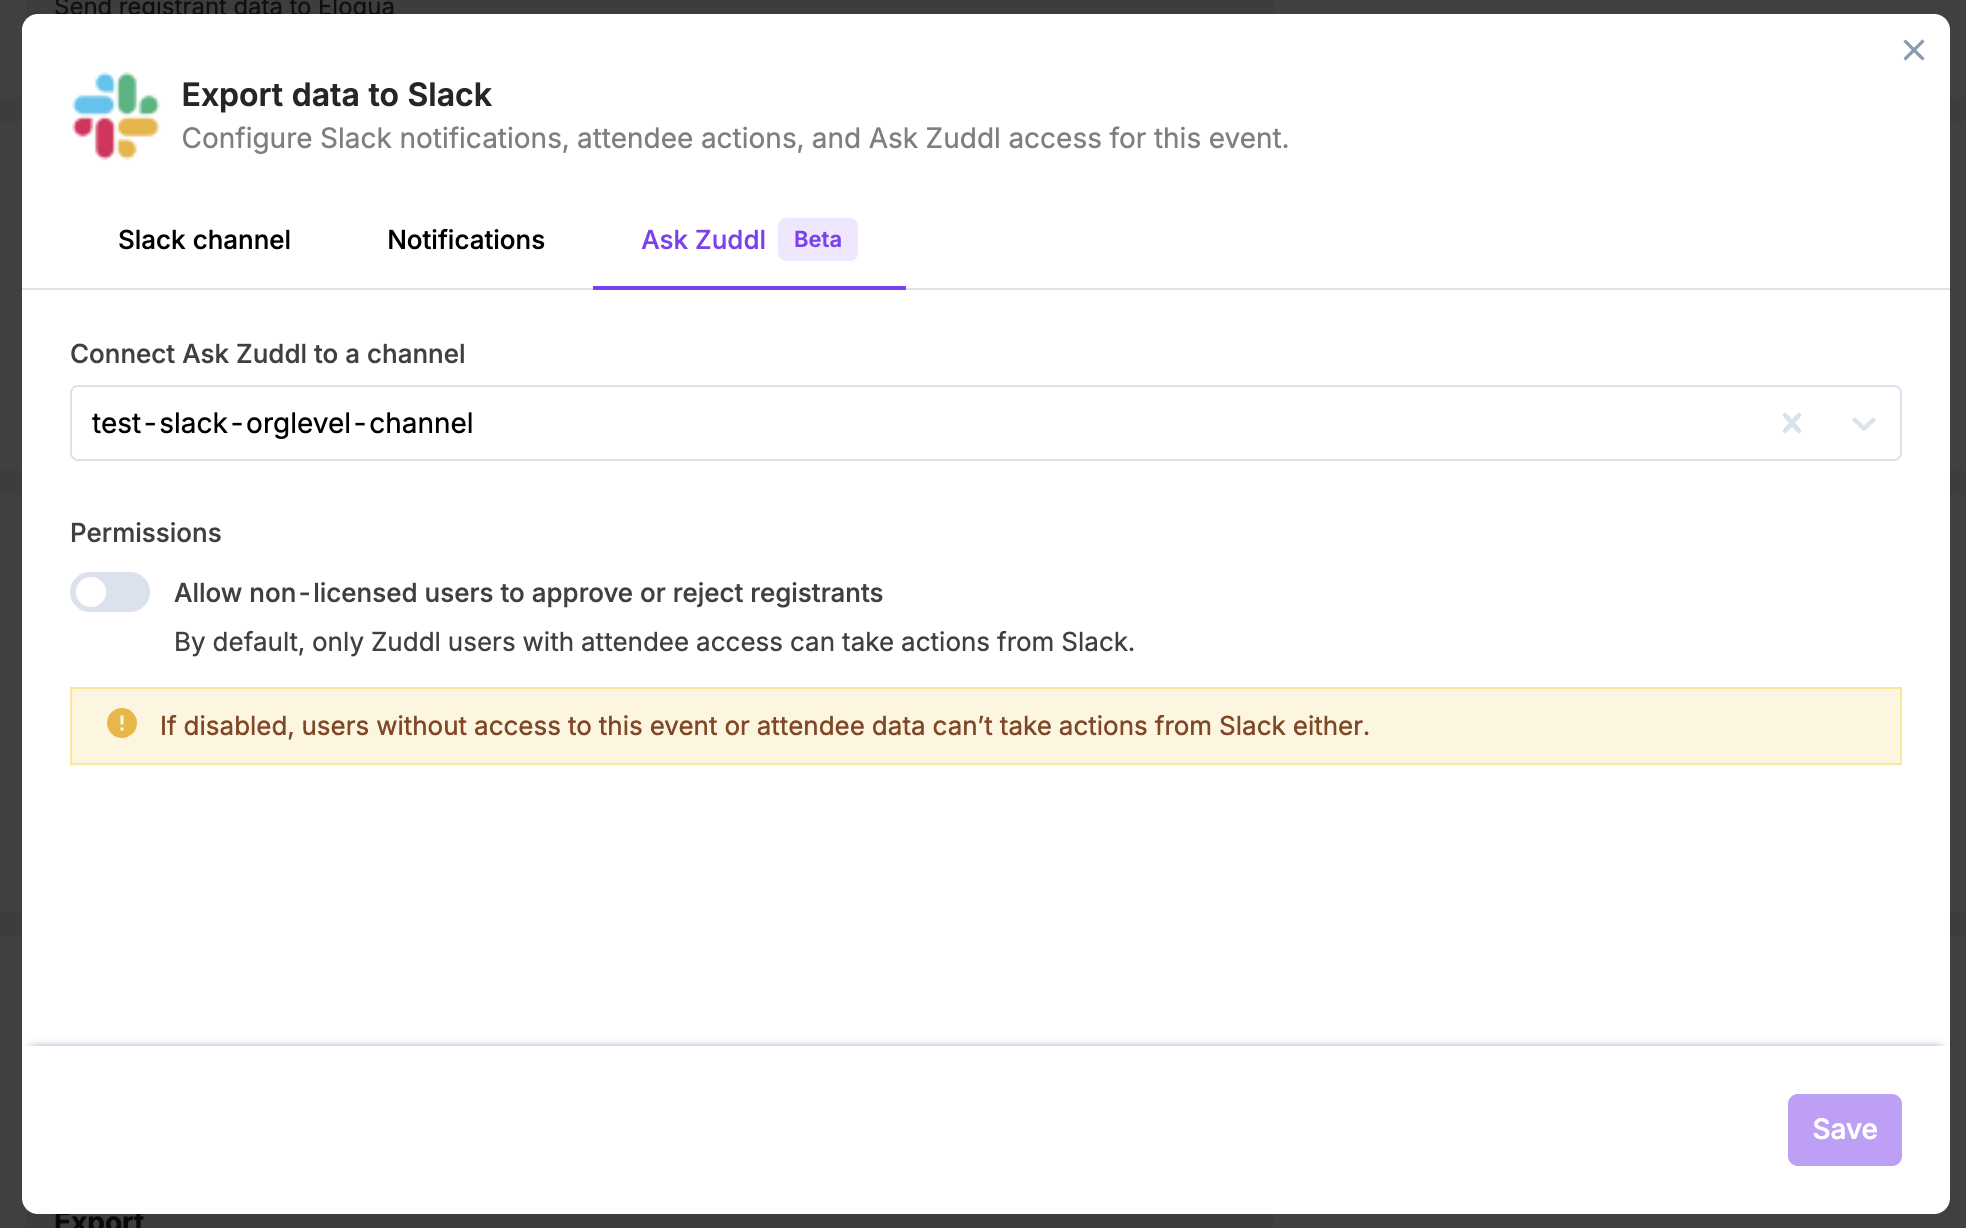
Connect Ask Zuddl to a channel
Under Connect Ask Zuddl to a channel, select the Slack channel where the Zuddl app should operate for this event. This can be different from the notification channel.
Public channels: the Zuddl app joins automatically once connected.
Private channels: invite the app manually by typing /invite @Zuddl in the channel.
Permissions — non-licensed approvals
The Allow non-licensed users to approve or reject registrants toggle controls whether people in the channel who don't have a Zuddl account can take approval actions. It is off by default.
When off, only Zuddl users with attendee access can take actions from Slack.
When on, anyone in the channel — including non-Zuddl users — can approve or reject. Each action is logged against the user's Slack identity.
If you enable non-licensed approvals, we recommend using a private channel, since anyone in the channel will be able to take approval actions.
Click Save to apply the Ask Zuddl configuration for the event.
How the agent works in Slack
Once a channel is connected and permissions are set, anyone in that channel can interact with the Zuddl app.
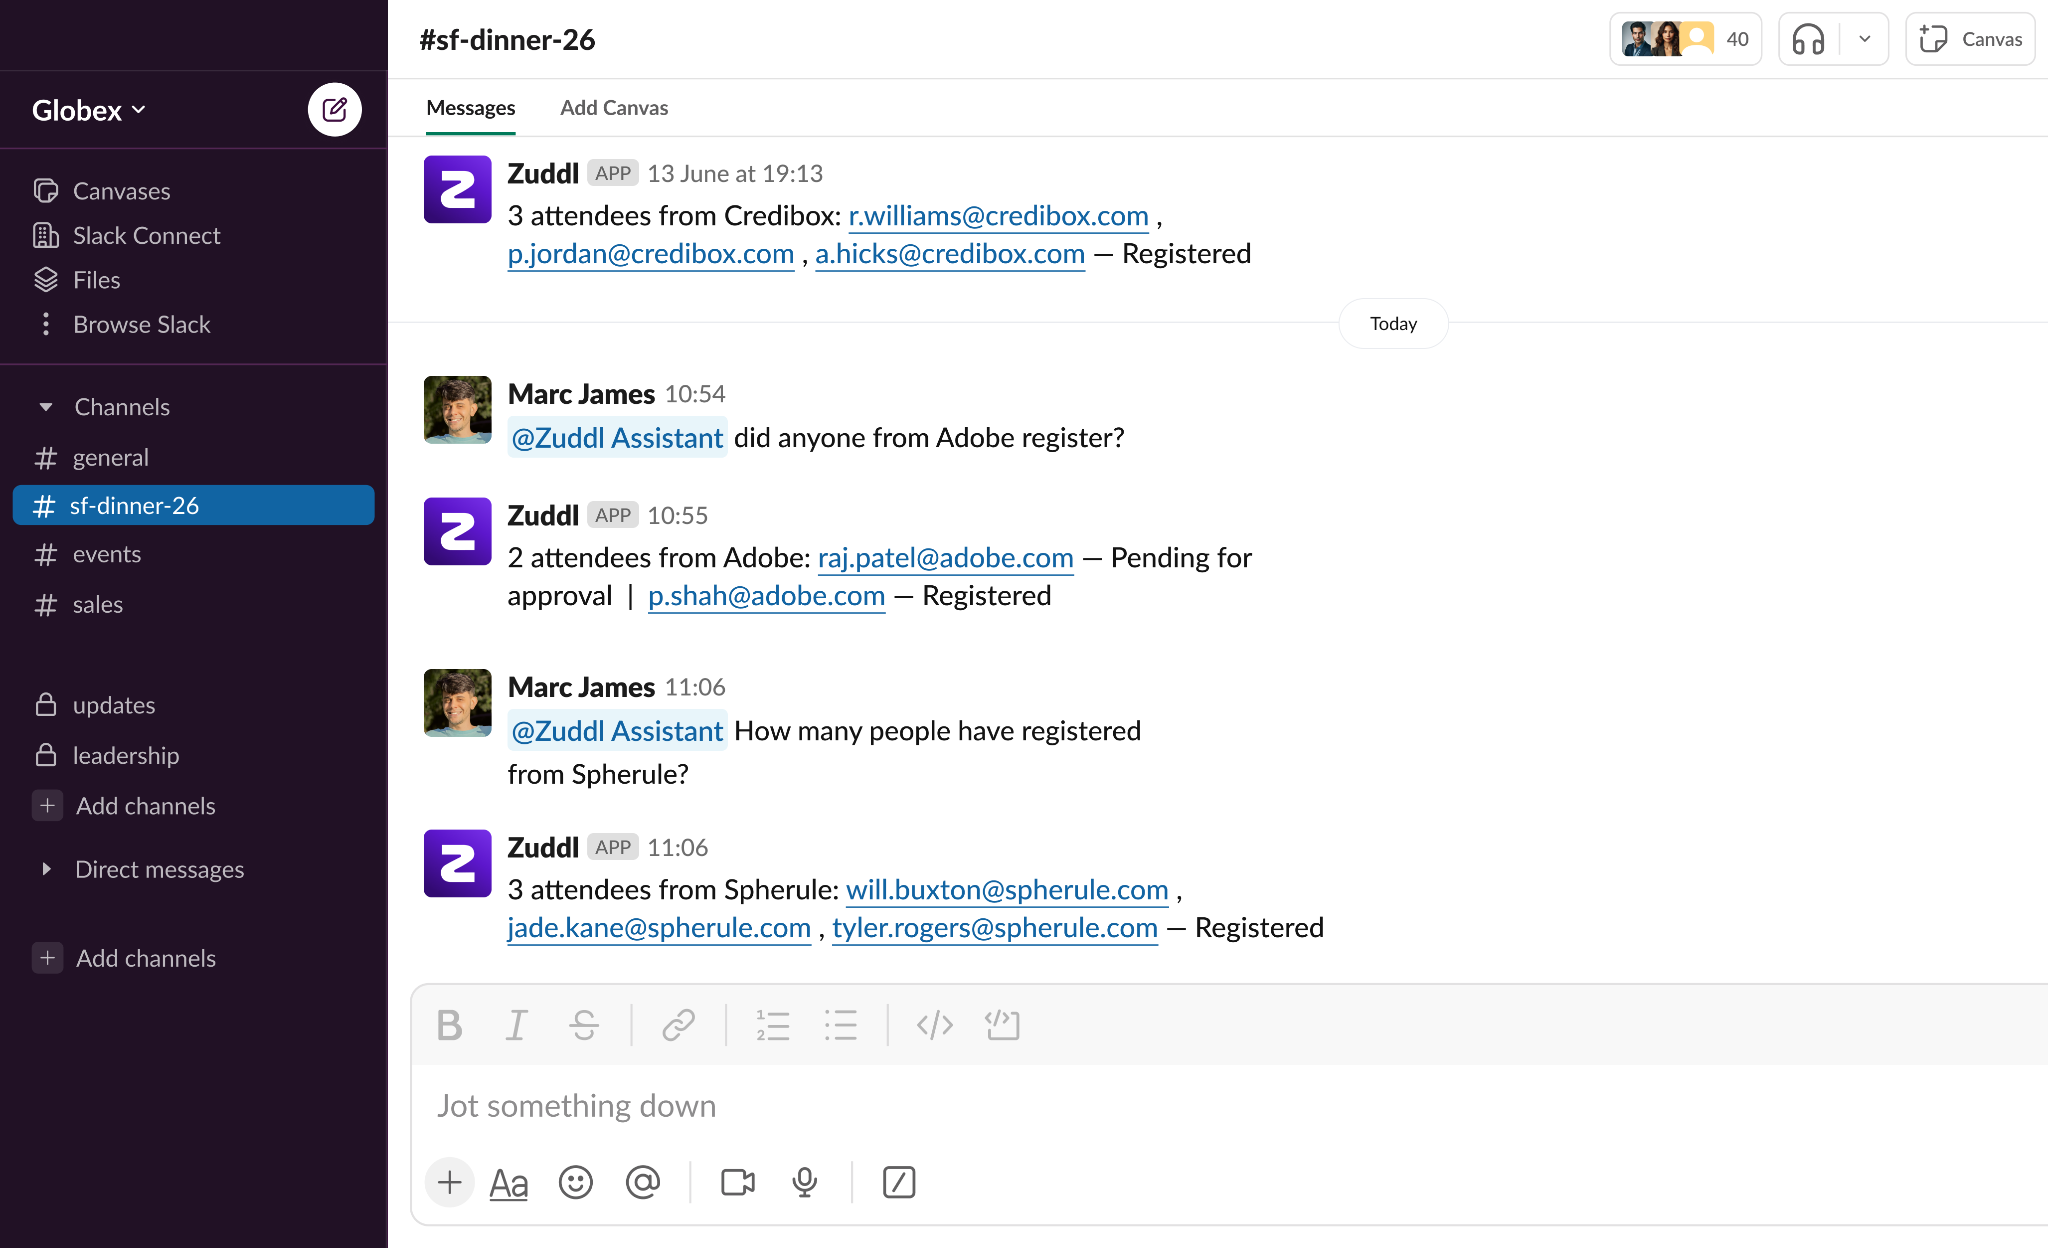
Asking a question
Mention @Zuddl in the connected channel (or DM the app, if you are a licensed Zuddl user) with a question about an attendee. No individual login is required — the app matches your Slack email to Zuddl to resolve your identity and access.
Queries can be made by email, name, company, status, or a combination.
The response returns the attendee's email and current registration status.
Taking action
When a query returns a pending attendee, the app renders Approve and Reject buttons inline. Actions are taken by clicking the button — the app never acts automatically from a text prompt.
Approve or reject individual registrations, or use Approve All / Reject All when three or more pending attendees appear in a response.
After an action is taken, the buttons are removed from the message and replaced with the outcome.

Thread updates
When you query an attendee, that thread is subscribed to future status changes for that attendee. When the status changes, the app replies in the same thread so you are kept informed without asking again. Queries of four or more attendees are treated as bulk checks and are not subscribed.
Monitoring data logs
Each activity that is captured on Zuddl is passed on to Slack by the integration. The integration logs page lets you monitor this process and check for any failed actions and retry sending data in case of a failure.
Learn more about integration logs.