How to Design a Stage for a Hybrid Event in Zuddl
Last updated: August 1, 2025
To configure your stage further, click on the edit icon for a particular stage.
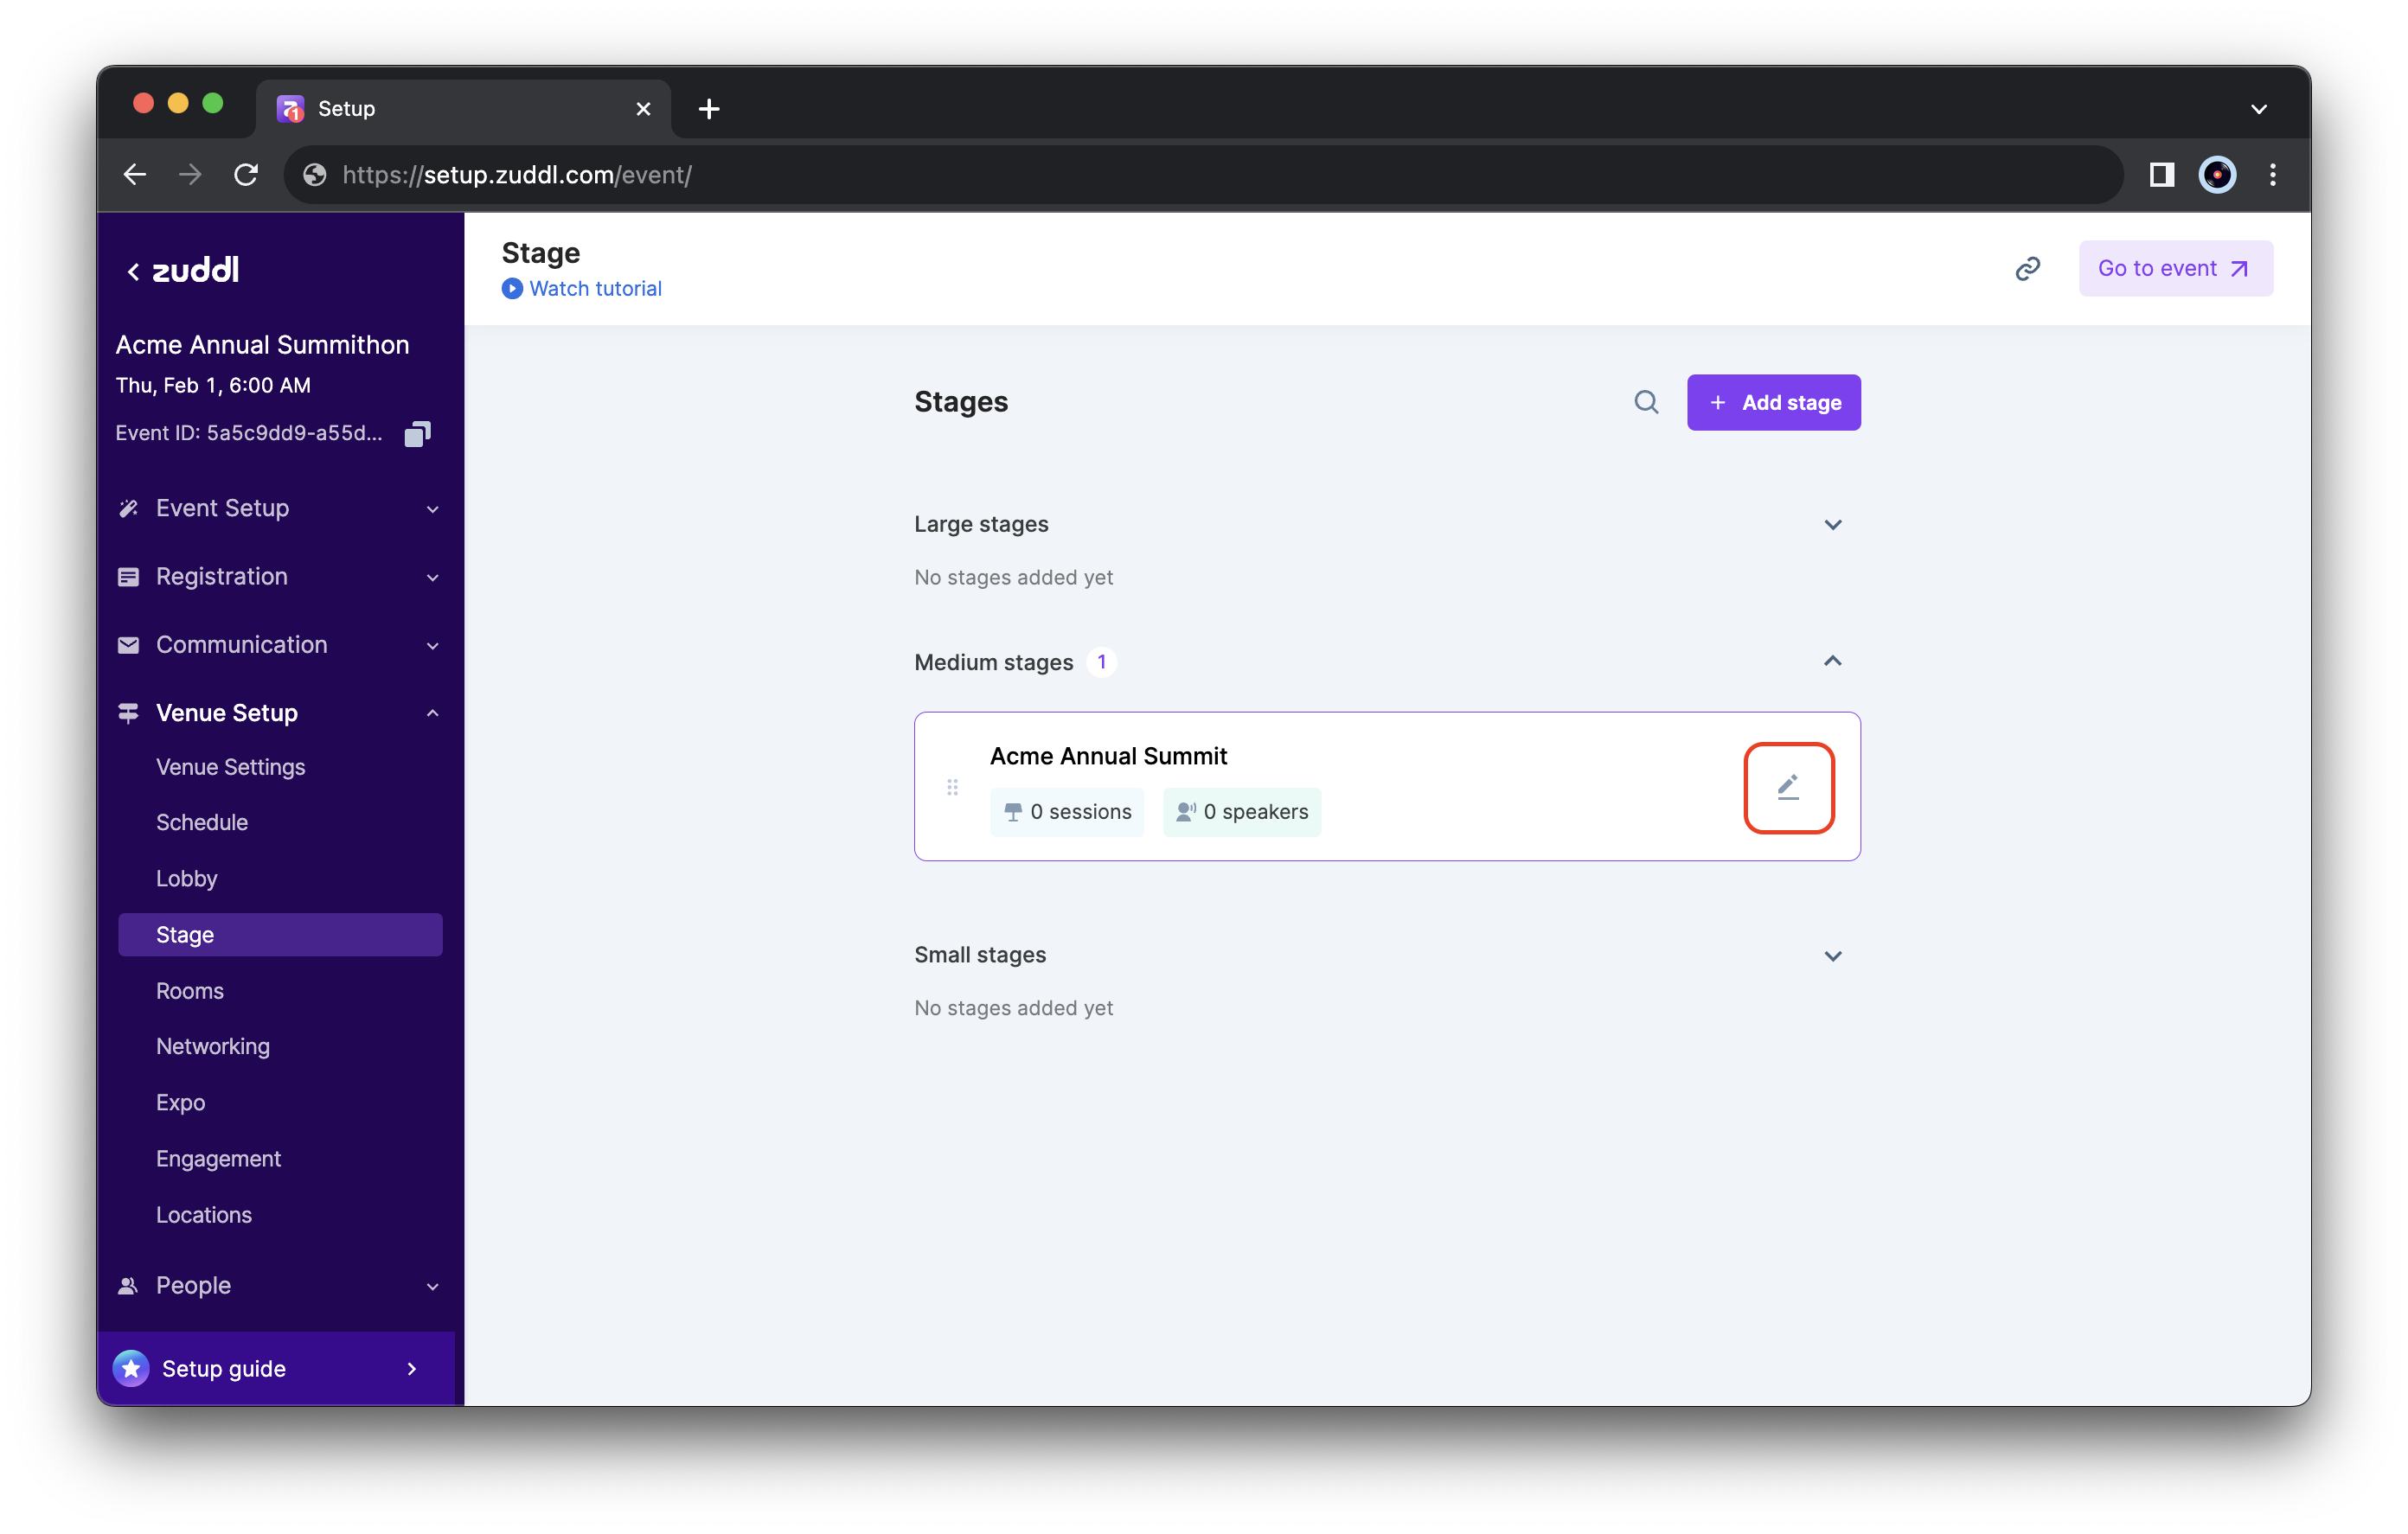
This takes you to stage settings where you can customize your stage to your requirements. You can also preview the settings changes on an event site replica (on the right).
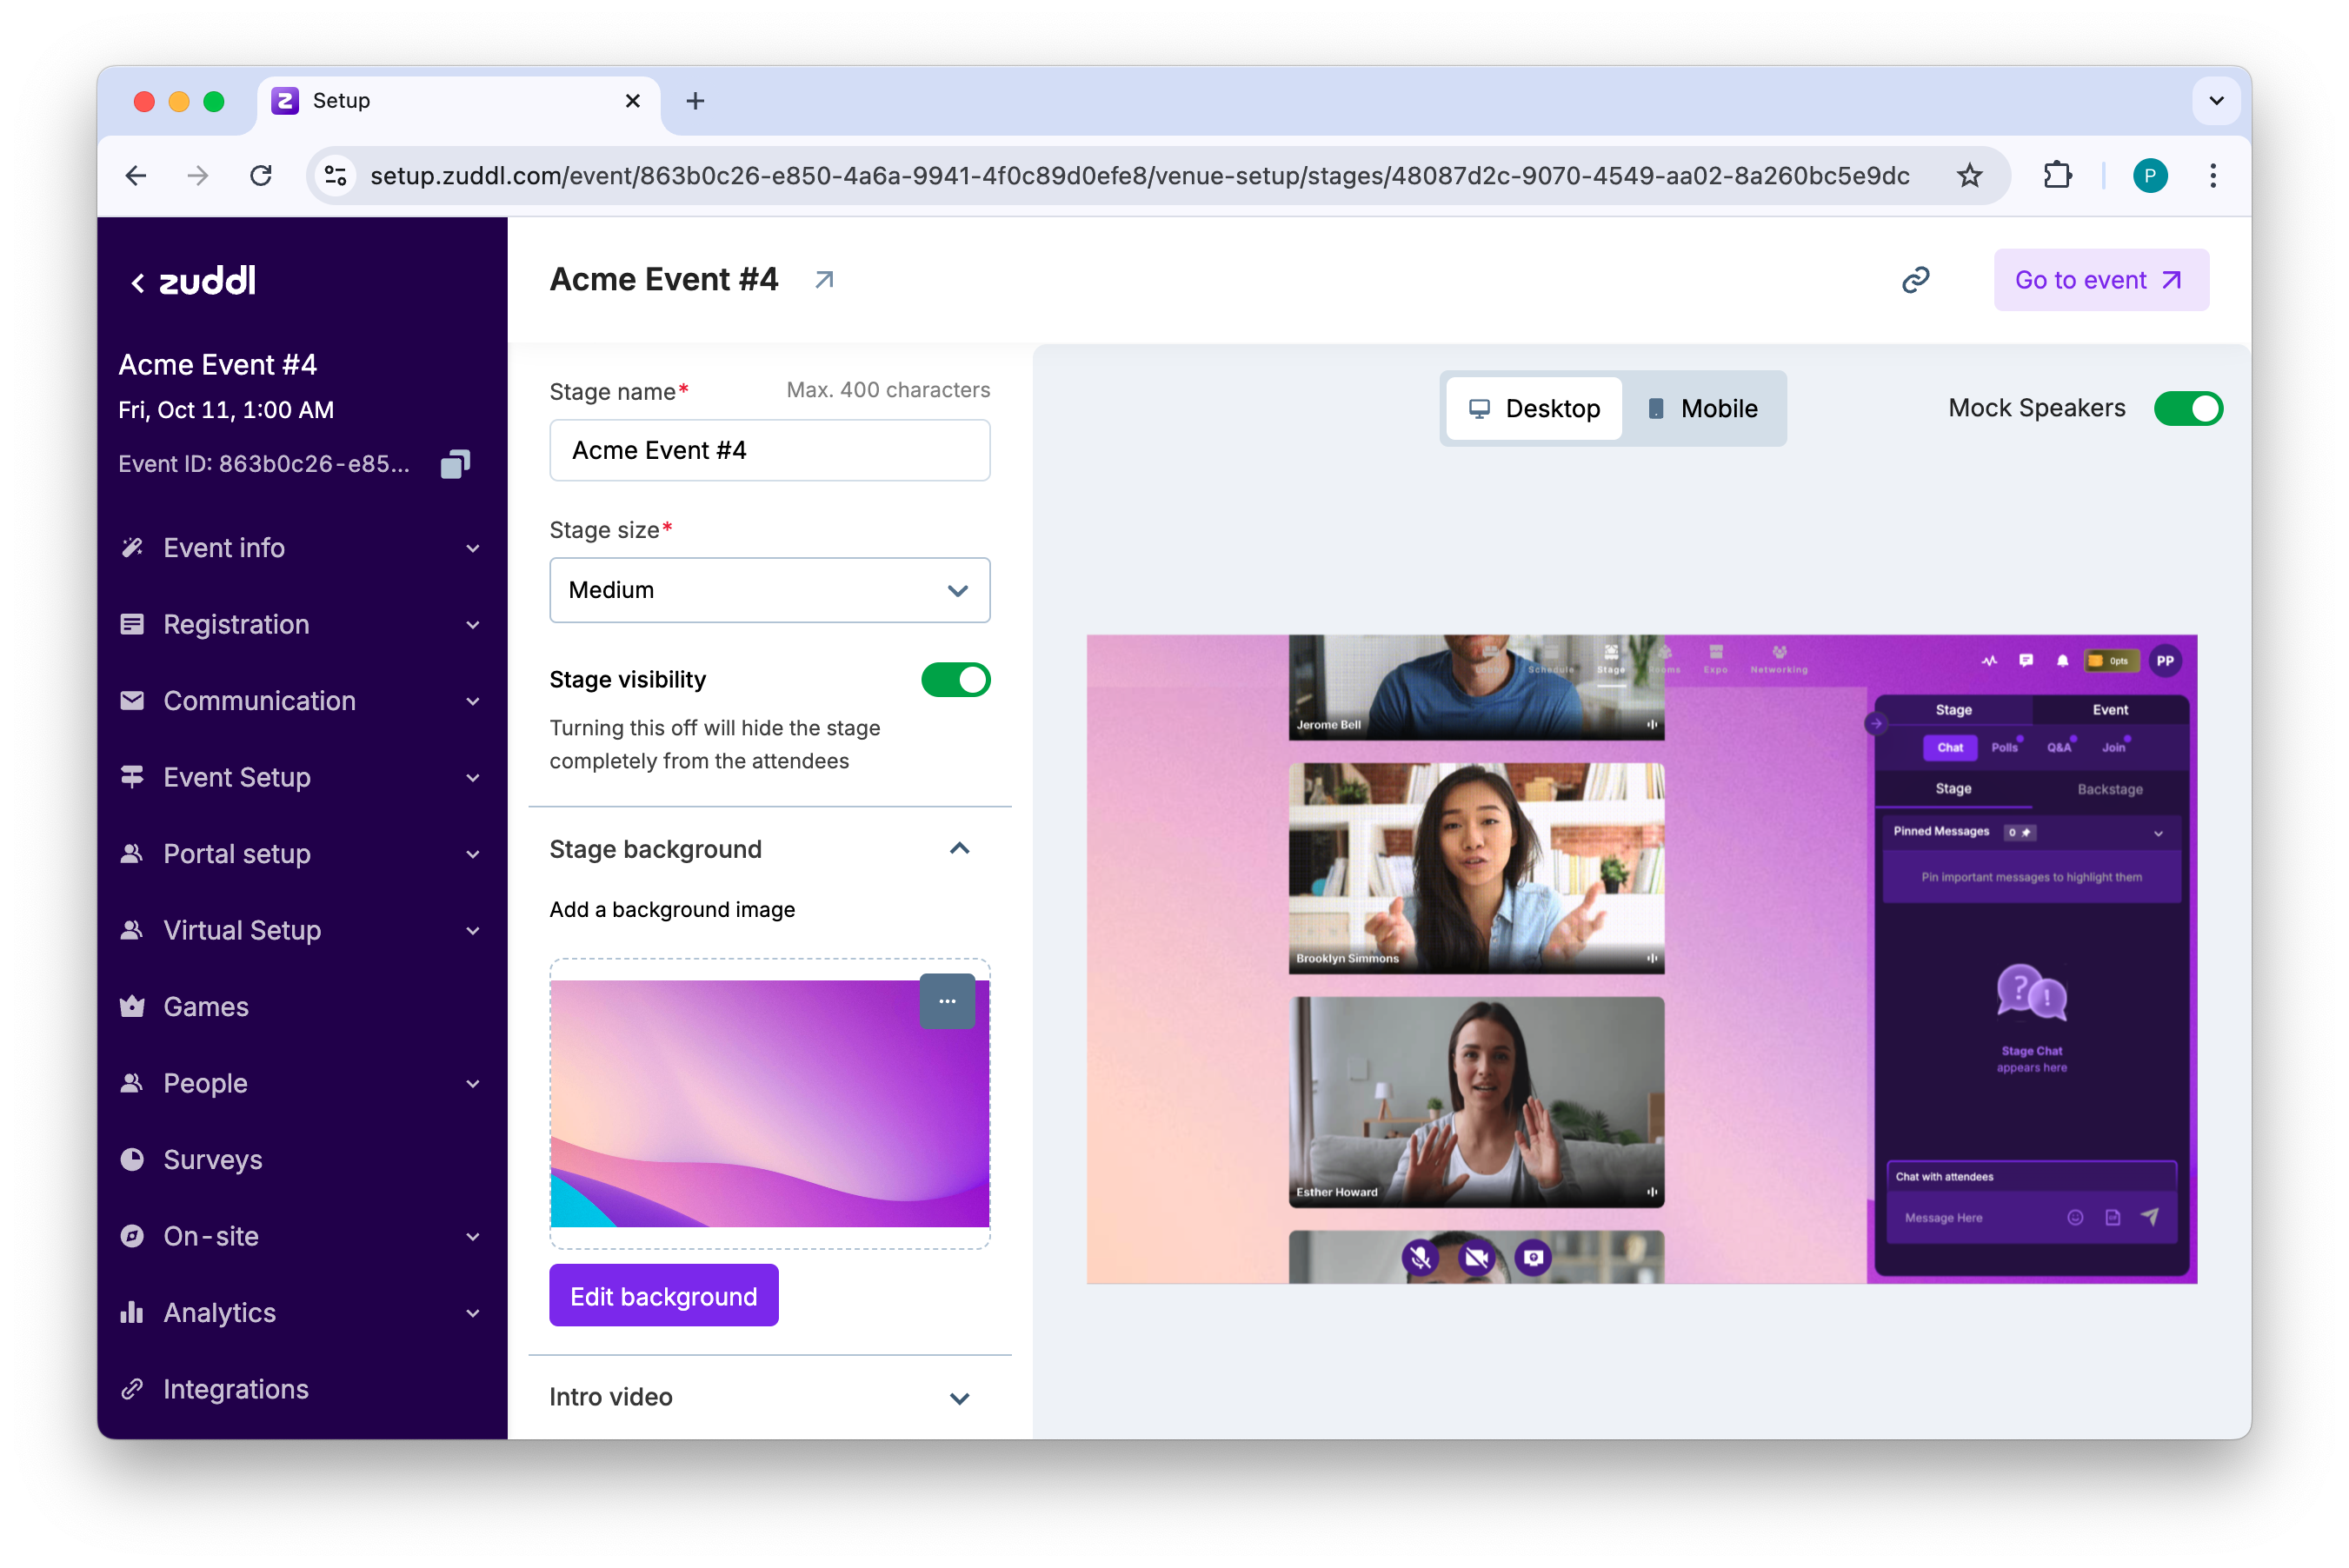
Under the details tab:
- Edit your Stage name.
- Select a Stage size from the 3 available options: Large, Medium, and Small.
- Toggle on/off Stage visibility. This shows/hides the stage on the list.
Attending the event
When an attendee enters the stage view, they can see all the added stages as shown in the below:
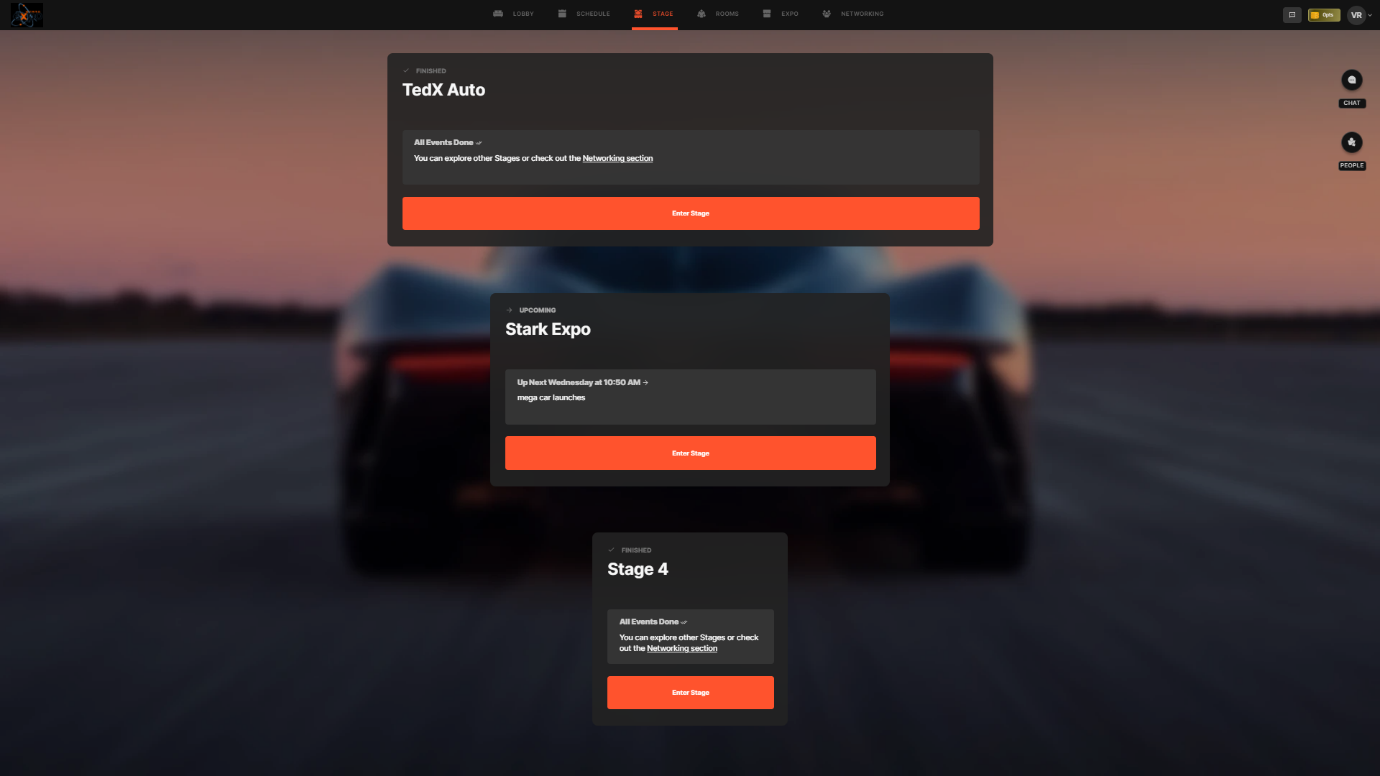
In the above image, TEDx Auto is a large stage, Stark Expo is a regular stage, and Stage 4 is a small stage. In all stages, the current status of the sessions is also shown.
Edit stage background
The stage comes with a default background but you can customize it as per your needs. To customize a stage background:
Expand the Stage Background menu and click the Choose image button.
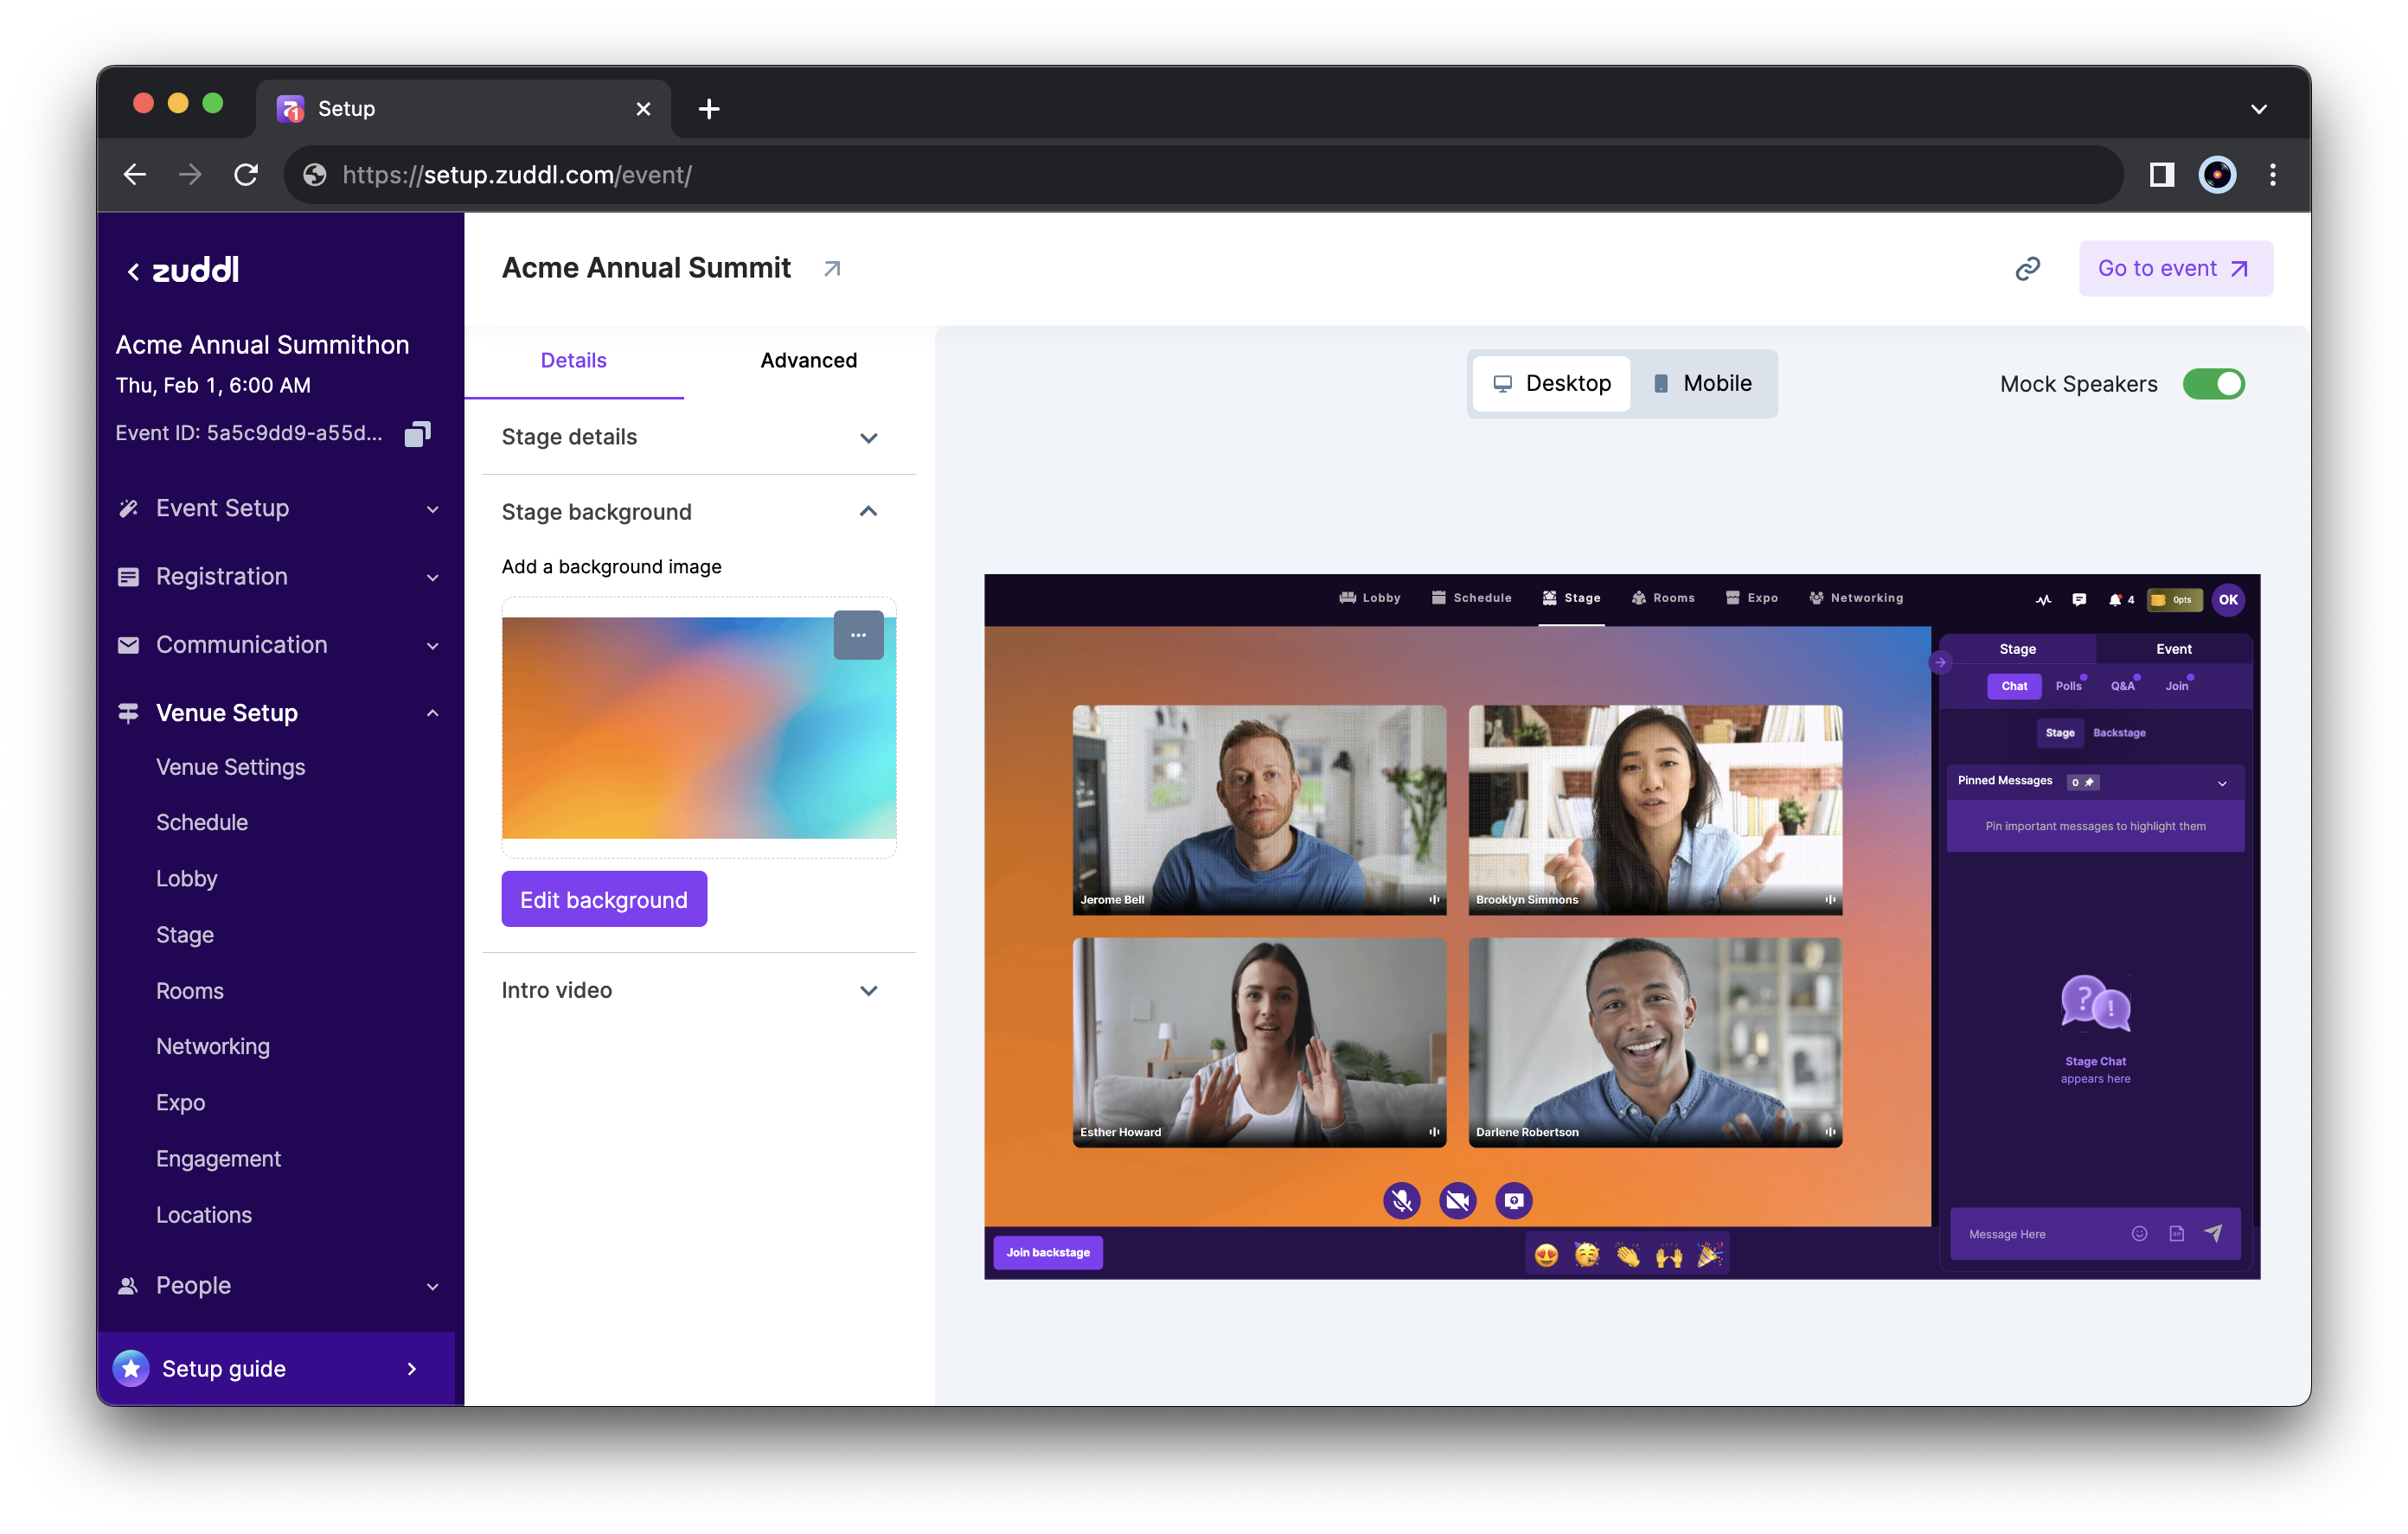
- Select a stage background. There are two ways in which you can add a stage background:
Choose a suitable background from the available preset templates.

Upload a custom image from your device. The recommended format is a 1920x1080 pixel image in png, jpg, jpeg, or gif format with a maximum size of 4 MB.
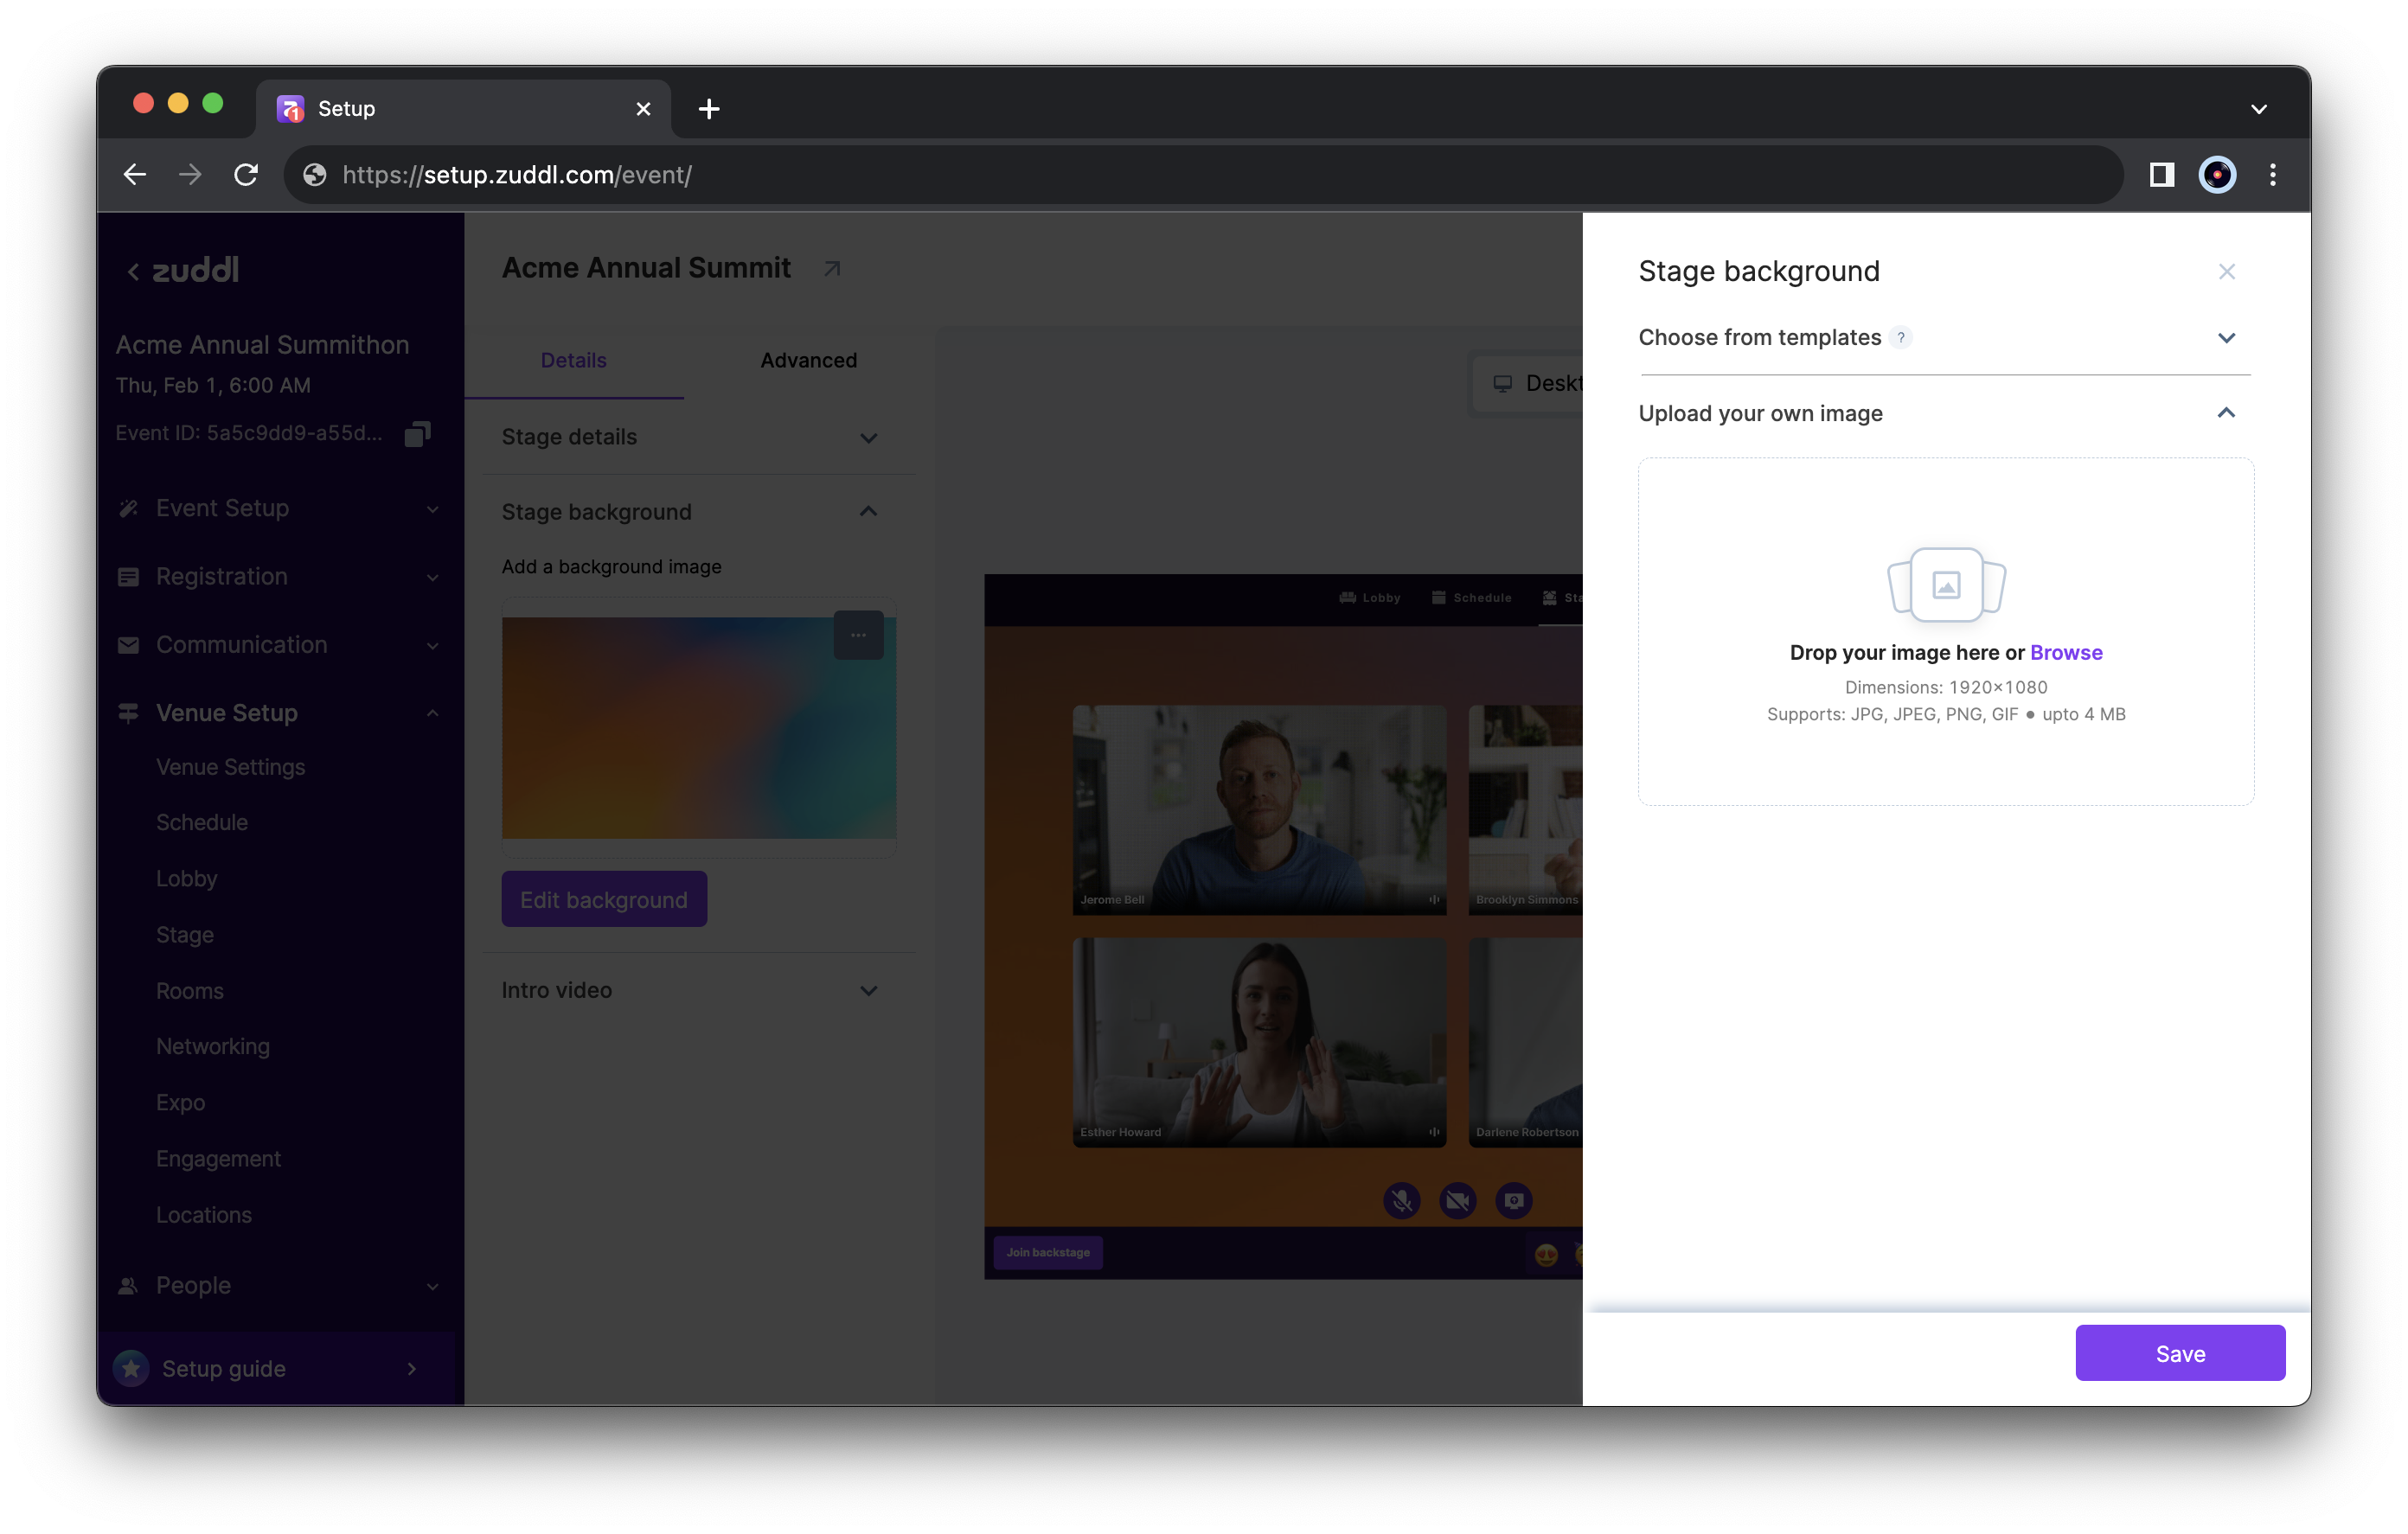
Upload a custom background image
- Click Save. You can preview how the new stage background looks and make changes as required
Add an intro video
The Intro Video is an experience video played for attendees when they enter the stage for the first time. You can either choose from the list of available intro videos on the Zuddl dashboard or upload your own. The recommended format is an .mp4 file with a maximum size of 6 GB. To add an intro video:
- Expand the Intro Video section.
- Click the Upload video button.
Drag and Drop your file in the designated area or Browse and select your video file.
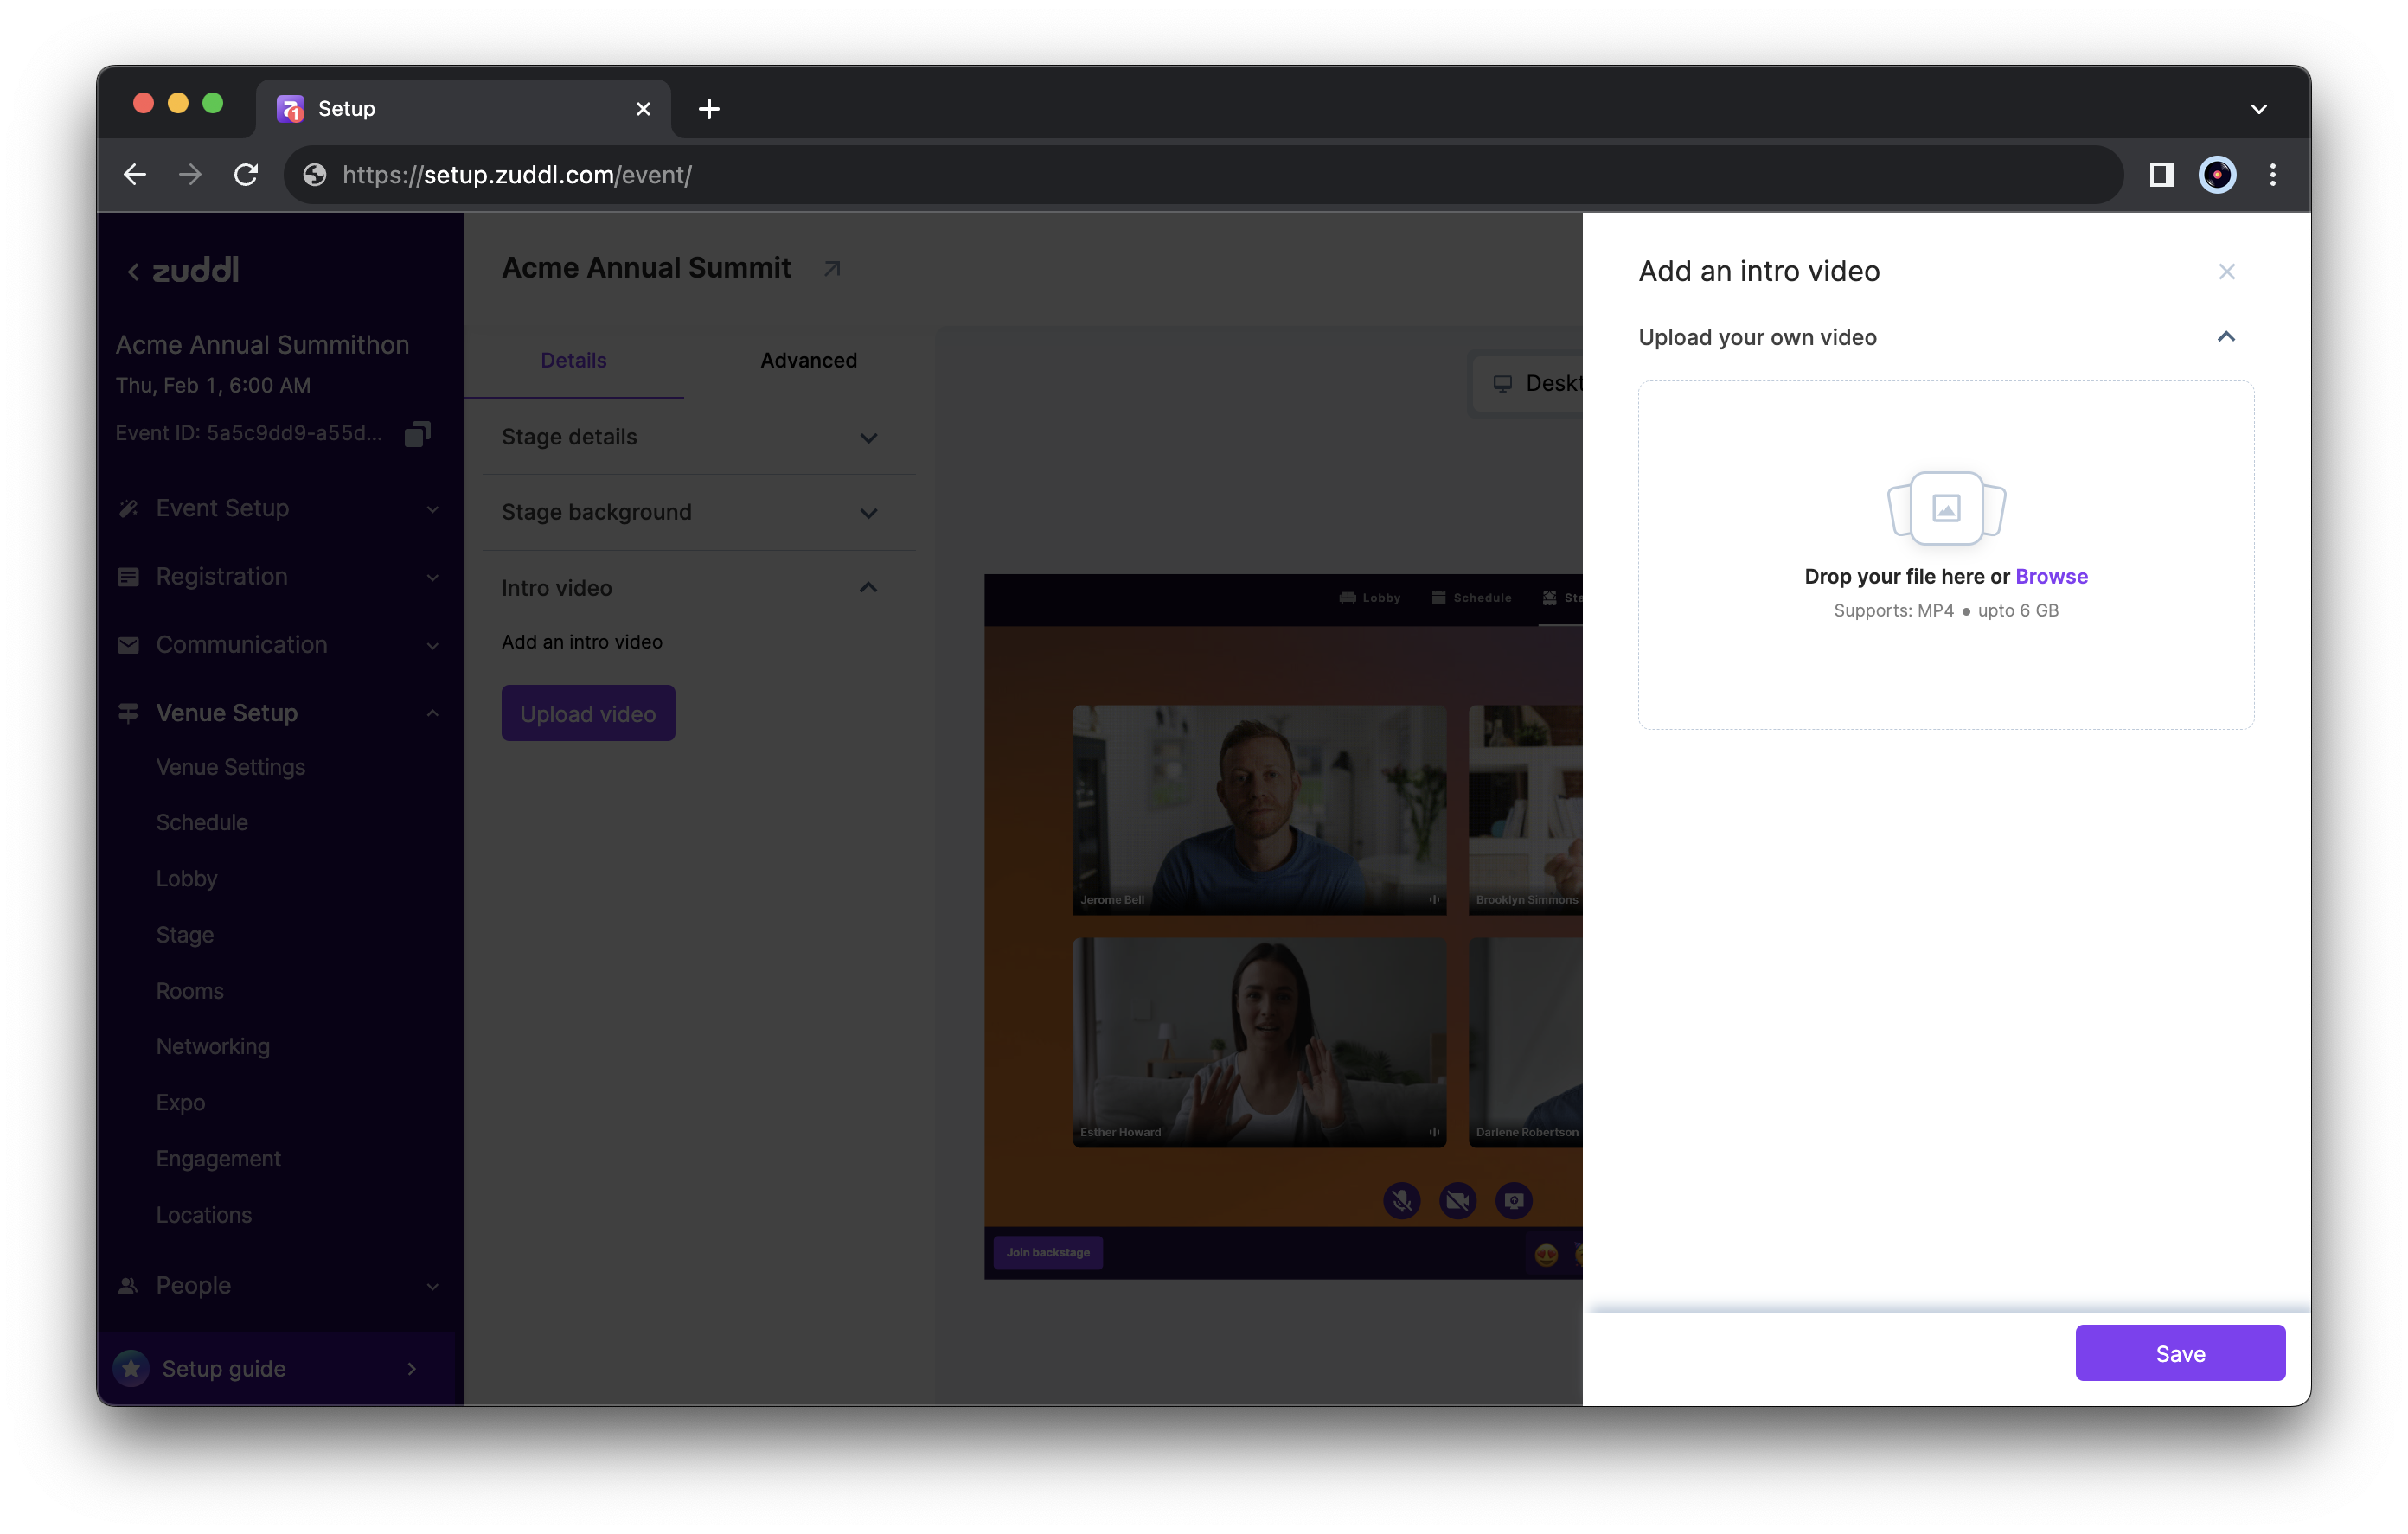
- Click the Save button. Once added, you can play the selected video.