How to Check-in Registrants to Sessions from the Onsite App
Last updated: September 4, 2025
Based on the settings you made on the organizer dashboard while creating a session, you can check-in registrants to session they have access to.
Log in to your Zuddl onsite app.
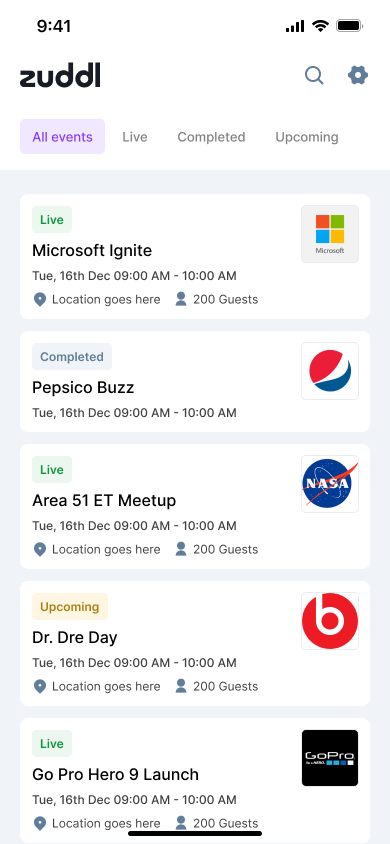
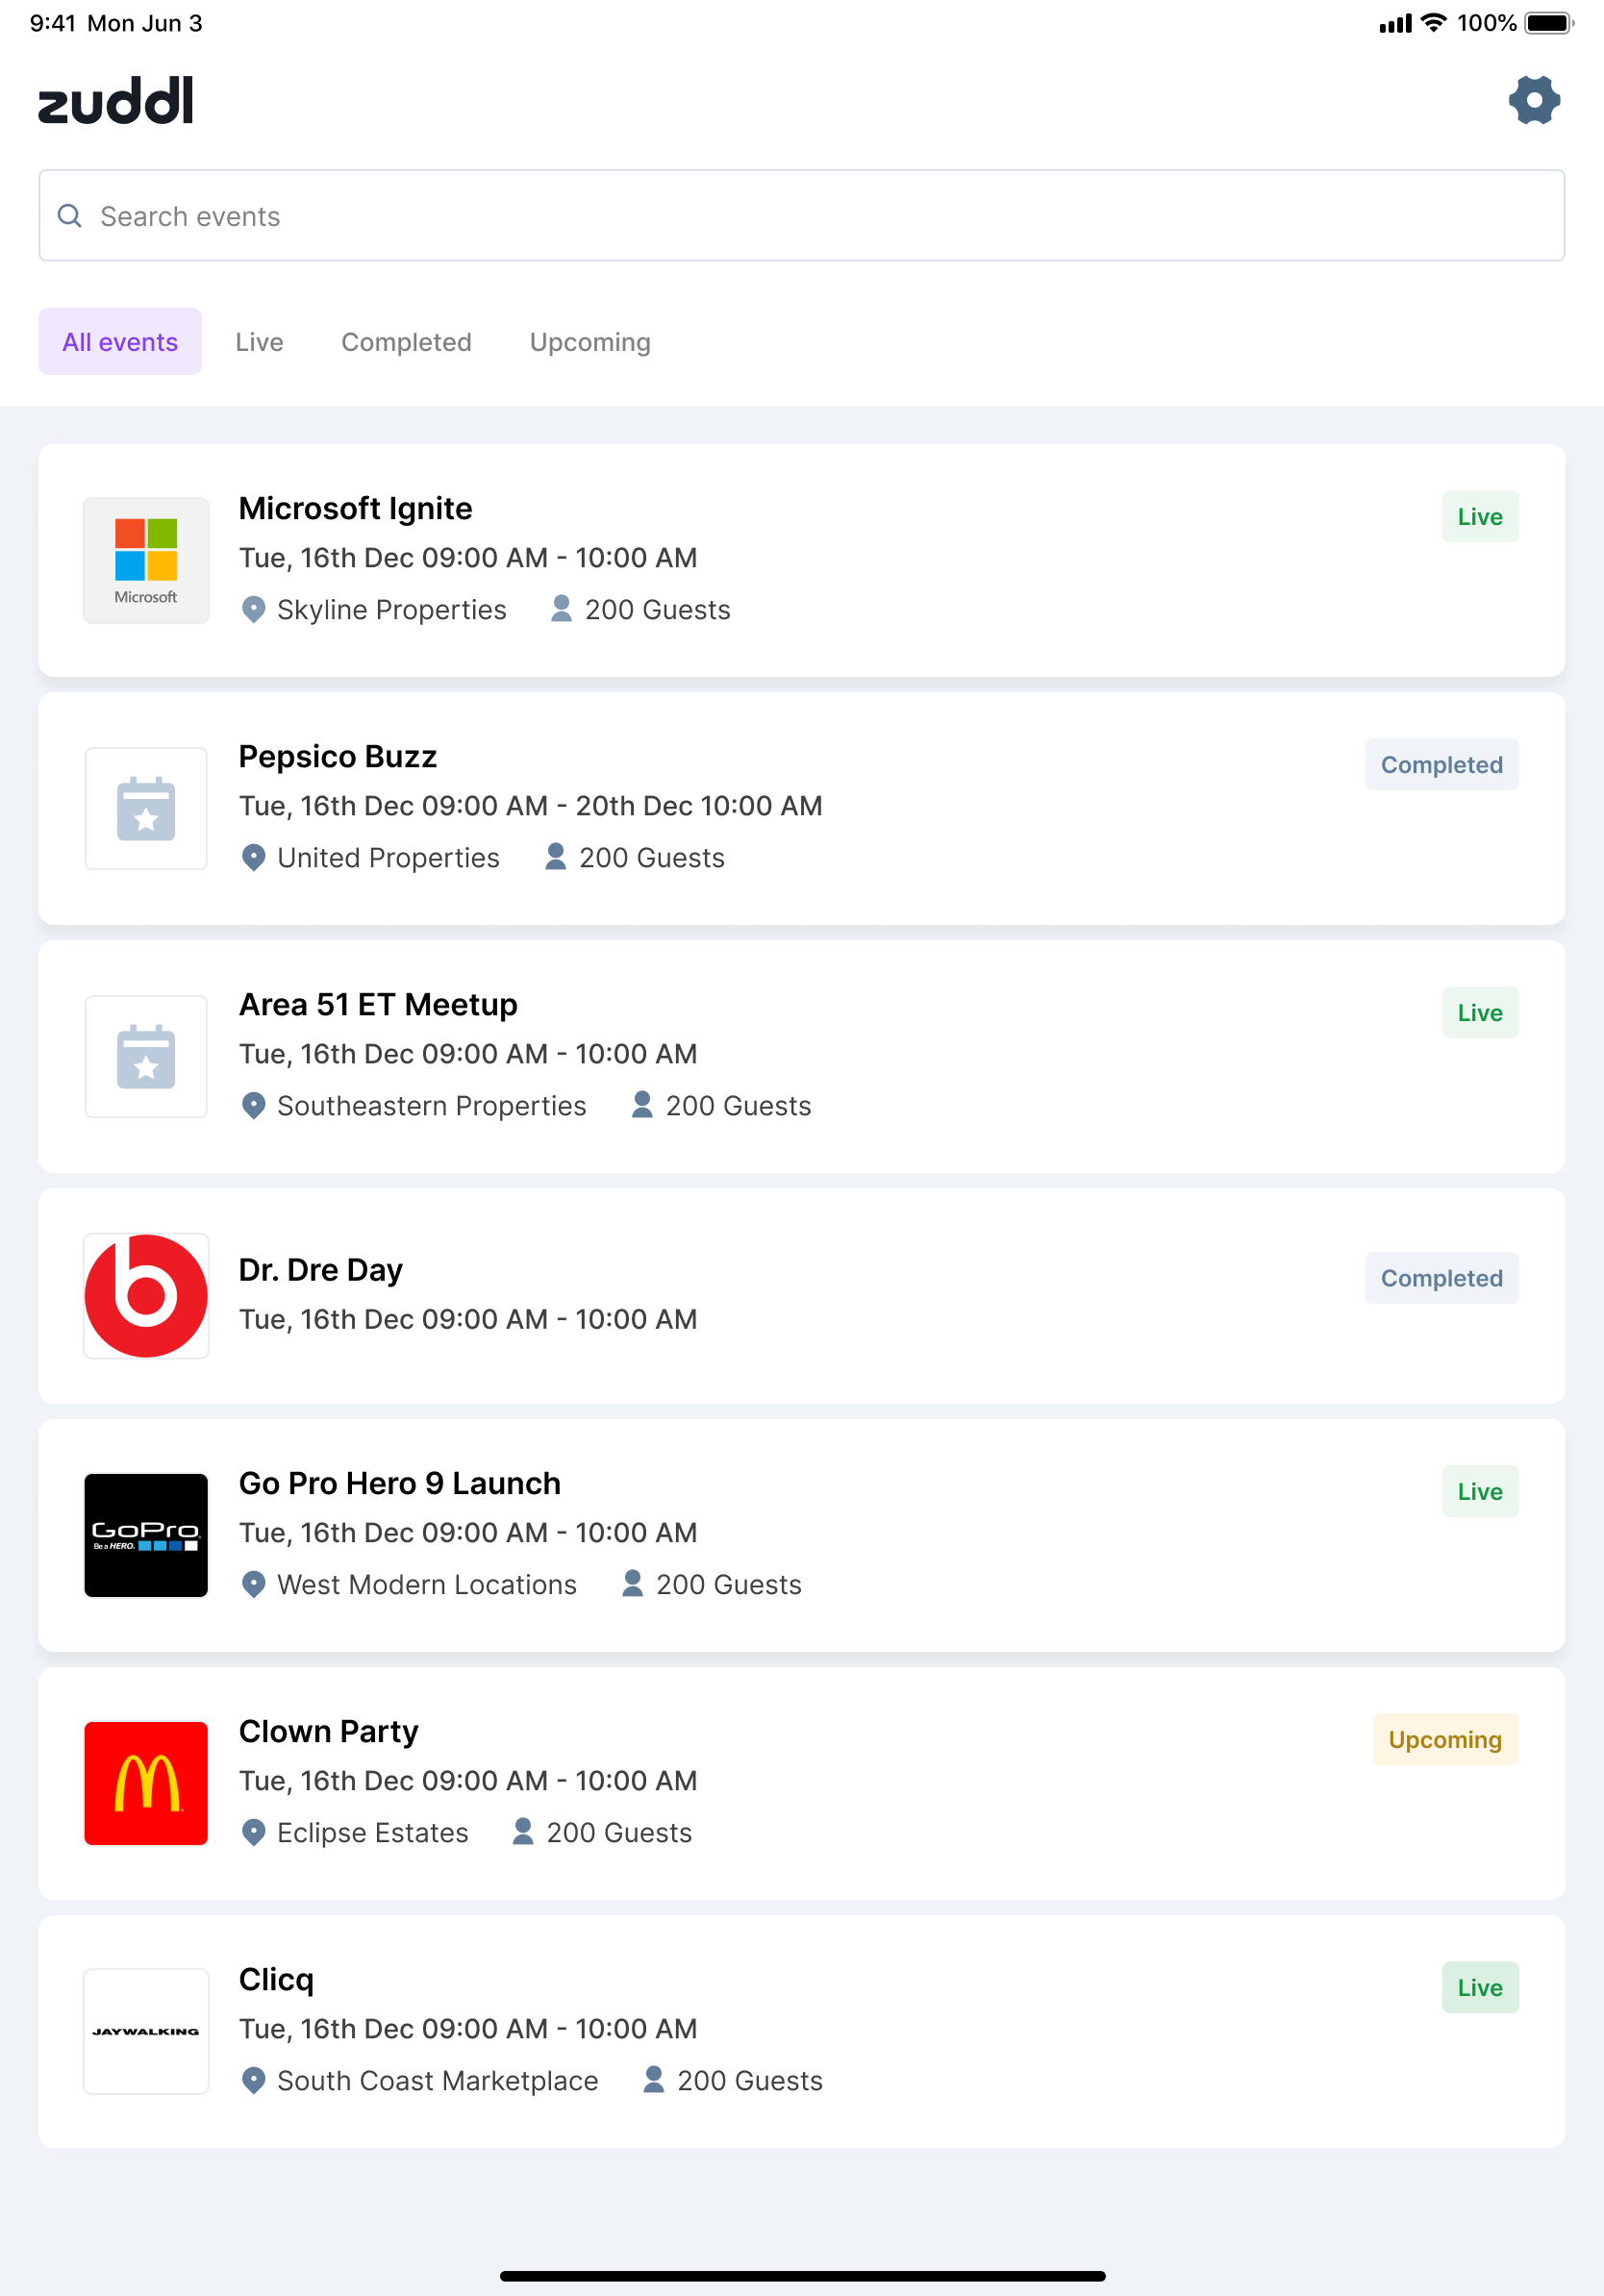
Go to the desired event from the Live events list.
Inside the event, you’d see the events that you have access to listed in three tabs at the bottom.
Attendees: This shows a list of all attendees of the event
Session check-ins: List of all sessions which has check-ins enabled
Dashboard: event level check-in statistics

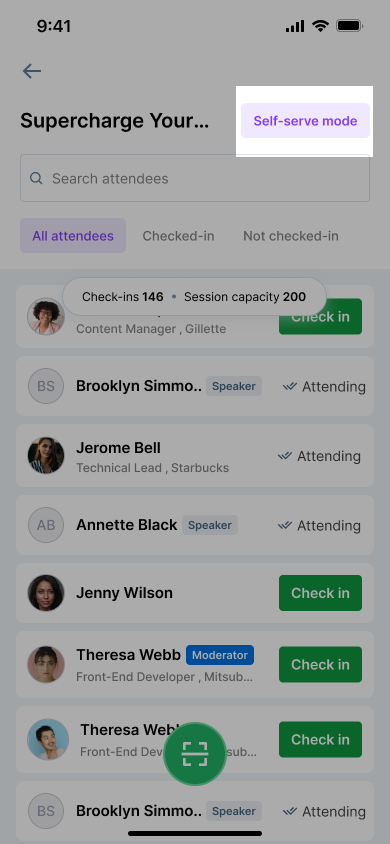
Go to Session check-ins tab where you can see the list of all sessions with check-ins enabled.
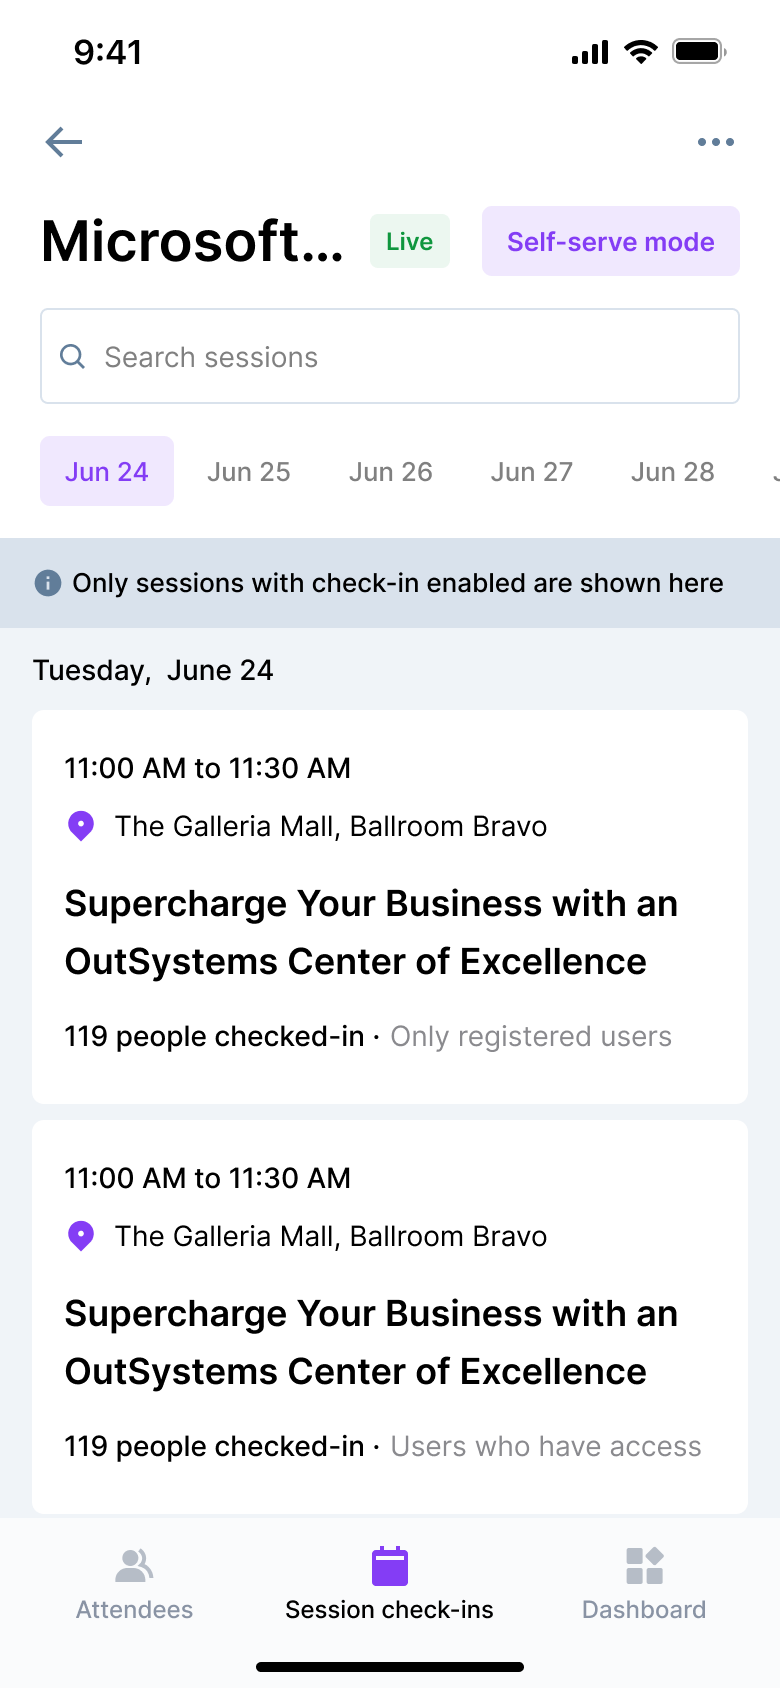
Enter the session for which you wish to check-in participants.
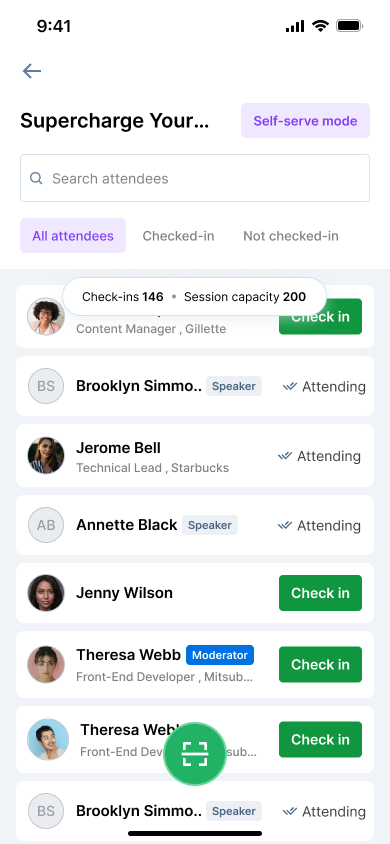
Attendees list of the session (attendee list will be populated based on the settings you have enabled on the set up side)
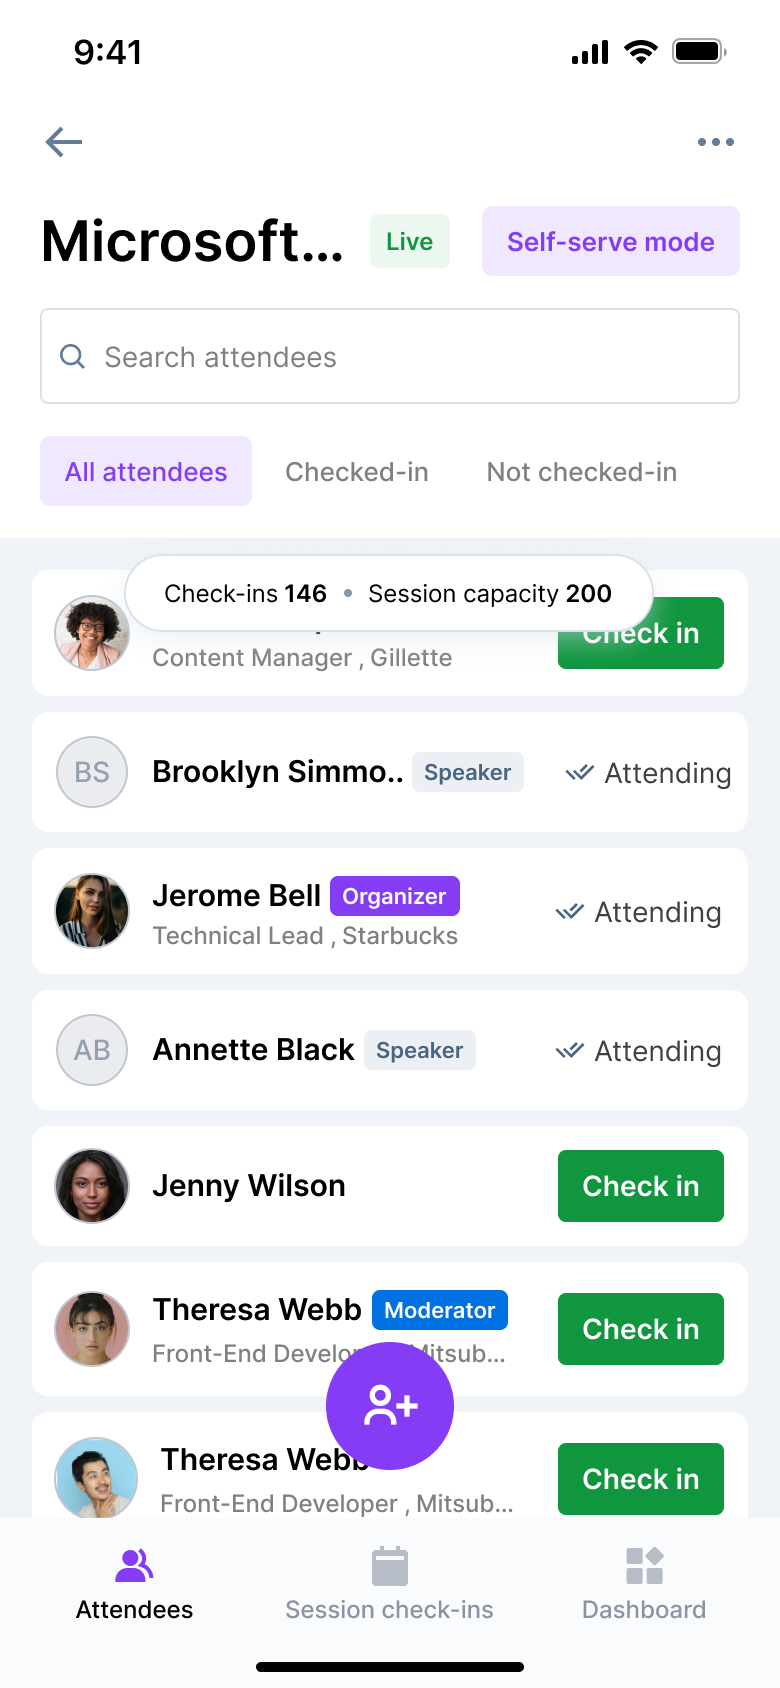
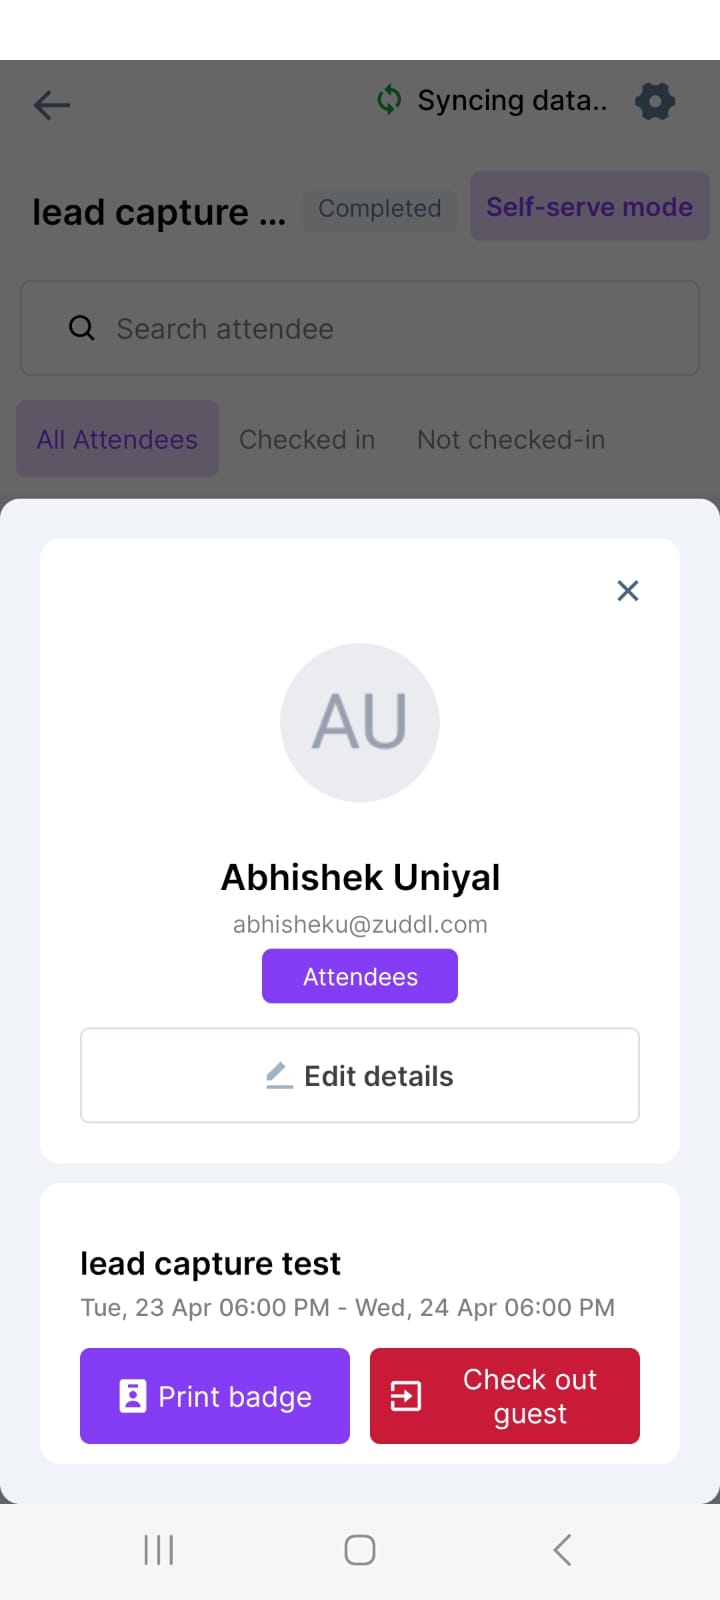
Click on the Check in button to check-in an attendee the session. After you've checked in an attendee, you are shown the below screen where you view and print badge or edit attendee details.
Once they are inside a session, the status shows as AttendingIf session checkout is enabled from the setup side, you can click the Check out guest button to checkout an attendee by clicking Check-out guest button inside the profile view.
Self-serve check-in methods
There are two ways in which you can enable attendee check-in:
Scan QR code
Enter code manually
Check-in via email
Scan QR code
You can allow attendees to check-in to sessions via self serve mode. The pin will be the same that is set up at the event level.
Click on the Self-serve mode button on top.
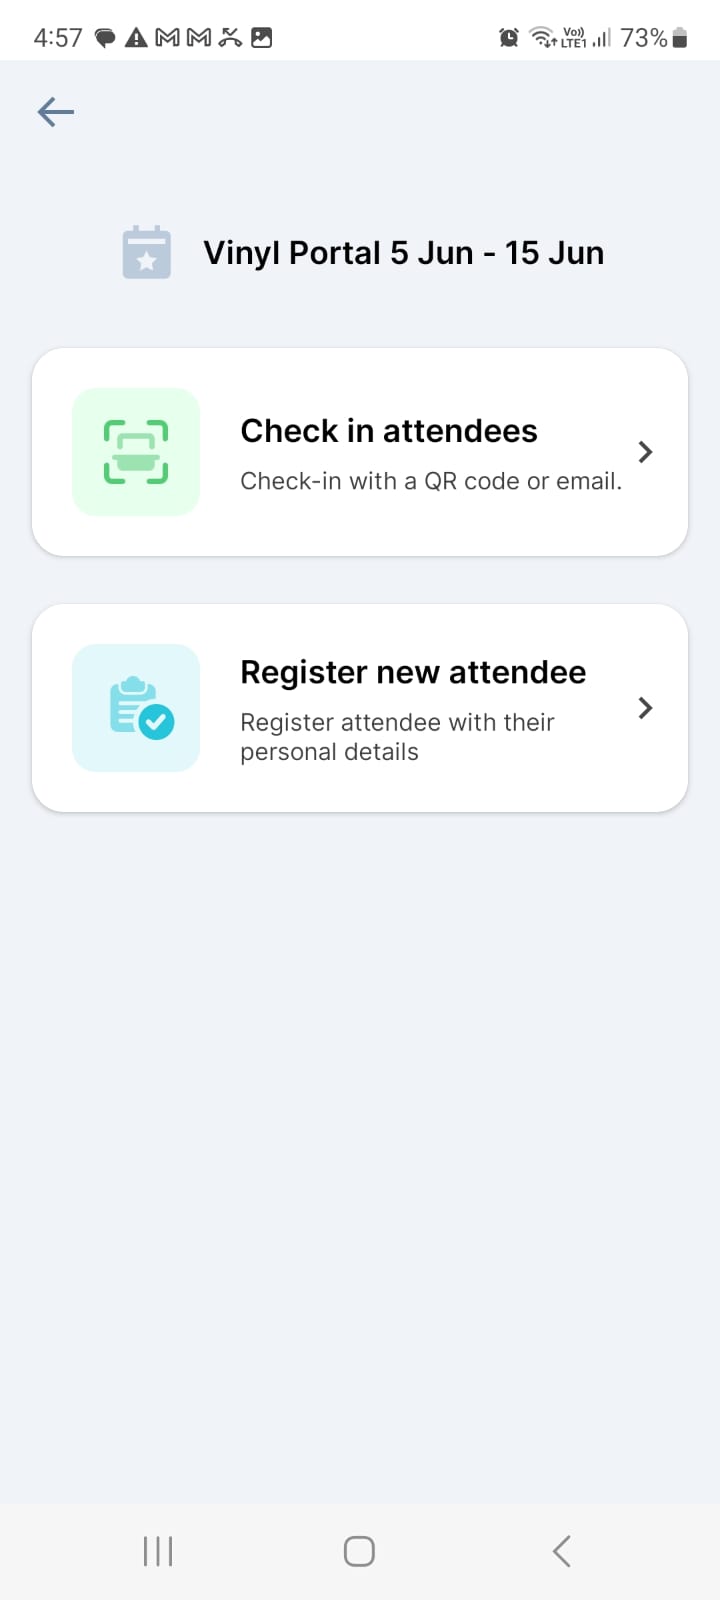
Select the Check in attendees card to proceed with the QR-based check-in.
Enter the kiosk pin which you've created on the dashboard.

This lands the user on the event listing page.Under Live events, enter the desired event.
On the next screen, select the Session check-in tab at the bottom.

Select the session from the list for which check-in needs to be done.
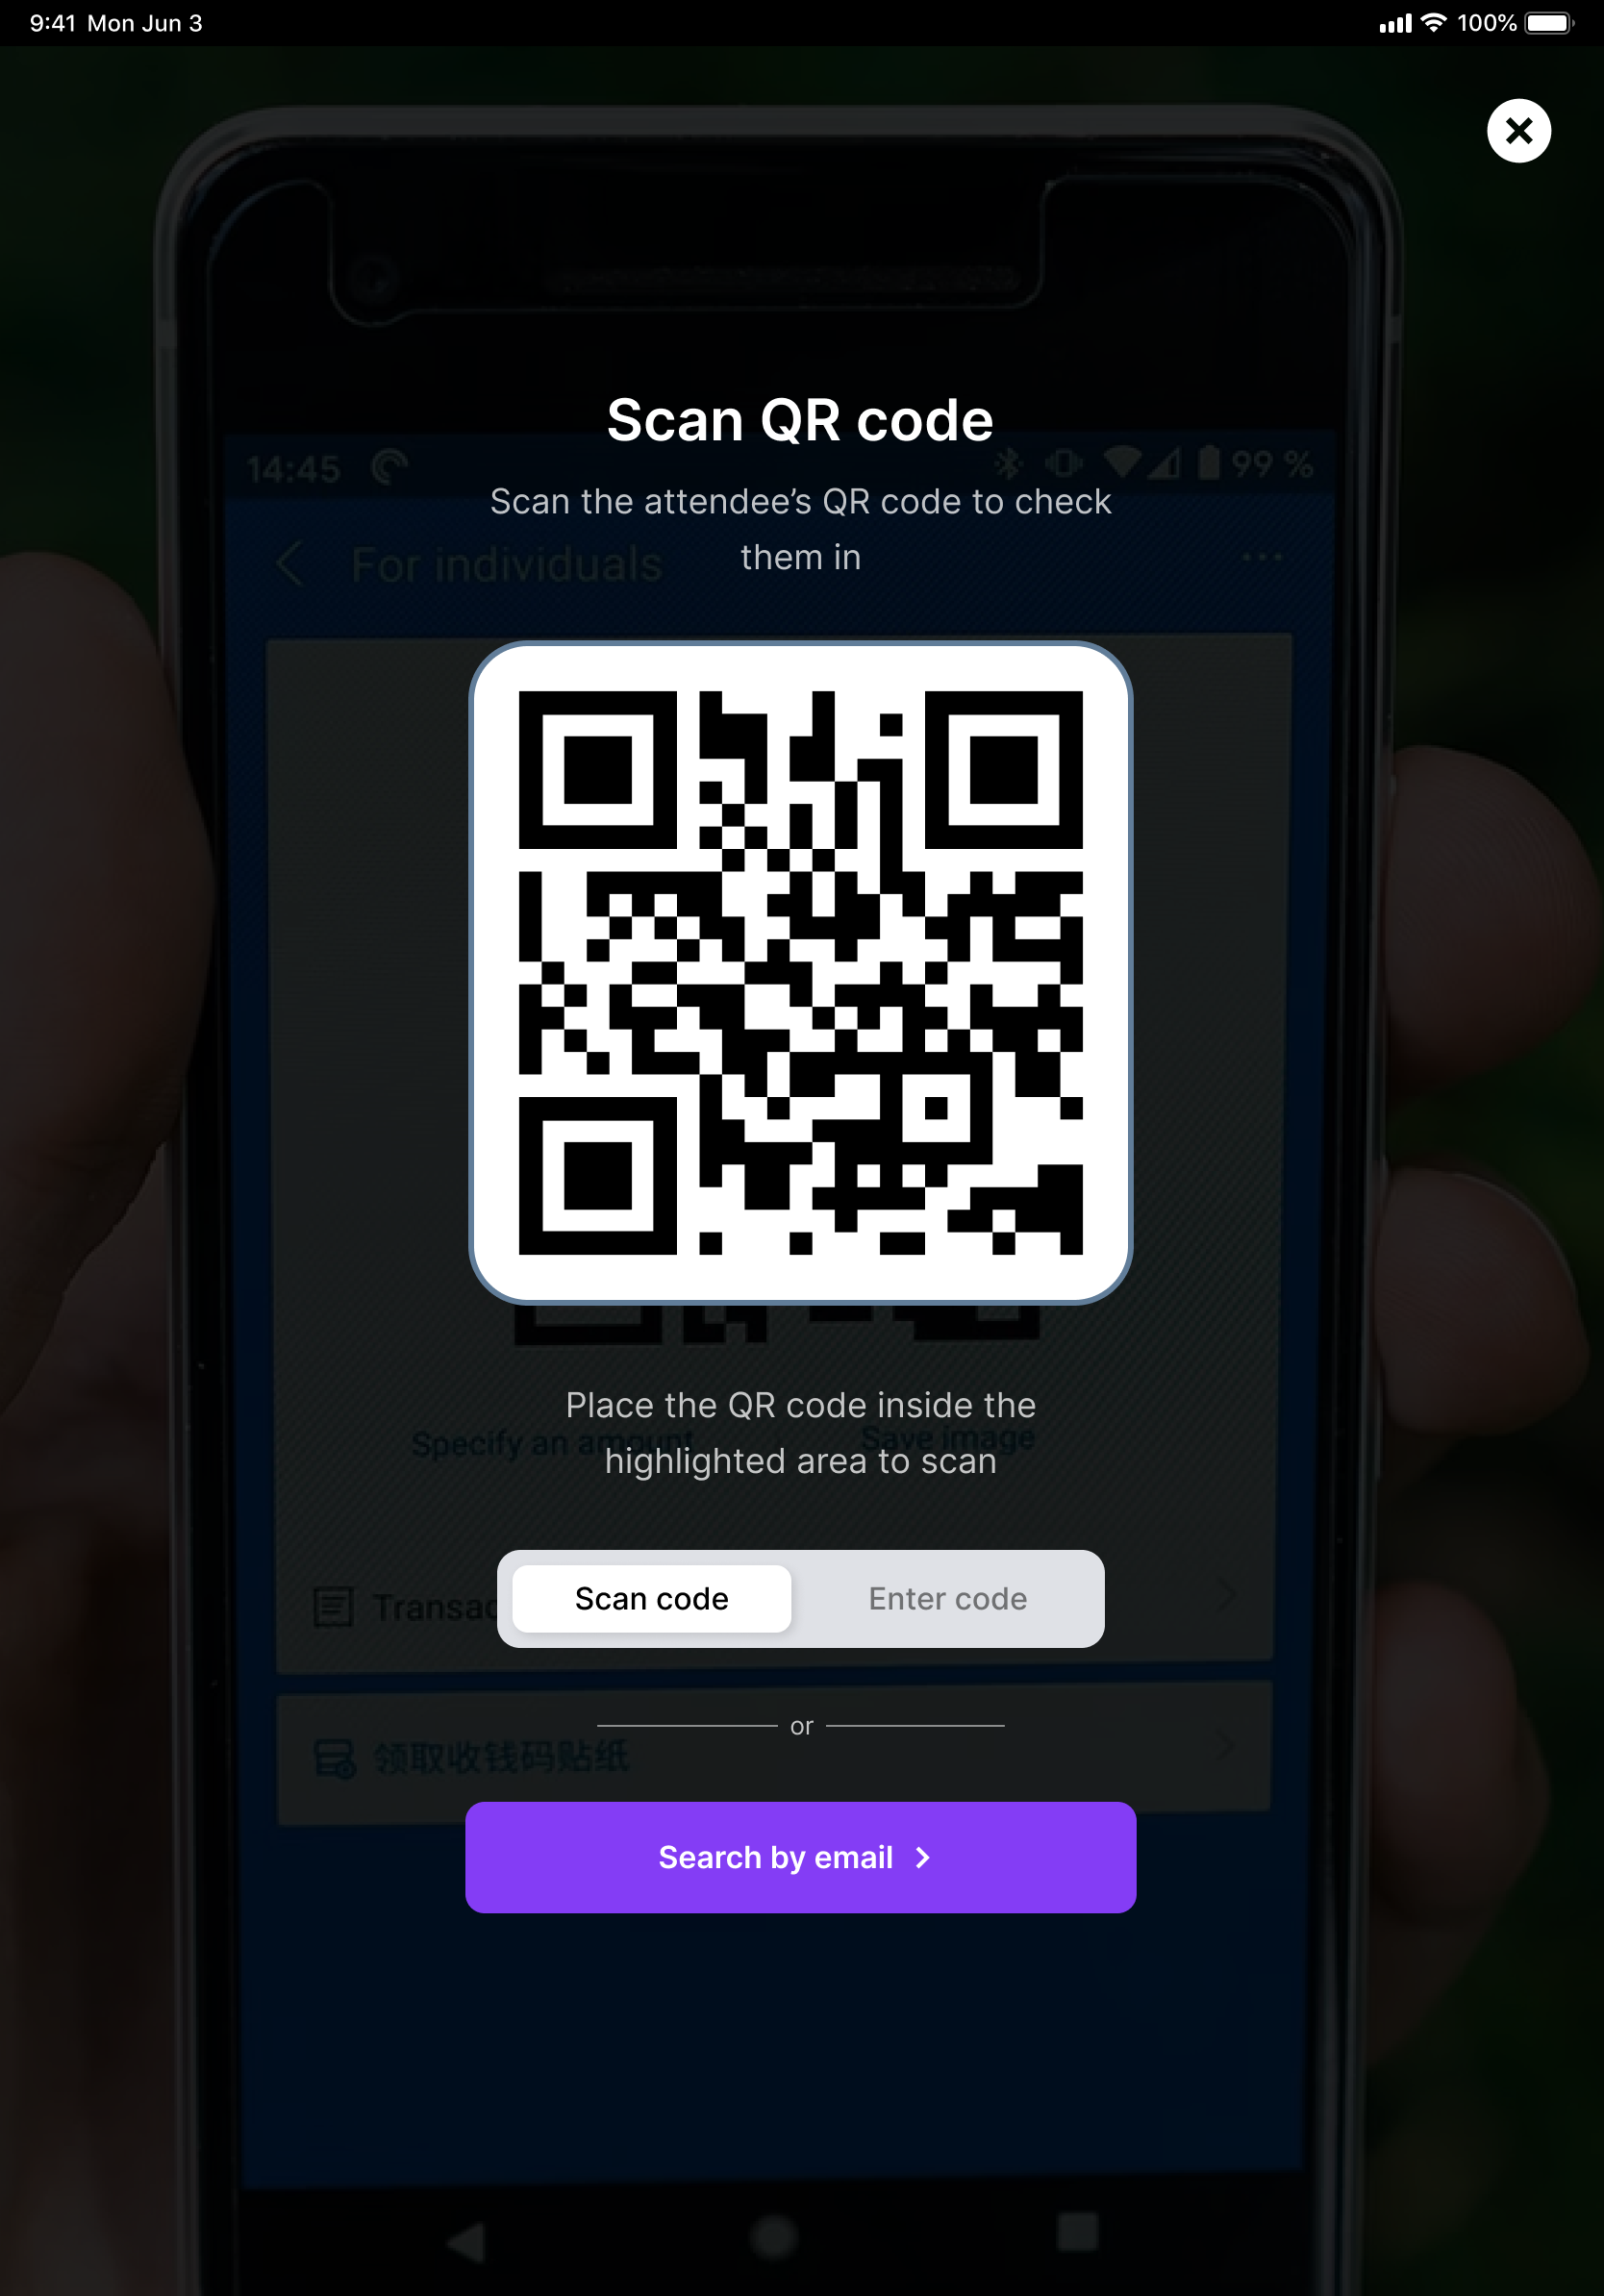
On the attendee list, click the green scan button.
On the scanning screen, place the attendees QR code on the badge inside the highlighted square container.
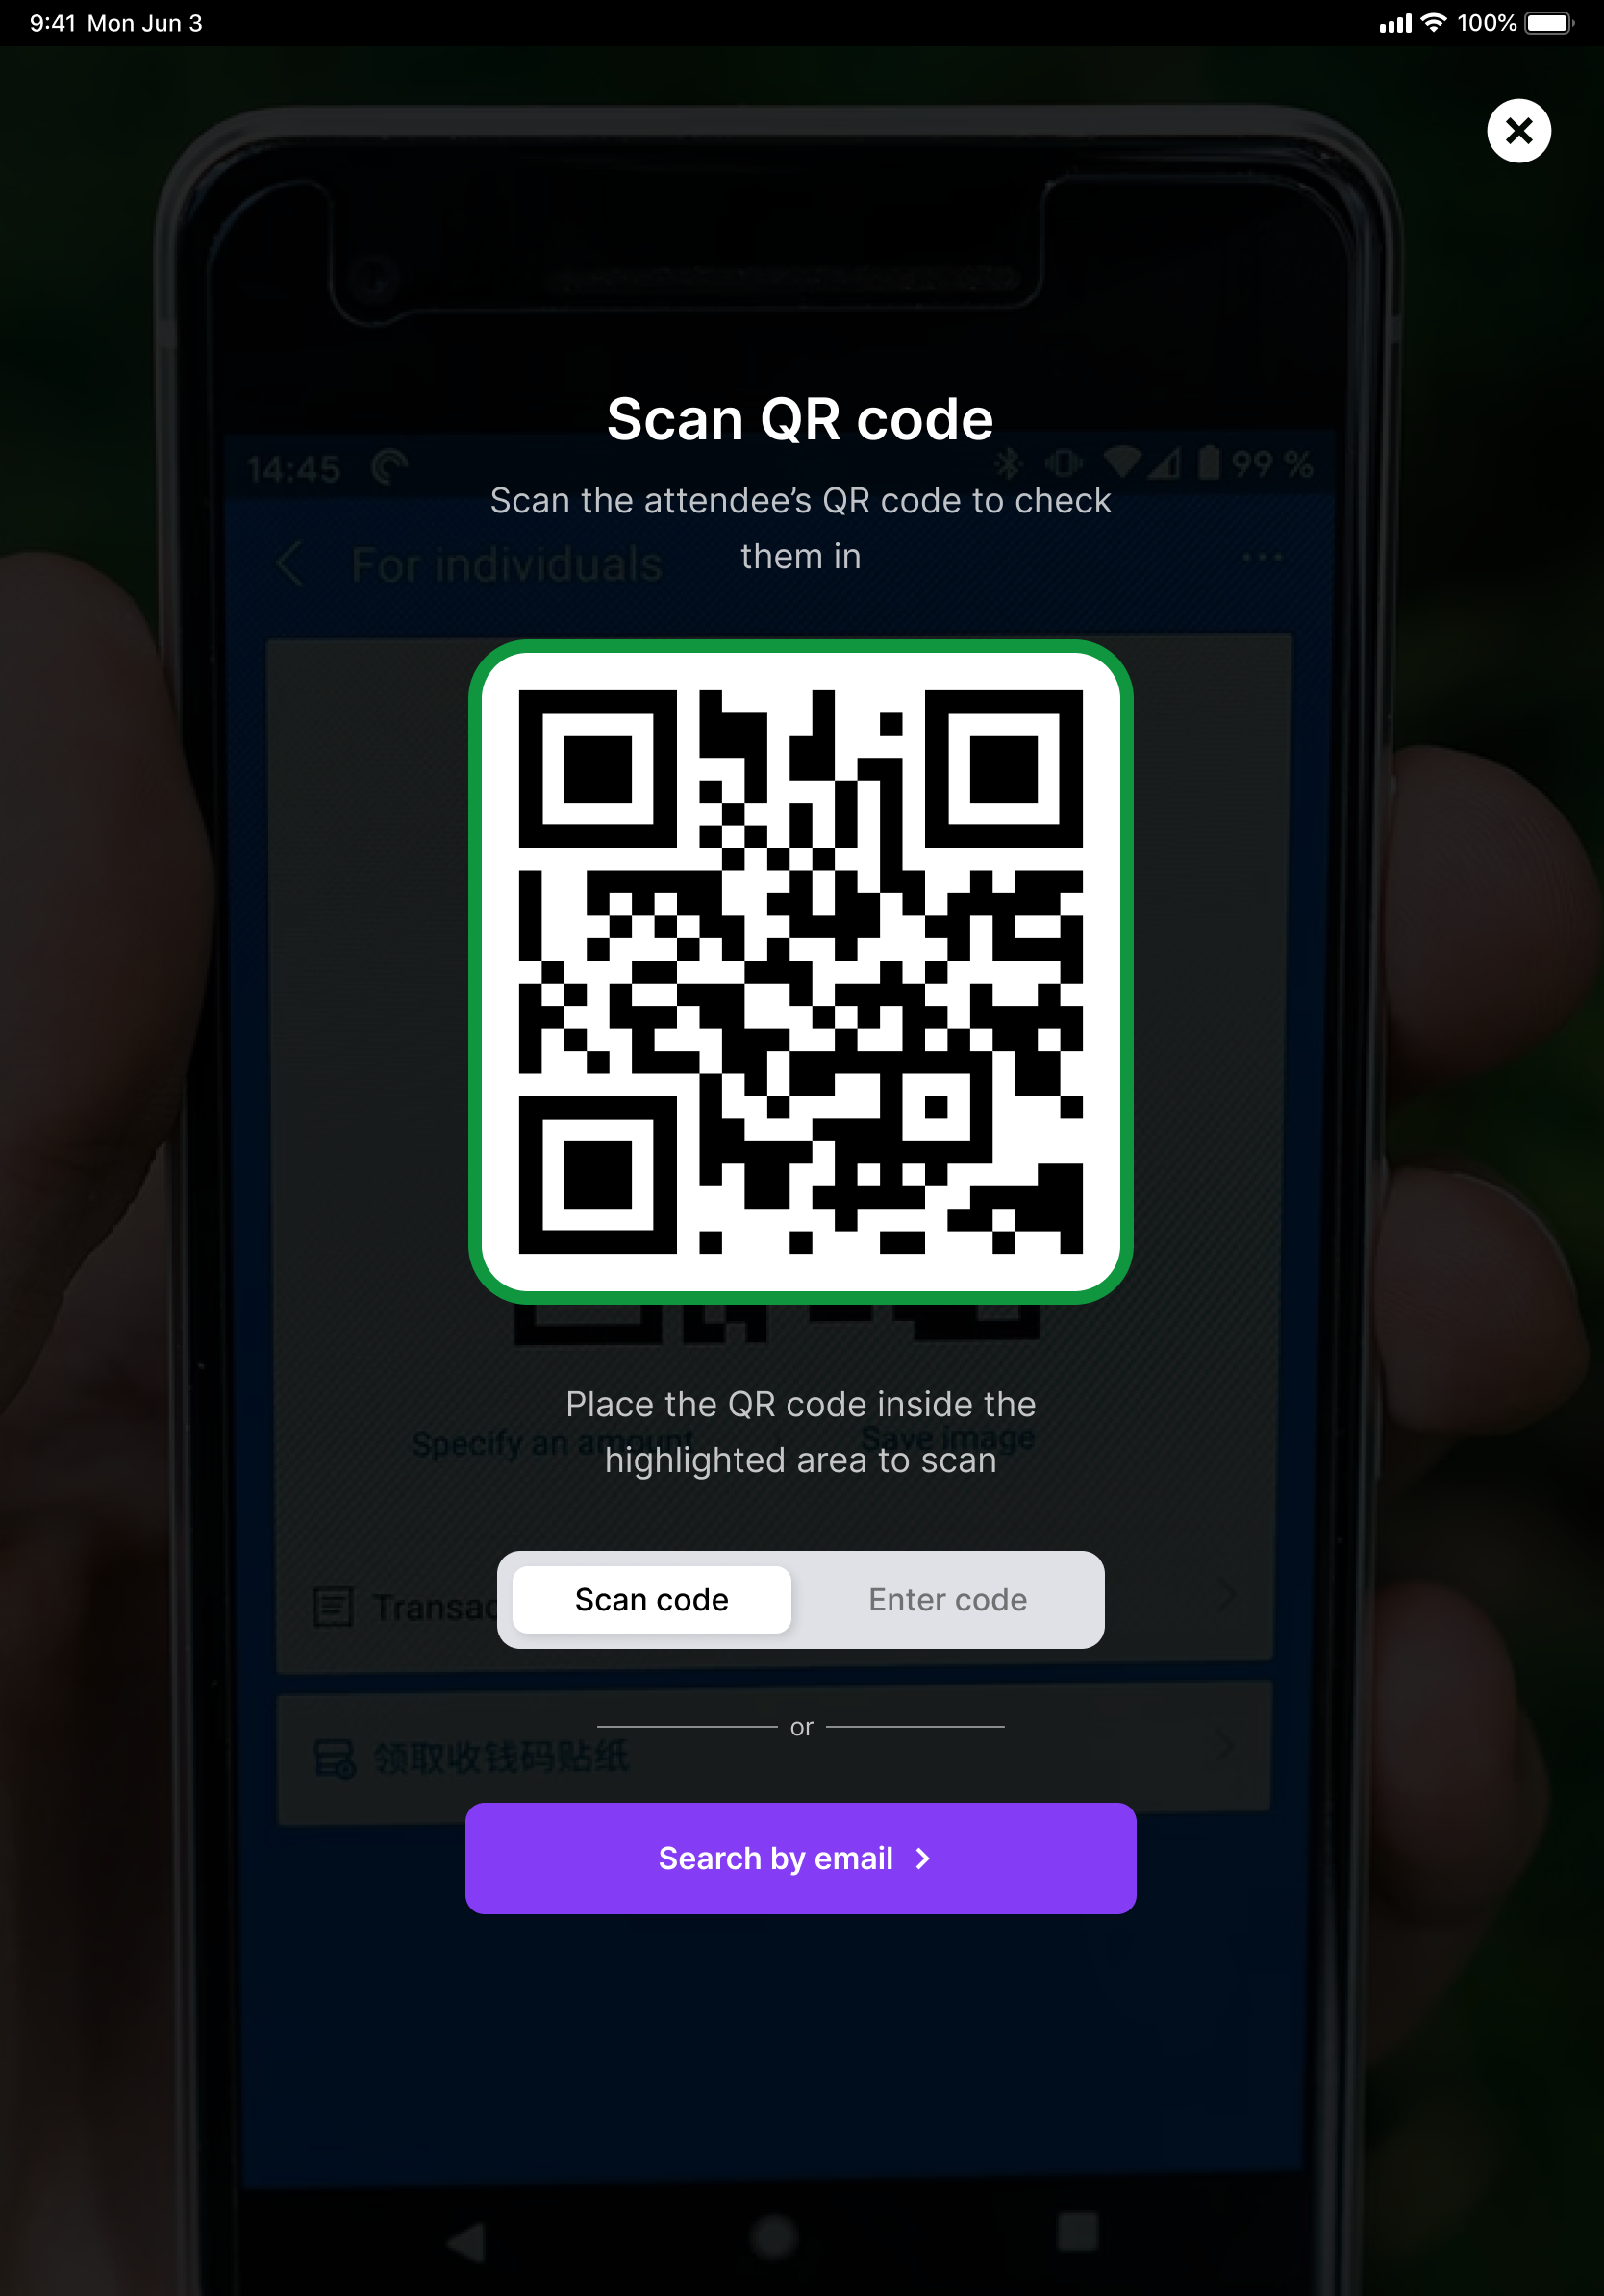
Once the scanning is complete and shows green highlights, you've successfully checked-in the attendee to the session.
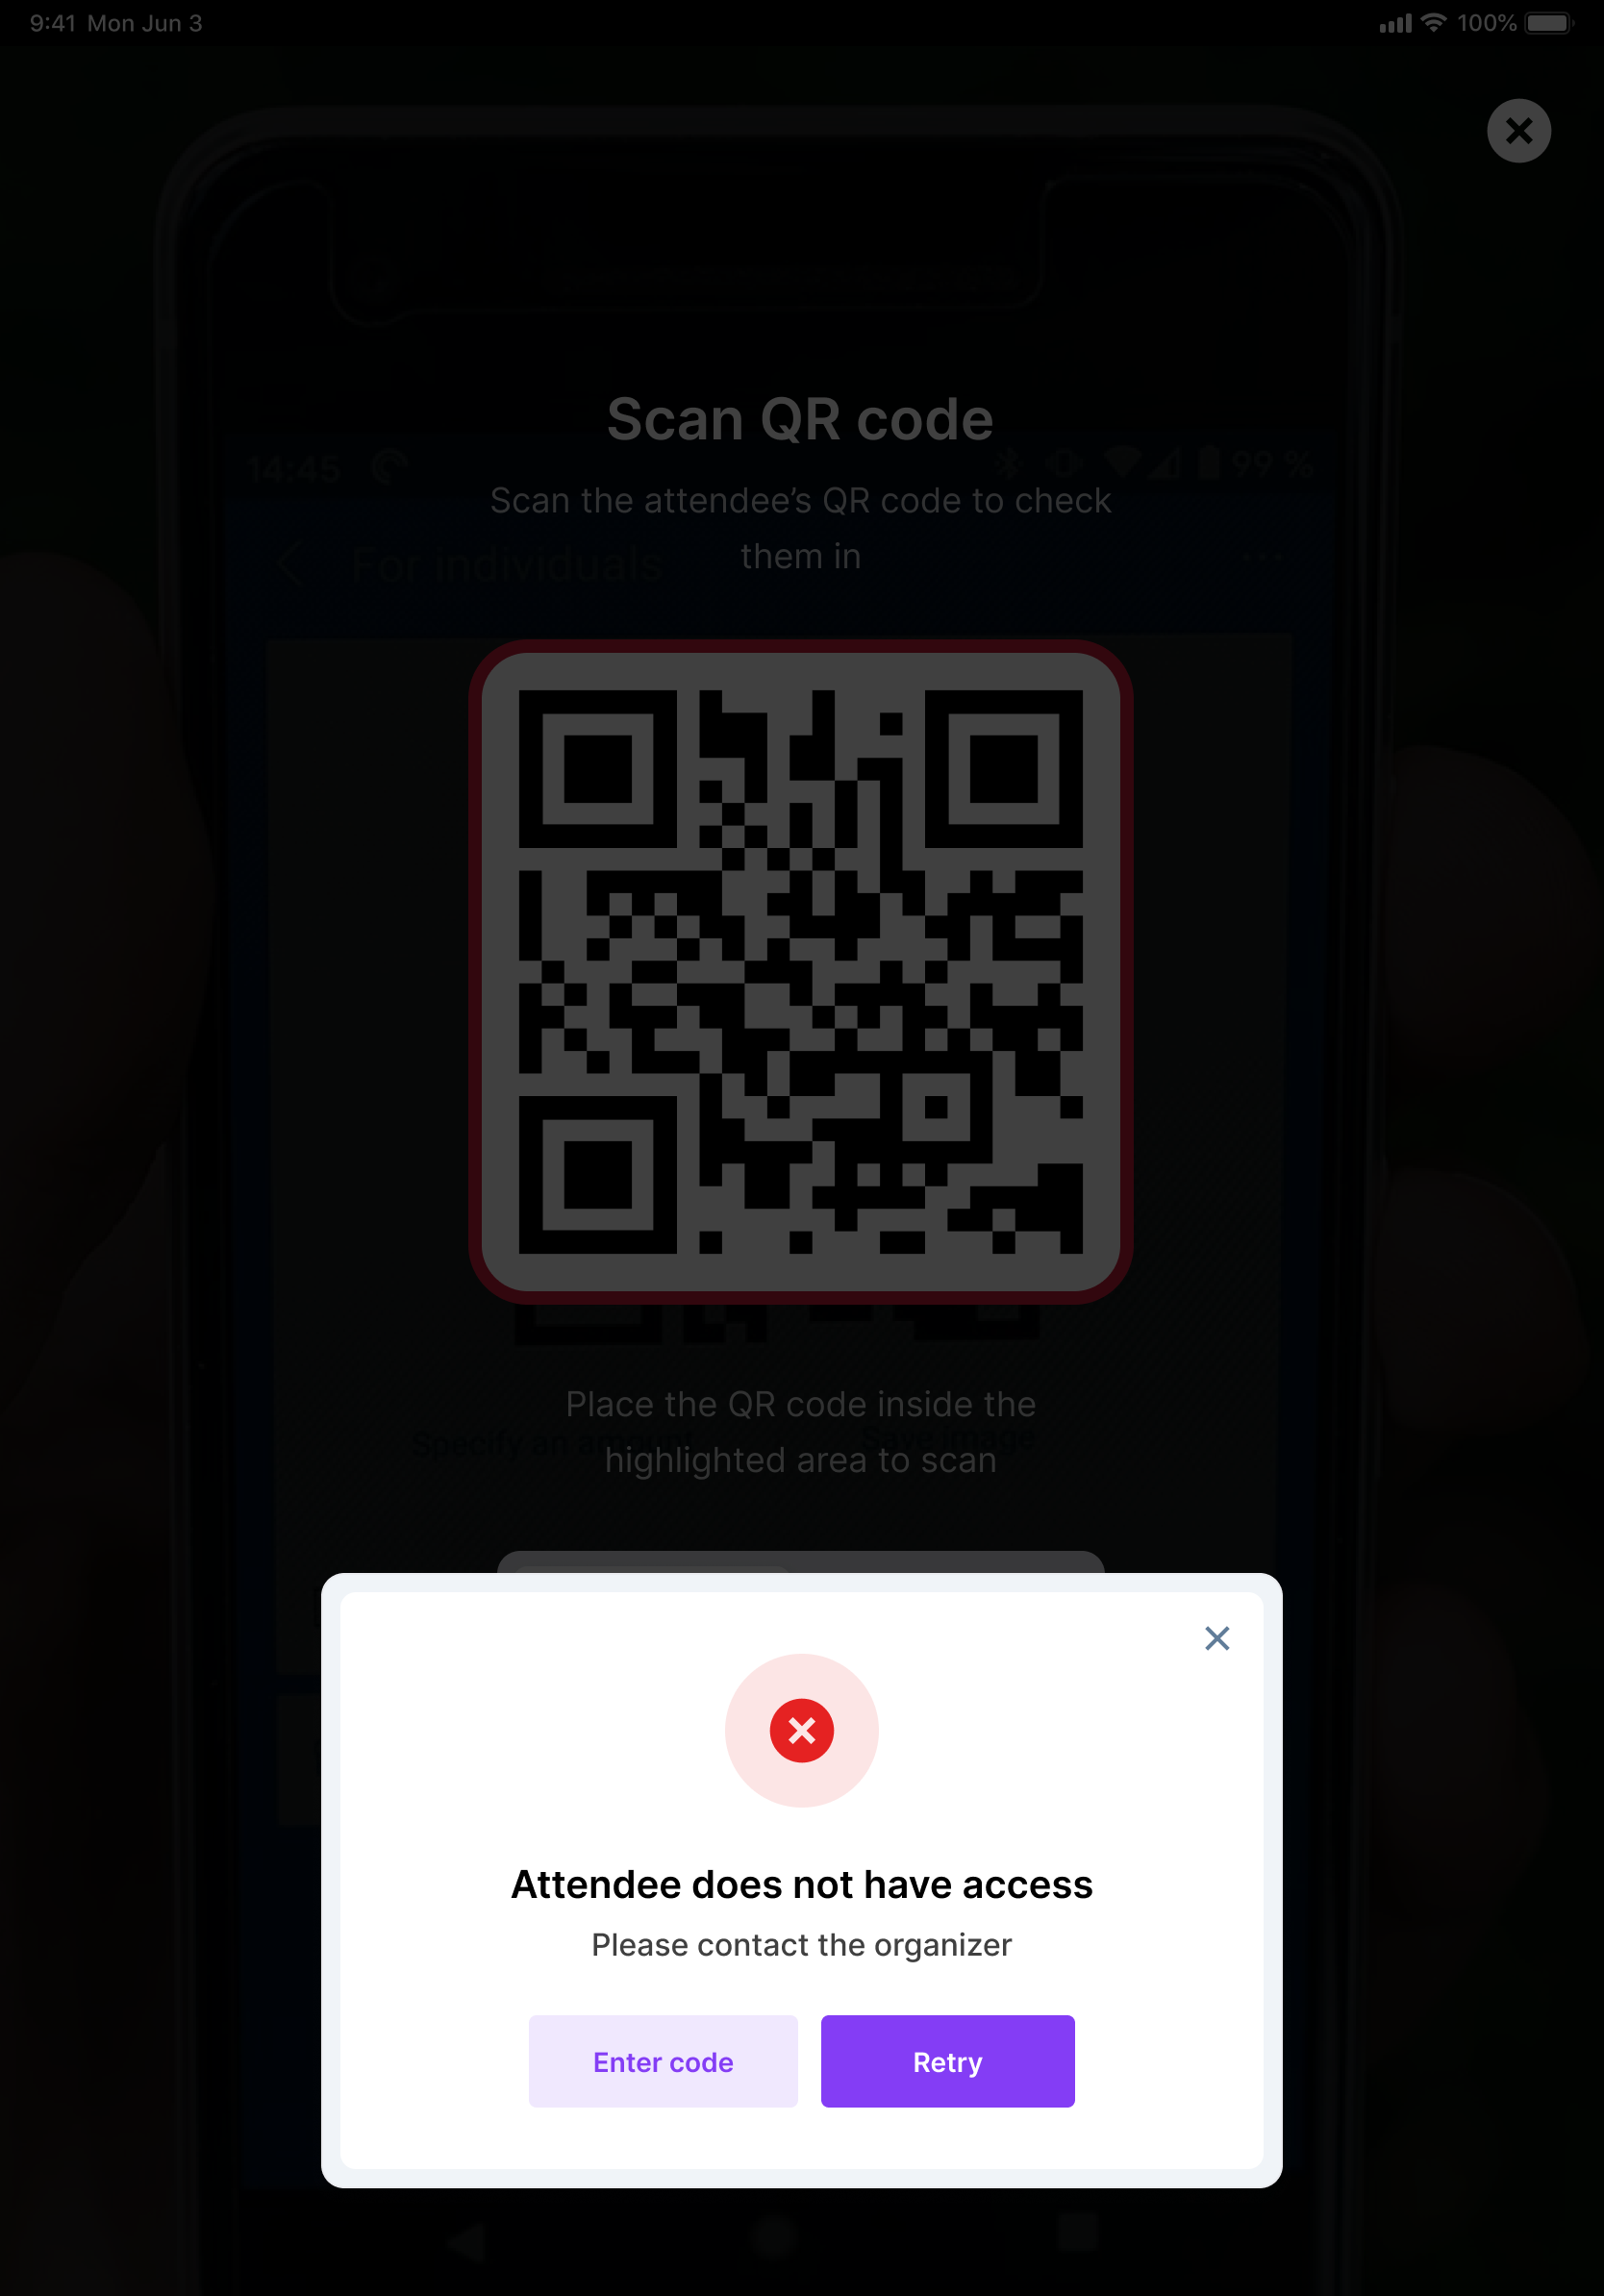
Unsuccessful check-in
If the QR-based check-in is unsuccessful, it shows an error with options to Retry or Enter code.
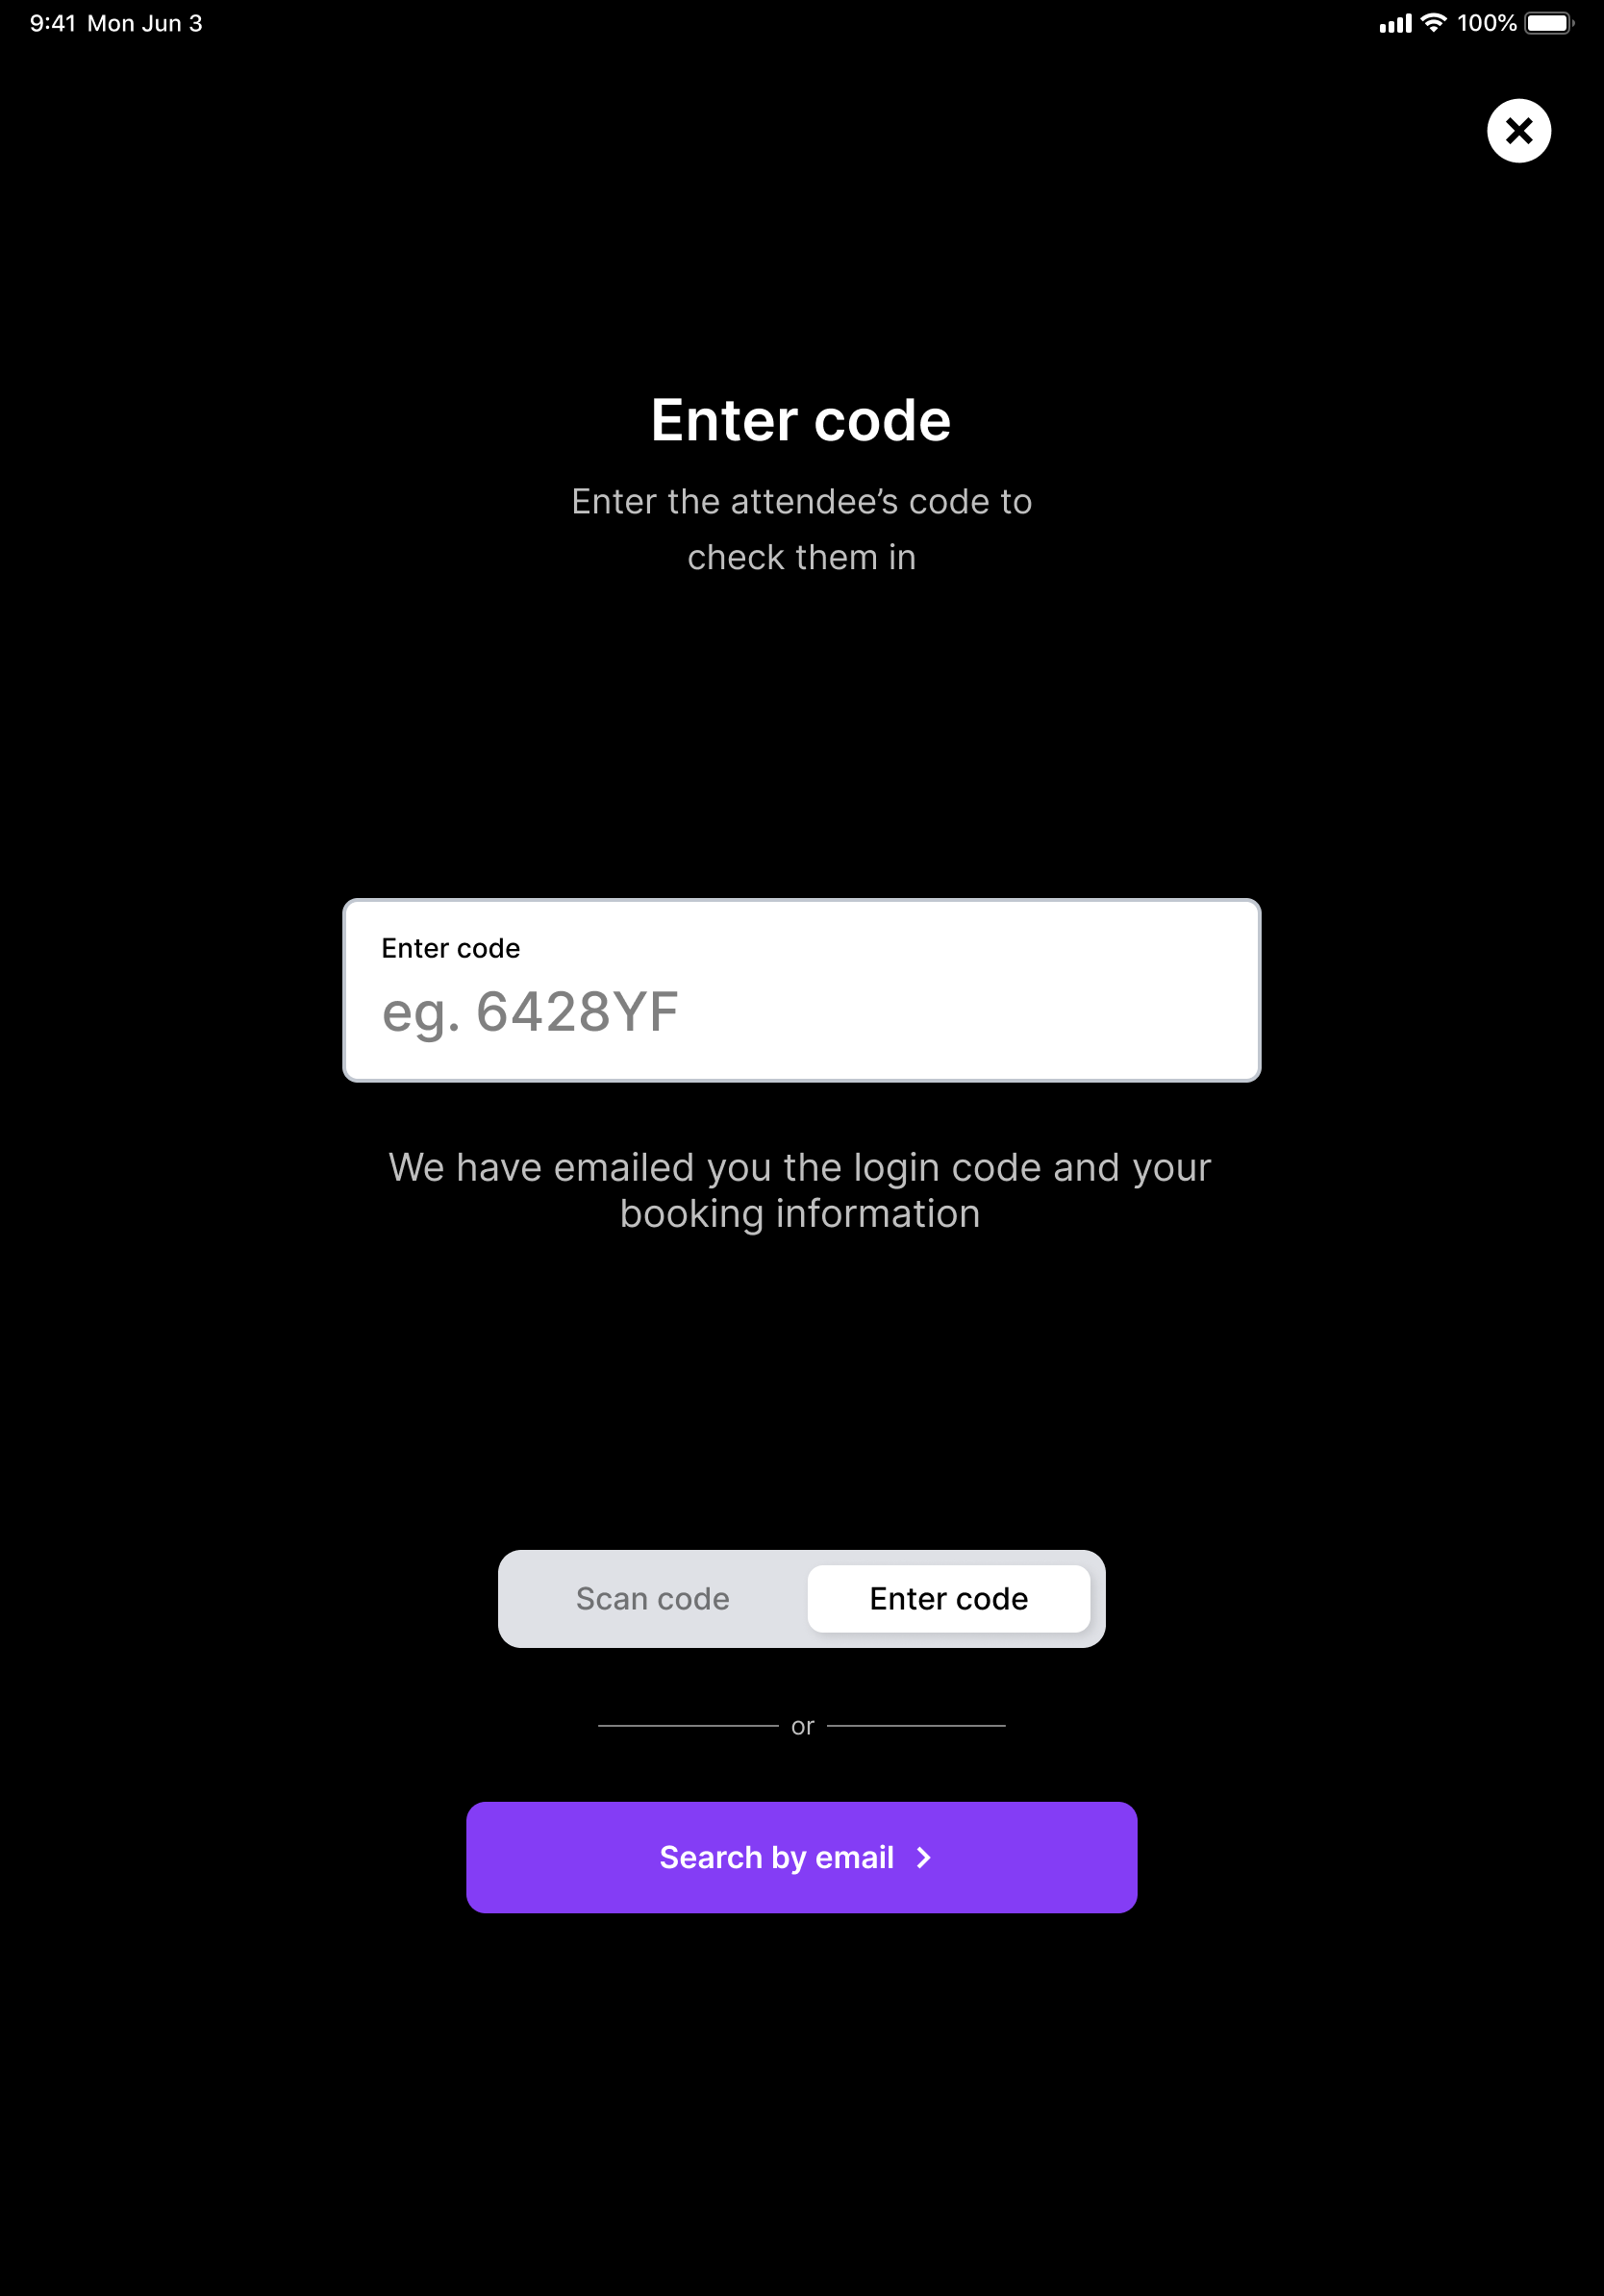
Enter code manually
You can also toggle to Enter code to input the QR code manually as numeric code.

You can input the code in the appropriate field as shown below:
Check-in via email
You can also check-in attendees via email. This is especially useful if you only have access to their email address or as a backup when other methods fail.
Click on the Search by email button.
Enter the email address of the attendee and check-in
