How to Set up Credits and Certification in Zuddl
Last updated: August 1, 2025
‘Credits and certifications’ is a feature on Zuddl Events that lets your attendees earn credits for attending sessions and get certificates for those credits. This is especially useful for academic or professional training events, like Continuing Professional Education (CPE) courses.
You can customize how the credits are offered and also the certificate itself.
Customize how credits are awarded
- Go to Event Setup > Engagement and toggle on Credits & certifications.
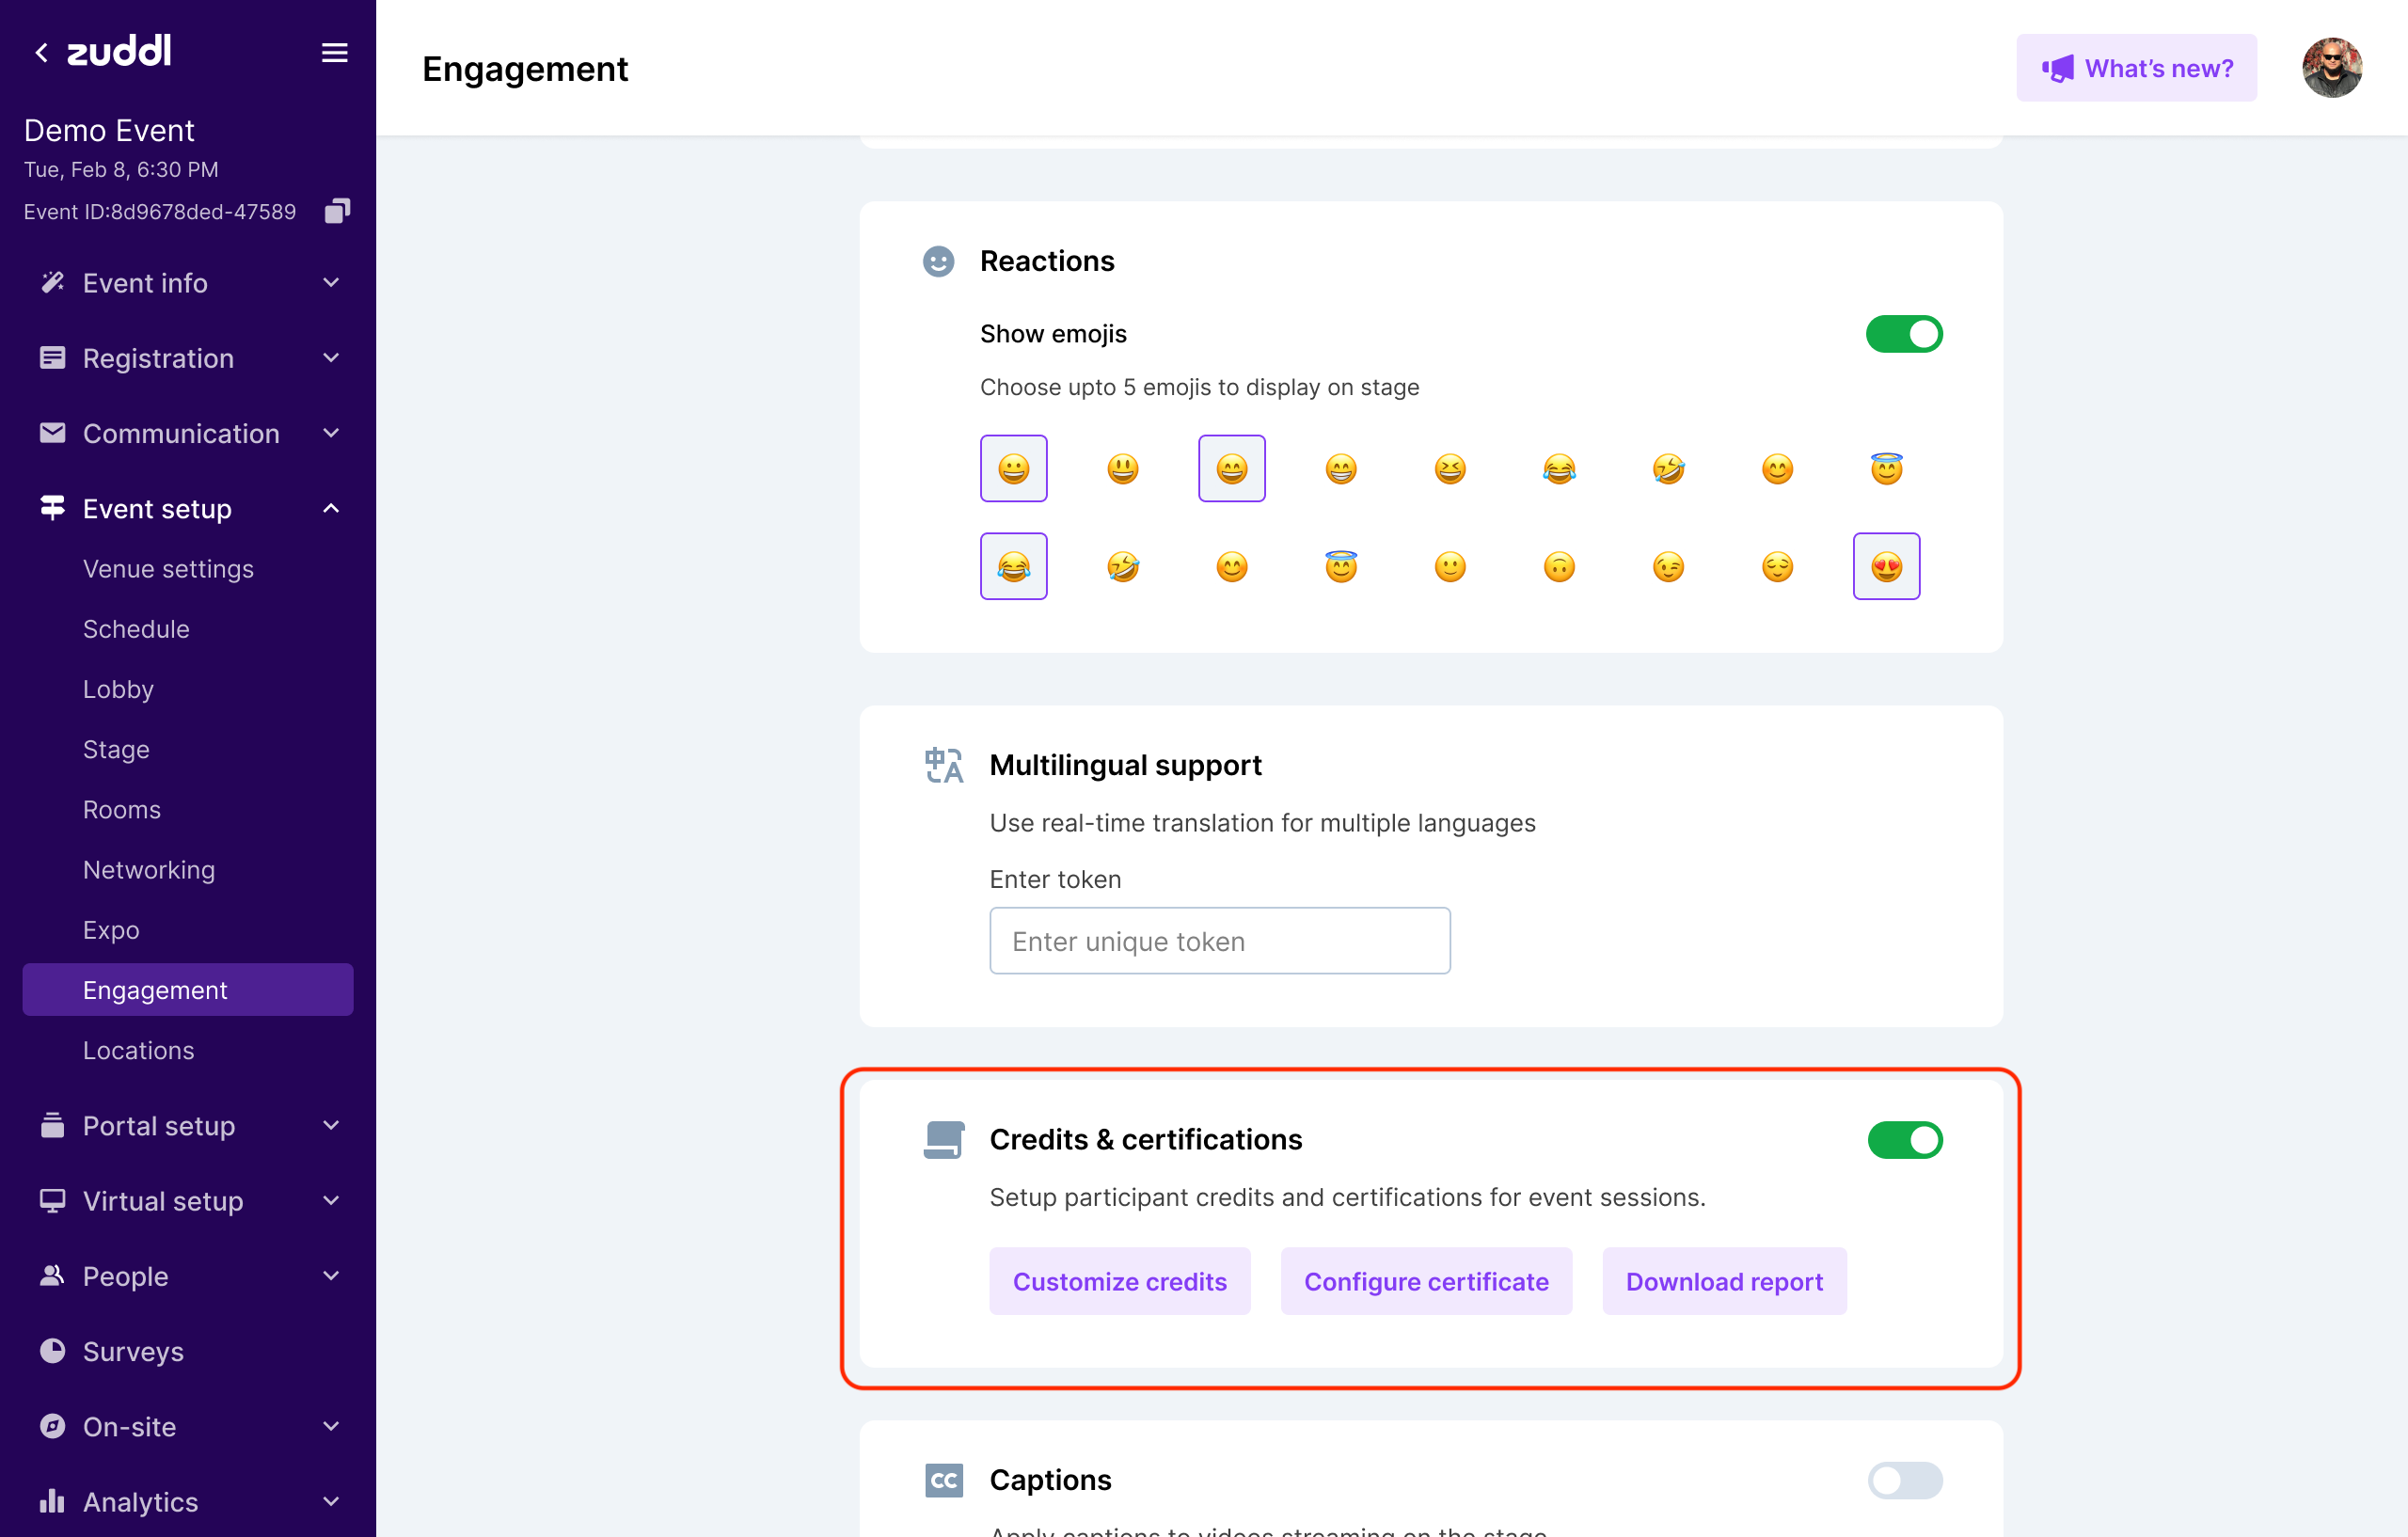
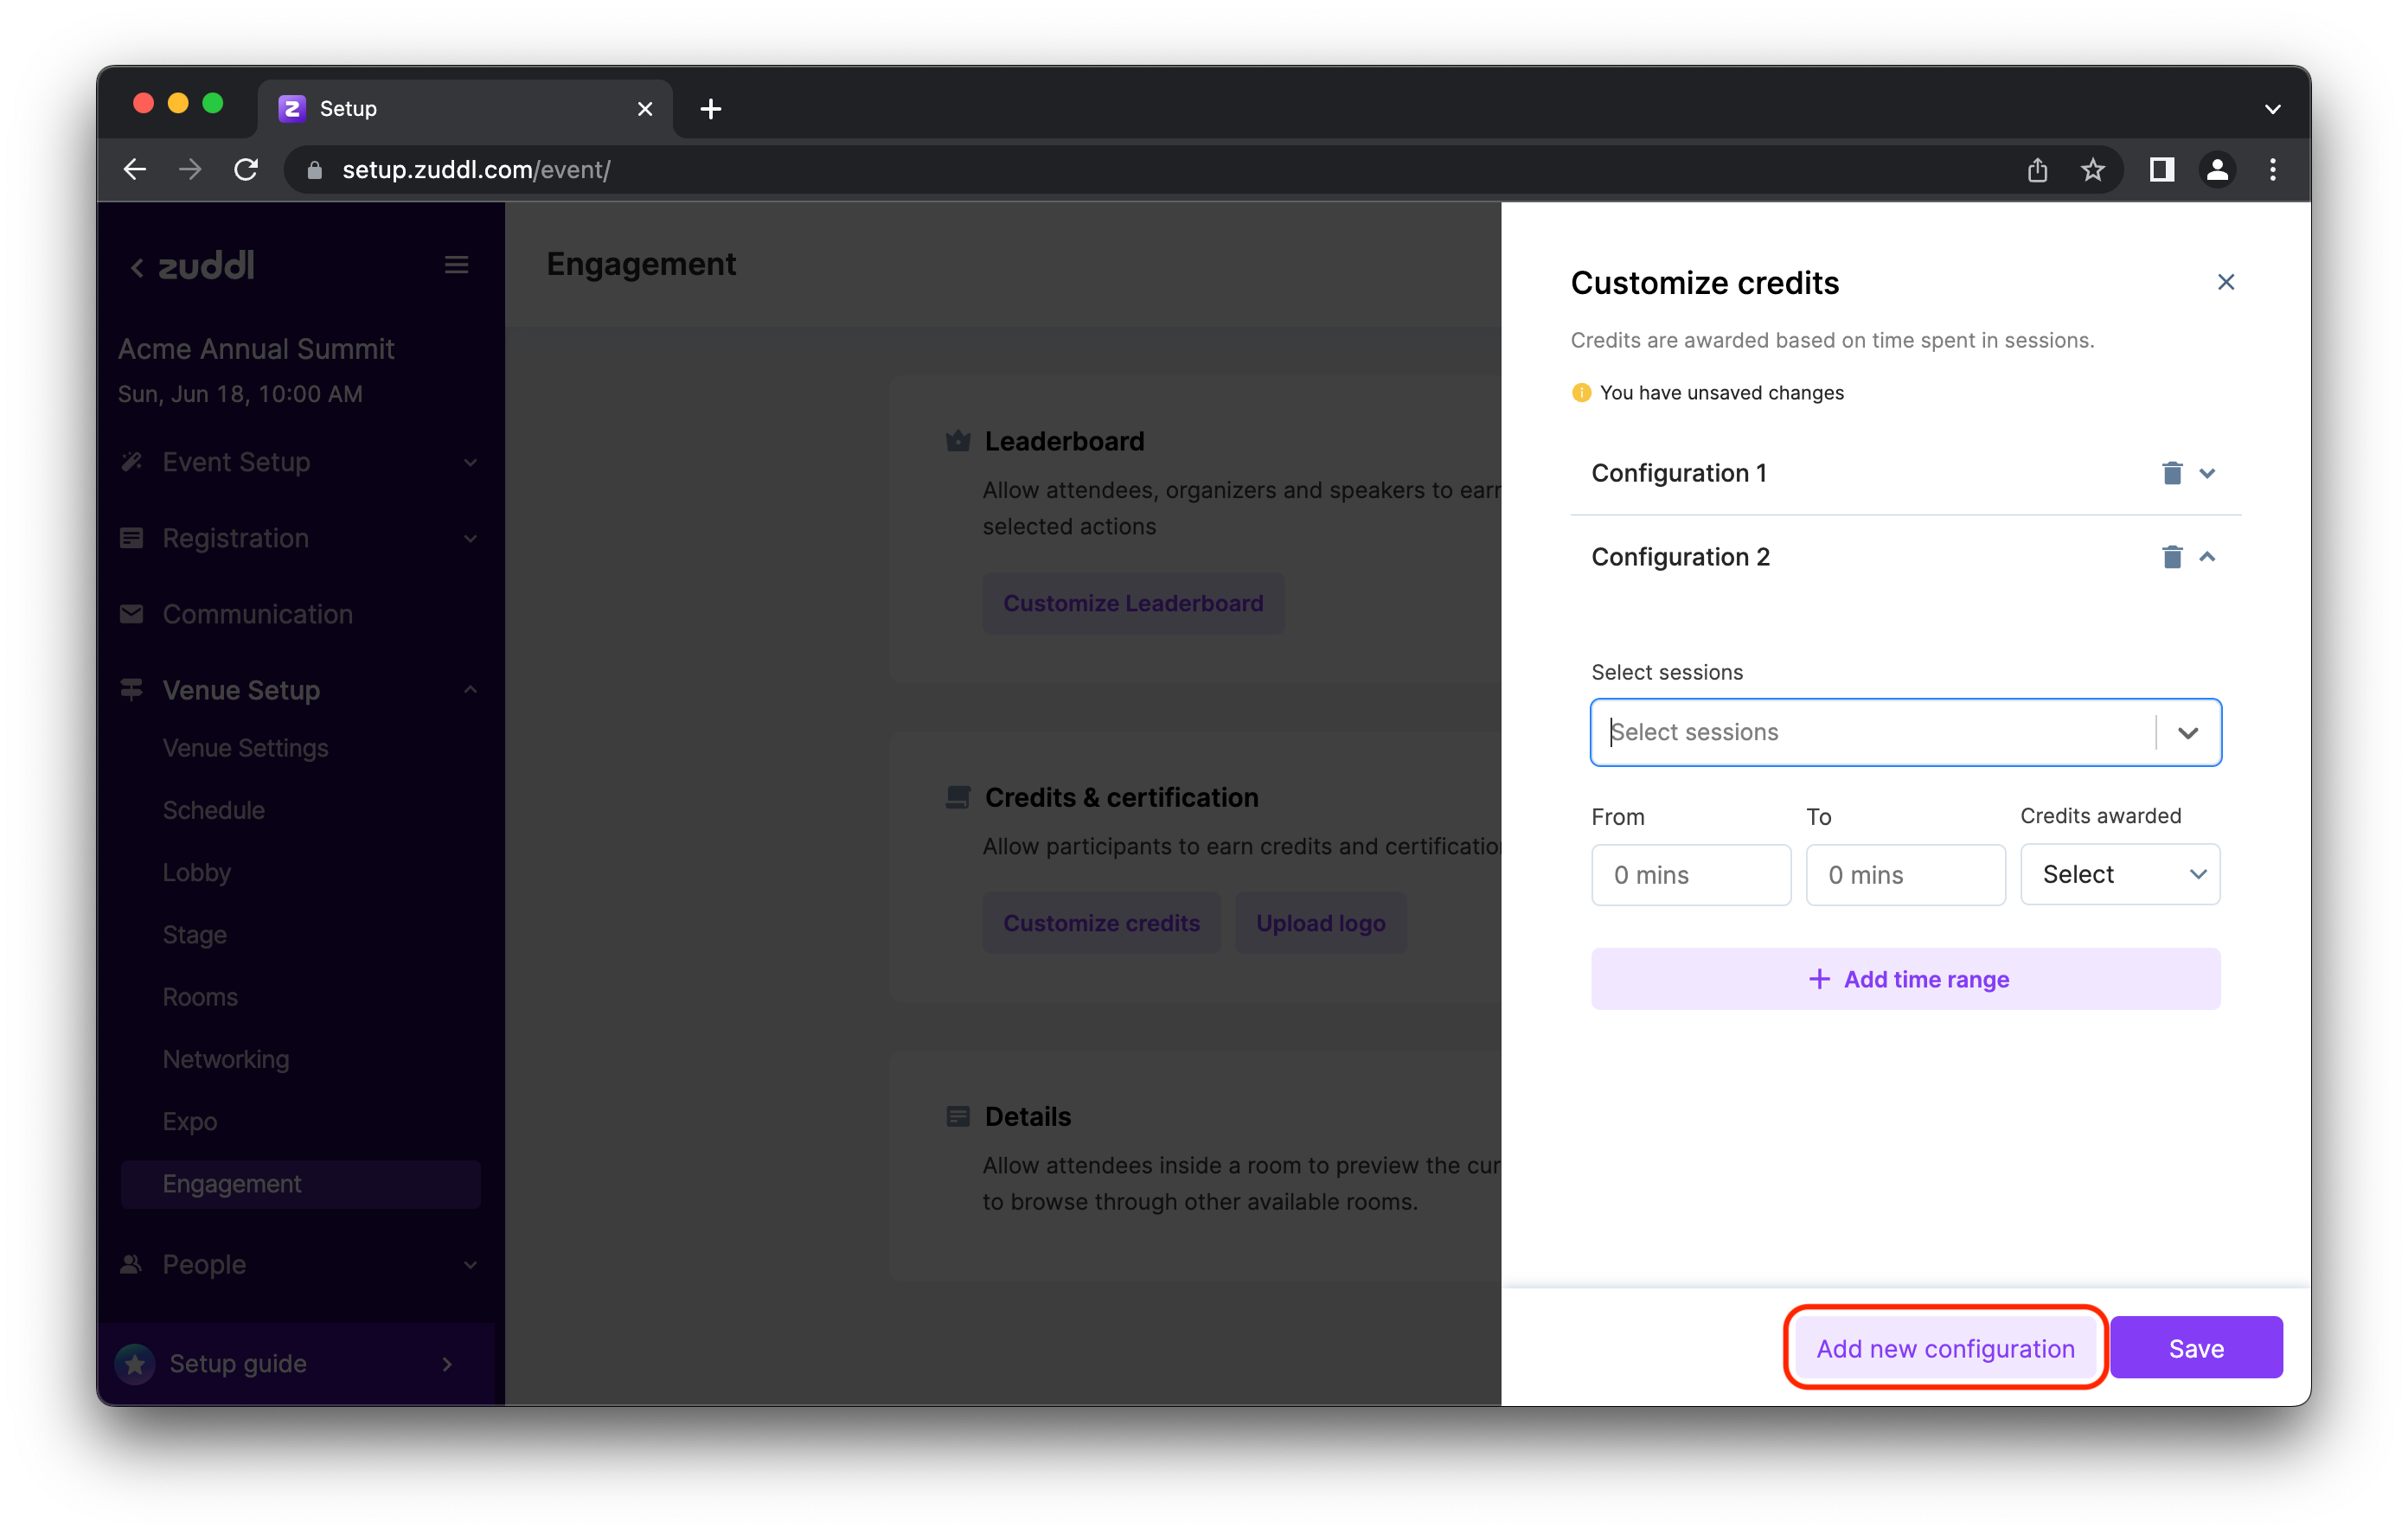
- Click Customize credits to open the setup panel.
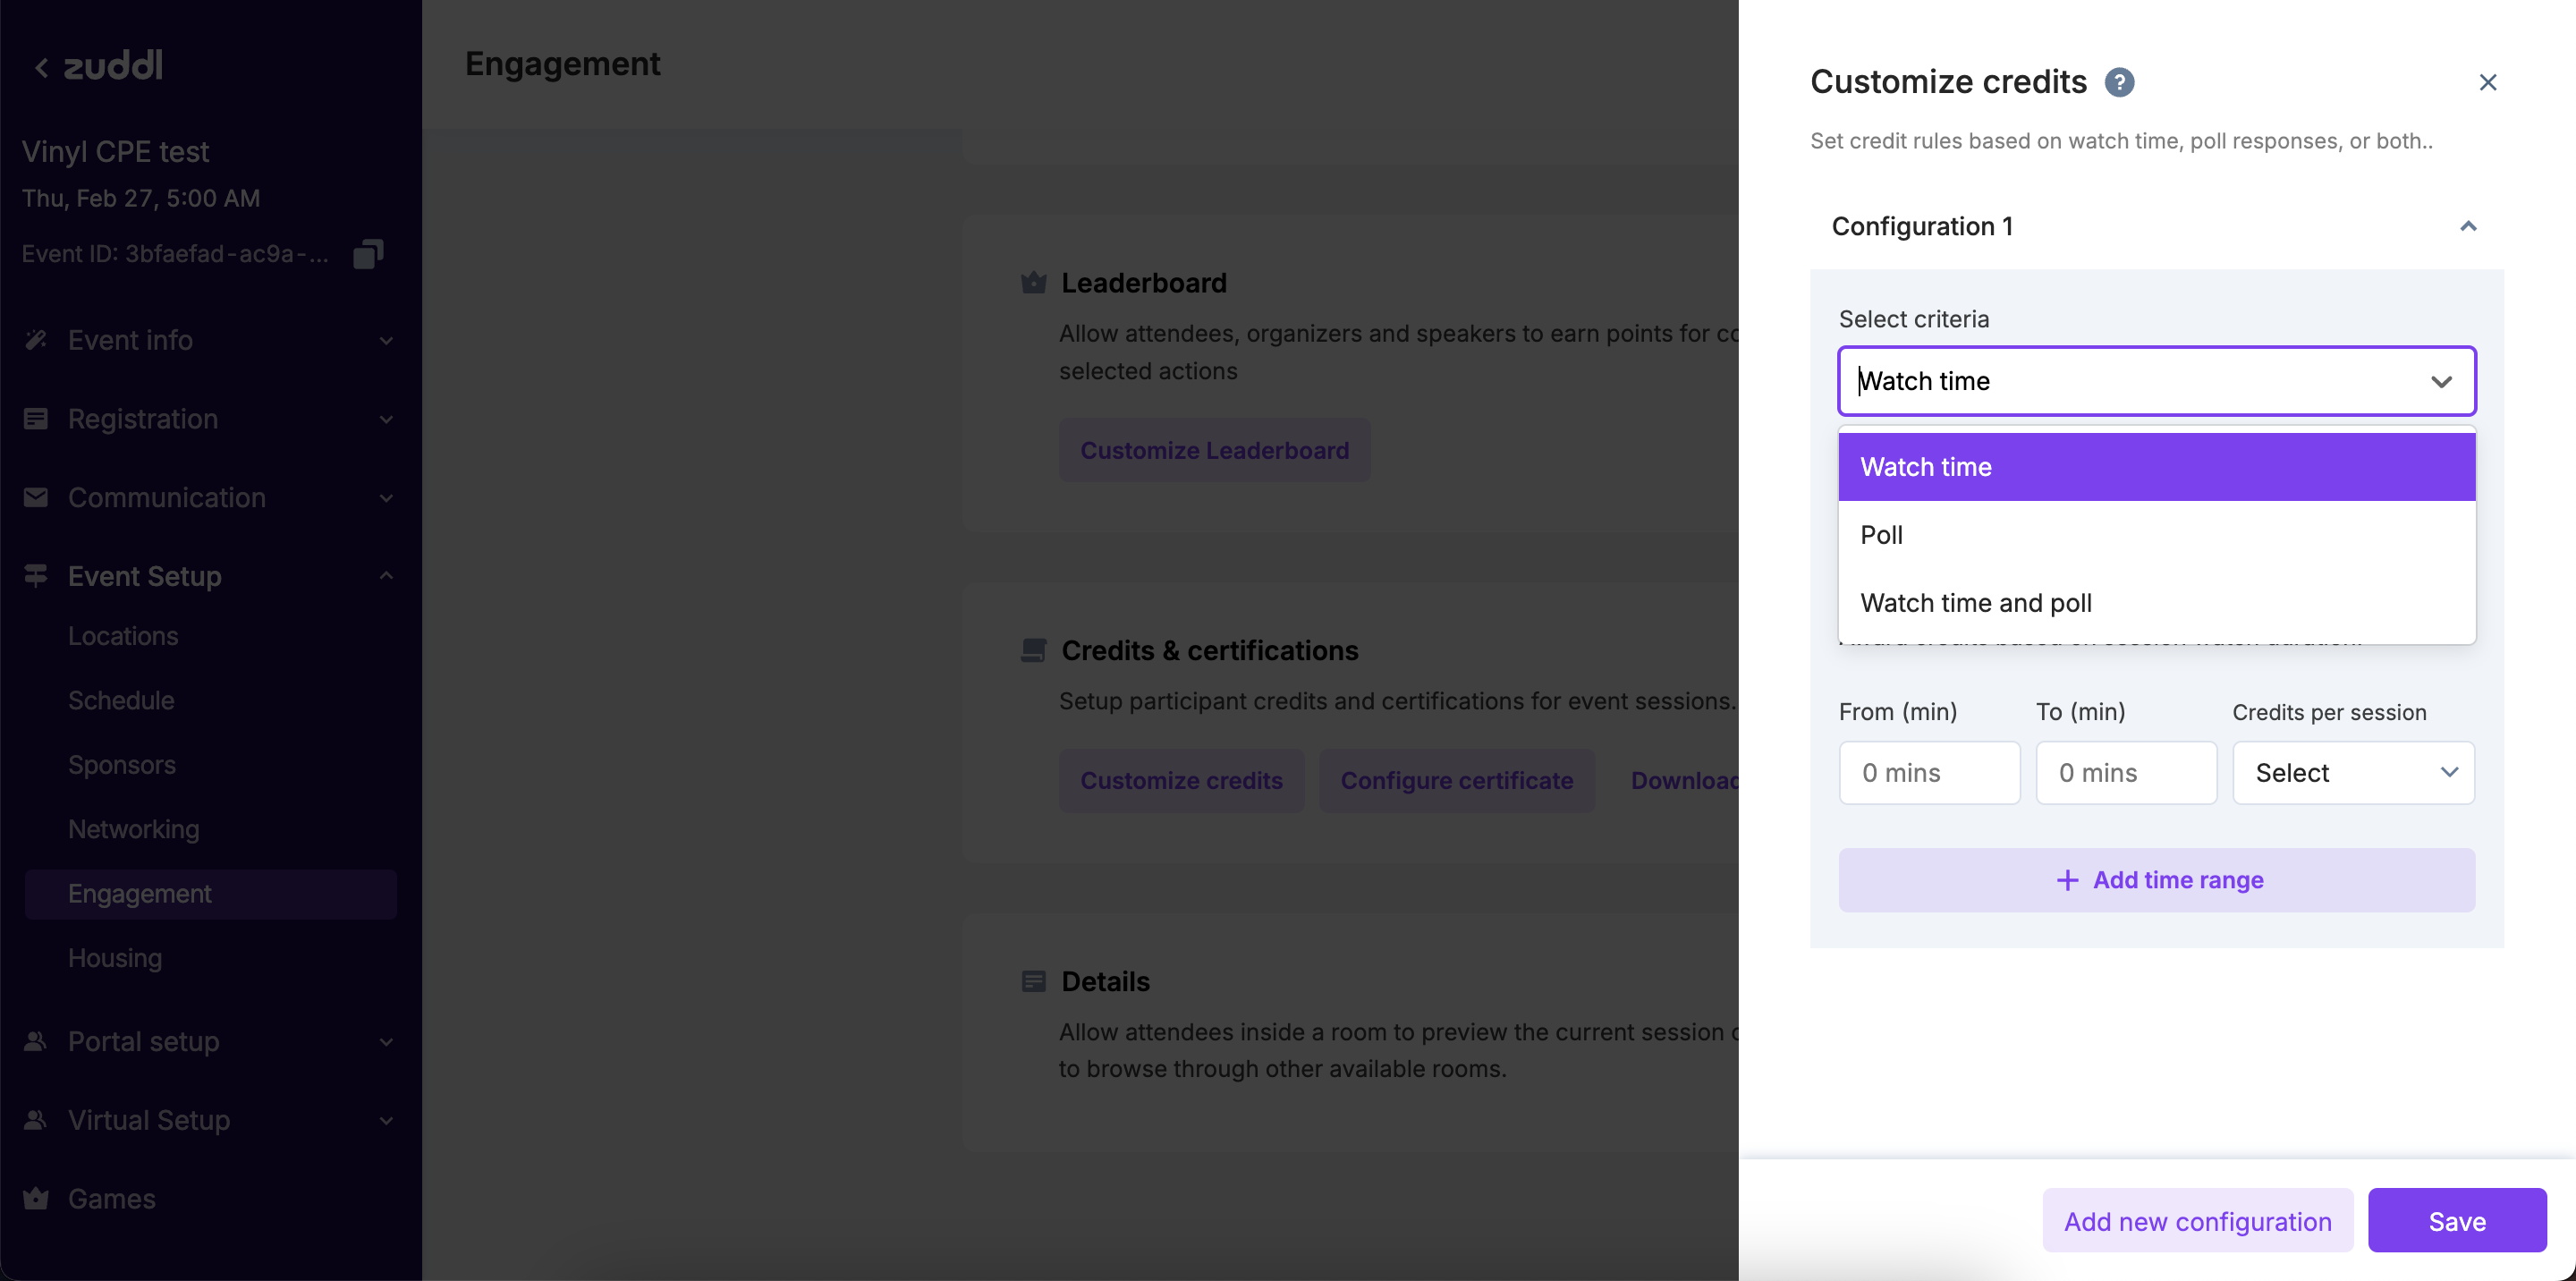
- Under Select criteria, choose the criteria you want to add for this configuration. You can add configurations based on Watch time, Polls, or even a combination of both.
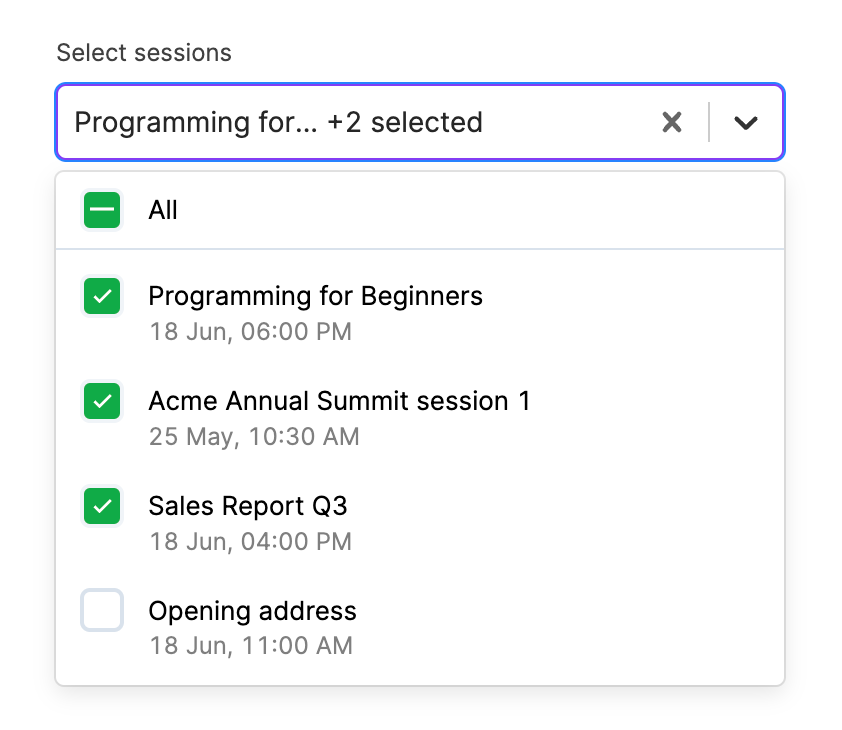
- Next, under Select sessions, select all the sessions for which you want to offer credits with this configuration.
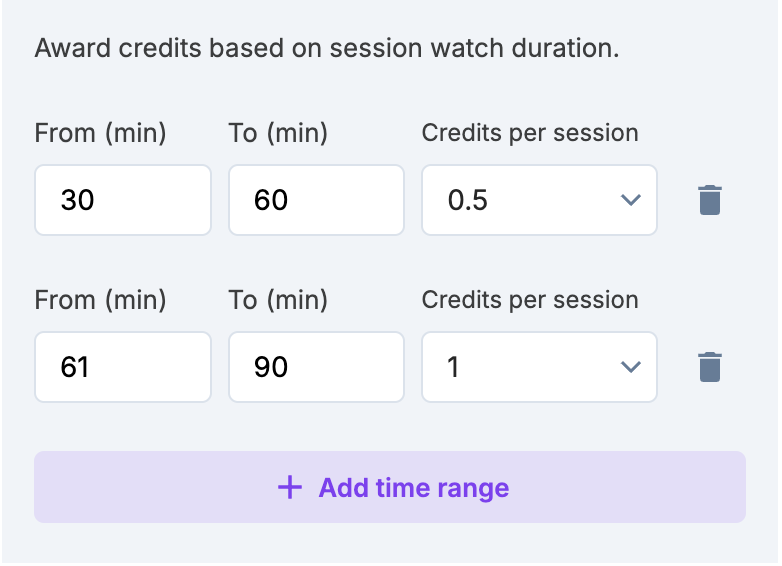
- If your criteria is watch time, you can enter a time range in the From and To fields, and select the number of credits to offer in that range (for the selected sessions) under Credits per session.
- Click Add time range to add more ranges with different credit settings.
- If your criteria is only polls, you can enter the minimum number of polls and select the number of credits to offer under Credits per session.
- If your criteria is watch time and polls, enter the time range, the minimum number of polls to qualify, and the credits per session.
- Click Add new configuration to add different configurations for other sessions.
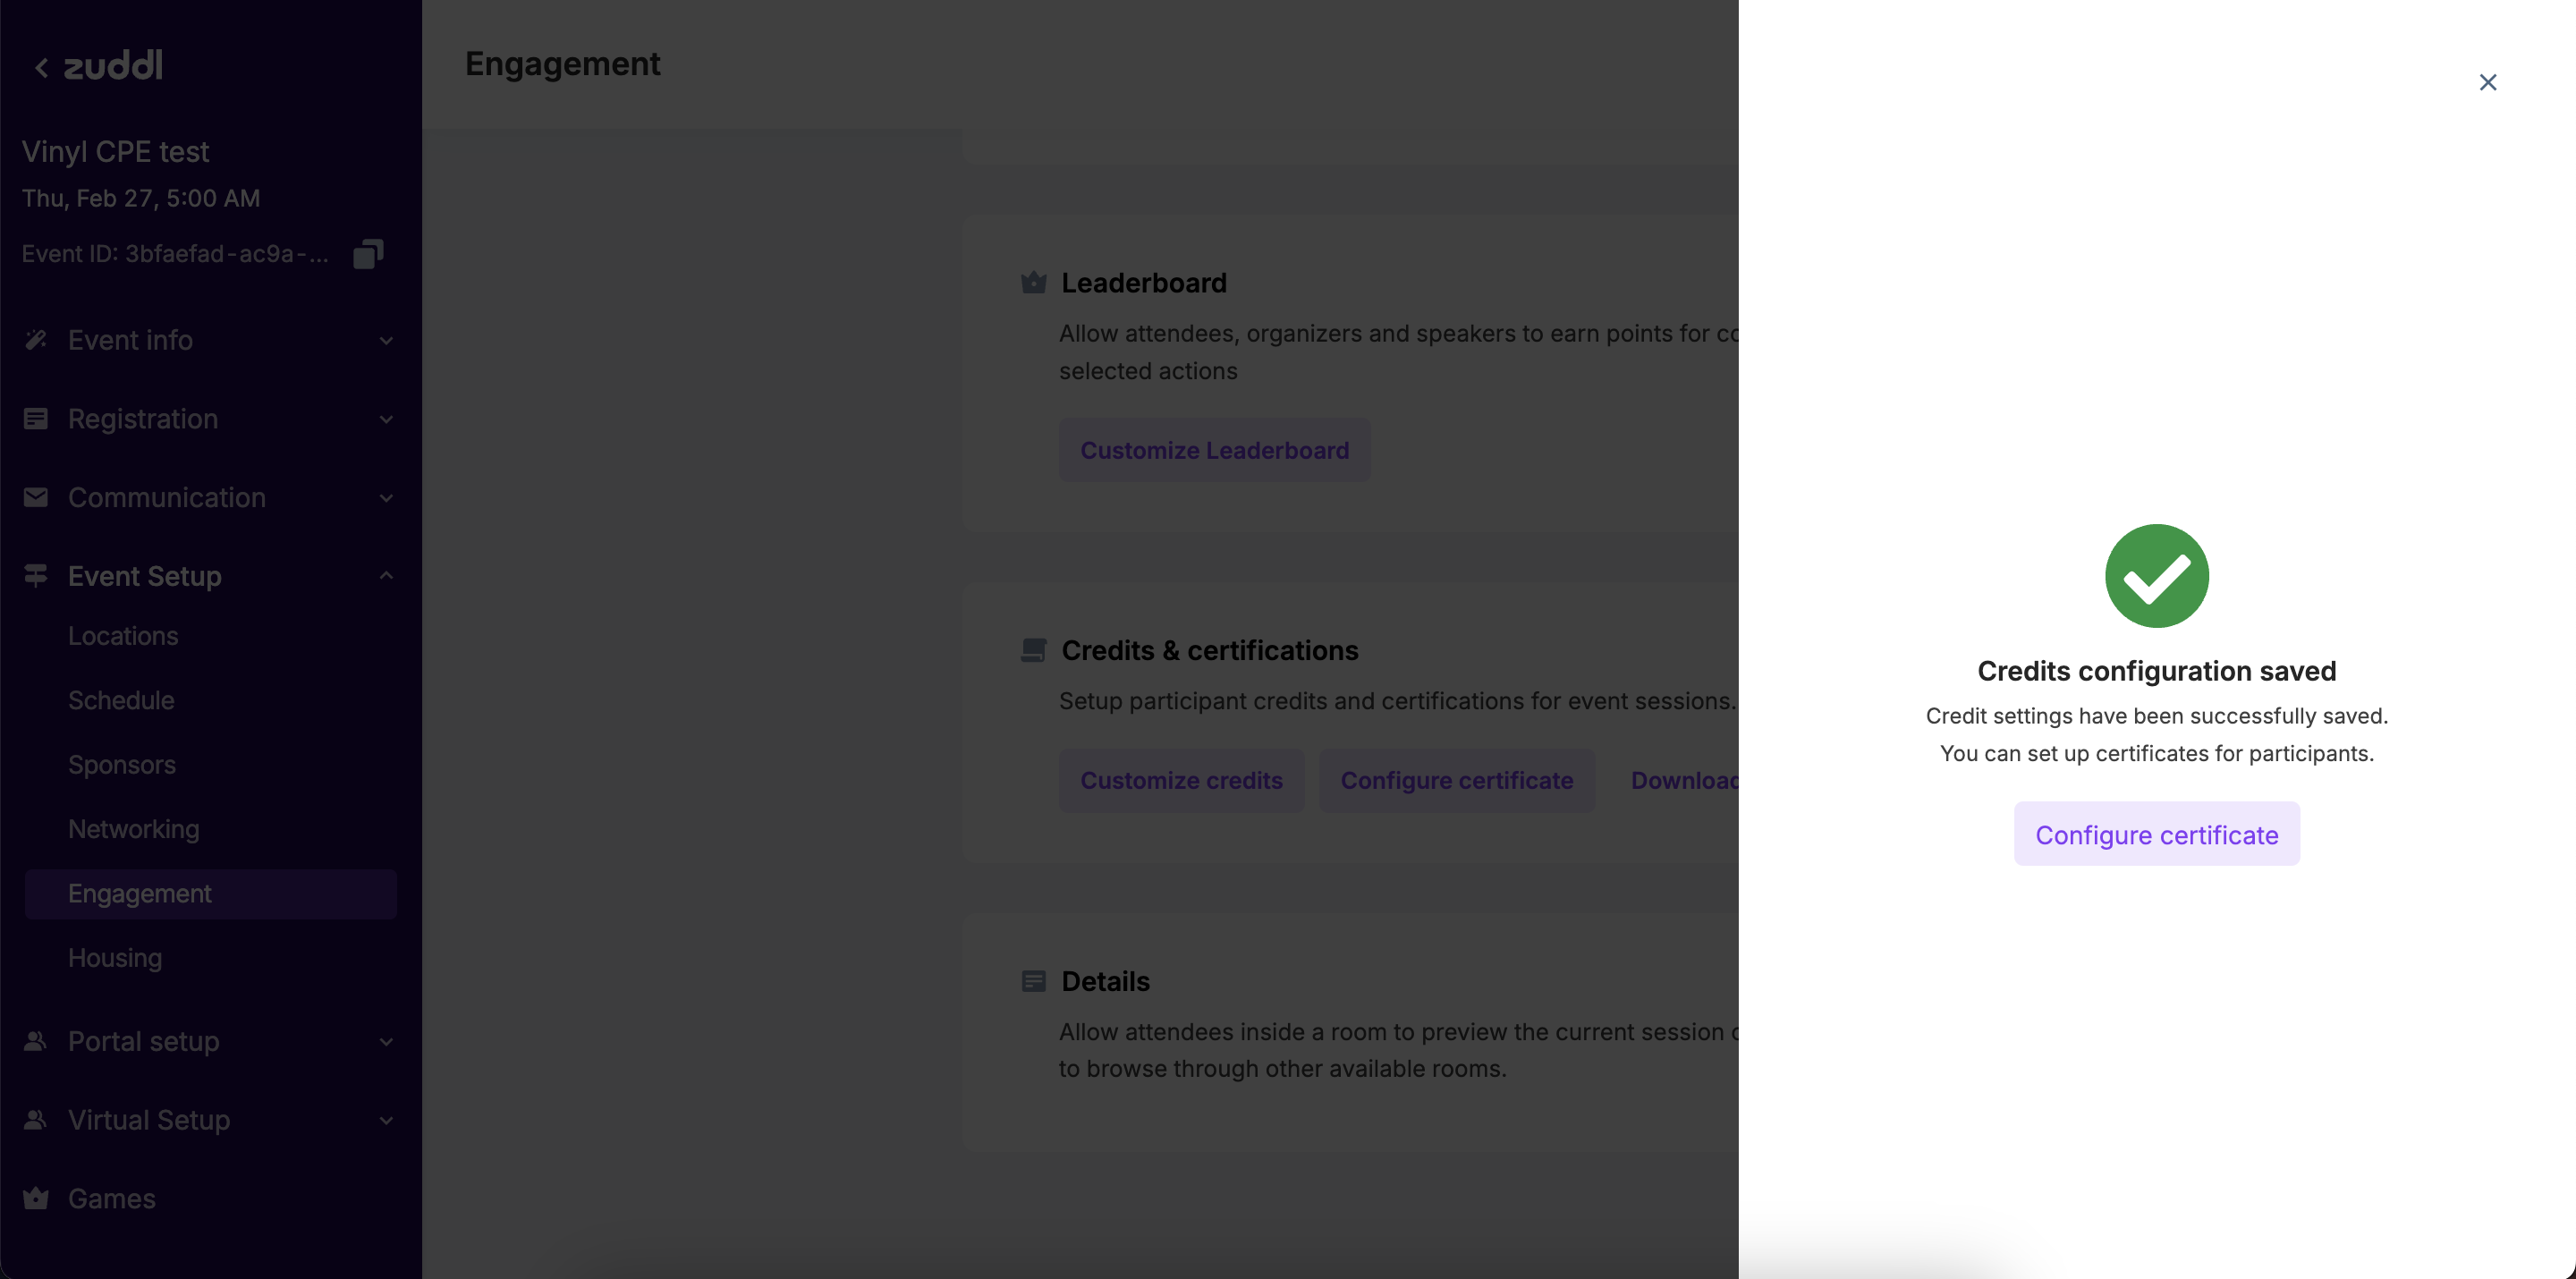
You can add any particular session only in a single configuration. - Click Save to finish setting up credits. You can customize the certificate by clicking on Configure certificate, or close the panel to do this later.
Customize the Certificate
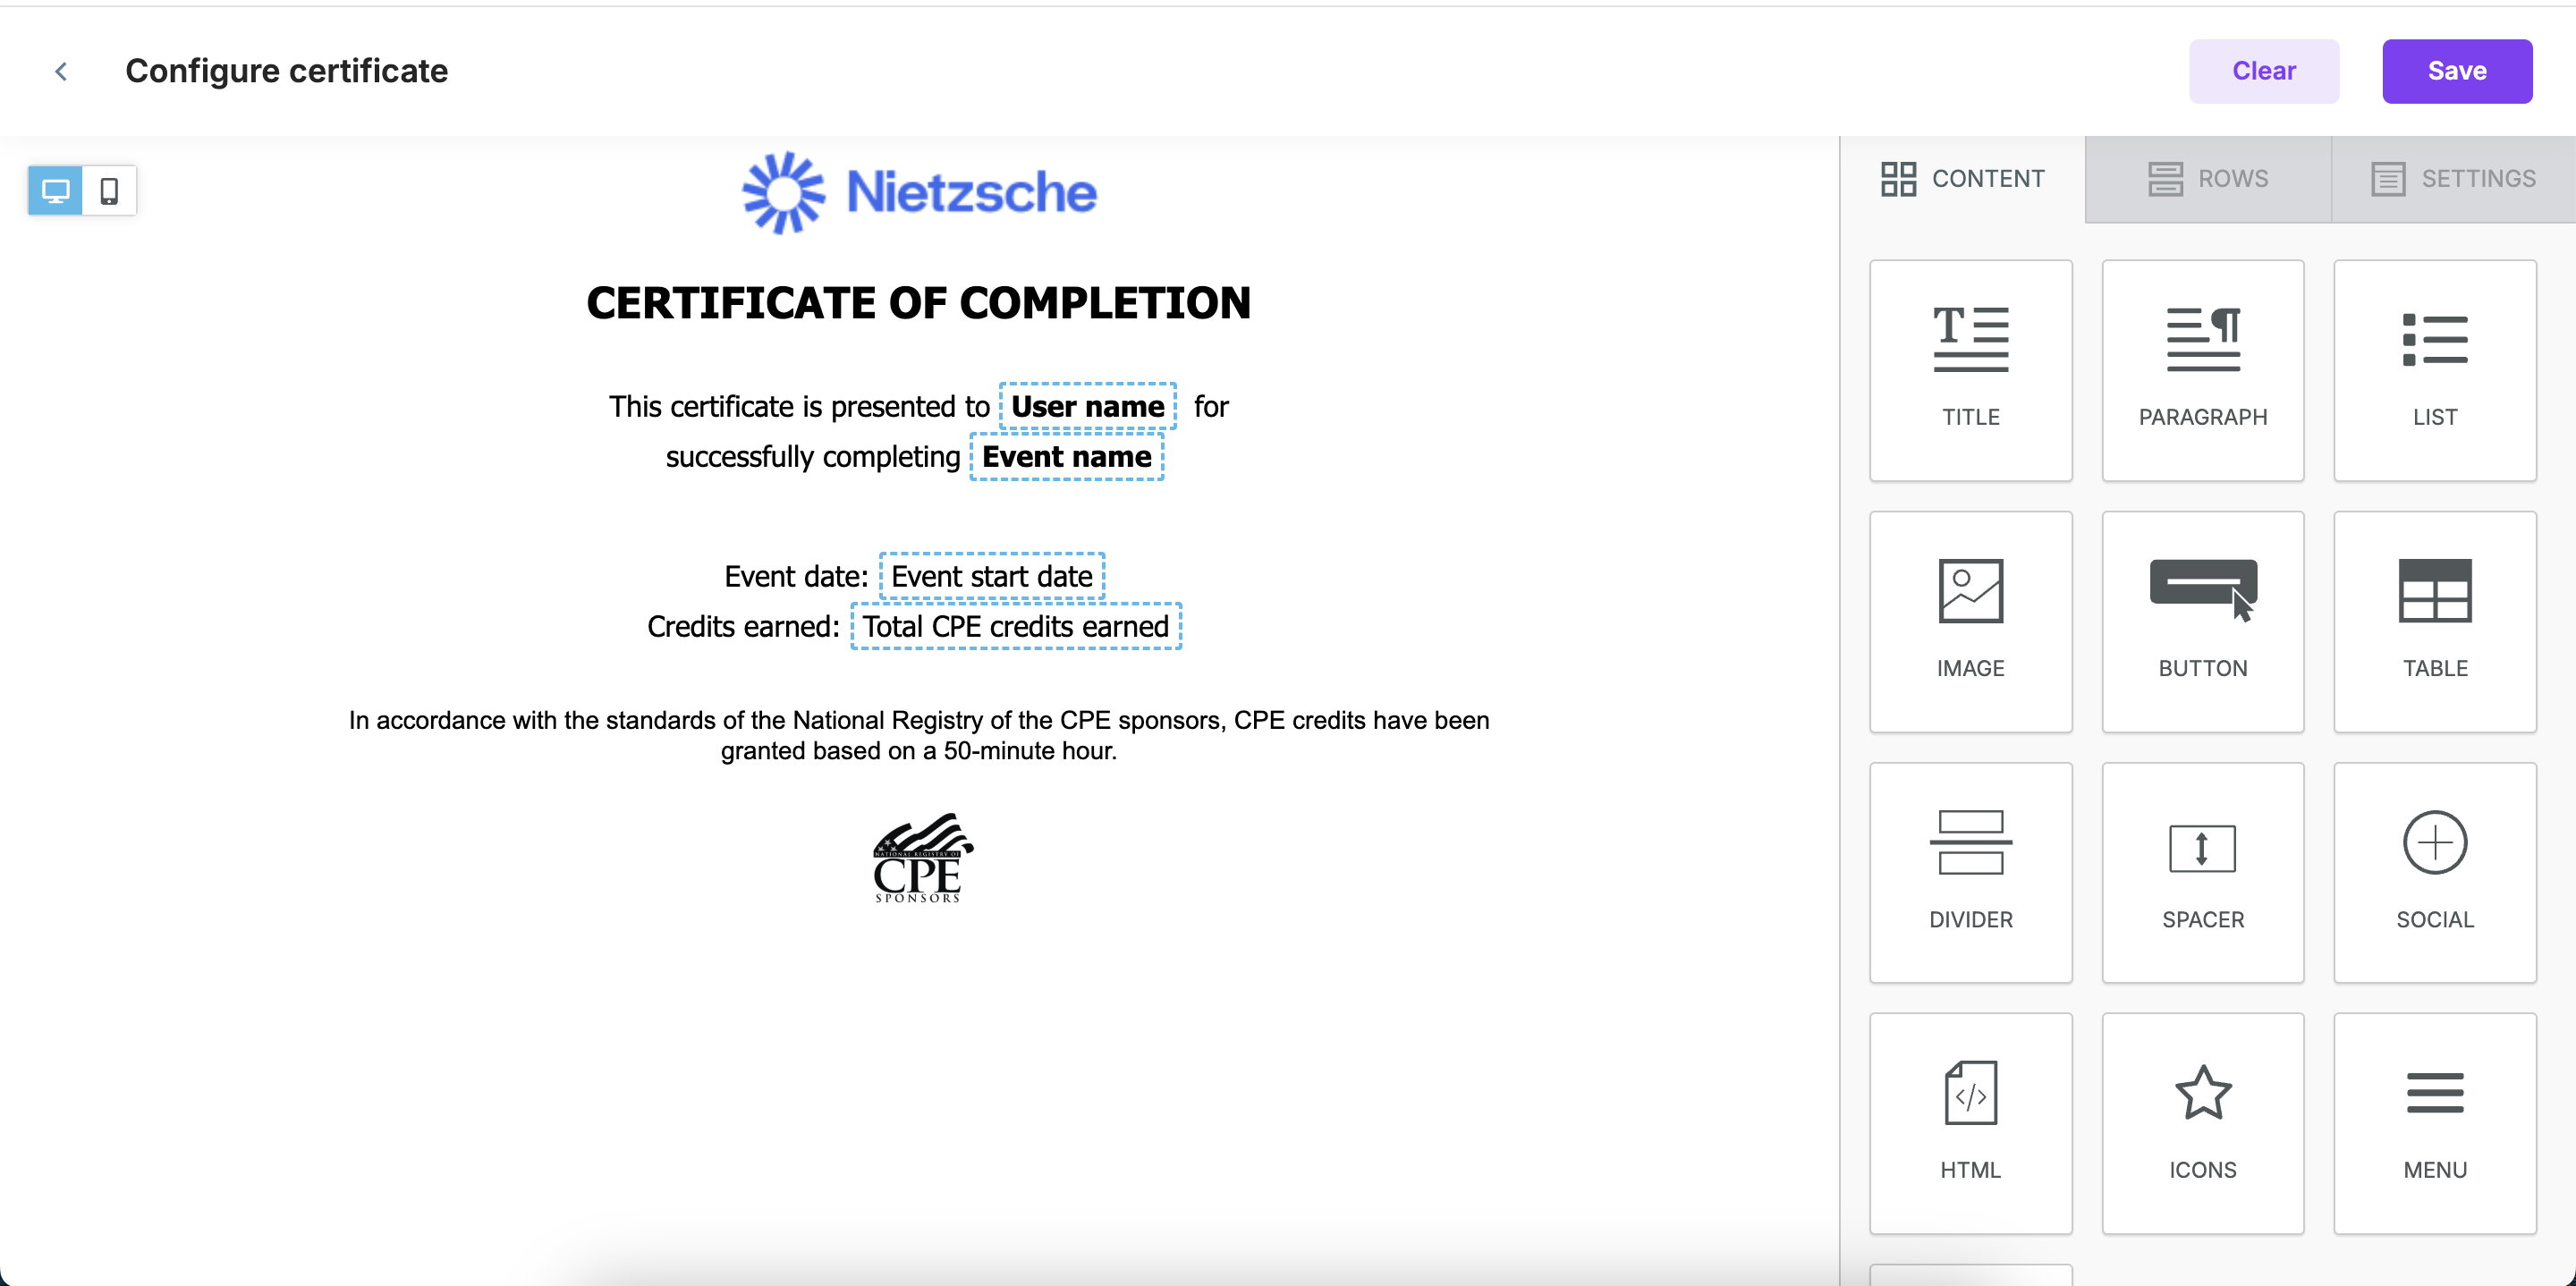
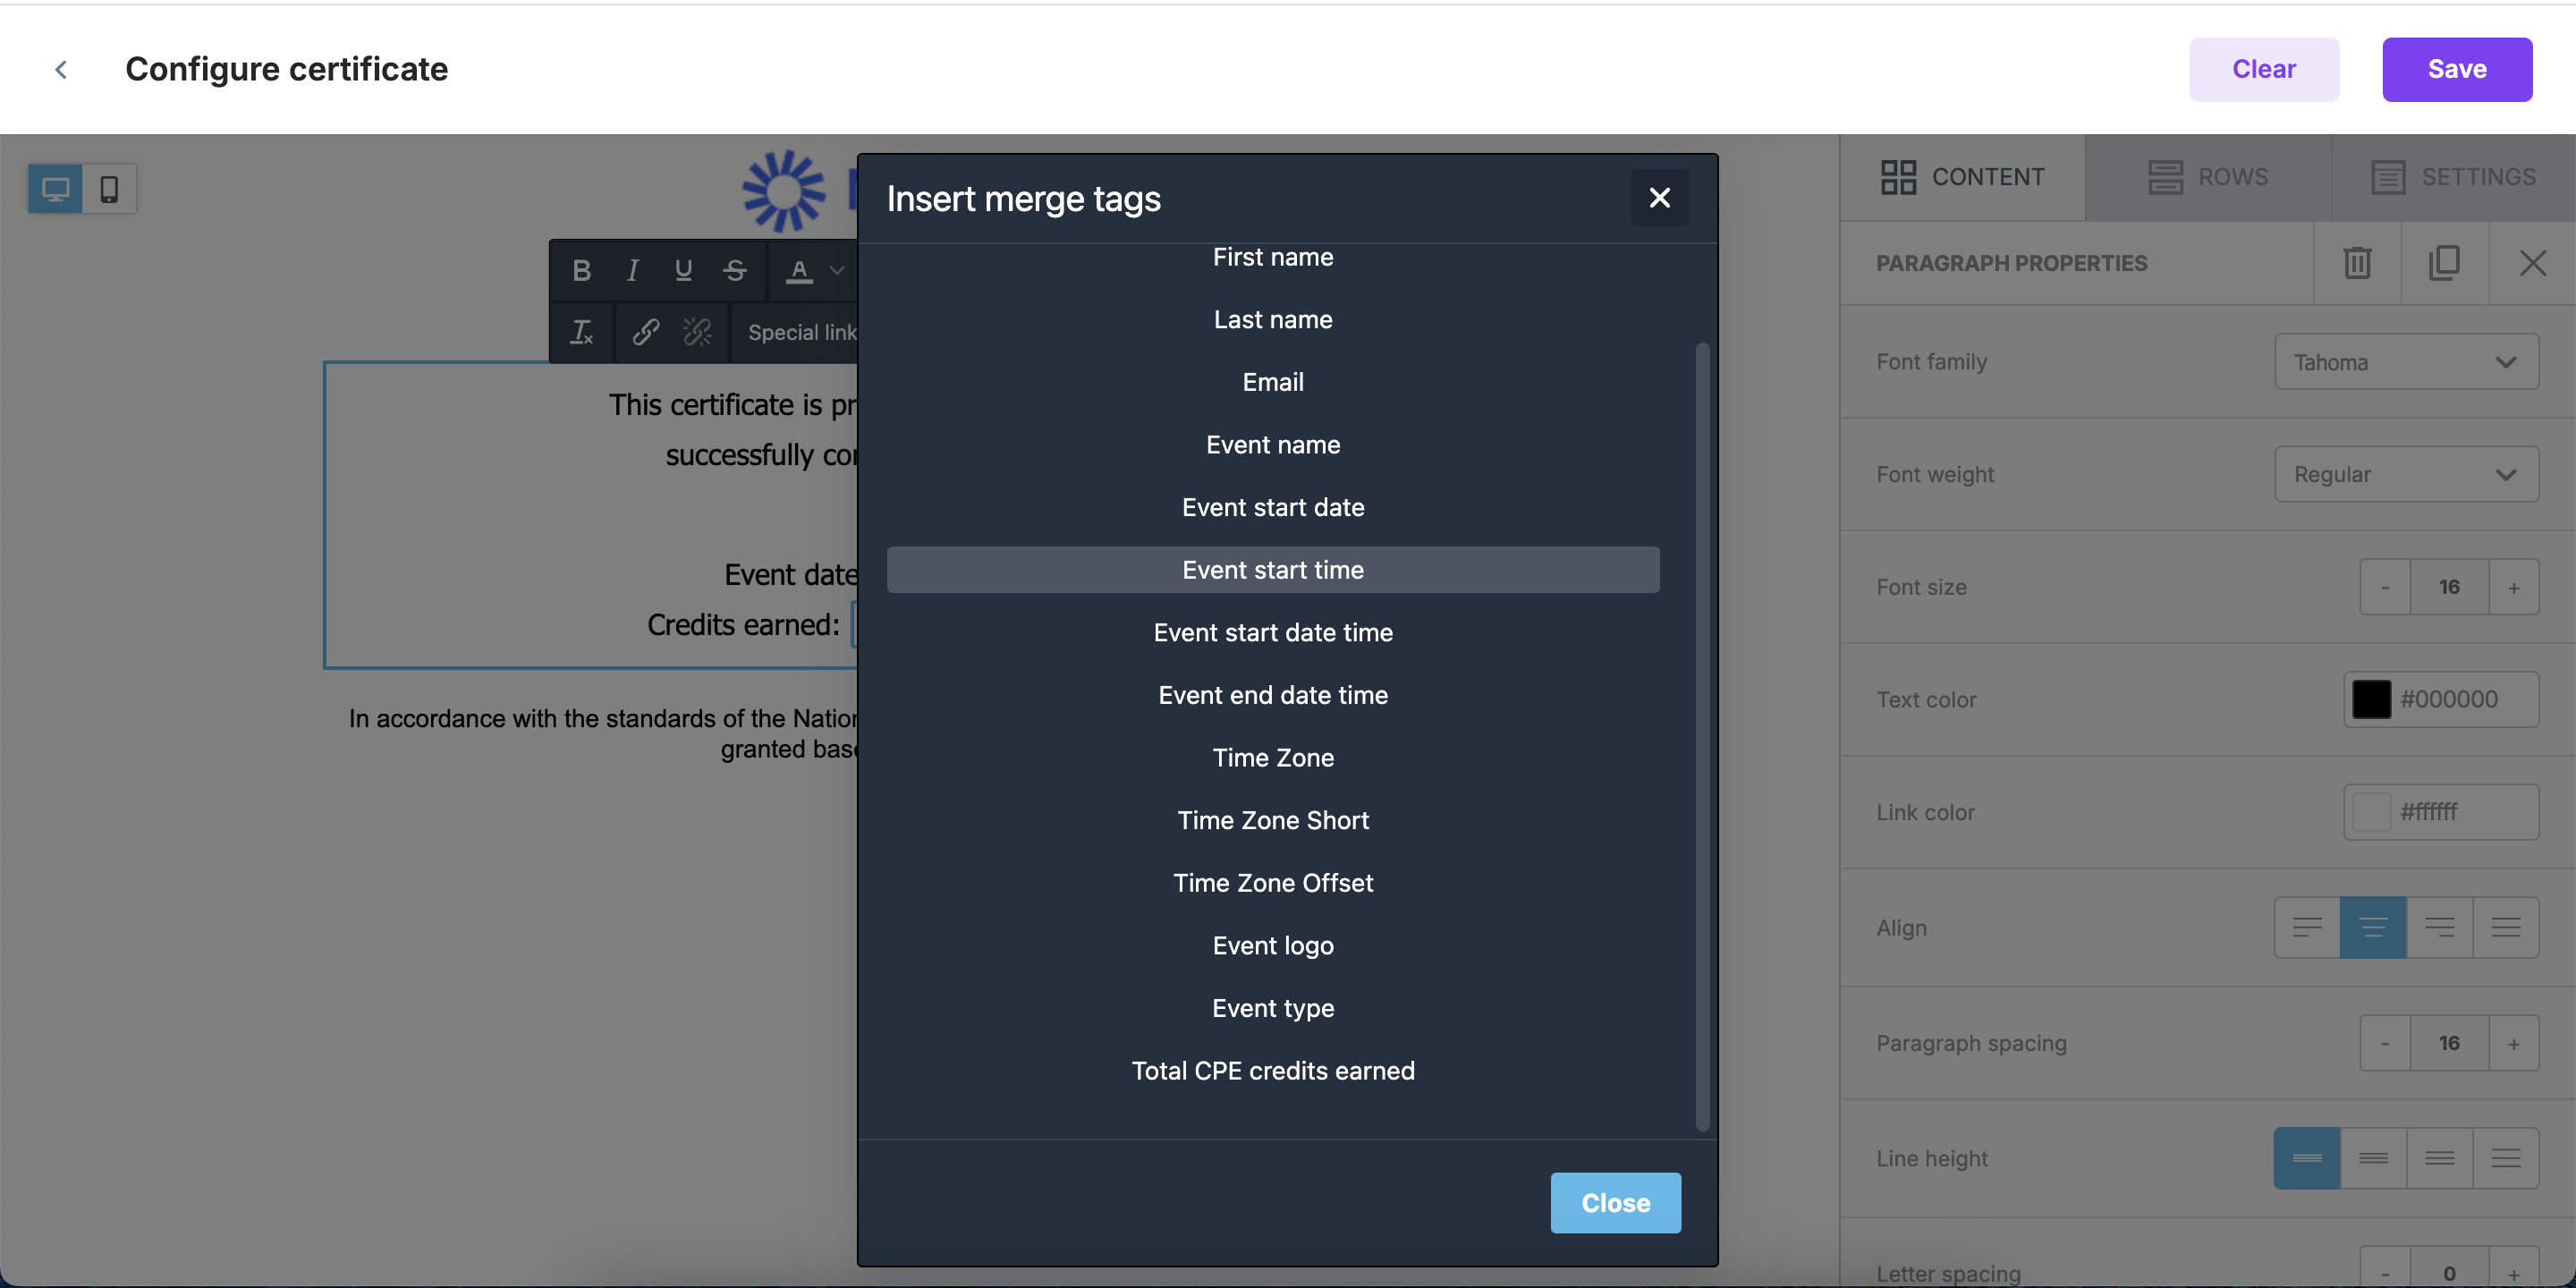
- To customize the certificate, click on Configure certificate option in the engagement section
- In the editor that opens, you can edit the default template provided to add your branding and customizations.
- Once done, you can save the template and exit the editor.
You can also use merge tags to add dynamic information to your emails.
Sending the CPE Credit certificate to attendees
- The best way to send the CPE certificate to attendees is via the thank you email.
- All you have to do is add the CPE credits certificate link to any button or text as a hyperlink.
- You can also use Total CPE credits earned merge tag and show the credits earned by the attendees in the email.
Update credits manually
- You can update the credits earned by any of the attendees manually and send an email to the attendees manually.
- To do this, go to People > Attendees, click on the 3 dots against the attendee, and select View CPE credits.
- In the popup that opens, enter the credits and click on Update credits to update the credits awarded to that attendee.
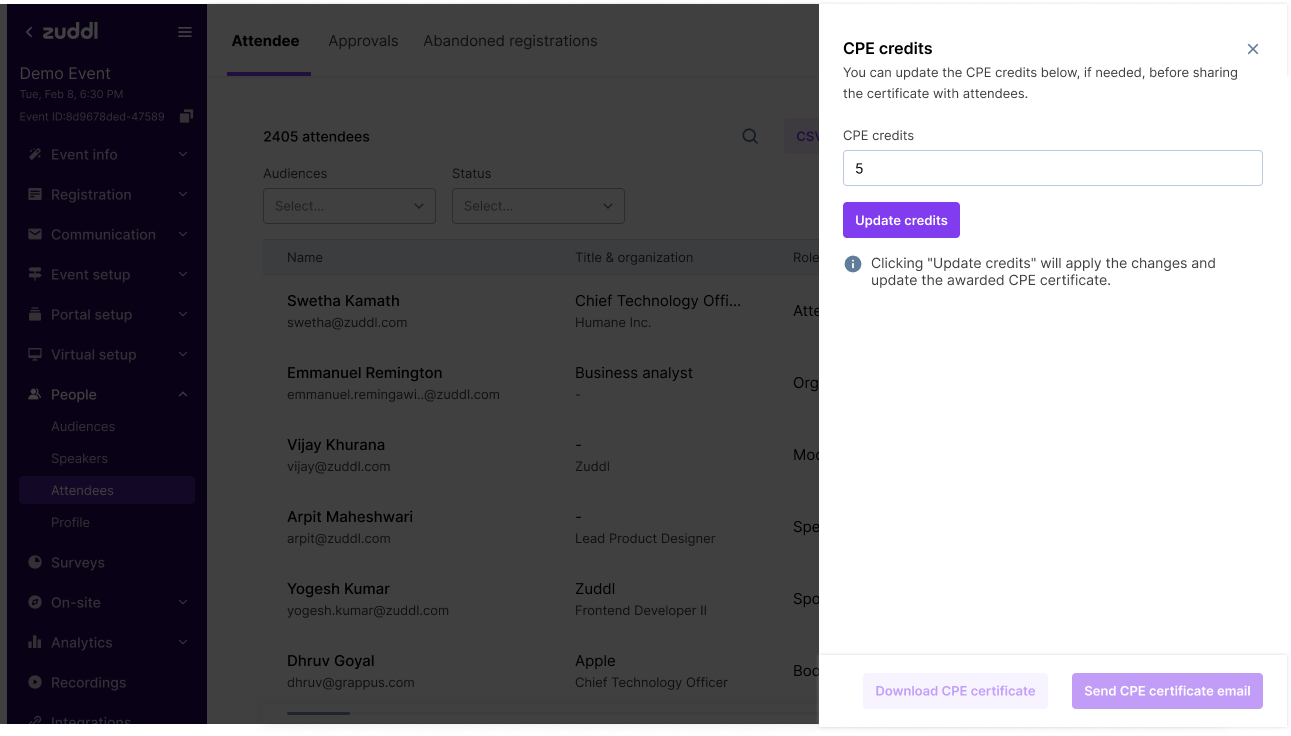
- You can also click on the Download CPE certificate to download the Certificate as a PDF.
-
You can also click on Send CPE certificate email to send a predefined email to this particular attendee.
-
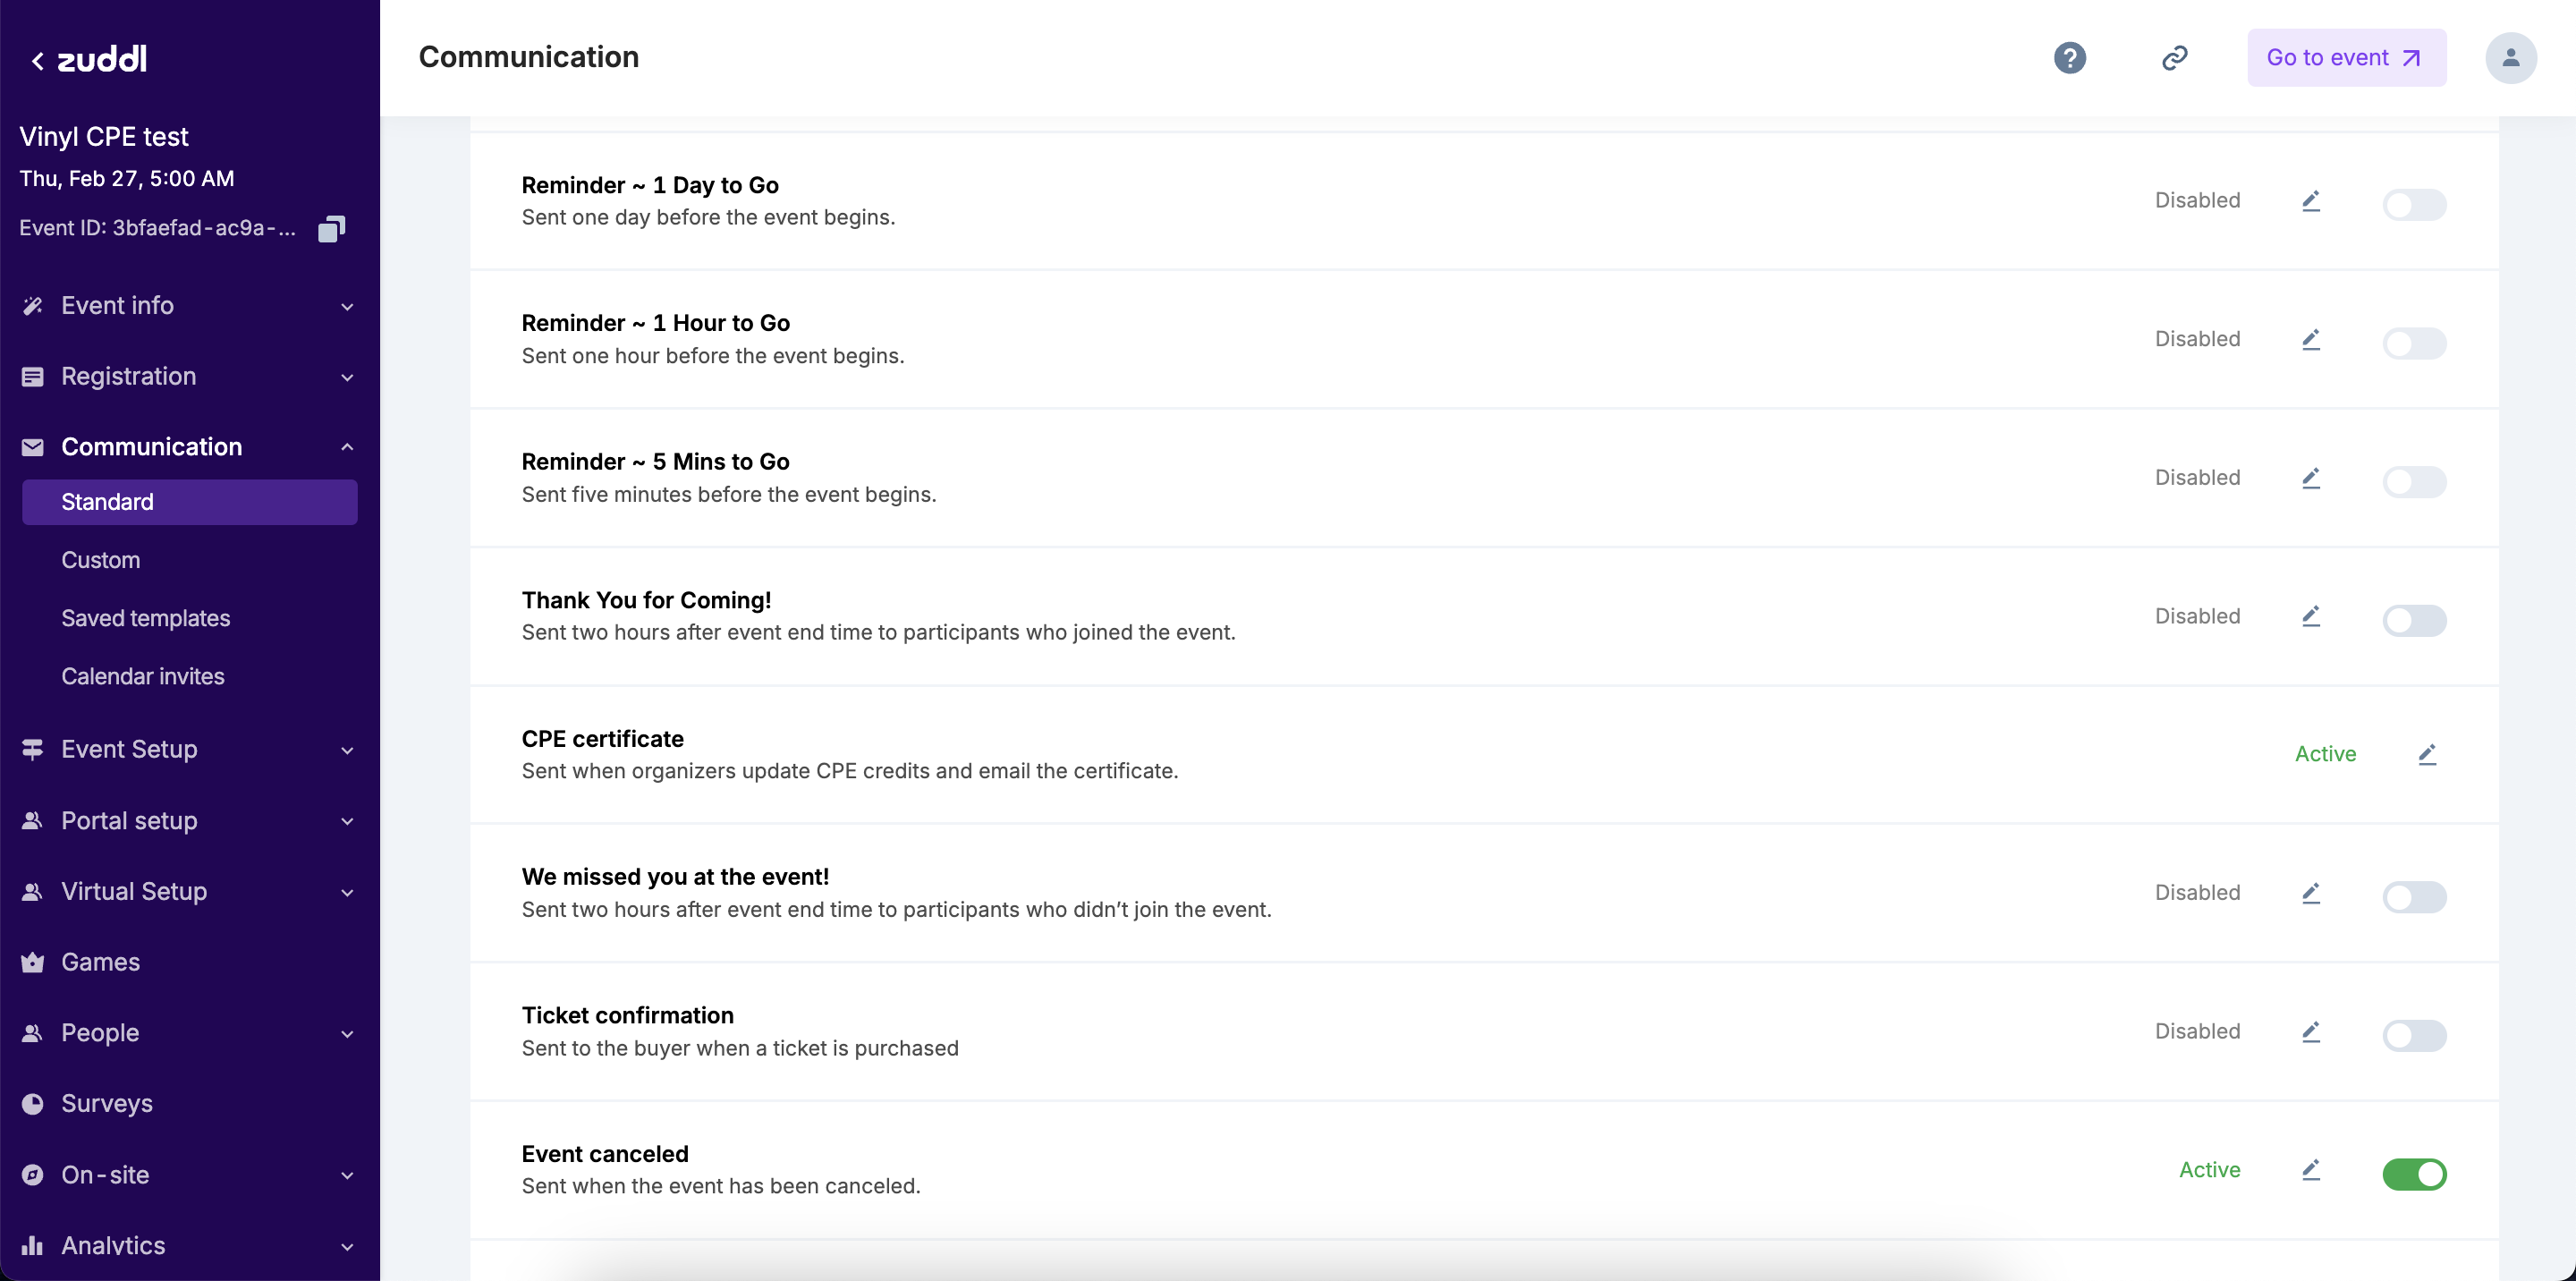
To edit/update the look and feel of this email, go to Communication > Standard and find the CPE Certificate.
-
Click on the edit icon, and you can update the template as per your requirement.
-
-
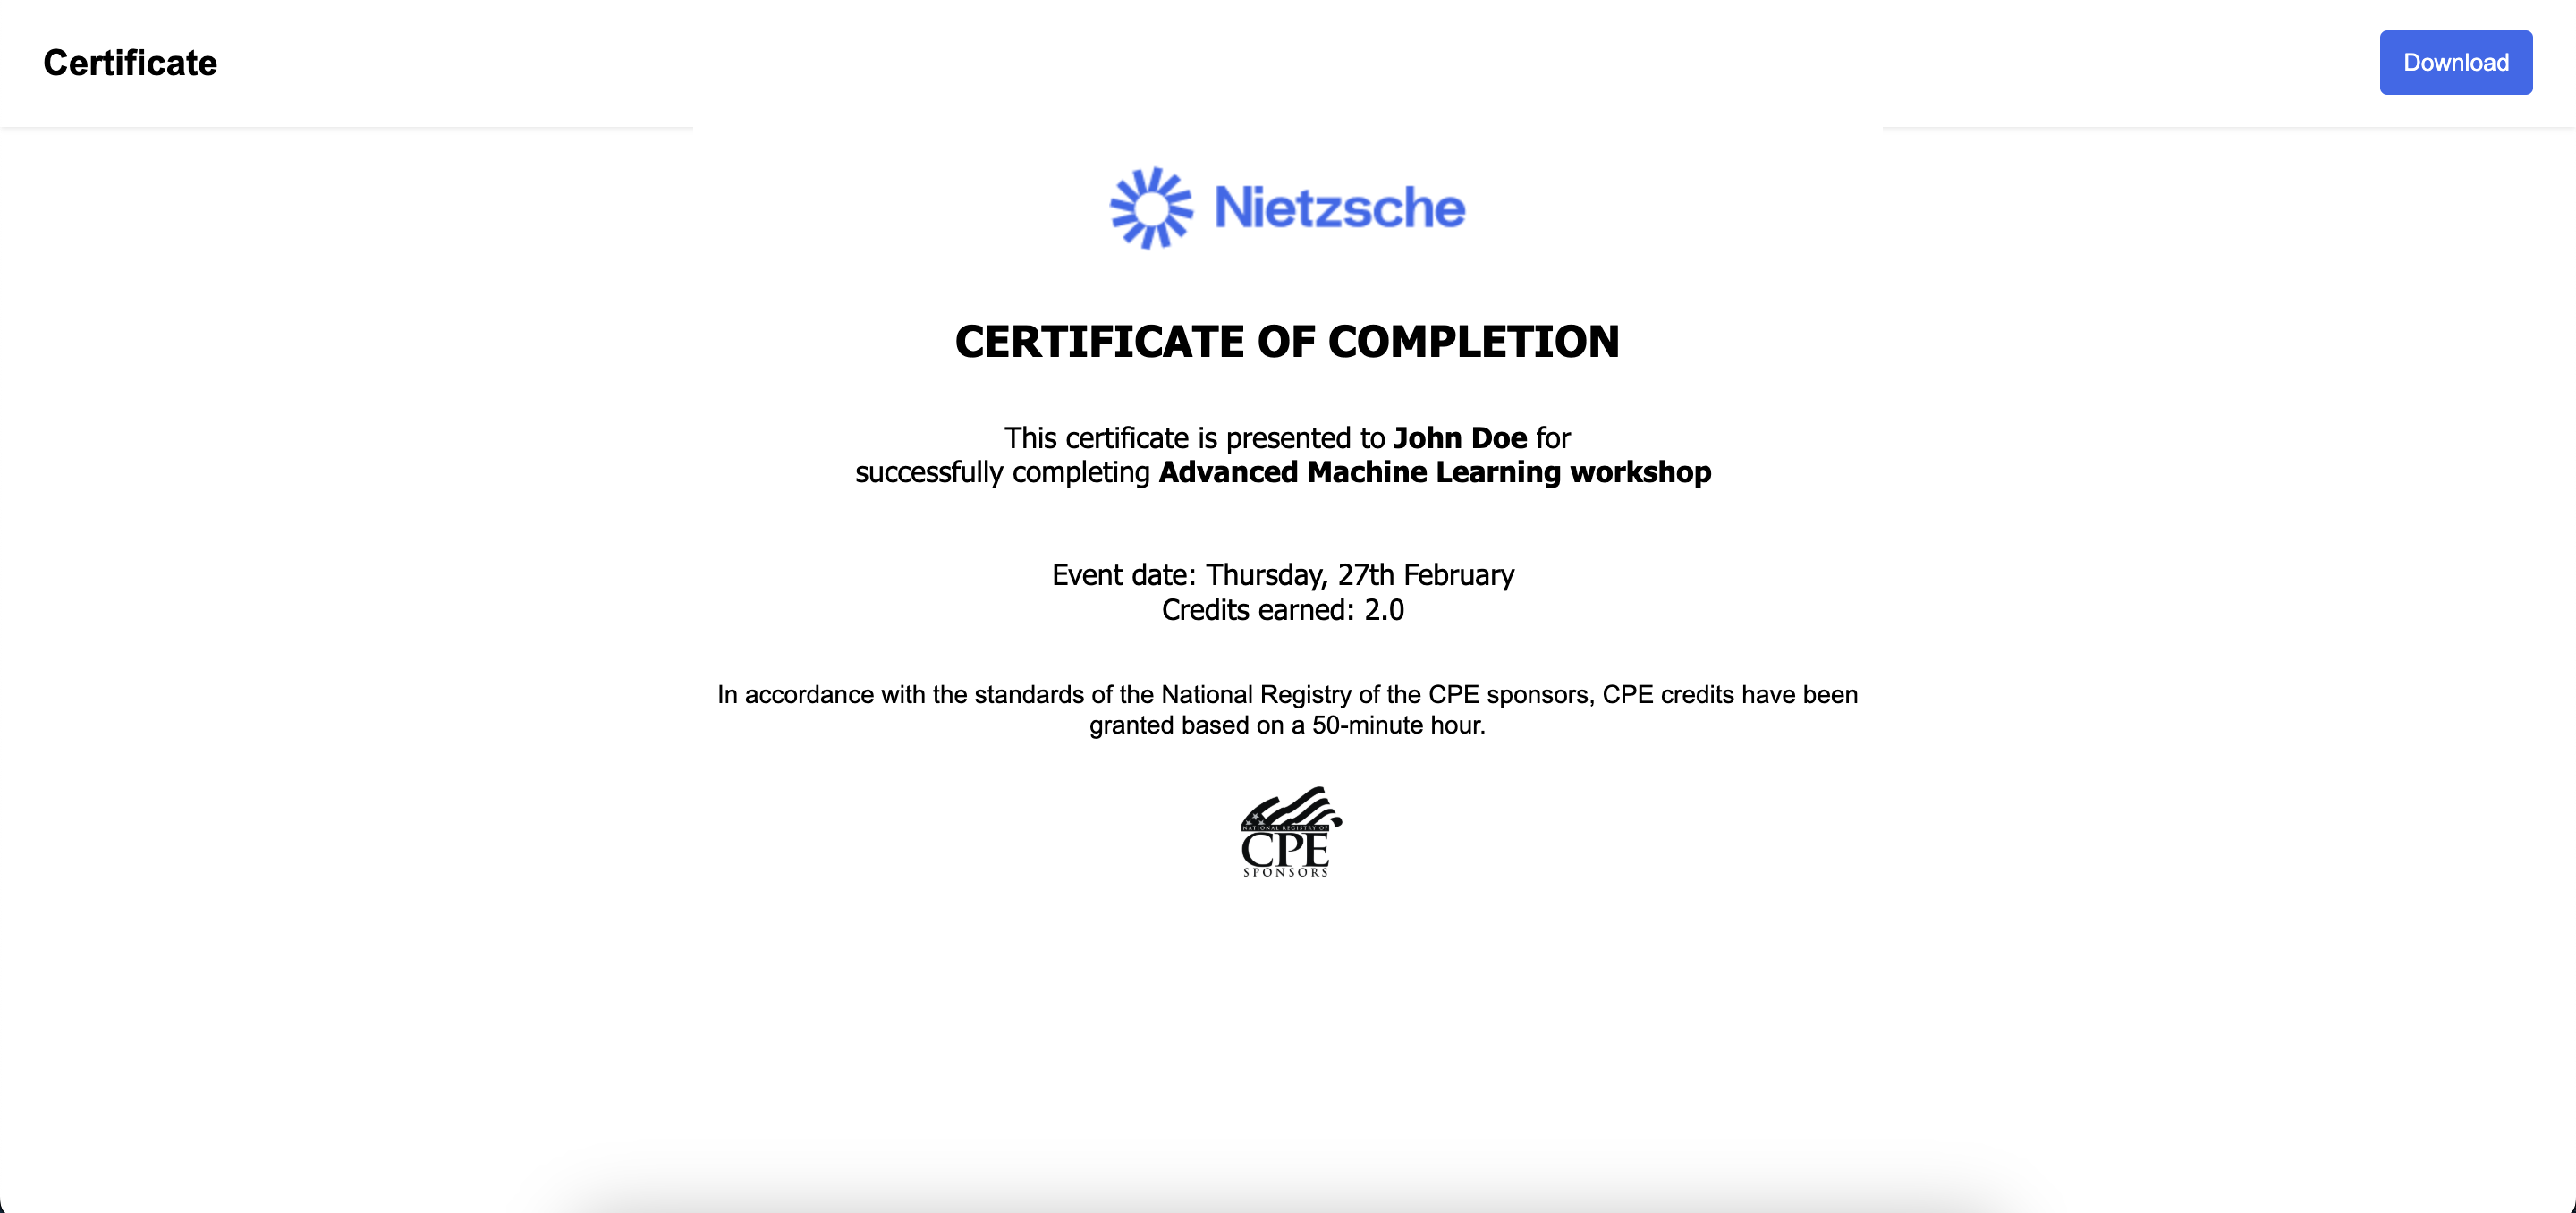
Attendees can click on the Download certificate to view the certificate.
- In the new tab that opens, they can click Download to download the certificate as a PDF.