How to Create Add-ons as a Step in the Registration Flow for a Virtual Event in Zuddl
Last updated: August 1, 2025
The Add-ons step allows attendees to select add-ons in the registration flow. Learn more about creating add-ons here.
Creating the add-ons step
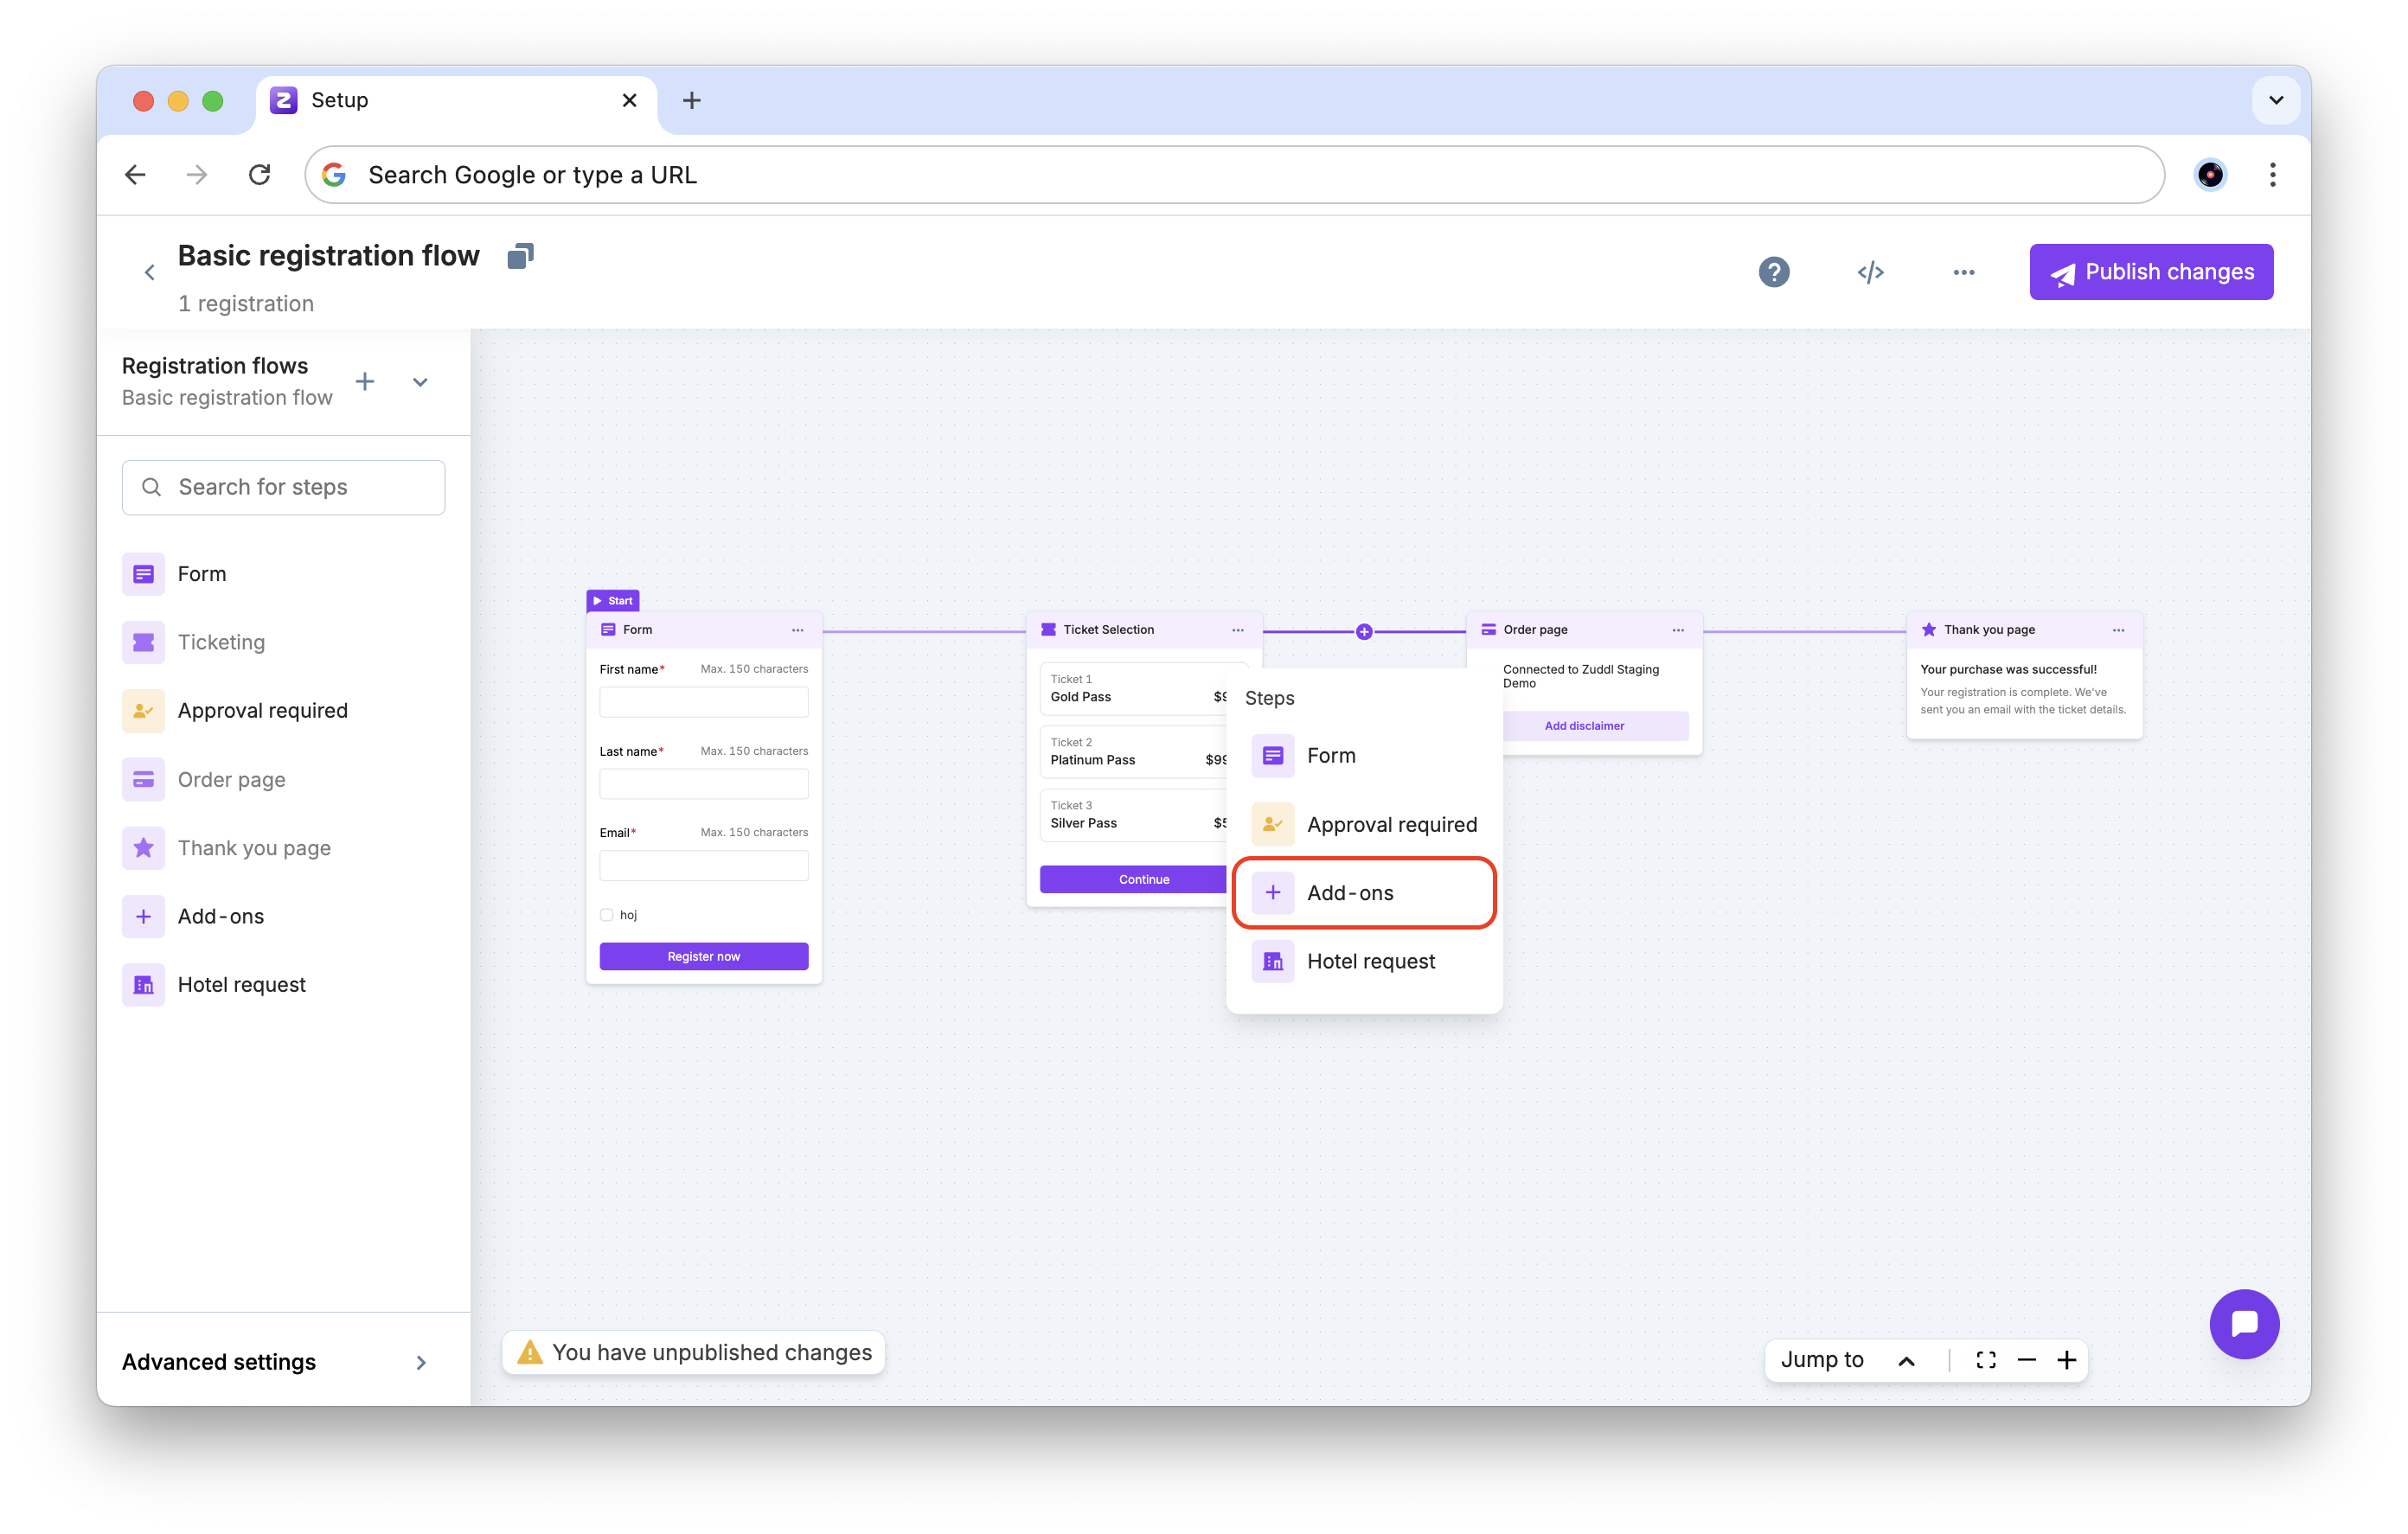
The Add-ons step must be placed after Ticketing and before Order Summary in your registration flow.
To add the step:
Go to the registration flow. Click + icon between the Ticketing and Order Summary steps (if added).
-
From the list of steps, select Add-ons.
The add-ons step will automatically reflect branding and styling applied to your registration flow.
Configuring the add-ons step
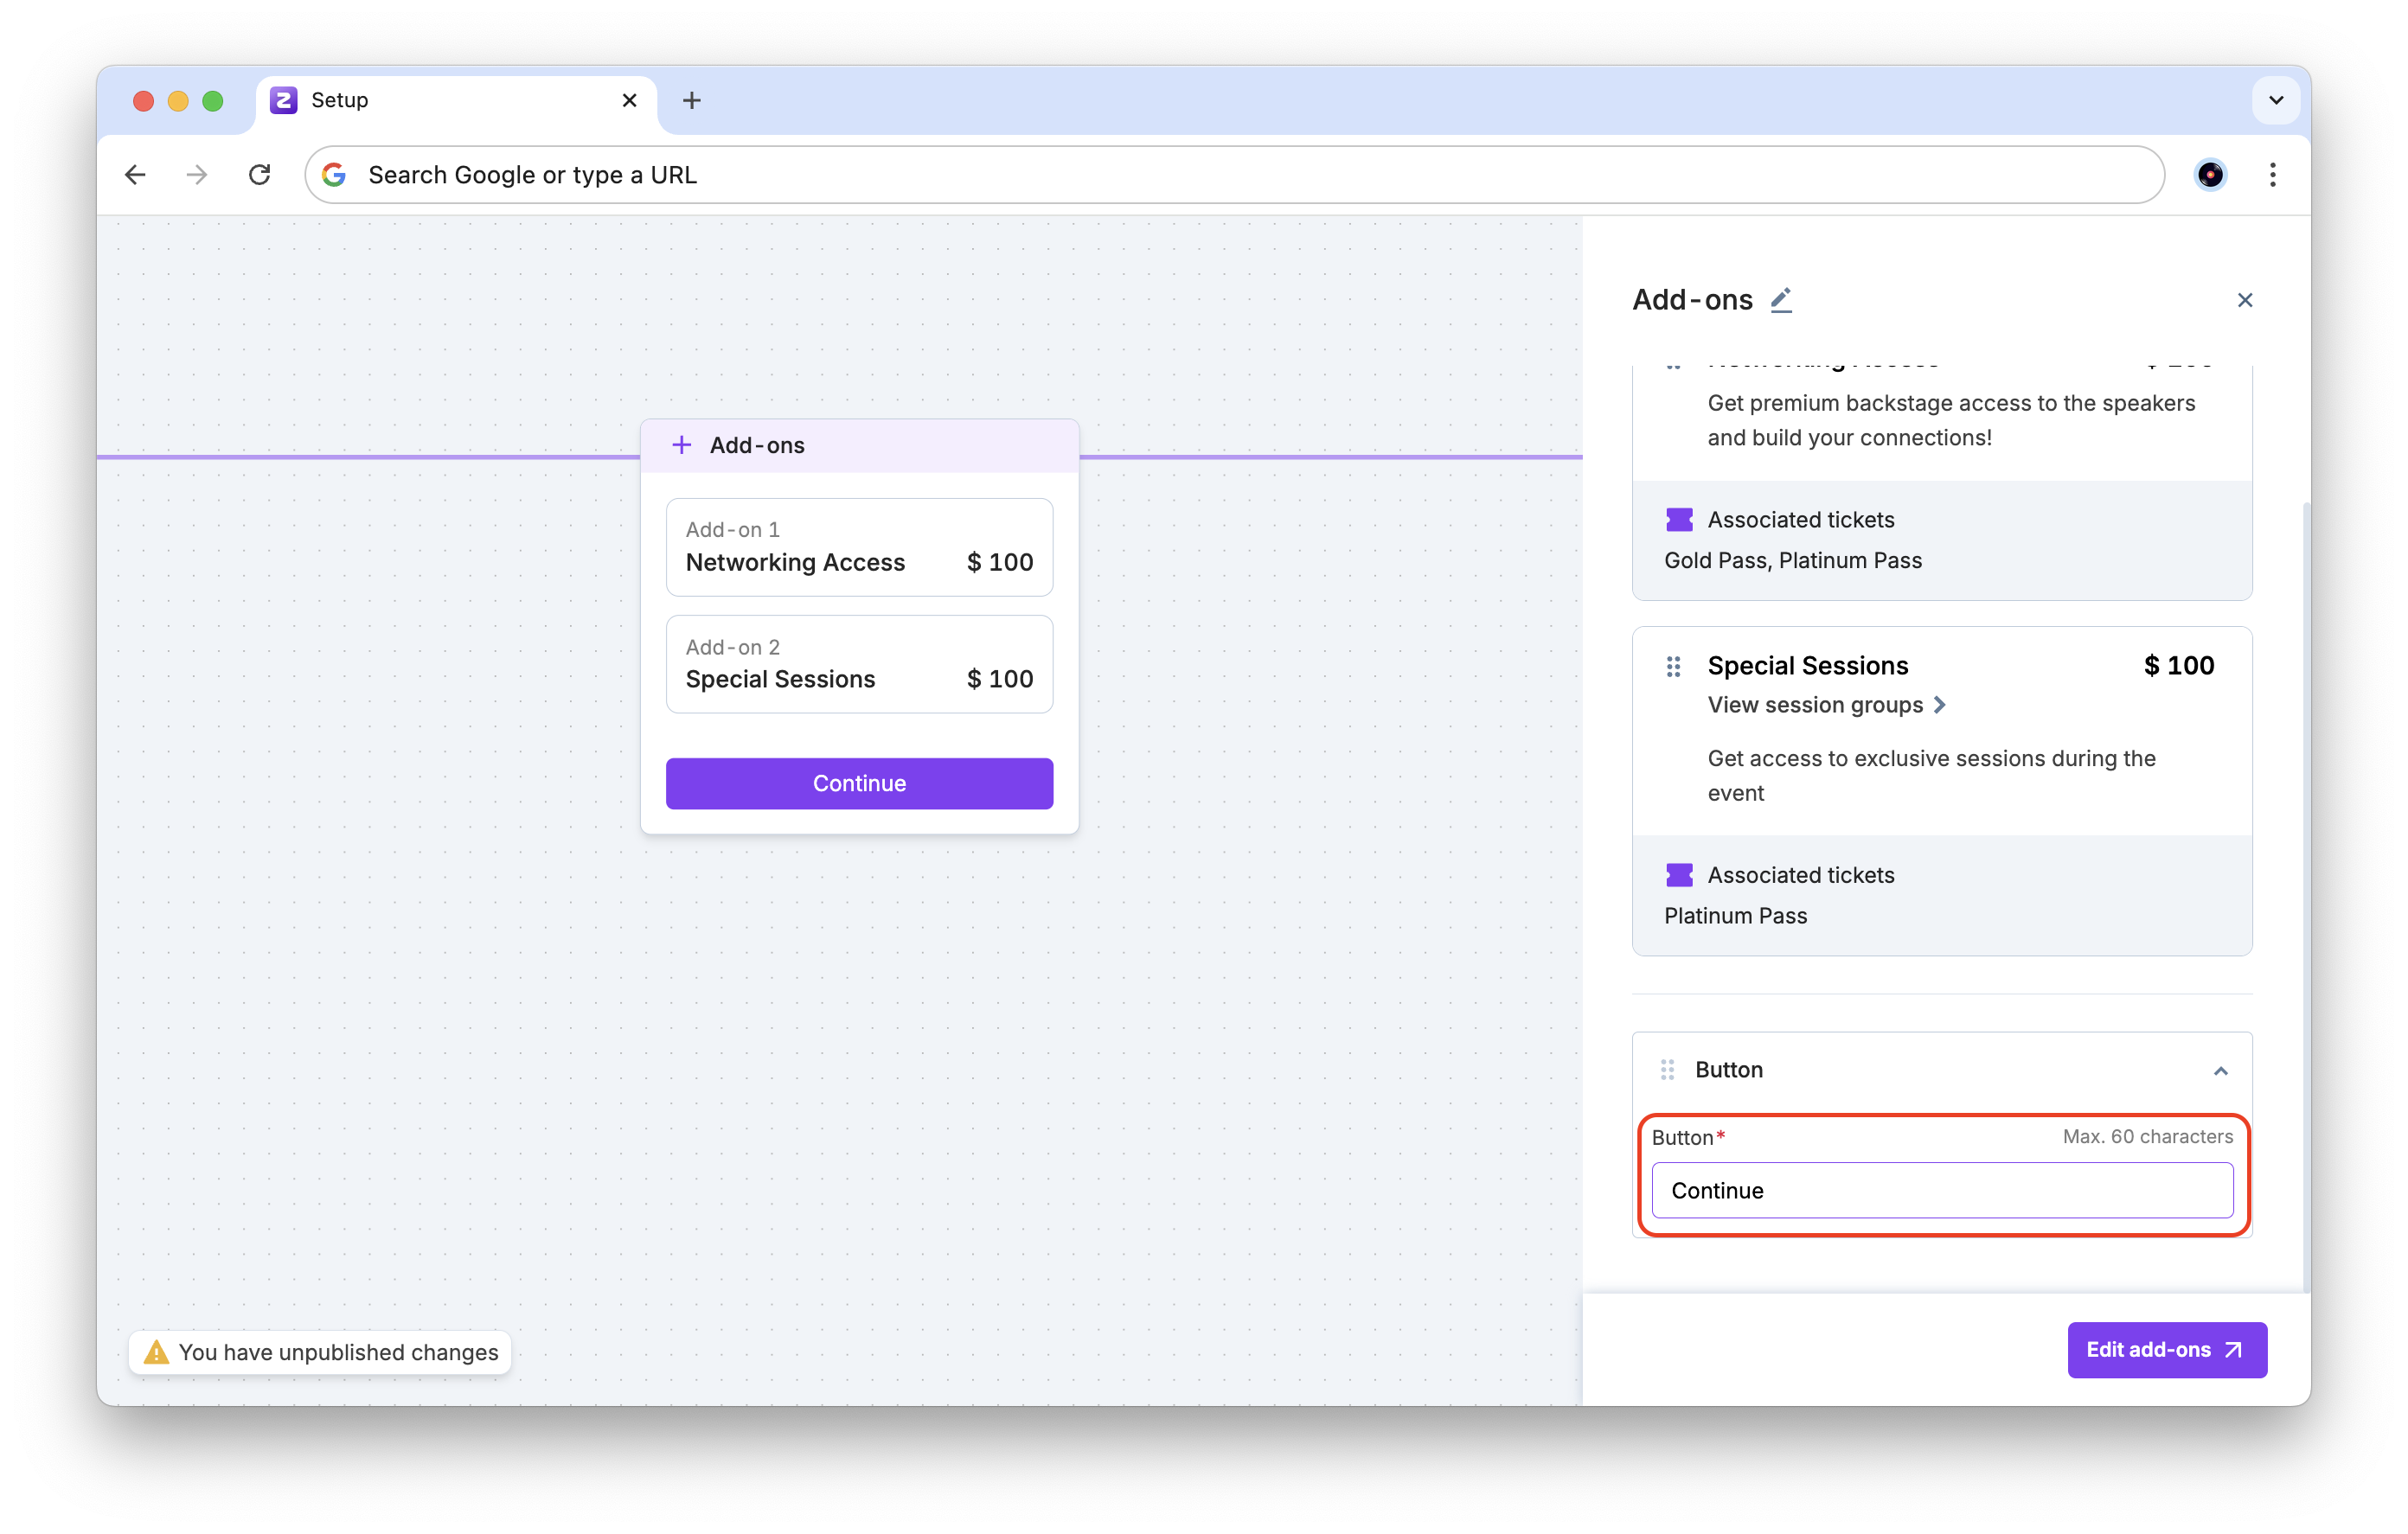
When setting up the step, you can reorder add-ons by clicking and dragging them to change the order.
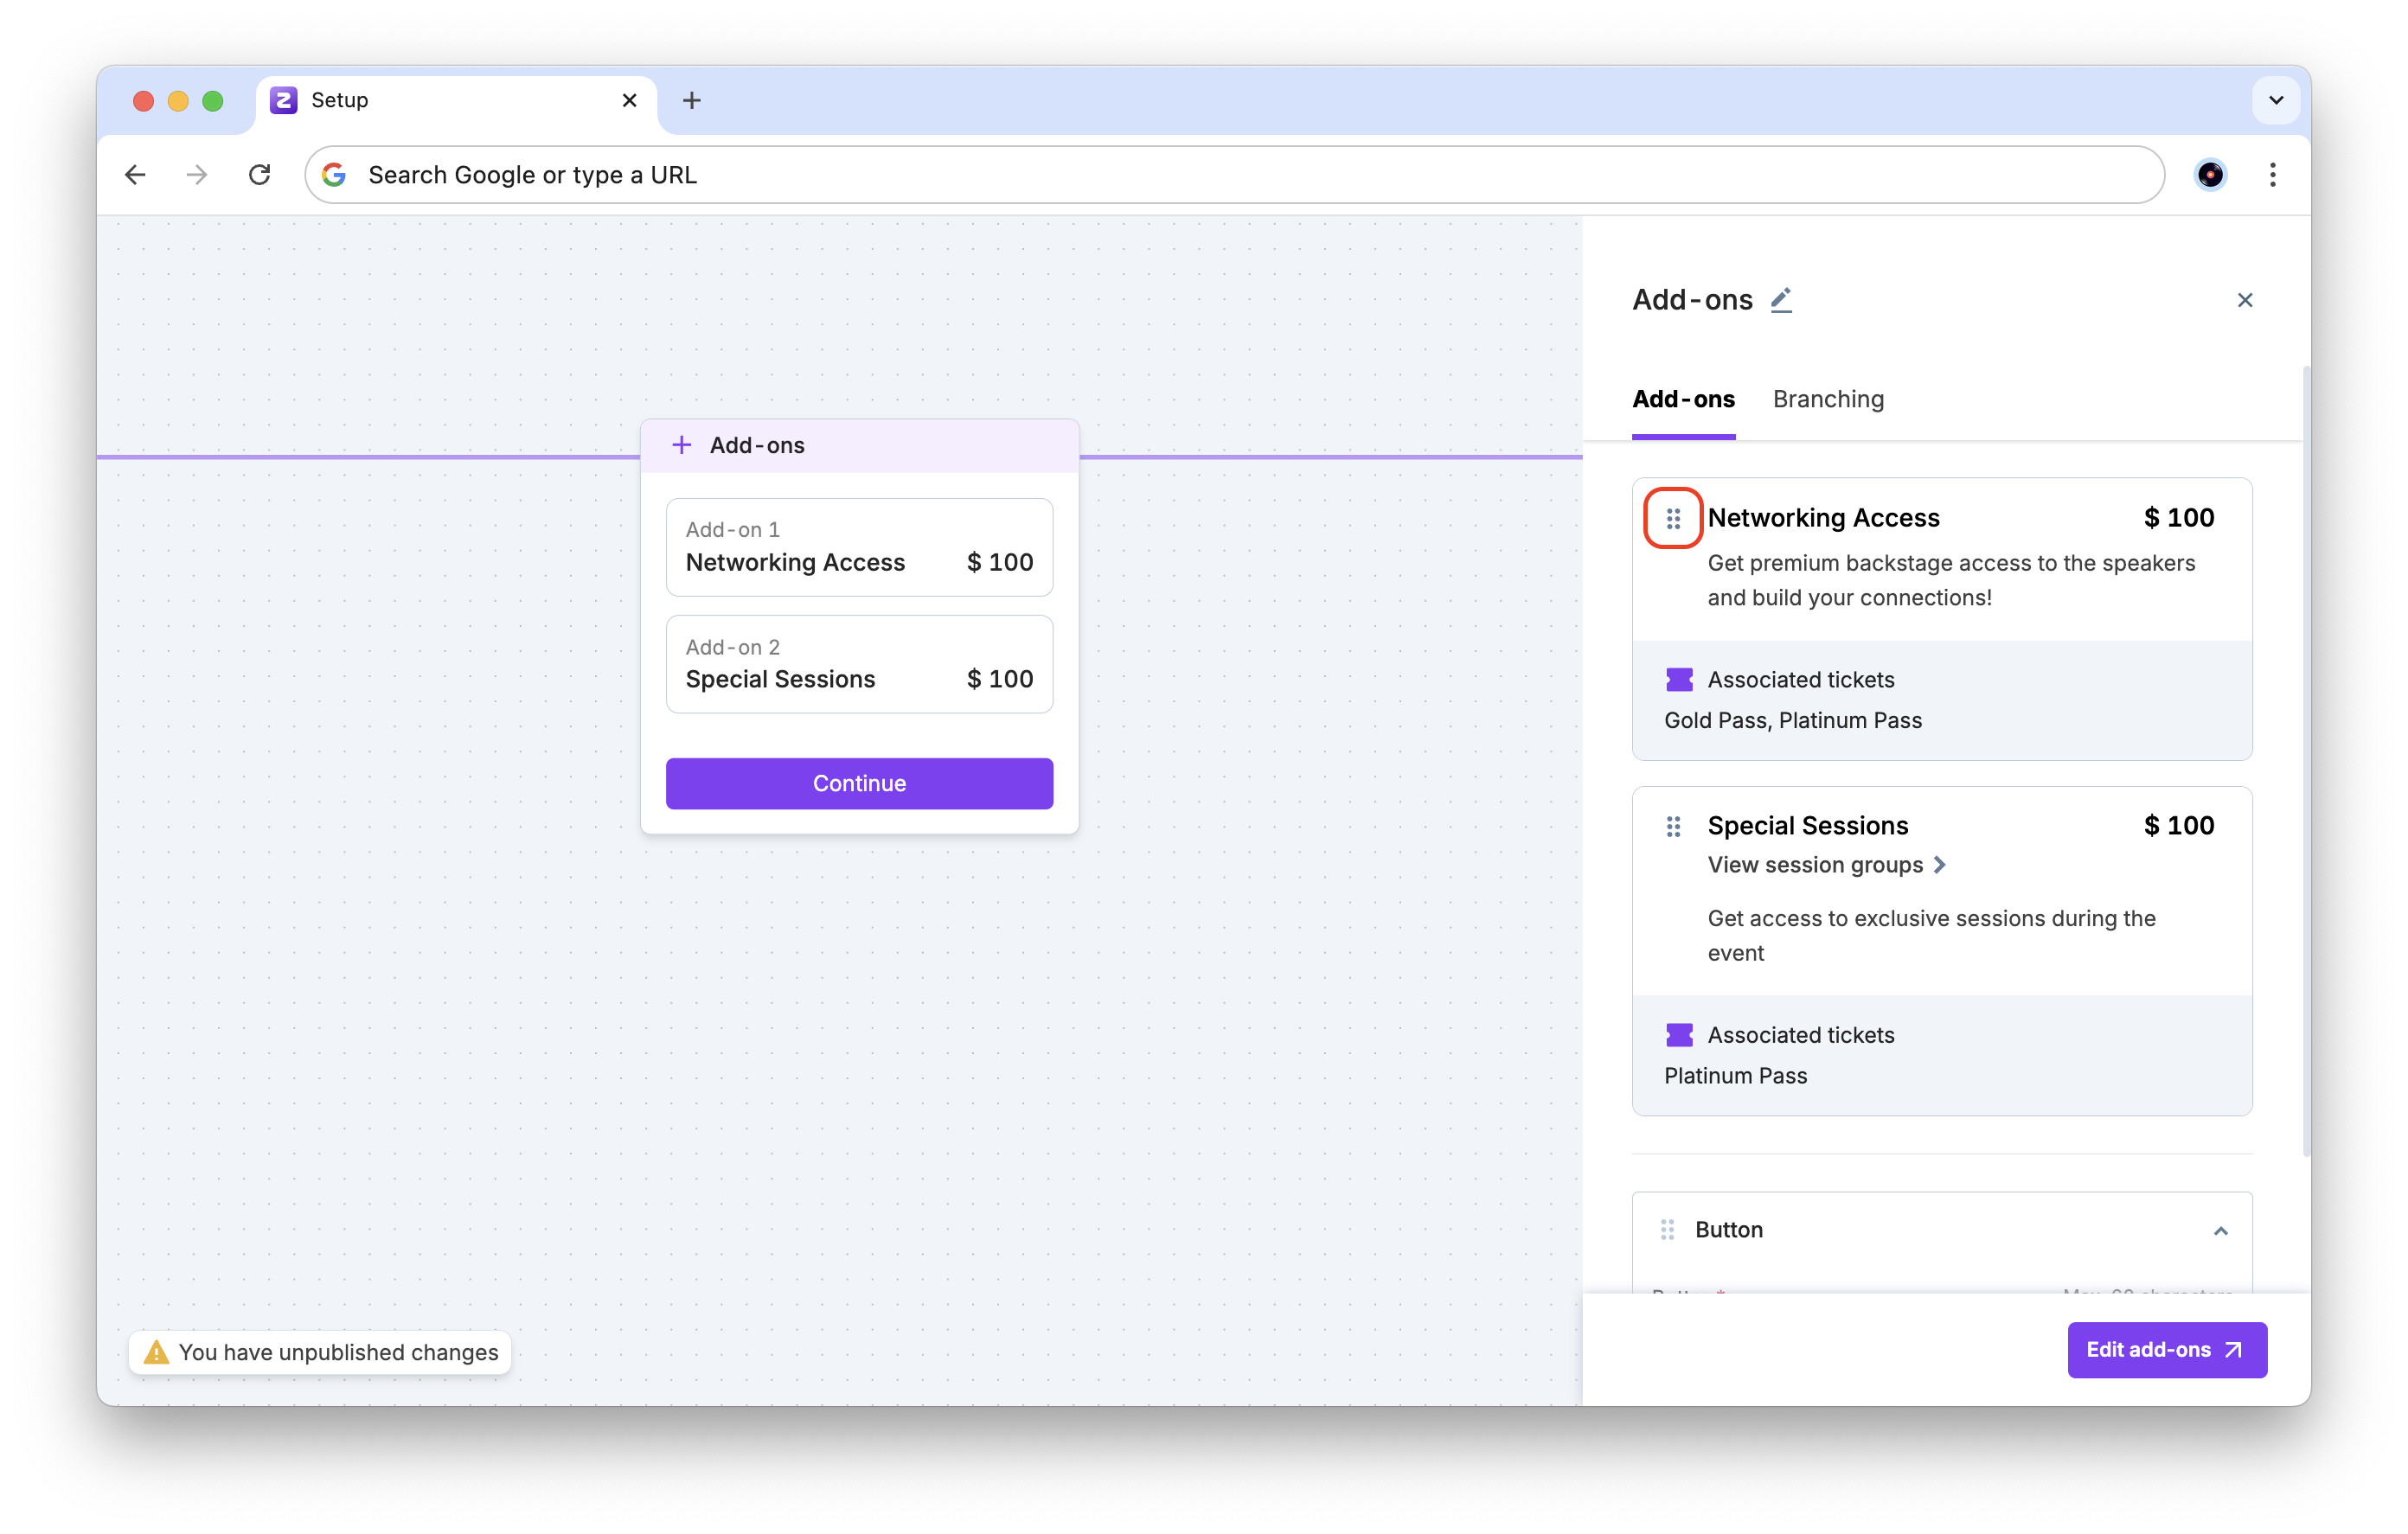
You can also edit the button label (set to "Continue" by default).
Rules and limitations
Here are some rules for using the add-ons step in your flow:
-
Sequence restrictions: The add-ons step must be added after Ticketing and cannot be placed at the beginning or end of the flow.
-
Branching logic:
-
All branches must merge into the add-ons step.
-
You cannot create branches based on add-on selections.
-
Branches can be added again after the add-ons step (Example: towards Order Summary).
-
Approval step: If you have an Approvals step added in your registration flow, Add-ons can be added only after this step.
Attendee experience
For attendees using the registration flow, here is the experience with the Add-ons step:
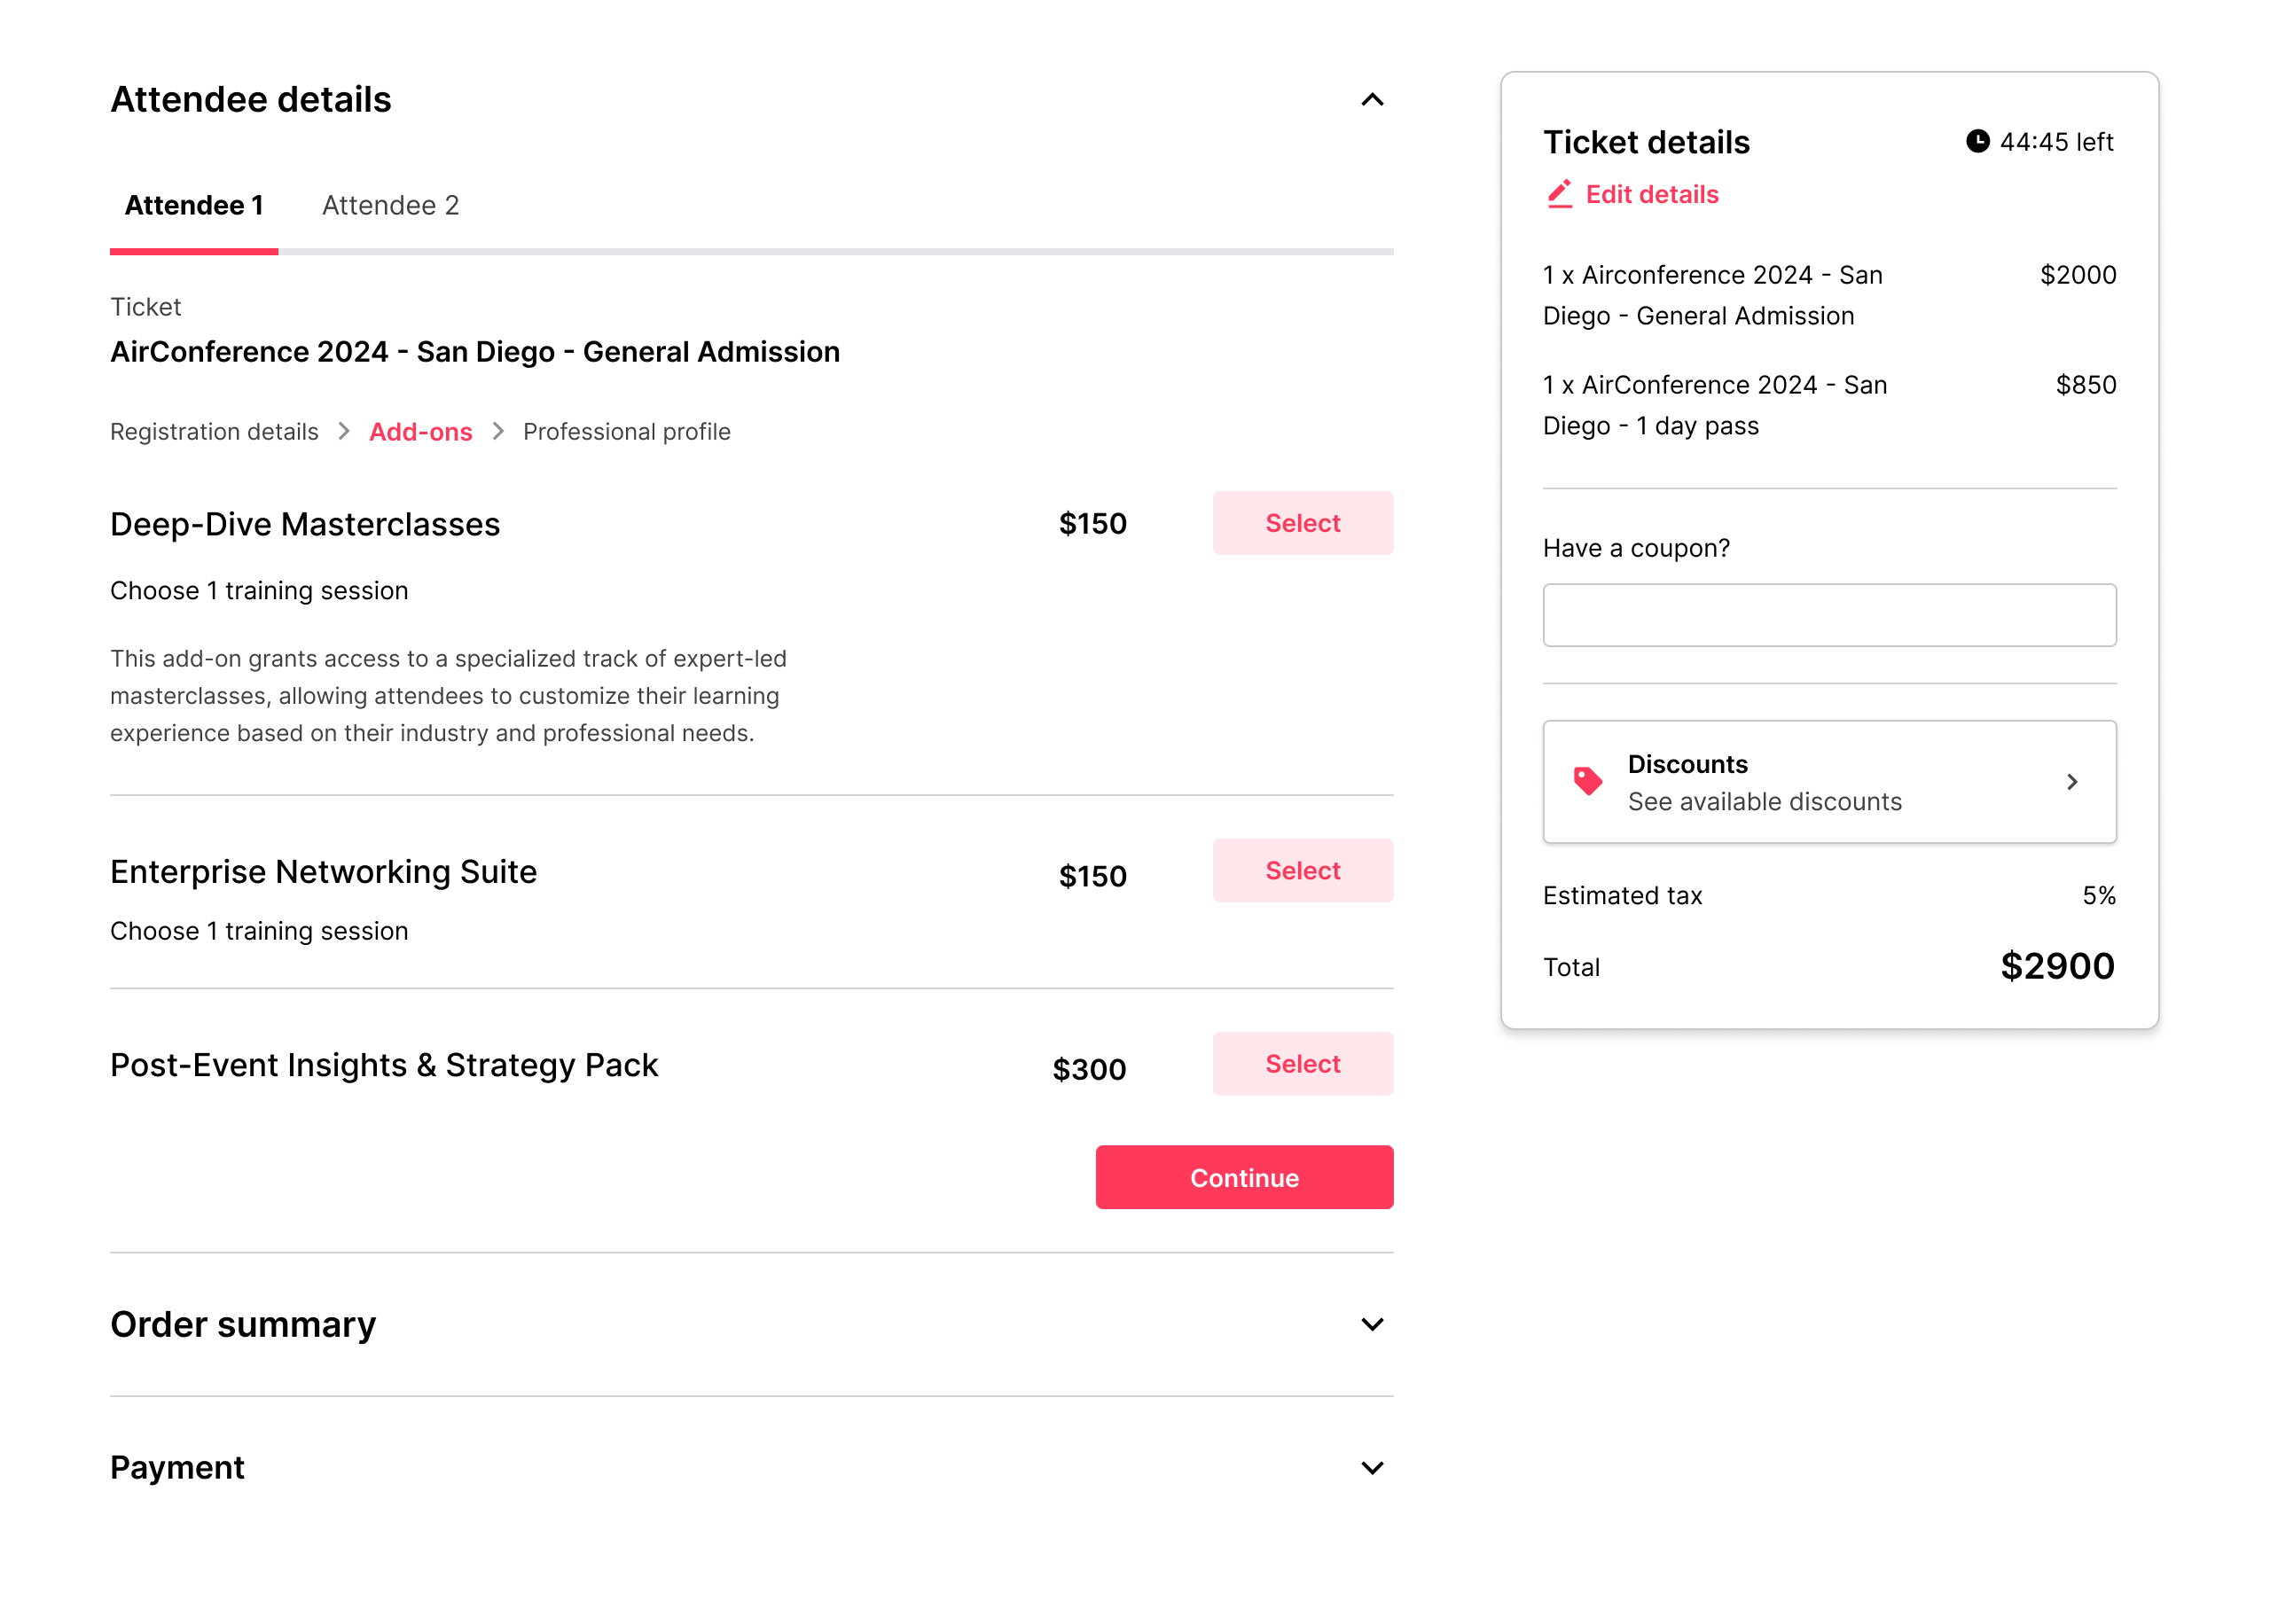
- Once a ticket is selected, attendees will see the Add-ons step where they can select add-ons.
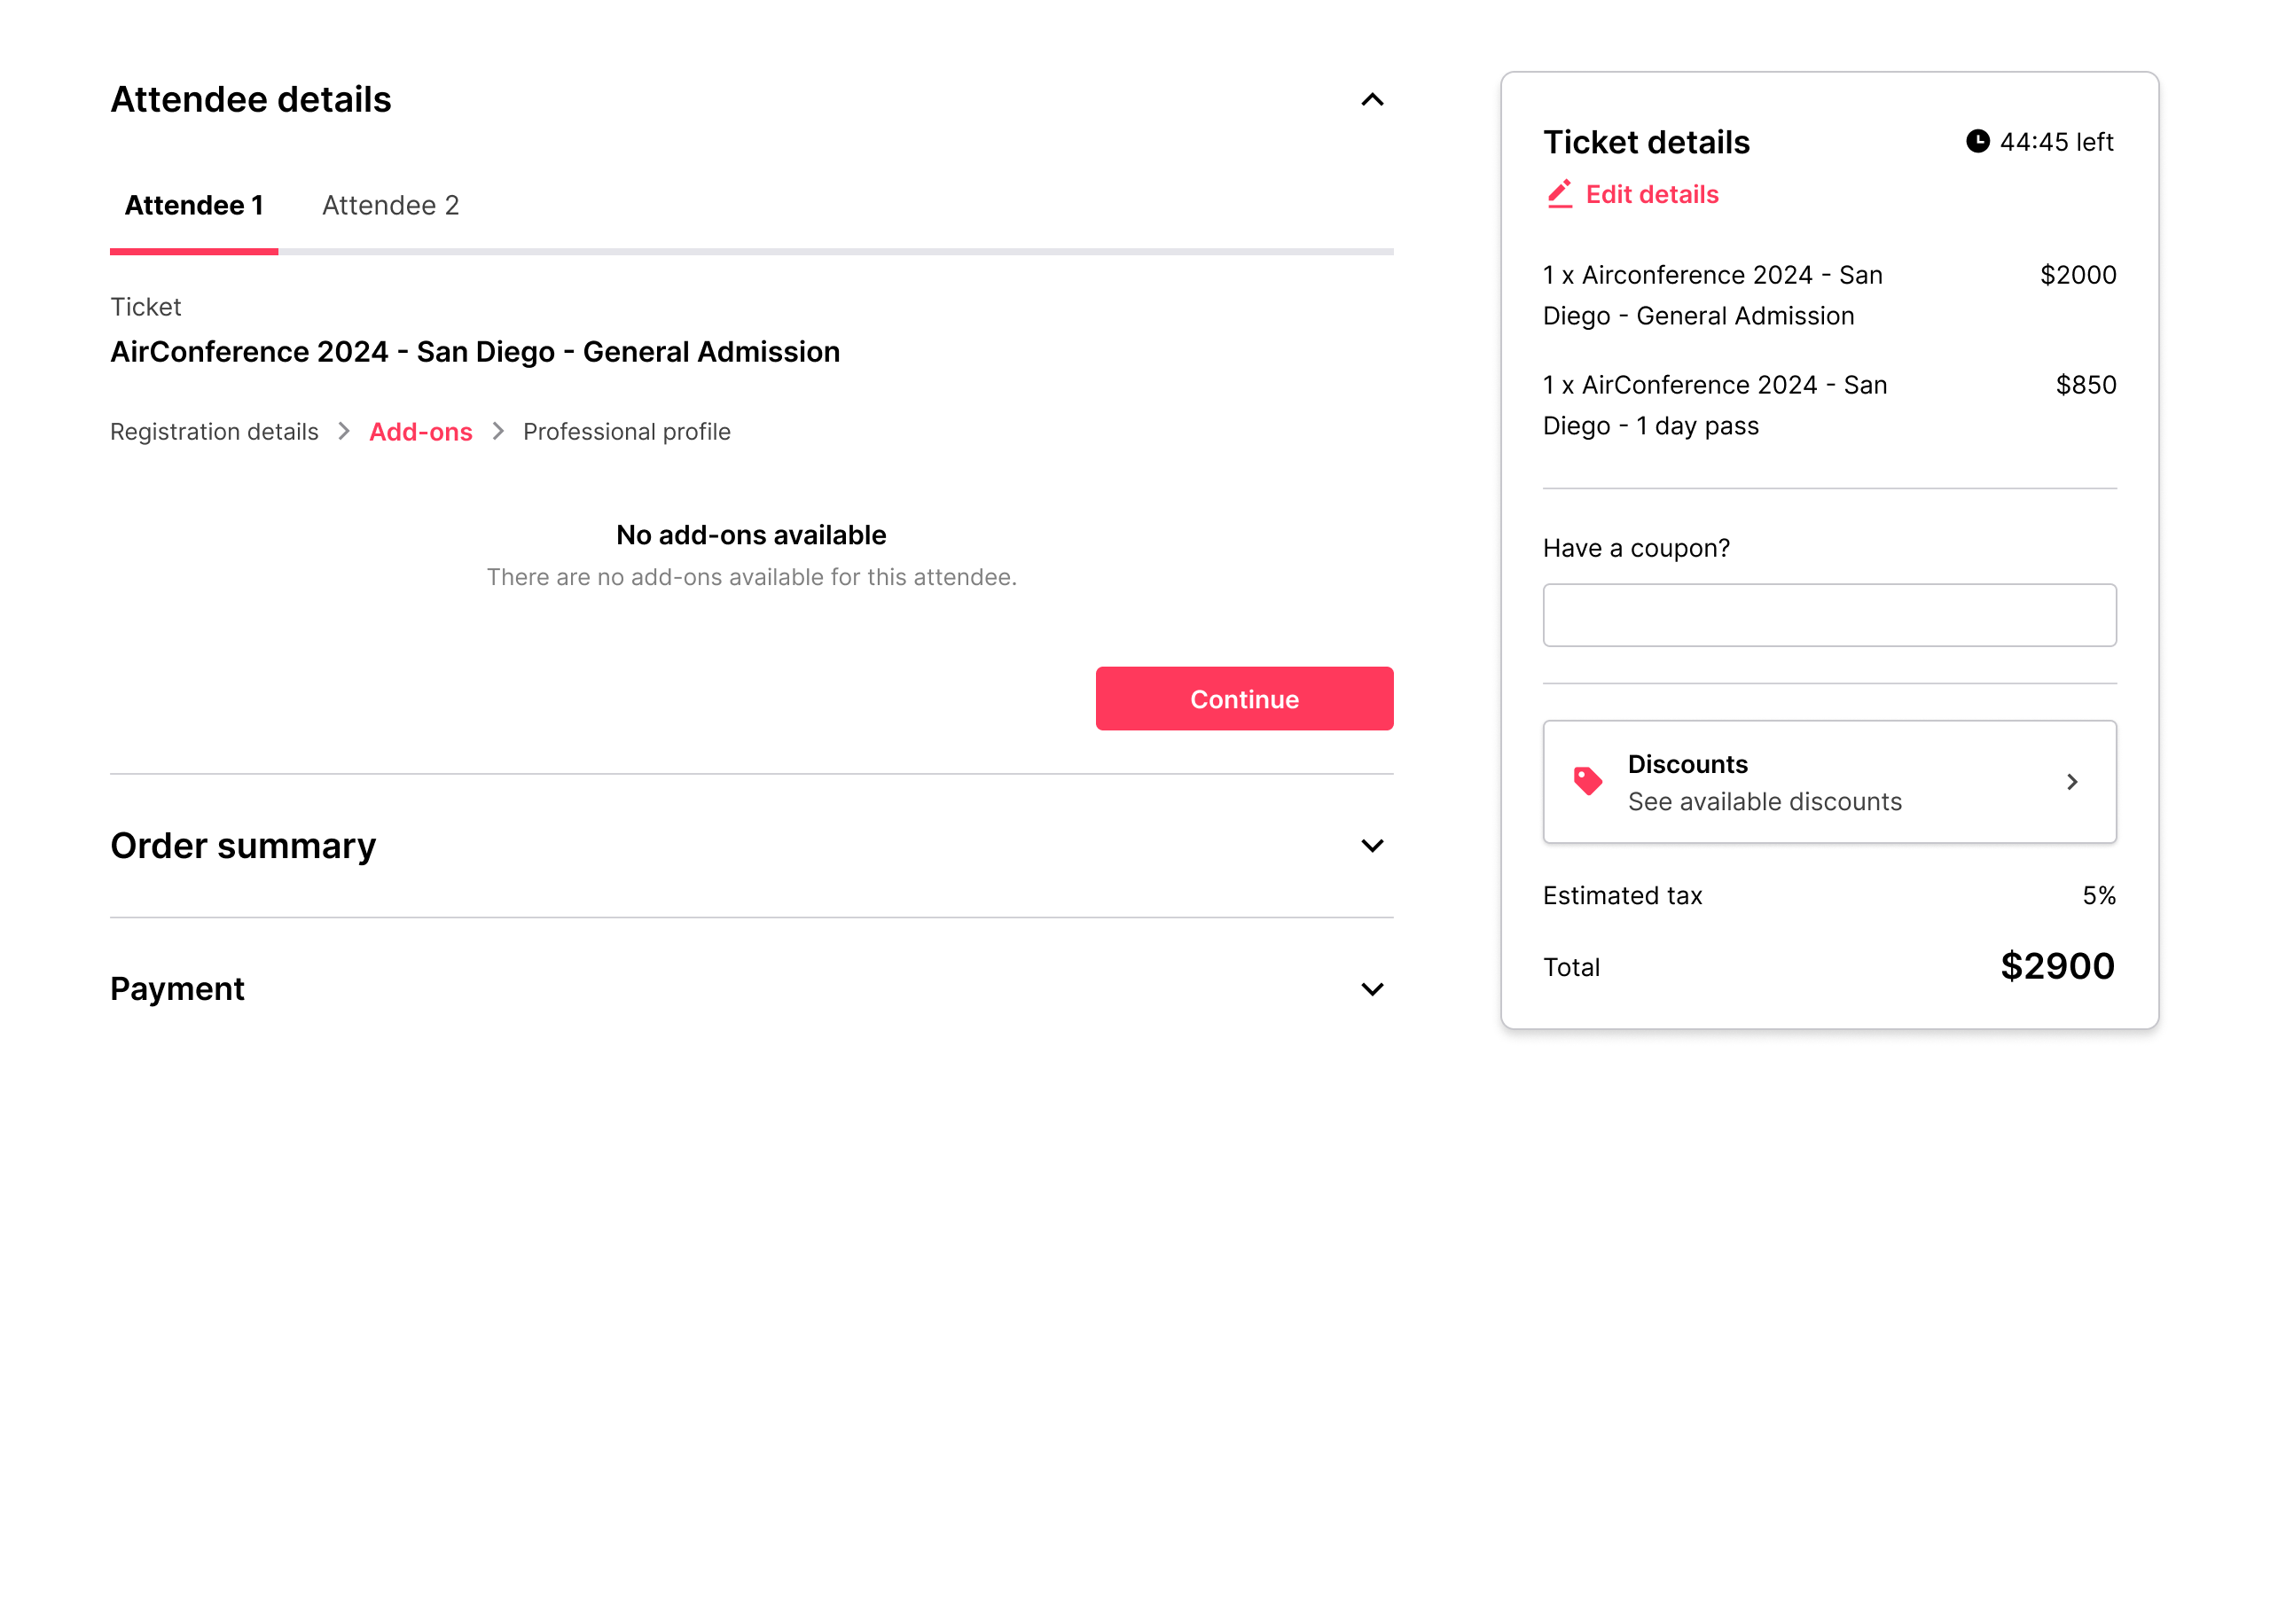
- If no add-ons are available for the selected ticket, attendees see a message saying: “No add-ons available.”
- Session groups for relevant add-ons can be selected from the popup. The selected add-ons appear in the cart and Order Summary step.
