How to Create a Series Registration Page
Last updated: September 4, 2025
You can have a single series registration page where attendees can view information for all events or webinars in the series and sign up for them in a single step.
Follow these steps to set up the series registration page:
In the series setup, go to Registration > Registration page.
Choose a template from the available options and use the editor to set up the registration page.
Learn more about using the registration page editor. In the registration page editor, add the Series events widget to add information about the different events or webinars added to your series.
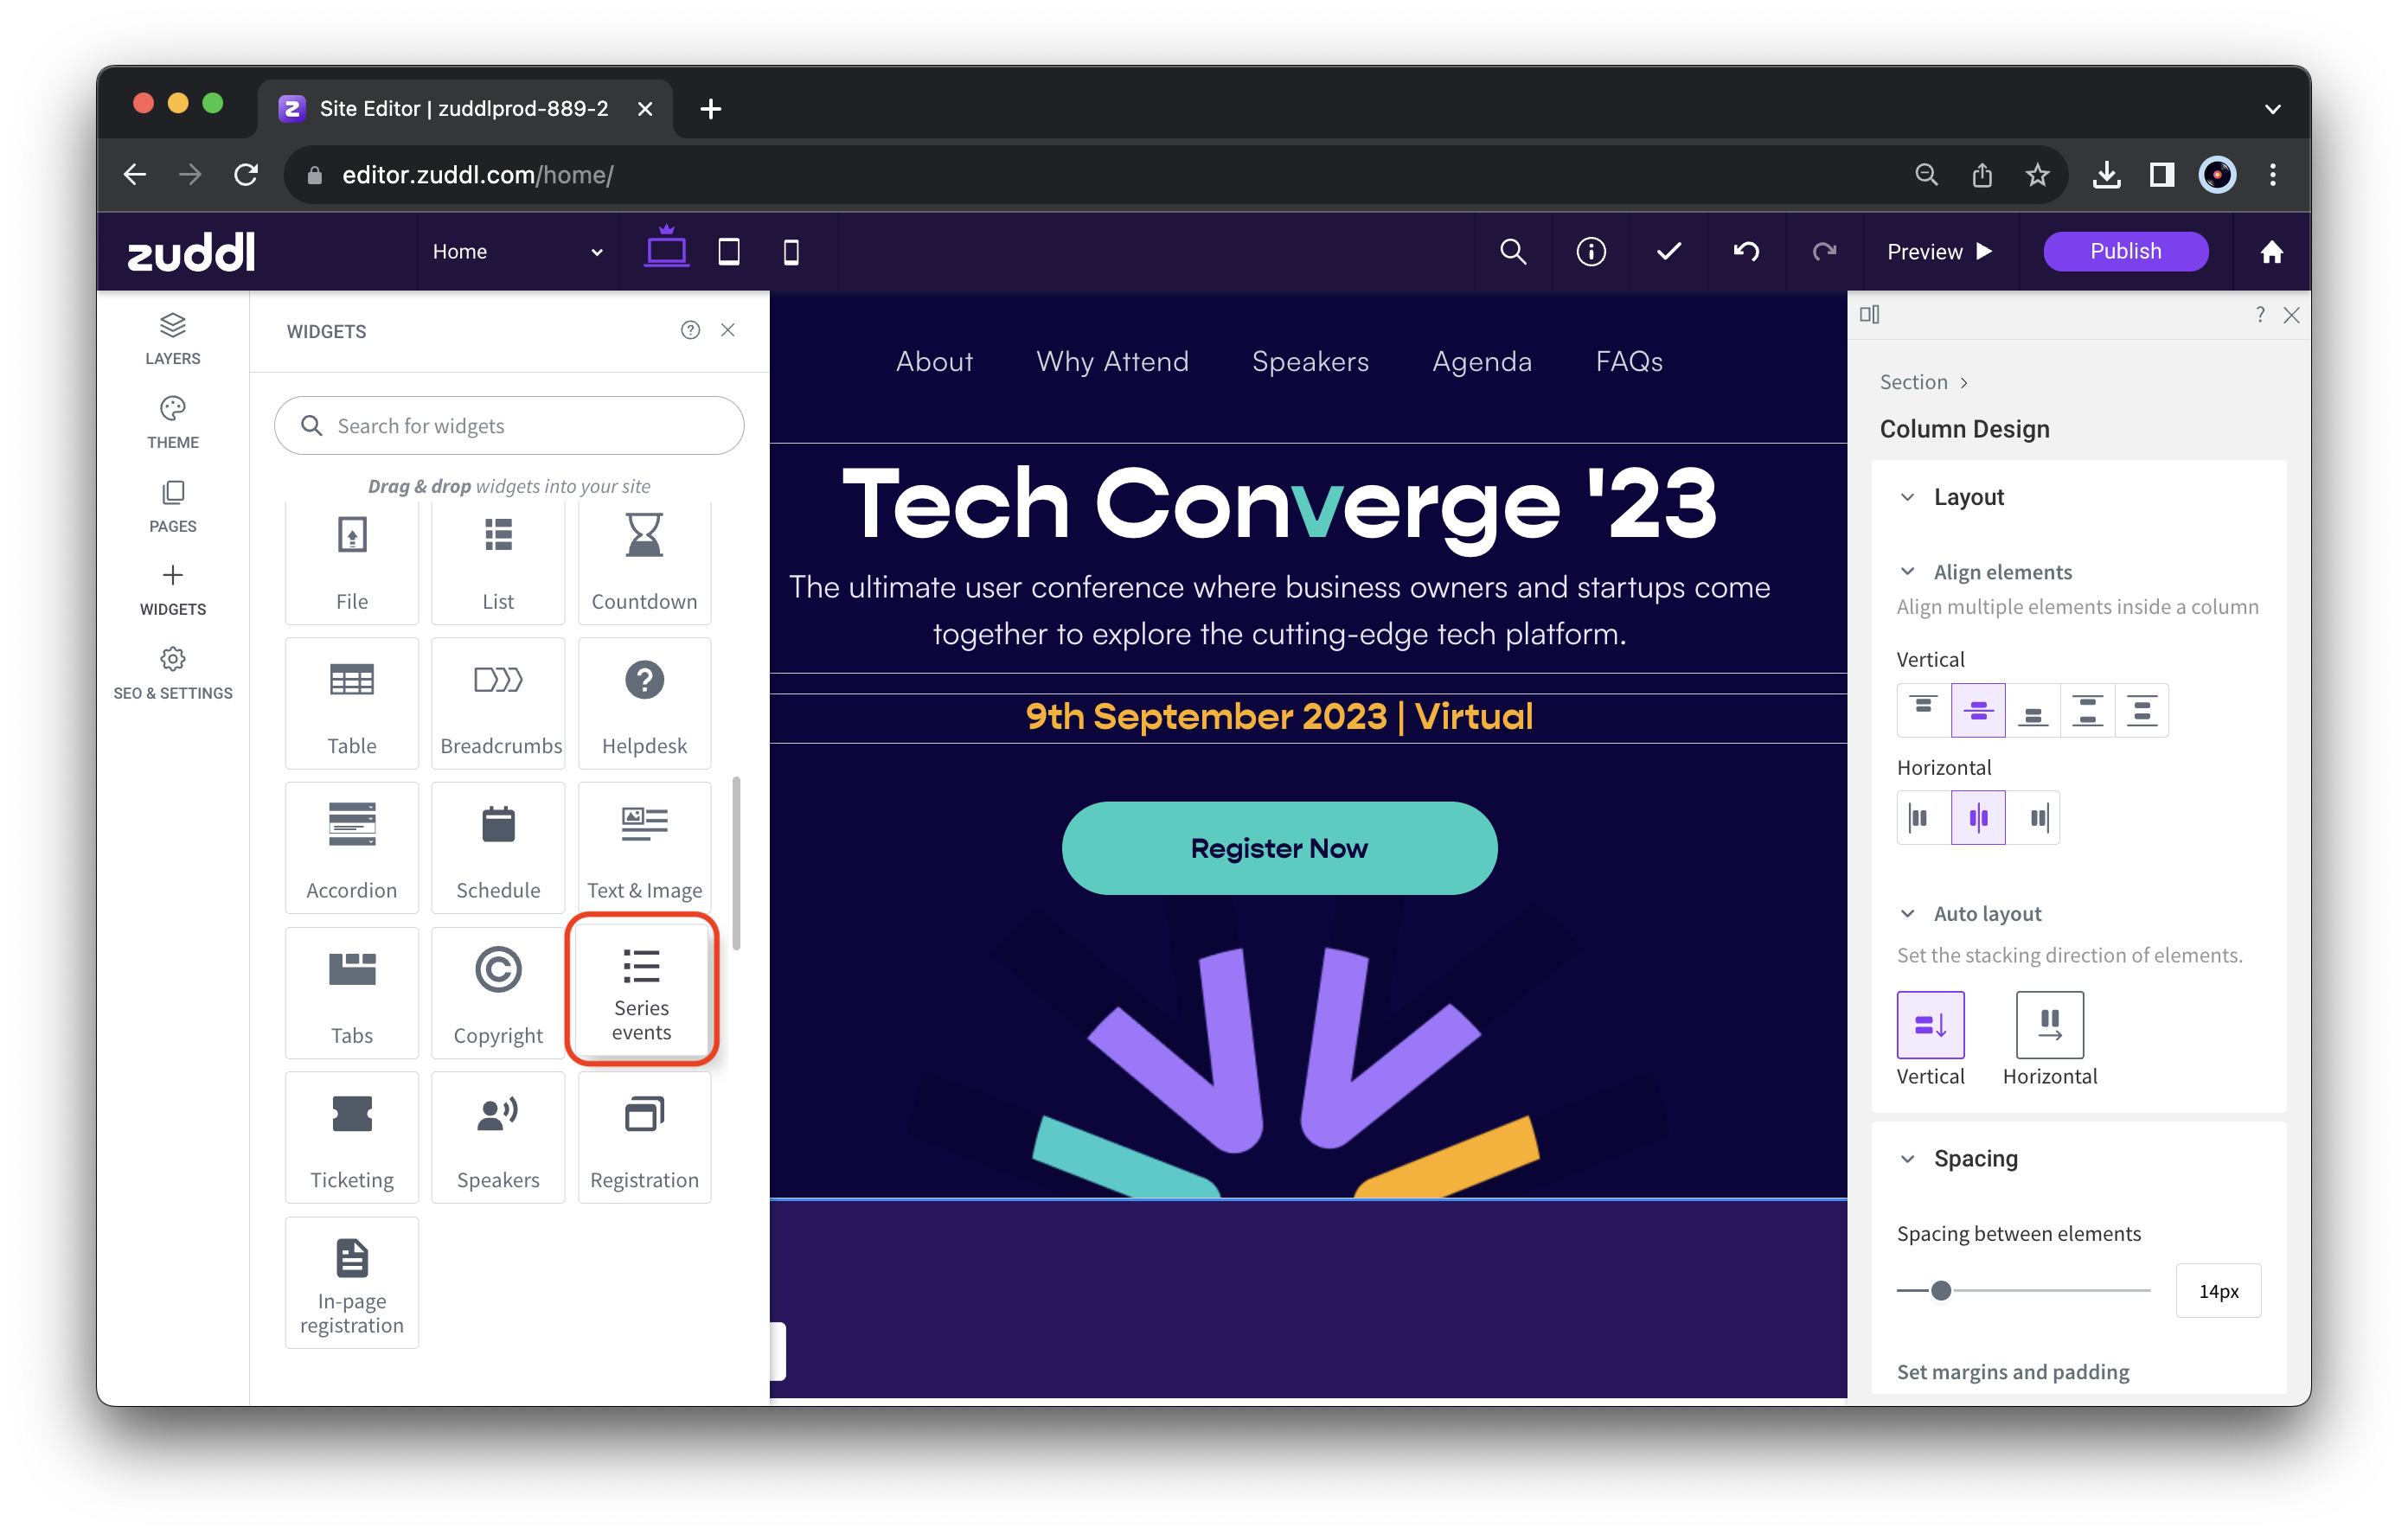
You can customize the details shown in the widget from the settings window. The widget also displays thumbnails and descriptions for individual events and webinars in the series, along with speaker images and descriptions.

Go to Registration> Form to set up the form fields for the page. Learn more about setting up the form. Customize the page settings from Registration> Advanced settings.
General settings:
Attendee Magic Link: Enabling this will email attendees a link to join the event directly.
Speaker Magic Link: Enabling this will email attendees a link to join the event directly.
Note: The Series Invite email and Series Registration need to be enabled so the magic link can be sent to attendees.
Allow joining as guests: Enabling this allows attendees to enter events anonymously as guests.
Registration: Allow people to register for individual events or webinars in a series. Toggle on to turn on this selective registration option for your series. By default, attendees will have access to all events. If toggled on, an additional field will be added in the registration form to choose events.
Email domain restriction: With the email domain restriction option, you can control which email domains should be allowed or denied for Registration. Learn more about email domain restriction.
Attendee check-in: The attendee check-in feature lets you customize the time your attendees can join the event before the start time and when they can access the event after the event ends. Learn more about the check-in time feature.
Tracking code: You can use Google Analytics to track activity on your page, gain insights from visitor activity, and help you meet your goals.
User registration scenarios
- If registration capacity has not been reached, attendees are automatically registered, and event details are sent via email.
- If registration capacity is full, a tooltip appears in the event selection dropdown indicating that the event is fully booked.
- If an event requires approval, attendees are notified about this in the event selection dropdown.
- If an attendee registers for an event that needs approval, their registration will remain pending until the organizer approves or rejects them, triggering the appropriate email (Registration Confirmation or Registration Rejected).
When registering at the series level:
If registration capacity has not been reached, attendees are automatically registered, and event details are sent via email.
If registration capacity is full, a tooltip will appear in the event selection dropdown indicating that the event is fully booked.
If an event requires approval, attendees will be notified about this in the event selection dropdown.
If an attendee registers for an event that needs approval, their registration will remain pending until the organization approves or rejects them, triggering the appropriate email (Registration Confirmation or Registration Rejected.