How to Import a Schedule in CSV for a Hybrid Event in Zuddl
Last updated: August 1, 2025
If you already have all the necessary details of all sessions to be added to your event, you can create a CSV file and import it to Zuddl to add sessions in bulk to your Zuddl dashboard.
To import a CSV file:
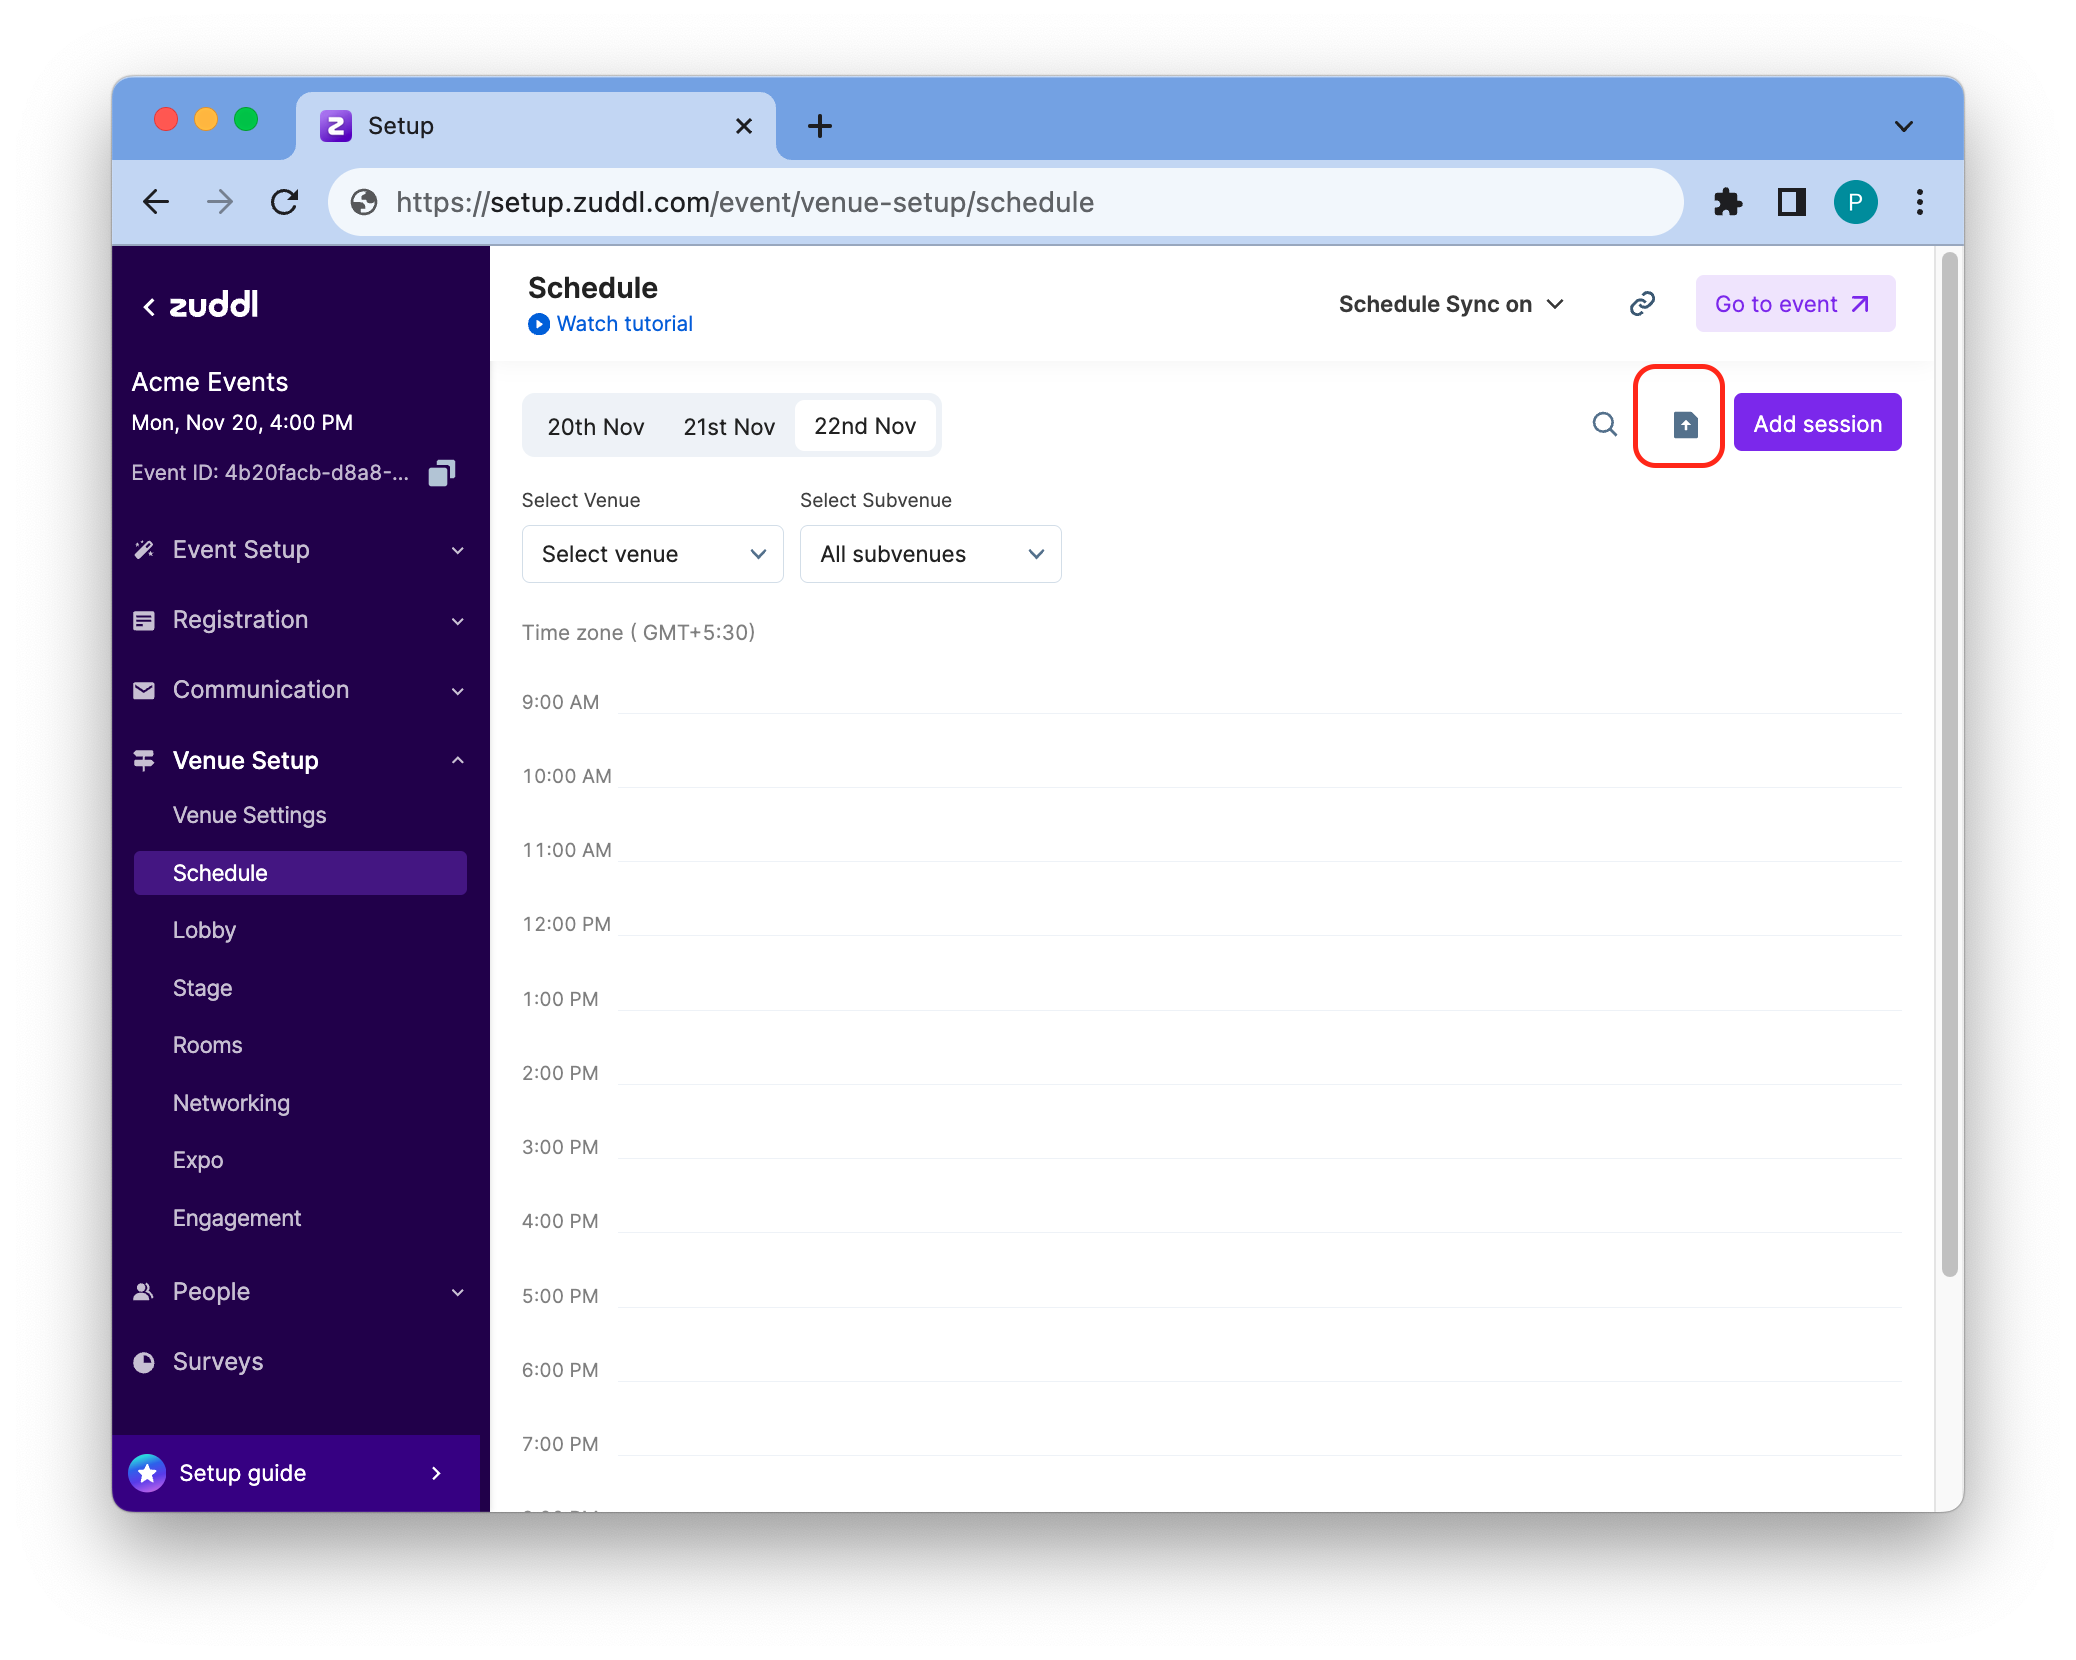
Click on the import CSV button.
- Click Browse to select the file from your device or drag and drop the .csv file inside the dotted box.
Download a sample CSV template and edit the file with your data. Refer to the below instructions to create a CSV file.
Instructions to help you set up the CSV file
- Possible CSV columns are session name, about the session, venue, date, and start time.
- The mandatory columns are session name, about the session, date, duration, and start time. The rest are all optional columns.
- A header row must be present
- Columns must be in the same order and must not change the header label
- All mandatory custom fields should be present in the file.
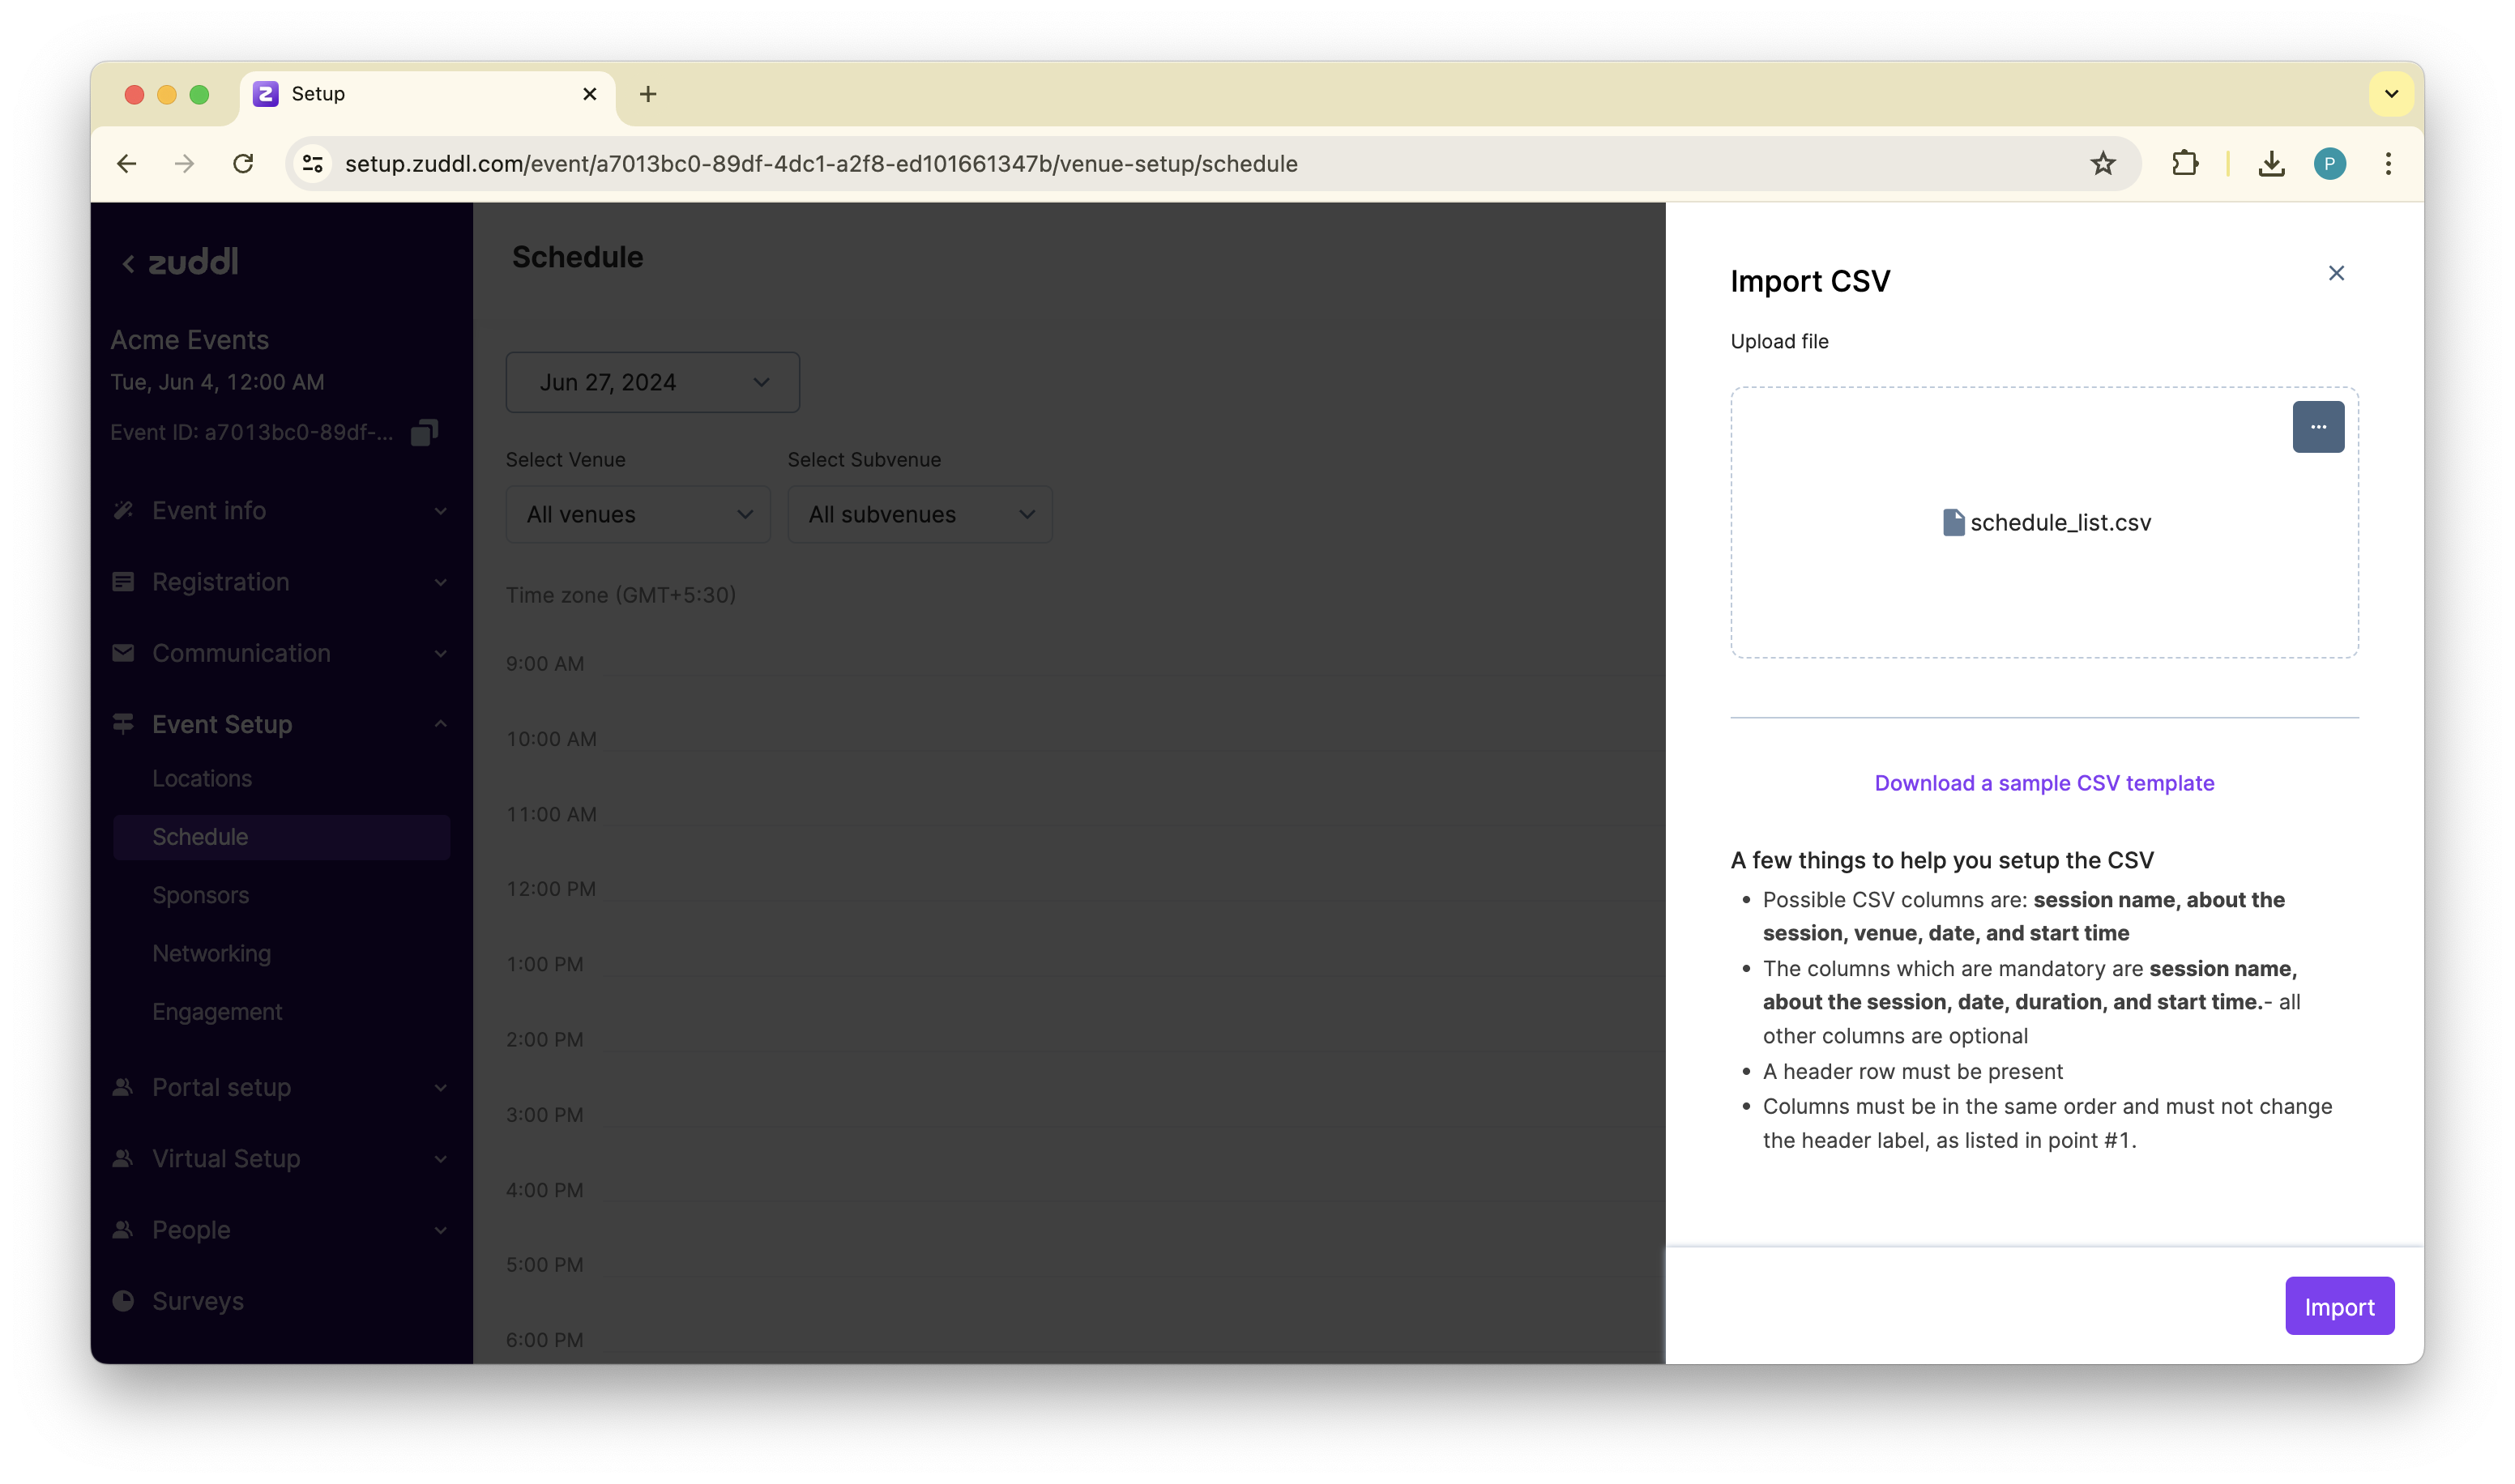
After you’ve added the file, click Import. Based on your CSV file, this creates the entire schedule for your event in one go.
| Header label | Mandatory | Description |
|---|---|---|
| Session name | Yes | Name of the session (upto 250 character) |
| About the session | Yes | Description for the session |
| Date | Yes | Date of the session in dd/mm/yy format |
| Start time | Yes | Start time in event time zone (24-hour clock) |
| Duration (mins) | Yes | Duration in minutes. Example for a 2 hour session, input 120 minutes |
| Session format | No | Specifies the event format. Accepted values: in-person, virtual, and hybrid. Mandatory for hybrid events. |
| In-person location | No | Location of the event |
| Virtual venue | No | Venue type: Stage, Room, etc. |
| Virtual sub-venue | No | Stage or room name |
| Registered Speaker | No | Speakers registered for the event |
| Event tag | No | Event tags added for the session. For example, #upload, #startup |
| Hidden session | No | Yes: If the session is hidden No: if the session is not hidden Defaults to 'No' |