Registrations Smart Table
Last updated: July 14, 2026
What This Does
A Registrations Smart Table lets you share a controlled view of your confirmed registrations with people outside your Zuddl account. Instead of exporting attendee lists, a team member sees the people who are registered for your event. You decide which rows and columns each person sees and what they are allowed to change.
This article covers how one creates and manages a Smart Table built on the Registrations table. For the general concepts behind Smart Tables — views, locked and editable columns, sharing, and roles — see the main Smart Tables article. Smart Tables built on Nominations and Approvals are covered in their own articles.
How Smart Tables work: A Smart Table is a filtered view built on top of a main data source. The data lives in the main list, not in the view, so any change made in a Smart Table flows back to the master and shows up in every view that includes that row.
What a Registrations table shows
A Registrations Smart Table shows your event's final registrations — people who have completed registration and moved past the approval stage. It comes with a default set of columns:
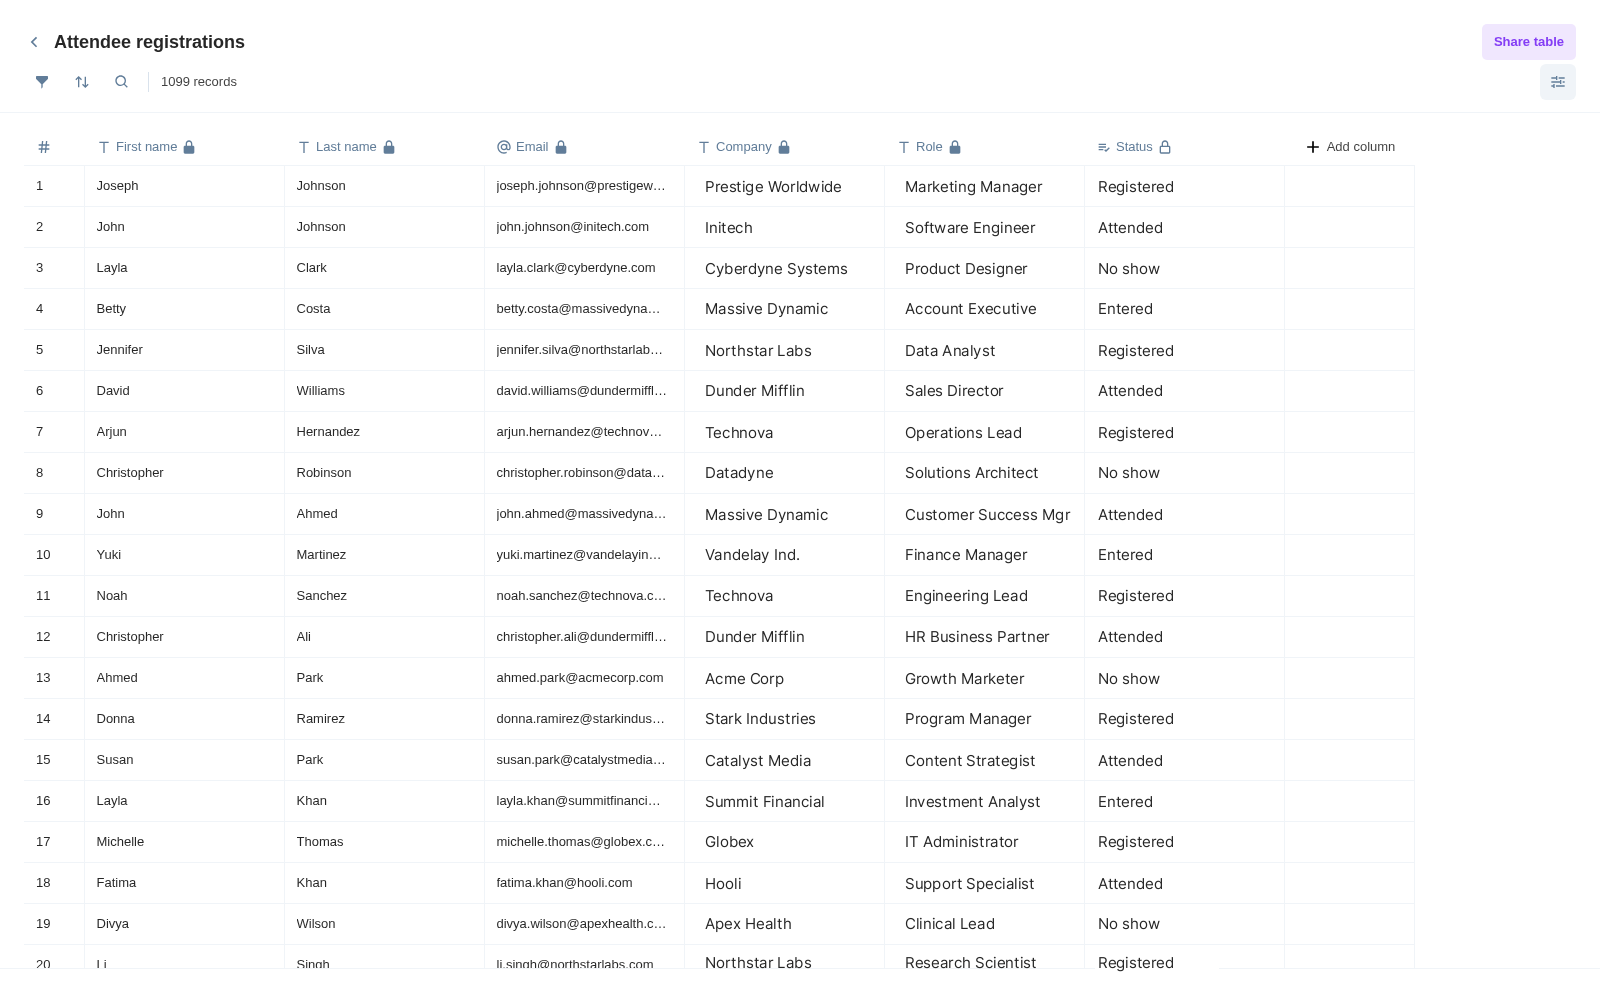
First name, Last name, Email, Title and Company
The rows are limited to final registration statuses: Registered, Entered, No show, Attended virtually, Attended in-person, and Attended both. Cancelled registrations may also appear and are shown read-only.
Note: You cannot add new rows to a Registrations table — the rows come from your real registrations. Adding rows is only available on Nominations tables.
Steps
You can create a Smart Table from two places:
Open the Smart Tables section in the left navigation sidebar and select [+ Create Smart Table]; or open the Registrations tab and select [Create Smart Table] in the top bar.
Choose Registrations as the table type, set a name for the table (up to 80 characters), and select Proceed.
Use the Manage Columns option to control what the view exposes. For each column, set its Visibility (whether the column shows in this view — hiding a column does not remove its data) and its Permission (whether collaborators can edit the column — only fields you create yourself can be set to editable).
Apply filters as needed using on top of the configuration. Any filter you apply as the organizer is global and applies to everyone you share the view with.
Open the Share panel, enter collaborator email addresses, and assign each person a role (Editor or Contributor). Adding a recipient sends them an invite email with an access link; removing a recipient revokes their access right away.
(Optional) Turn on the Allow collaborators to export CSV toggle in the Share panel if you want collaborators to be able to export the rows in their view.
What Happens Next
Collaborators do not need a Zuddl account. They log in with their email and a one-time passcode and only see the rows and columns you configured.
They receive a 6-digit code. The resend timer is 60 seconds, and the account locks for 30 minutes after 5 failed attempts.
One login gives a collaborator access to every table shared with that email for your org.
As your team updates attendance, each status change is saved to the master registration list, so it flows back to every view that includes that row and to your event's reports.
Sharing and roles
There are two collaborator roles. Both can work through the rows shared with them and change a row's status from the dropdown. Neither role can change the structure of a table — only you, the organizer, can change columns, locks, and filters.
Action | Editor | Contributor |
|---|---|---|
View the columns shared with them | Yes | Yes |
Edit unlocked cells | Yes | Yes |
Change statuses | Yes | Yes |
Export CSV (if enabled) | Yes | Yes |
Add new rows | No | No |
Change the table's columns, locks, or filters | No | No |
Related articles
Need help with Registrations Smart Tables? Reach out to your Zuddl contact or our support team.